Russian Honey Cake Recipe

Indulge in the rich flavors of a Russian Honey Cake, known for its harmonious blend of honey and cream. This traditional dessert is both straightforward and rewarding to make, with each step crucial for achieving its signature taste.
Perfecting the layers is key, and a well-rested dough is essential. Elevate this classic treat for your next gathering by focusing on precise layering and presentation.
Recipe
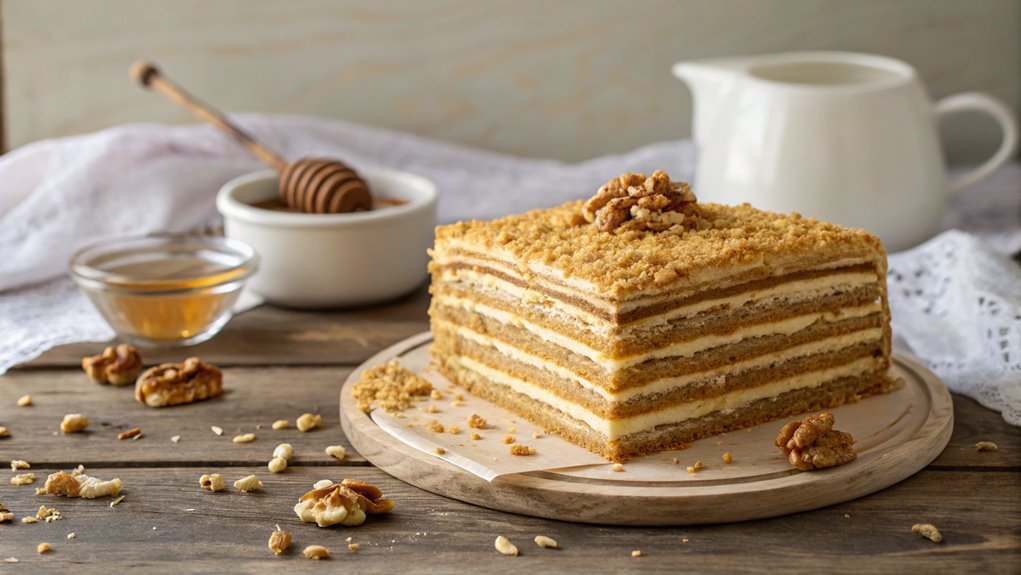
Russian Honey Cake, or Medovik, is a delightful layered dessert that boasts a unique combination of honey and sour cream, resulting in a rich and creamy texture. This cake is beloved for its moist layers that absorb the flavors over time, making it even tastier after a day or two.
Traditionally, Medovik is made with simple ingredients, but the end result is nothing short of spectacular. The cake’s history dates back to the 18th century in Russia, and it has since become a staple at celebrations and family gatherings.
Making Russian Honey Cake is a labor of love, but the effort is well worth it. Each layer is baked separately, then stacked with a luscious sour cream filling that brings a tangy contrast to the sweetness of the honey.
Once assembled, the cake is often topped with crushed nuts or crumbs for added texture and flavor. It’s best to let the cake rest for several hours or overnight before serving, allowing all the flavors to meld beautifully.
Ingredients:
- 3 cups all-purpose flour
- 1 teaspoon baking soda
- 1/2 teaspoon salt
- 1 cup honey
- 1 cup sugar
- 1/2 cup unsalted butter
- 2 large eggs
- 1 teaspoon vanilla extract
- 2 cups sour cream
- 1 cup powdered sugar
- 1 cup crushed walnuts or almonds (optional)
Now let’s move on to the cooking steps.
Cooking Steps
Now that you’ve gathered your ingredients, it’s time to get cooking!
Start by preheating your oven to 350°F, which sets the perfect stage for your honey cake.
As you mix the flour and baking soda, you’ll feel the excitement building, knowing that each step brings you closer to a deliciously sweet treat!
Step 1. Preheat the Oven to 350°F
To kick off your Russian honey cake, preheat the oven to 350°F. This step is essential because it guarantees that your cake bakes evenly and rises beautifully.
While you’re waiting for the oven to reach the perfect temperature, take a moment to gather your ingredients and prep your workspace. A clean kitchen makes for a happy baker!
As the oven warms up, you can start dreaming about the delightful layers of honey and cream that will soon come together. Imagine that sweet aroma filling your home, making it feel cozy and inviting.
It’s this anticipation that adds to the joy of baking.
Make certain to check your oven’s temperature with an oven thermometer if you have one. Sometimes, ovens can be a bit off, and you want to verify that your cake bakes just right.
Once the oven is ready, you’ll be all set to jump into the next steps of this delicious recipe.
Step 2. Mix Flour and Baking Soda

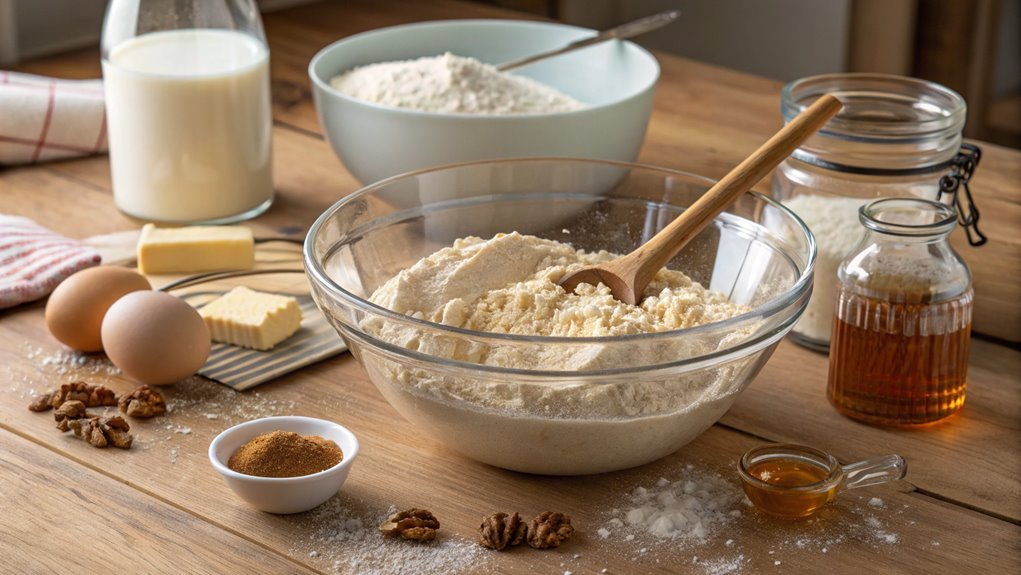
Start by sifting together the flour and baking soda in a large mixing bowl. This step is essential, as it helps to aerate the flour and guarantees that the baking soda is evenly distributed, leading to a lighter and fluffier cake.
Now, let’s make this process fun! Here’s what you need to do:
- Gather your ingredients: Make sure you have all the necessary flour and baking soda ready.
- Sift them together: Use a fine mesh strainer or a flour sifter to combine them. It’s a simple yet effective technique!
- Check for lumps: If you see any lumps in the flour, break them up with a whisk. You want a smooth mixture for the best texture.
- Set aside: Once you’ve sifted the flour and baking soda, set the bowl aside. This mixture will soon become part of a delicious cake that’s sure to impress.
Mixing flour and baking soda is the first step in creating your Russian Honey Cake, and it’s one you won’t want to skip.
With a little care and attention, you’re on your way to baking something truly special. Enjoy the process, and get ready for the next exciting steps!
Step 3. Add Honey and Eggs
Once you’ve sifted the flour and baking soda, it’s time to add the honey and eggs to create a rich, flavorful batter. Start by measuring out the honey. Its sweet, warm aroma will fill your kitchen, instantly lifting your spirits!
Pour the honey into the flour mixture. Don’t worry if it seems a bit thick at first; it’ll all come together beautifully.
Next, crack the eggs into a separate bowl. This helps avoid any shell mishaps. Beat the eggs lightly with a fork until they’re just blended.
Now, pour the beaten eggs into your flour and honey mixture. Grab a spatula or a wooden spoon, and mix everything together until it’s combined. You’ll notice the batter transforming into a velvety texture, and the sweetness of the honey will begin to shine through.
Make sure to scrape down the sides of the bowl, so every bit of flour gets incorporated. The anticipation builds as you watch the ingredients meld together.
This is the heart of your honey cake, and it’s so exciting to see it take shape! Enjoy this process; each step brings you closer to that delicious treat waiting to be baked!
Step 4. Chill the Dough Briefly
With your batter beautifully combined, it’s time to chill the dough briefly. This step is essential; it allows the flavors to meld and makes the dough easier to handle. You’ll want to give it just a little time in the fridge. Here’s how to do it:
- Cover the bowl: Use plastic wrap or a clean kitchen towel to cover your bowl securely.
- Chill for 30 minutes: Pop the bowl into the fridge for about half an hour. This short chill helps the butter solidify and enhances the cake’s texture.
- Plan your next steps: While the dough cools, take a moment to gather any tools or ingredients you might need for rolling it out.
- Stay patient: It’s tempting to skip this step, but trust me, it’s worth the wait.
After 30 minutes, you’ll notice the dough is firmer and more manageable.
You’re now one step closer to creating a delicious Russian Honey Cake that’ll impress everyone. So, hang tight, and get ready to roll out that dough! You’re going to love how it turns out!
Step 5. Roll Out the Dough

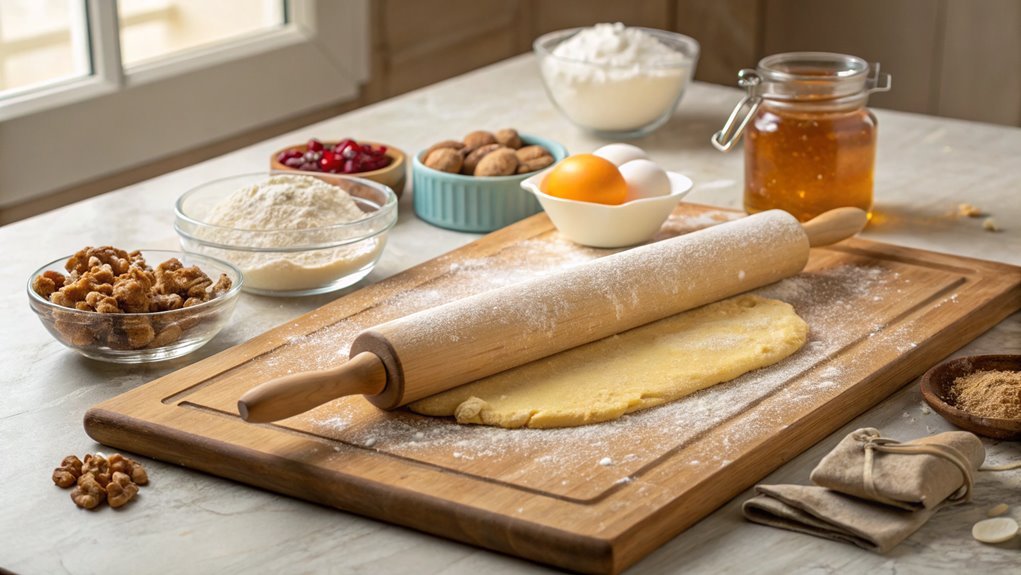
Now that your dough is perfectly chilled, it’s time to roll it out into thin layers. Start by dusting your work surface with a bit of flour to prevent sticking.
Take a portion of the chilled dough and place it on the floured surface. Using a rolling pin, gently flatten the dough, applying even pressure as you roll it out to about 1/8-inch thick. Don’t worry if it’s not perfect; a little unevenness adds character!
As you roll, rotate the dough occasionally to maintain a circular shape and guarantee it doesn’t stick. If the dough begins to feel too soft, pop it back in the fridge for a few minutes.
Once you’ve achieved the desired thickness, use a sharp knife or a round cutter to slice out your layers. You’ll need about six to eight layers for a classic honey cake, depending on how tall you’d like it.
Lay the cut layers on a baking sheet lined with parchment paper. Repeat this process with the remaining dough until you’ve got all your layers ready.
Feel the excitement building as you prepare to assemble your delicious honey cake!
Final Thoughts
As you savor the rich layers of Russian honey cake, it’s clear that this dessert isn’t just a treat but a celebration of flavors and textures.
Each bite offers a delightful mix of sweetness and warmth, making it perfect for any occasion. Whether you’re sharing with friends or enjoying a quiet evening at home, this cake is sure to impress.
Here are some key reasons why you should try making this cake:
- Unique Flavor: The combination of honey and spices creates a taste that’s truly one-of-a-kind.
- Layered Delight: The multiple layers provide a satisfying texture that’s both creamy and crunchy.
- Cultural Experience: Baking this cake allows you to connect with Russian traditions and culinary history.
- Customizable: Feel free to add your personal touch, whether it’s extra nuts or a twist of citrus!
Frequently Asked Questions
Can I Substitute Honey With Another Sweetener in This Recipe?
Yes, you can substitute honey with another sweetener, like maple syrup or agave nectar. Just remember to adjust the quantity since different sweeteners have varying levels of sweetness. Experiment to find your perfect balance!
How Long Does the Honey Cake Last Once Baked?
You’ve just baked a delicious cake, and now you’re wondering how long it’ll last. Once baked, it’ll stay fresh for about 3 to 5 days at room temperature, or up to a week in the fridge.
Is There a Gluten-Free Version of Russian Honey Cake?
Yes, you can make a gluten-free version of honey cake by substituting regular flour with gluten-free flour blends. Just guarantee all other ingredients are gluten-free. It’ll still taste delicious, so give it a try!
What Beverages Pair Well With Russian Honey Cake?
When enjoying a sweet treat like this, consider pairing it with a cup of strong black tea or a light dessert wine. Both options enhance the flavors, creating a delightful balance you won’t want to miss.
Can I Make This Cake Ahead of Time?
Yes, you can make this cake ahead of time! It actually tastes better after a day or two, as the flavors meld. Just store it in an airtight container at room temperature or in the fridge.
Conclusion
Enjoy your delightful Russian Honey Cake! Let it rest overnight to achieve the best flavor as the layers meld beautifully. Perfect for any occasion, slice it up, share it, and see the joy it brings. Savor every bite of your special creation!


