Greek Baklava Recipe
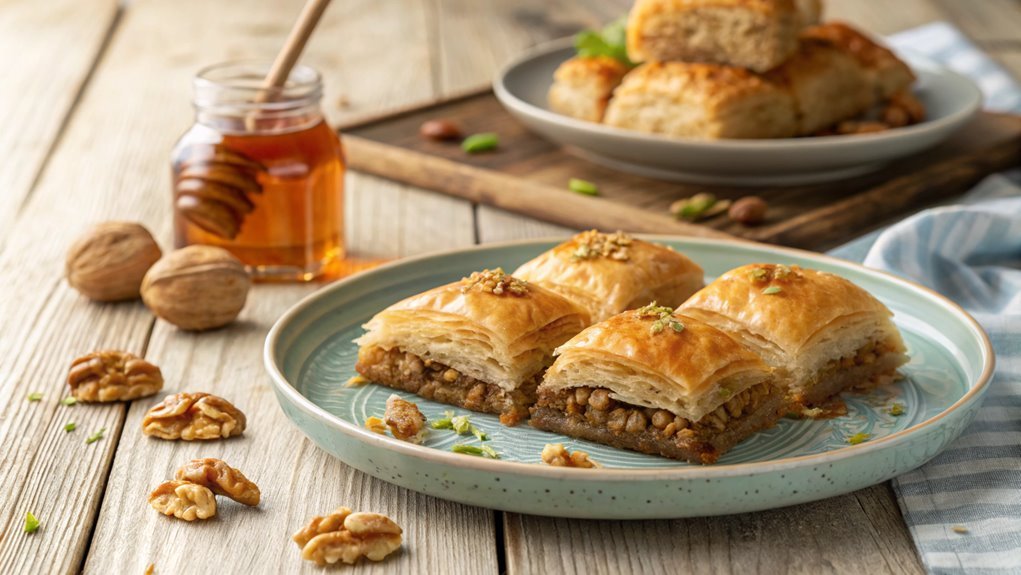
Creating Greek baklava is an artful process, weaving layers of phyllo dough into a tapestry of taste and tradition. As you meticulously brush each sheet with melted butter and add the nut mixture, the journey becomes as fulfilling as the dessert itself.
The final step, pouring sweet honey syrup over the golden layers, reveals the secret to achieving perfect balance. This harmonious blend of textures and flavors encapsulates the essence of Greek culinary tradition.
Recipe
Baklava is a traditional Greek dessert known for its rich, sweet flavor and flaky texture. This delectable pastry is made from layers of phyllo dough filled with chopped nuts and sweetened with honey or syrup. The combination of warm spices, such as cinnamon, and the crunch of the nuts makes baklava a beloved treat in many cultures.
While it may seem intimidating to make, the process is quite simple and rewarding, especially when you taste the final product.
To prepare baklava, start by gathering your ingredients and preheating your oven. The key to achieving that perfect flaky texture lies in the phyllo dough; make sure to keep it covered with a damp cloth while you work to prevent it from drying out.
Layering is essential, so be patient as you build the pastry. Once baked and soaked in syrup, you’ll have a stunning dessert that’s sure to impress your friends and family.
Ingredients:
- 1 package of phyllo dough (16 oz)
- 2 cups of finely chopped walnuts or pistachios
- 1 cup of unsalted butter, melted
- 1 teaspoon of ground cinnamon
- 1 cup of granulated sugar
- 1 cup of water
- 1 cup of honey
- 1 teaspoon of vanilla extract
- Optional: additional chopped nuts for garnish
Now let’s move on to the cooking steps.
Cooking Steps
Now that you’ve gathered your ingredients, it’s time to bring your baklava to life!
Start by preparing those delicate phyllo dough sheets, and don’t forget to brush each layer with melted butter for that irresistible flakiness.
As you layer the nut mixture evenly and watch it transform in the oven, you’ll be amazed at how simple steps lead to such a delicious treat!
Step 1. Prepare Phyllo Dough Sheets
Start by carefully unrolling the phyllo dough, ensuring you keep it covered with a damp cloth to prevent it from drying out. Phyllo dough is delicate, so handle it gently to avoid tearing the sheets. You’ll want to work quickly, as exposure to air can make the dough brittle. Lay the first sheet flat on your work surface, ready to be transformed into a delicious layer of baklava.
Next, check your sheets and make sure they’re stacked neatly. If you find any torn pieces, don’t worry! You can use them in the middle of your baklava, where they won’t be as noticeable. It’s all about layering, so focus on keeping your layers even and consistent.
As you prepare, think about the delicious filling you’ll be adding later. Imagine the sweet, nutty aroma wafting through your kitchen! It’s exciting to know that you’re just moments away from creating a delightful dessert.
With each layer of phyllo, you’re building a masterpiece. Remember, the more layers you have, the flakier and more indulgent your baklava will be. So, keep going, and enjoy this wonderful step in your baklava journey!
Step 2. Brush With Melted Butter
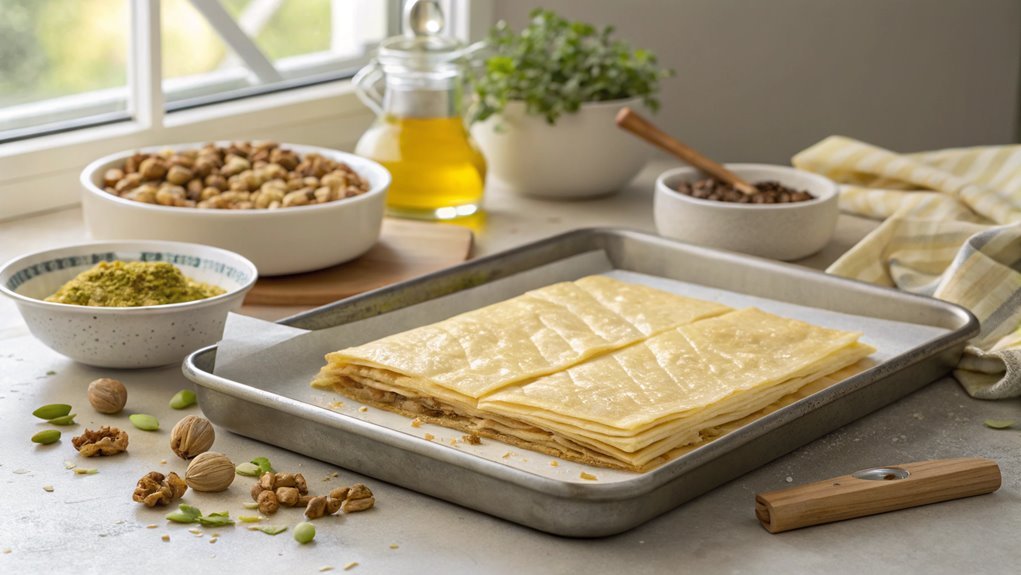
To create that perfectly flaky texture in your baklava, you’ll need to brush each layer of phyllo dough with melted butter. This step is essential for achieving that golden, crispy finish that makes baklava so irresistible.
Start by melting your butter in a small saucepan over low heat. Make sure it’s completely melted but not bubbling.
Grab a pastry brush and dip it into the melted butter. Now, gently lift a sheet of phyllo dough and lay it on your prepared baking dish. With your brush, apply a generous coating of melted butter across the entire surface of the dough. Don’t be shy; this is what’ll make your baklava rich and delicious!
Repeat this process, layering several sheets of phyllo, brushing butter between each one. Aim for about five to seven sheets before moving on to the next steps.
This layering technique builds that wonderful texture, so take your time and enjoy the process. The smell of melted butter will fill your kitchen, making it hard to resist!
Once you’ve finished buttering, you’re one step closer to creating a delightful baklava that’s sure to impress everyone. Happy baking!
Step 3. Layer Nut Mixture Evenly
Layering the nut mixture evenly is crucial for achieving that perfect balance of flavor in your baklava. Start by combining finely chopped walnuts, pistachios, or your favorite nuts in a bowl.
Don’t forget to add sugar and a sprinkle of cinnamon for that extra kick! Once you’ve mixed everything well, it’s time to layer.
Take a generous handful of your nut mixture and sprinkle it over the first sheet of phyllo dough, making sure to spread it out evenly. Use your fingers to gently press the mixture down, so it sticks.
Don’t rush this step; an even layer guarantees that every bite of your baklava will be bursting with flavor.
Repeat this process, adding layers of nut mixture between sheets of phyllo dough. Aim for about four to five layers of nuts, depending on how nutty you want it to be.
Remember, each layer of dough should be brushed with melted butter before adding the nut mixture to keep everything moist and delicious.
With each layer, you’re building the foundation of a delightful dessert that’ll impress anyone who tries it.
Enjoy the process and savor the anticipation of your homemade baklava!
Step 4. Bake Until Golden Brown
Once you’ve assembled your baklava, it’s time to bake it to perfection. Preheat your oven to 350°F (175°C), and place your baklava in the center.
As it bakes, keep an eye on it. You want that beautiful golden brown color that signals it’s done. This usually takes about 45-50 minutes, but every oven is different, so make certain to check!
While it bakes, you’ll notice the wonderful aroma filling your kitchen. It’s a tantalizing hint of the deliciousness to come! When you see that gorgeous golden hue, take it out and let it cool for a bit before you cut it. This allows the layers to set, making it easier to serve.
Here are a few tips to guarantee your baklava turns out just right:
- Use a sharp knife to cut through the layers.
- Don’t rush the baking time; patience pays off!
- Rotate the pan halfway through for even baking.
- Keep an eye on the edges—they can brown faster.
- Let it cool completely before adding syrup.
Enjoy the process, and get ready to savor each crispy, nutty bite of your homemade baklava!
Step 5. Drizzle With Honey Syrup
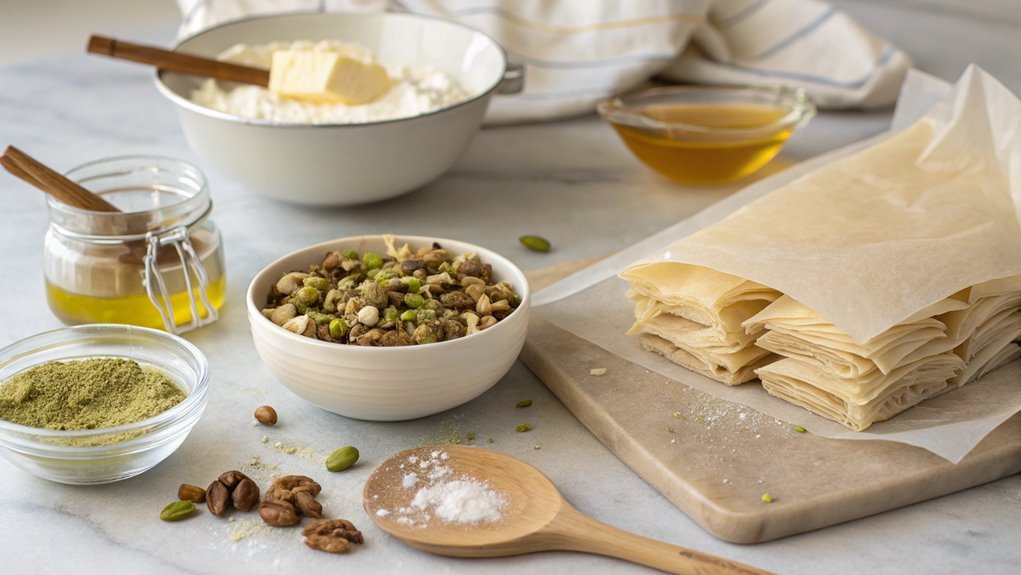
As your baklava cools, you can prepare the honey syrup that will take it to the next level. This syrup is the magical touch that makes baklava irresistibly sweet and sticky.
Start by combining one cup of honey, one cup of sugar, and one cup of water in a saucepan. Bring it to a gentle boil over medium heat, stirring occasionally until the sugar dissolves. Once it’s boiling, add a splash of lemon juice and a pinch of cinnamon for that extra flavor, then reduce the heat and let it simmer for about 10 minutes. You want it thick enough to coat the back of a spoon.
Now, it’s time to drizzle! Once your baklava is out of the oven and slightly cooled, pour the luscious syrup evenly over the entire dish.
Watch as it seeps into those crisp layers, creating a delightful contrast in texture. Let it sit for a few hours, or even overnight, to soak in all that syrupy goodness.
When you finally cut into your baklava, you’ll be rewarded with a sweet, crunchy treat that’s bursting with flavor. Enjoy every bite of this delicious masterpiece!
Final Thoughts
Creating your own Greek baklava isn’t only a rewarding experience but also a delightful way to bring a taste of tradition into your kitchen. The layers of flaky pastry, nuts, and honey syrup come together to create a dessert that’s truly special.
You’ll find joy in each step of the process, from preparing the ingredients to savoring the sweet, crunchy bites you’ve crafted.
Here are some reasons to immerse yourself in making baklava:
- Cultural Connection: Experience a piece of Greek heritage.
- Impressive Treat: Wow your friends and family with your culinary skills.
- Customizable Flavors: Experiment with different nuts and spices.
- Perfect for Celebrations: Elevate any gathering with this festive dessert.
- Satisfying Process: Enjoy the meditative act of layering and baking.
Frequently Asked Questions
Can I Use a Different Nut for Baklava?
Yes, you can definitely use different nuts for baklava! Almonds, walnuts, or pecans can all create unique flavors. Just make certain they’re finely chopped and balanced with the sweetness for a delicious variation. Enjoy experimenting!
How Long Does Baklava Stay Fresh?
Baklava’s brilliance breaks down as time ticks. You’ll find it stays fresh for about a week at room temperature. Refrigerated, it can last up to two weeks, but freezing extends its scrumptiousness for months.
Can Baklava Be Frozen for Later Use?
Yes, you can freeze baklava for later use. Just make sure it’s well-wrapped in plastic and then placed in an airtight container. When you’re ready, thaw it in the fridge for the best results.
What Variations Exist for Baklava Recipes?
You’ll love exploring baklava variations! From nut choices to different spices like cinnamon or cardamom, you can experiment with honey or syrup types. Don’t worry; each twist brings delightful flavors that’ll impress everyone. Enjoy creating!
Is There a Gluten-Free Option for Baklava?
Yes, there’s a gluten-free option for baklava! You can use gluten-free phyllo dough or alternative layers like crushed nuts and honey. This way, you still enjoy a delicious treat without gluten. Give it a try!
Conclusion
Now that you’ve mastered Greek baklava, you’re in for a treat! This delightful dessert will impress your family and friends, making any occasion special.
With just one bite, you’ll feel like you’re savoring sweet, nutty layers while walking on air. Gather your ingredients and dive into this delicious journey—you won’t regret it!
