Easy Oreo Truffles Recipe

Create enchanting treats with just a few ingredients using the Easy Oreo Truffles Recipe. Impress guests or satisfy your sweet tooth without an oven by combining Oreos, cream cheese, and chocolate. Curious about the simple steps or adding your own twist? Let’s explore how to make these irresistible bites a staple in your dessert collection.
Recipe
Oreo truffles are a delightful no-bake treat that combines the beloved flavors of chocolate and cream, making them a perfect dessert for any occasion.
These bite-sized sweets aren’t only easy to make but also require minimal ingredients, making them an ideal choice for both novice and experienced bakers. With a rich cream filling wrapped in a coating of chocolate, each truffle offers a deliciously creamy experience that will have everyone coming back for more.
To prepare this irresistible dessert, you’ll need to crush Oreos and blend them with cream cheese until you achieve a smooth mixture. After forming the truffles, they’re chilled to set before being dipped in melted chocolate.
This simple yet satisfying recipe can be customized with toppings or different types of chocolate for a unique twist. Whether you’re making them for a party, a holiday, or just a sweet treat for yourself, these Oreo truffles are sure to impress.
Ingredients:
- 1 package (15.35 oz) Oreo cookies
- 1 package (8 oz) cream cheese, softened
- 12 oz semi-sweet chocolate chips (or melting chocolate)
- Optional: sprinkles, crushed Oreos, or white chocolate for decoration
Now let’s move on to the cooking steps.
Cooking Steps
Get ready to create some delicious Oreo truffles that will impress everyone!
First, you’ll crush those Oreos into fine crumbs and mix them with cream cheese for that creamy goodness.
After chilling the mixture for 30 minutes, it’s time to form bite-sized balls and dip them in chocolate — your taste buds are in for a treat!
Step 1. Crush Oreos Into Fine Crumbs
Begin by placing your Oreos in a sturdy plastic bag and sealing it tightly. You want to make sure no crumbs escape during the crushing process.
Once it’s sealed, grab a rolling pin or a heavy object from your kitchen. This part is where the fun begins! Start rolling over the bag with a bit of pressure, crushing the Oreos into fine crumbs. You don’t need to pulverize them into dust; just aim for a grainy texture that you can easily mix later.
If you find that the bag’s starting to bulge, don’t worry! Just give it a little shake and continue rolling. It’s a great workout and there’s something satisfying about transforming those whole cookies into delicate crumbs.
For an even finer texture, you can transfer the crushed cookies into a bowl and use a fork to further break them down, but usually, the rolling method does the trick.
After you’re done, take a moment to admire your deliciously crushed Oreos. The aroma is heavenly, and you’re just one step closer to creating these irresistible truffles!
Get ready, because soon you’ll mix these crumbs with creamy goodness for a delightful treat.
Step 2. Mix With Cream Cheese
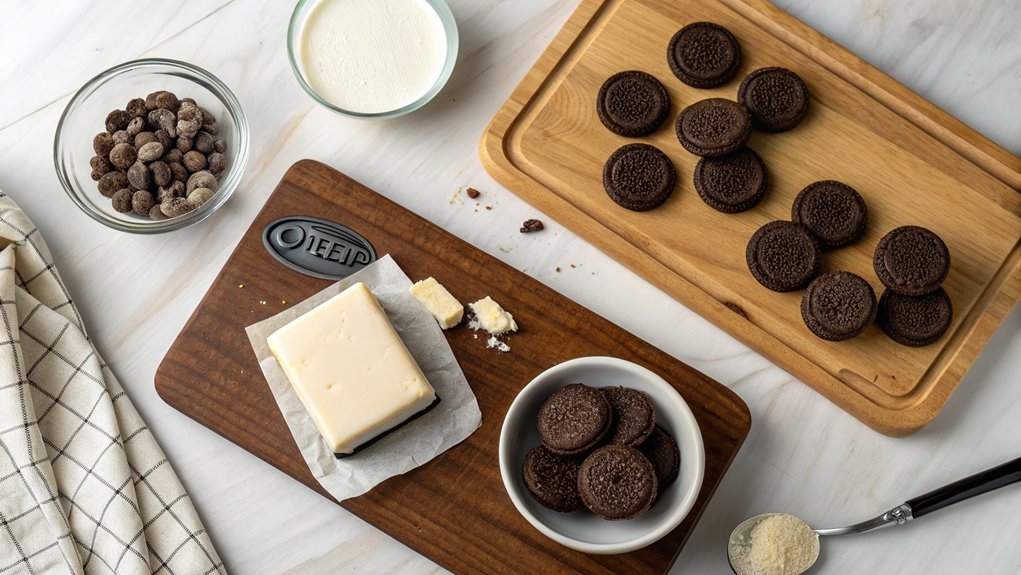
Once those deliciously crushed Oreos are ready, it’s time to combine them with cream cheese for a rich and creamy filling.
Grab a medium-sized mixing bowl and dollop in your softened cream cheese. It should be at room temperature to mix smoothly, so don’t skip this step! As you add the crushed Oreos to the bowl, you’ll notice how they create a beautiful contrast with the creamy texture of the cheese.
Using a spatula or your hand, blend the Oreo crumbs and cream cheese together. This mixture should become a thick, dough-like consistency that’s easy to mold. You’ll want to make sure every crumb is incorporated for an even flavor throughout.
As you mix, feel free to get a little creative by adding a splash of vanilla extract or a sprinkle of salt for depth.
When everything is well-combined, you can already taste the dreamy mixture. It’s a delightful prelude to your truffles!
This step is essential, so take your time to enjoy the process. Your Oreo truffles are just getting started, and trust me, you won’t want to miss out on this fabulous treat!
Step 3. Chill Mixture for 30 Minutes
Chilling the mixture for 30 minutes is an essential step in making your Oreo truffles. After you’ve combined the crushed Oreos and cream cheese, it’s time to give that mixture a little rest in the refrigerator. This cooling period is vital because it helps the mixture firm up, making it easier for you to shape into those delightful bite-sized treats.
Trust me, you’ll want them to be just the right consistency!
While you wait, take a moment to imagine how delicious these truffles will be. The rich flavor of chocolate mingling with the creamy texture is simply irresistible. Plus, you can use this time to think about how you’ll decorate your truffles after they’re formed. Will you coat them in white chocolate for a fun twist or sprinkle them with crushed Oreos for that extra flair?
When the timer goes off, you’ll find that the mixture has become nice and firm. This isn’t just about convenience; it enhances the overall texture and flavor of your Oreo truffles.
Enjoy this step—it’s a sign you’re one step closer to a delicious treat! So, let’s get ready for the next exciting part!
Step 4. Form Into Bite-Sized Balls
Now it’s time to scoop out your chilled mixture and form it into bite-sized balls. This step is where the magic happens! Grab a small cookie scoop or use your hands to measure out about one tablespoon of the mixture. Roll it gently between your palms until you’ve got a perfect little ball.
Don’t worry about making them look perfect; a little rustic charm adds to their appeal!
As you roll each ball, place them on a parchment-lined baking sheet. Make sure to leave some space between each one, since they’ll need room during the next steps. You’ll feel the excitement building as the truffles start to take shape!
After forming all the balls, you might want to pop them back into the fridge for a few minutes to keep them firm before moving on.
This process might seem simple, but it’s the heart of the recipe. The joy of creating those creamy, chocolatey bites is uniquely satisfying. Plus, they’re the perfect treat for gatherings, parties, or even a cozy night in.
Step 5. Dip in Chocolate Coating

As you prepare to dip your truffles in smooth, melted chocolate, make sure you have everything ready for this delightful step. You’ll want to create a workspace that’s easy to manage, so gather your supplies before diving in. This part of the process is where the truffles transform into something magical!
Here’s what you’ll need on hand:
- A fork or dipping tools for easy handling
- Parchment paper to place the coated truffles
- A microwave-safe bowl for melting the chocolate
- Optional toppings, like crushed Oreos or sprinkles for extra flair
Begin by melting your chocolate in short bursts in the microwave, stirring between each cycle until it’s velvety smooth.
Grab a truffle with your fork and dip it into the chocolate, ensuring it’s fully coated. Lift it out, allowing excess chocolate to drip off, then place it carefully on the parchment paper. If you’re adding toppings, sprinkle them on while the chocolate is still wet.
Repeat this for all your truffles, smiling all the while!
Once they’re fully coated and set, you’ll have an elegant treat ready to impress everyone! Enjoy!
Final Thoughts
While creating Oreo truffles might seem simple, the joy they bring to parties and gatherings is anything but ordinary.
These delightful treats are sure to impress your friends and family, making you the star of any event. They’re perfect for birthdays, holidays, or just because you want something sweet.
Imagine the surprise on your loved ones’ faces when they take that first bite. The combination of creamy filling and rich chocolate creates an indulgent experience that’s hard to resist.
Plus, you’ve done it all at home, which adds a personal touch to your treat!
Don’t be afraid to get creative with your Oreo truffles. You can experiment with different toppings or even add flavors to the filling.
This versatility means there’s always something new to try.
Frequently Asked Questions
Can I Use Gluten-Free Oreos for This Recipe?
Absolutely, you can use gluten-free Oreos! They’re like a key that opens deliciousness without sacrificing flavor. Just plunge into your creative kitchen adventure, and you’ll whip up something delightful that everyone can enjoy. Dig in!
How Do I Store Leftover Truffles?
You can store leftover truffles in an airtight container in the fridge for up to a week. If you need to keep them longer, consider freezing them, but let them thaw in the fridge before enjoying.
Are These Truffles Suitable for Freezing?
Yes, you can freeze them! Just make sure they’re well-wrapped in plastic wrap or stored in an airtight container. When you’re ready to enjoy, let them thaw in the fridge for best results.
What Can I Use Instead of Cream Cheese?
If you’re concerned about the flavor, you can use mascarpone cheese, Greek yogurt, or even softened ricotta as substitutes for cream cheese. Each option provides a unique taste and texture, while still creating delicious treats.
How Long Do These Truffles Last in the Fridge?
Truffles usually last up to a week in the fridge. If you store them in an airtight container, they’ll stay fresh longer. Just make sure to check for any signs of spoilage before eating!
