Turkish Delight Recipe
Crafting Turkish Delight, or Lokum, involves embracing a tradition rich in flavor. With sugar, cornstarch, and water as your base, focus on precise technique and timing for the ideal texture. Before you delve into making this chewy confection, ensure you master the essential steps for a perfect outcome.
Recipe
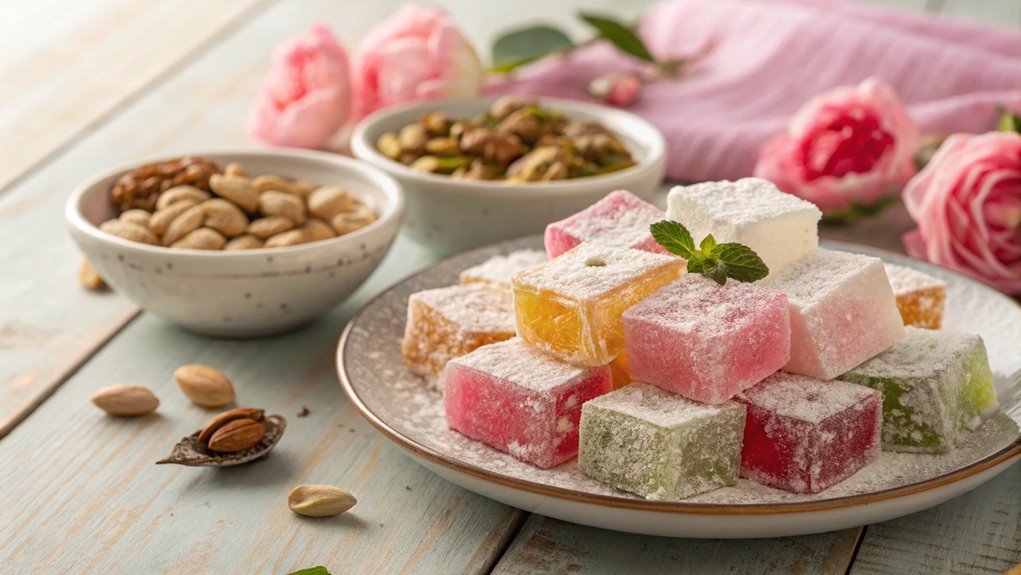
Turkish Delight, or Lokum as it’s traditionally known in Turkey, is a sweet confection that has captivated taste buds for centuries. Its unique texture, often described as chewy and slightly sticky, makes it a delightful treat enjoyed across the Middle East and beyond.
This dessert can be flavored with a variety of ingredients, including rosewater, citrus, or nuts, lending versatility to its flavor profile. Making your own Turkish Delight at home may seem intimidating at first, but with a little patience and the right ingredients, you’ll be rewarded with a delectable treat that’s perfect for sharing with friends and family.
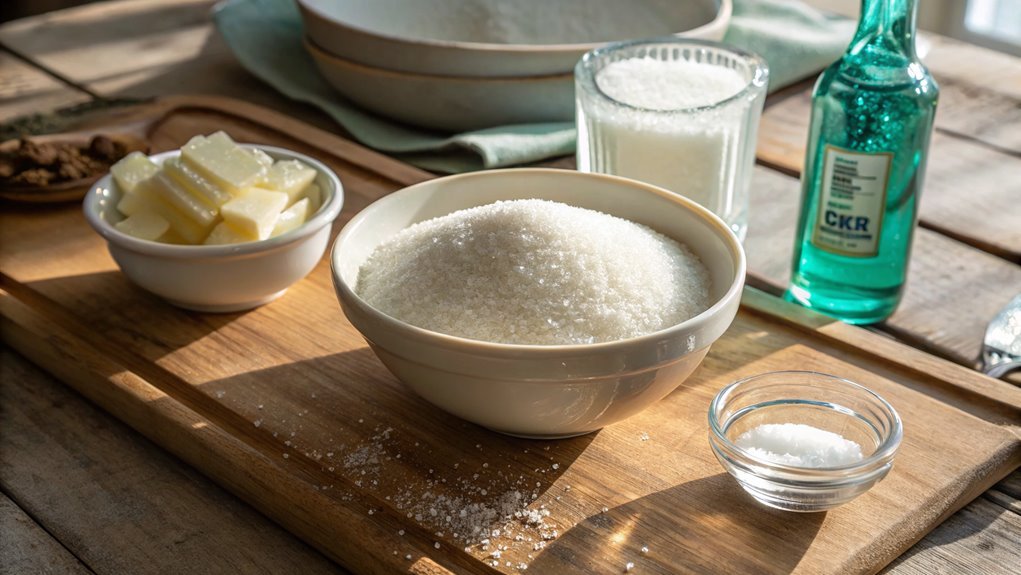
To start, gather your ingredients and prepare your workspace. The process involves cooking sugar and cornstarch into a sticky mixture that’s then flavored and set into a mold. While it requires some time and effort, the end result is worth it.
Once set, you can cut the Turkish Delight into bite-sized pieces and dust them with powdered sugar or desiccated coconut for an added touch. This homemade delicacy not only tastes amazing but also brings a piece of Turkish culture right to your kitchen.
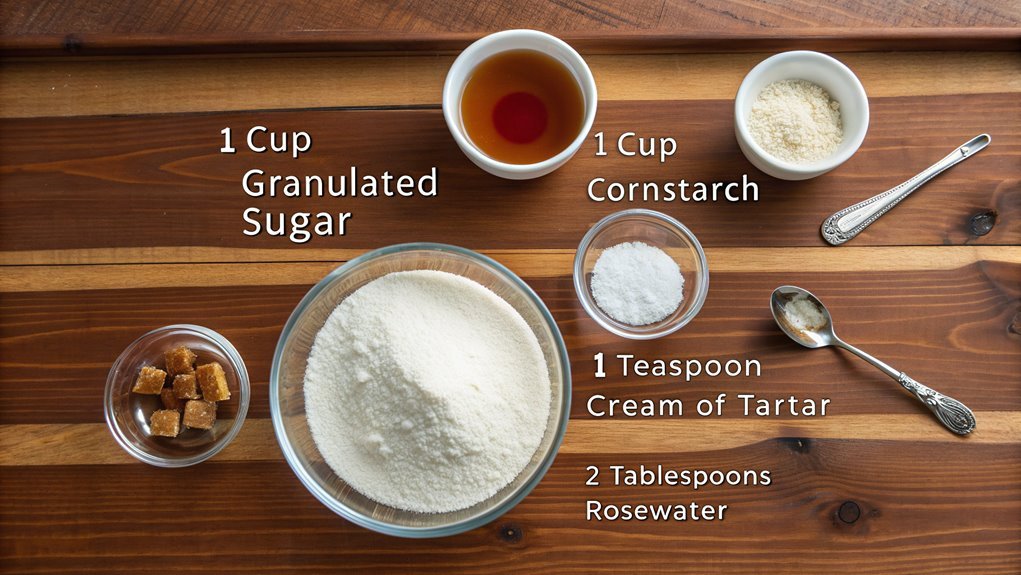
Ingredients:
- 1 cup granulated sugar
- 1/4 cup cornstarch
- 1/4 teaspoon cream of tartar
- 1 cup water
- 2 tablespoons rosewater (or desired flavoring)
- 1 cup chopped nuts (optional, such as pistachios or walnuts)
- Powdered sugar (for dusting)
- Desiccated coconut (for dusting, optional)
Now let’s move on to the cooking steps.
Cooking Steps
Get ready to make your very own Turkish delight, a treat that’ll impress everyone!
First, you’ll prepare the sugar and water, setting the sweet base for your delicious creation.
As you follow the cooking steps, you’ll see how simple it’s to craft these delightful bites, adding flavor and fun along the way!
Step 1. Prepare Sugar and Water
Start by combining sugar and water in a saucepan. This step is essential, so don’t rush it! Stir gently until the sugar dissolves completely, creating a sweet syrup.
It’s amazing how such simple ingredients can turn into something magical. Heat the mixture over medium heat, and be patient. As it warms up, take a moment to enjoy the sweet aroma that begins to fill your kitchen. It’ll make your mouth water!
Keep an eye on it, and avoid stirring once it starts to boil. This will help prevent crystallization. Let it bubble away until it reaches a soft ball stage, which you’ll want to monitor closely. You can do this by dropping a small amount of the syrup in cold water; if it forms a soft ball, you’re right on track!
Once you reach this stage, turn off the heat and let the syrup cool slightly. You’ve set the foundation for delicious Turkish delight!
The transformation from simple sugar and water to a delightful treat is exhilarating. Now that you’ve prepared your syrup, get ready for the next exciting step in creating this stunning dessert. Your taste buds won’t know what hit them!
Step 2. Add Cornstarch Mixture Slowly
With your syrup now slightly cooled, it’s time to add the cornstarch mixture. This step is vital for achieving that unique, chewy texture that makes Turkish delight so irresistible!
You’ll want to take your time here, incorporating the cornstarch gradually to guarantee a silky consistency.
- Use a whisk or a wooden spoon to avoid lumps
- Pour in the cornstarch mixture slowly, while constantly stirring
- Keep the heat on low to prevent scorching
Begin by mixing the cornstarch with a bit of water to create a smooth paste. It’s important to add this mixture in a slow, steady stream, all while you stir. This technique helps to distribute the cornstarch evenly, preventing any unwanted clumps from forming.
You’ll notice the mixture thickening beautifully, coming together like magic!
Don’t rush; maintain a gentle heat as you stir continuously. This patience pays off, resulting in a luxurious blend that will soon transform into your delight.
Trust the process, and soon you’ll be well on your way to crafting this beloved treat. Enjoy the art of cooking, and get ready to impress your friends and family with your delicious homemade Turkish delight!
Step 3. Stir in Flavoring Essence
As you watch the mixture thicken into a smooth, glossy texture, it’s the perfect moment to stir in your choice of flavoring essence. This is where the magic truly happens! Choose from rosewater, lemon, or orange blossom, all of which add a delightful aroma and distinct taste.
Take your time and pour in about one to two teaspoons, depending on how strong you want the flavor to be.
Now, grab a wooden spoon, and mix it in thoroughly. Feel the anticipation build as you blend everything together. The essence won’t only enhance the flavor but also fill your kitchen with a wonderful scent that’ll make you even more enthusiastic to taste your creation.
Keep stirring until the essence is evenly distributed, ensuring every bite will be a delicious treat.
Don’t rush through this step; it’s vital for getting that authentic taste! The right flavoring can transform your Turkish delight from ordinary to extraordinary.
You’re doing an amazing job, and the end result will be worth the effort. So, let your passion guide you as you continue this culinary adventure! Get ready for the next step in your Turkish delight journey!
Step 4. Pour Mixture Into Pan
Once you’ve mixed in the flavoring essence, carefully pour the thickened mixture into a greased rectangular pan. This is the moment when your creation starts to take shape! Make sure to spread it into an even layer so it sets beautifully. As you pour, the sweet aroma wafts through your kitchen, promising a delightful treat ahead.
Here’s what you need to remember while pouring:
- Use a spatula: A silicone spatula helps to scrape the mixture from the saucepan smoothly, leaving no delicious bits behind.
- Don’t rush: Pour it slowly and evenly to maintain that perfect texture.
- Let it settle: Give the mixture a moment to settle in the pan; this helps to eliminate air bubbles for a smoother finish.
After pouring, let the mixture cool to room temperature. Patience is key here! You want it to firm up nicely before moving on to the next step.
Trust the process—you’re already well on your way to making a delightful batch of Turkish delight that’ll impress everyone you share it with. Enjoy the journey of creating something truly special!
Step 5. Cut Into Desired Shapes
After your Turkish delight has cooled and set, it’s time to cut it into desired shapes. Grab a sharp knife, and lightly dust its blade with powdered sugar to prevent sticking. Start by trimming the edges to create a nicer, defined look. This step is essential, as it enhances the overall appearance of your delightful treat.
Next, decide how you want to shape your pieces. You can cut squares, rectangles, or even triangles, depending on your preference. Make sure to maintain even sizes for a uniform presentation. As you slice through the mixture, aim for a gentle, steady motion to keep the pieces intact.
Once you’ve cut the delight, gently toss the pieces in more powdered sugar to prevent them from sticking together. This not only adds a touch of sweetness but also gives them that classic snowy finish.
Place your beautifully cut Turkish delight in an airtight container, and let it rest for a bit longer to firm up slightly.
Now, share these beautiful creations with family and friends. They’ll be amazed at your culinary skills and will surely enjoy every delightful bite!
Final Thoughts
While you immerse yourself in making Turkish delight, it’s important to remember that this delightful treat is all about patience and practice.
Each batch you create brings you one step closer to mastering this ancient confection. As you stir the mixture and watch it transform, you’ll feel a sense of accomplishment that makes the effort worthwhile.
Here are a few final thoughts to keep in mind as you initiate this sweet adventure:
- Experiment with flavors: Don’t be afraid to add your unique twist! Try different extracts or even fresh fruits for exciting variations.
- Presentation matters: The right dusting of powdered sugar or cornstarch not only prevents sticking but makes your Turkish delight look irresistible.
- Share the joy: This treat is meant to be enjoyed with friends and family, so don’t hesitate to share your creations.
Frequently Asked Questions
Can I Use Alternative Sweeteners for Turkish Delight?
Sure, you can use alternative sweeteners! Just remember that each sweetener behaves differently, so you’ll need to adjust measurements and cooking times. Experiment with options like erythritol or stevia to find the flavor you like best.
How Long Does Homemade Turkish Delight Last?
How long do you think a delightful treat like this can stay fresh? Homemade versions usually last about a week at room temperature, but refrigerating can extend their shelf life to about a month.
Is Turkish Delight Gluten-Free?
Yes, Turkish delight can be gluten-free, especially if made without wheat flour. Check the ingredient list carefully, or opt for brands specifically labeled gluten-free. You’ll enjoy a sweet treat without the gluten worries!
Can I Add Different Flavors to the Recipe?
You can add various flavors to your recipe. Experiment with extracts like rose or mint, or even incorporate fruit juices or zest. Just adjust the sugar to balance any additional sweetness you introduce. Enjoy the creativity!
What Is the Best Way to Store Turkish Delight?
To store your Turkish delight, keep it in an airtight container, away from sunlight and moisture. Layer the pieces with cornstarch or powdered sugar to prevent sticking. It’ll stay fresh for weeks if done right!