Italian Tiramisu Recipe
Crafting a traditional Italian tiramisu might seem daunting, but it’s actually quite simple with the right approach. Use quality ingredients and a proper method to make the process enjoyable and rewarding.
Once you’ve mastered the basics, you’ll uncover the subtleties that take your tiramisu to new heights. Interested in the essential steps to perfecting this delightful dessert?
Recipe
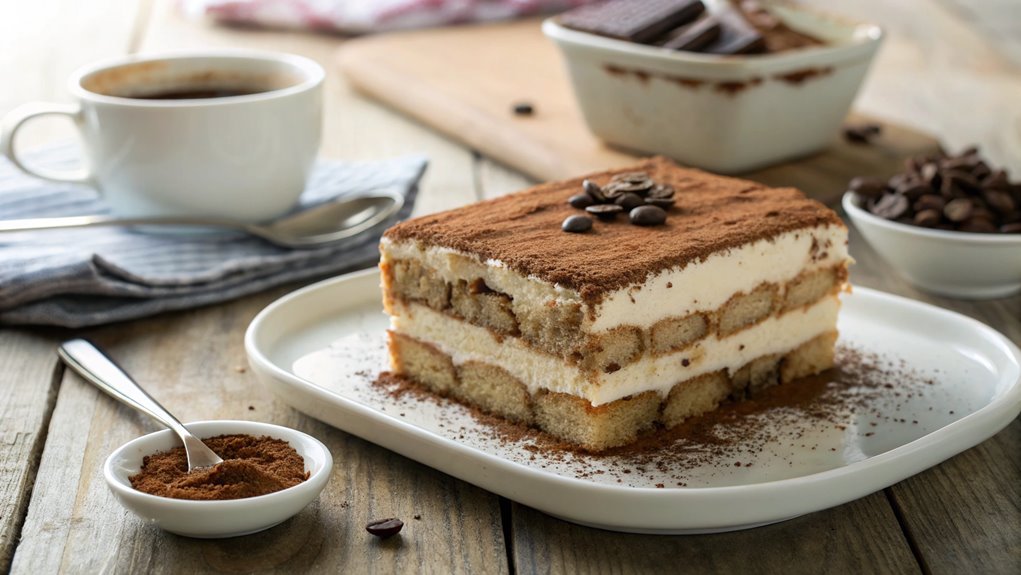
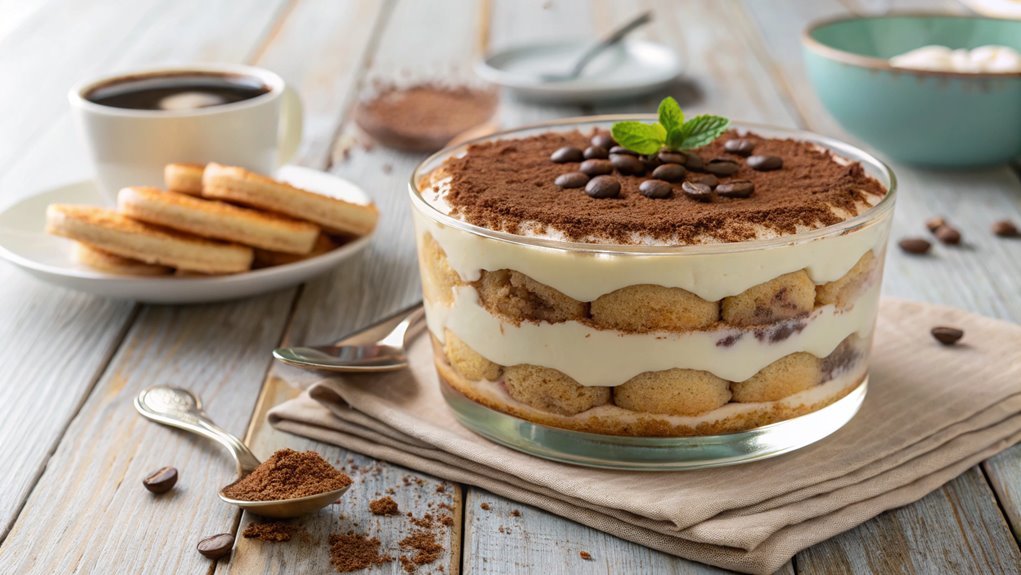
Tiramisu is a classic Italian dessert known for its rich flavors and creamy texture. This no-bake treat combines layers of coffee-soaked ladyfingers with a velvety mascarpone cheese mixture, all dusted with cocoa powder.
Perfect for special occasions or a delightful end to a meal, tiramisu isn’t only delicious but also surprisingly easy to prepare. The name “tiramisu” translates to “pick me up,” which is fitting given the invigorating combination of espresso and cocoa.
To make an authentic tiramisu, you’ll need to gather your ingredients and follow a few simple steps. The key to a great tiramisu lies in the quality of the ingredients, especially the coffee and mascarpone cheese.
This recipe yields a luscious dessert that’s sure to impress your family and friends. With just a little bit of patience, you’ll have a stunning dish that’s as pleasing to the eye as it’s to the palate.
Ingredients:
- 6 egg yolks
- 3/4 cup granulated sugar
- 2/3 cup milk
- 1 1/4 cups heavy cream
- 8 ounces mascarpone cheese
- 1 cup strong brewed espresso, cooled
- 1 tablespoon coffee liqueur (optional)
- 24 ladyfinger cookies
- Unsweetened cocoa powder for dusting
- Dark chocolate shavings (optional, for garnish)
Cooking Steps
Now that you’ve gathered all your ingredients, it’s time to get cooking!
You’ll start by preparing a rich coffee mixture that sets the perfect foundation for your tiramisu.
Next, you’ll whip together mascarpone and sugar to create that creamy layer everyone loves, and then it’s all about layering those coffee-dipped ladyfingers for the ultimate dessert experience!
Step 1. Prepare Coffee Mixture
To create the perfect coffee mixture for your tiramisu, start by brewing about one cup of strong espresso or coffee. The rich, bold flavor is essential for that authentic Italian taste!
Once your coffee is ready, let it cool slightly. You don’t want to soak your ladyfingers in scalding hot liquid.
Now, it’s time to add a few ingredients that will elevate your coffee mixture. Here’s what you’ll need to do:
- Add Sugar: Stir in about 2-3 tablespoons of granulated sugar while the coffee is still warm. This will help it dissolve completely, creating a sweet balance.
- Incorporate Liqueur: If you like a hint of extra flavor, consider adding 1-2 tablespoons of coffee liqueur, like Kahlúa or Tia Maria. It adds a delightful richness!
- Mix Well: Give your coffee mixture a good stir until everything is well blended.
Now that you’ve prepared this luscious coffee mixture, you’re one step closer to assembling your heavenly tiramisu.
Trust me, your taste buds will thank you! Enjoy the process—cooking is all about love and creativity!
Step 2. Whip Mascarpone and Sugar
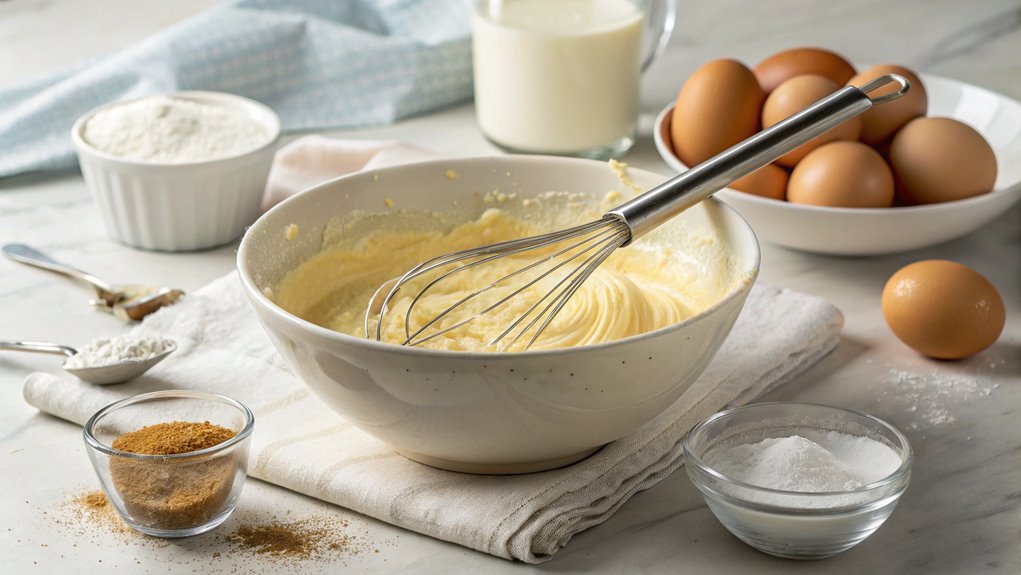
Begin by grabbing a large mixing bowl and adding 16 ounces of mascarpone cheese along with 1/2 cup of granulated sugar. This creamy cheese is the heart of your tiramisu, so you want to treat it right!
Using an electric mixer, whip these together on medium speed until the mixture becomes smooth and luscious. You’ll notice the sugar dissolving, leaving you with a delightful blend that’s both sweet and rich.
Be sure to scrape down the sides of the bowl occasionally to guarantee everything’s well combined. This step is essential, as it helps achieve that velvety texture you’re aiming for.
Once it’s perfectly smooth, you might want to taste a little—just to confirm it’s as heavenly as you imagined!
If you’d like, you can add a splash of vanilla extract for an extra layer of flavor. This isn’t mandatory, but it can elevate your mascarpone mixture to new heights!
Keep whipping until it’s light and fluffy, around 2-3 minutes. When you’re finished, set it aside and get ready to assemble your tiramisu. Trust me, you’re going to love the results!
Step 3. Layer Coffee-Dipped Ladyfingers
With your luscious mascarpone mixture set aside, it’s time to prepare the coffee-dipped ladyfingers that will form the base of your tiramisu. This part is essential because the ladyfingers soak up the coffee, adding an irresistible flavor to your dessert. Let’s get started!
- Brew Your Coffee: Begin by making a strong cup of coffee. You want it rich and aromatic, so don’t skimp on the strength. Allow it to cool slightly before using.
- Dip the Ladyfingers: Take each ladyfinger and gently dip it into the coffee. Be quick—just a second or two per side—so they don’t become too soggy. You want them soft but still holding their shape!
- Layering Time: Once dipped, arrange the ladyfingers in a single layer in your serving dish. Make sure to line them up snugly, as this will create a beautiful base for your tiramisu.
Now that you’ve got your coffee-dipped ladyfingers ready, you’re just a step away from assembling your delightful tiramisu! Enjoy the process, and soon you’ll savor the fruits of your labor.
Step 4. Chill Assembled Tiramisu Dessert
After layering your coffee-dipped ladyfingers and mascarpone mixture, it’s vital to let your tiramisu chill in the refrigerator. This chilling step is significant, as it allows the flavors to meld beautifully, creating that signature rich taste you love.
So, grab a plastic wrap and cover your dish tightly to prevent any odors from your fridge from sneaking in.
Now, set your timer! You’ll want to let your tiramisu chill for at least 4 hours, but if you can wait overnight, that’s even better. The longer it sits, the more flavorful it becomes.
During this time, the ladyfingers will soften, absorbing the creamy mascarpone and coffee flavors, resulting in a melt-in-your-mouth dessert.
While you wait, think about the joy your homemade tiramisu will bring to family and friends. Picture their smiles as they dig into this delightful treat.
Trust me, the anticipation will make the final reveal all the more rewarding. Once the chilling time is up, you’ll be ready to take your tiramisu to the next level, so hang in there! You’re just a step away from indulging in this classic Italian dessert.
Step 5. Dust With Cocoa Powder
Once your tiramisu has chilled to perfection, it’s time to add the finishing touch—dusting it with cocoa powder. This step transforms your dessert into an enchanting masterpiece, enhancing both its appearance and flavor. You’ll love how simple it’s to elevate your creation!
Here’s how to perfectly dust your tiramisu:
- Choose Quality Cocoa Powder: Opt for unsweetened cocoa powder for that rich, intense flavor. You want it to complement the creamy layers of your tiramisu.
- Use a Sifter or Fine Mesh Strainer: Place your cocoa powder in a sifter or fine mesh strainer. This helps you achieve an even, delicate layer of cocoa that looks stunning on your dessert.
- Dust with Care: Gently shake the sifter or strainer over the top of your tiramisu, ensuring you cover the surface evenly. Don’t rush this step—it’s all about creating that gorgeous finish!
Now, step back and admire your handiwork. The cocoa powder not only adds a beautiful touch but also hints at the deliciousness that awaits. Enjoy every bite of your homemade tiramisu!
Final Thoughts
As you savor the rich flavors of your homemade tiramisu, it’s clear that this classic Italian dessert is more than just a treat—it’s a celebration of culinary tradition.
Each layer of coffee-soaked ladyfingers and creamy mascarpone speaks to the heart of Italian cooking, inviting you to indulge in its delightful simplicity. You’ve crafted something special, and that’s worth celebrating!
Making tiramisu at home isn’t just about following a recipe; it’s about the joy of creating something delicious to share with friends and family.
The process allows you to connect with Italian culture and explore your culinary skills. Plus, there’s nothing quite like the satisfaction of serving a dessert that people rave about.
Frequently Asked Questions
Can I Use Decaf Coffee for Tiramisu?
Yes, you can definitely use decaf coffee for your dessert! It’ll still provide that rich coffee flavor without the caffeine kick. Just brew it strong enough to enhance the overall taste of your dish. Enjoy!
How Long Can Tiramisu Be Stored in the Fridge?
You can store tiramisu in the fridge for about 3 to 4 days. Just make sure it’s covered well to keep it fresh. Enjoy the deliciousness while it lasts!
Is It Safe to Use Raw Eggs in Tiramisu?
Did you know that about 1 in 20,000 eggs might carry Salmonella? If you’re using raw eggs, it’s vital to guarantee they’re fresh and preferably pasteurized to minimize the risk of foodborne illness.
Can I Make Tiramisu Without Mascarpone Cheese?
Yes, you can make tiramisu without mascarpone cheese. Substitute with cream cheese, ricotta, or a vegan alternative. Adjust sweetness and texture to your liking, and you’ll still enjoy a delicious, creamy dessert.
What Type of Cocoa Powder Is Best for Tiramisu?
Imagine standing in a bakery, the rich aroma of chocolate swirling around you. For tiramisu, you’ll want Dutch-processed cocoa powder. It’s smoother and less bitter, elevating your dessert into an exquisite experience. Enjoy the difference!
Conclusion
Enjoy the delightful layers and creamy texture of your homemade Italian tiramisu, where coffee, sweetness, and richness perfectly balance each bite. Share this impressive treat with friends and family—it’s sure to captivate everyone at your table.