Pecan Pie Bar Recipe
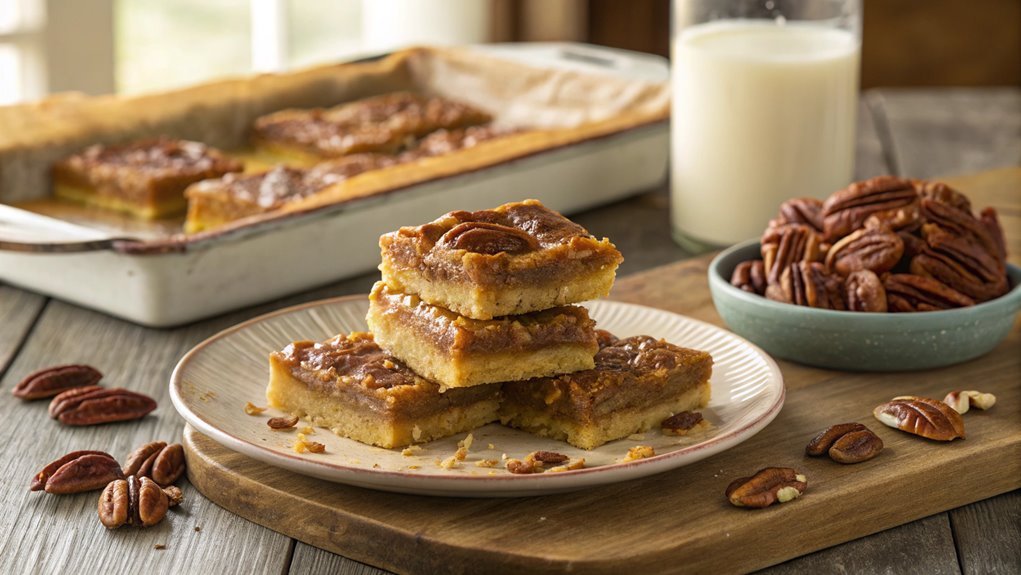
Pecan pie bars combine the rich flavors of pecan pie with the convenience of bars. They feature a buttery crust and a sweet, nutty filling. This straightforward recipe requires minimal ingredients, making it ideal for both novice and seasoned bakers. Before you start, consider a few essential tips to elevate your bars beyond the ordinary.
Recipe
Pecan pie bars are a delicious twist on the classic pecan pie, bringing all the rich flavors into an easy-to-make and portable treat. These bars have a buttery, flaky crust that perfectly complements the sweet and nutty pecan filling. They make a fantastic dessert for gatherings, holidays, or simply a sweet indulgence at home.
With the perfect balance of textures and a delightful crunch, they’re sure to please everyone.
To make these wonderful pecan pie bars, you’ll start by preparing a simple crust that serves as the base for the filling. After baking the crust until golden brown, you’ll mix together the filling ingredients, which include gooey corn syrup and toasted pecans.
Once baked until set, allow them to cool before cutting into squares for serving. With just a few steps involved, you can whip up this delightful dessert in no time.
Ingredients:
- 1 ½ cups all-purpose flour
- ½ cup powdered sugar
- ½ teaspoon salt
- ½ cup unsalted butter, softened
- 3 large eggs
- 1 cup light corn syrup
- 1 cup granulated sugar
- ¼ cup unsalted butter, melted
- 1 teaspoon vanilla extract
- 2 cups pecan halves
Now let’s move on to the cooking steps.
Cooking Steps
Get ready to create something delicious as you commence these easy cooking steps for your pecan pie bars!
Start by preheating your oven to 350°F to guarantee the perfect bake.
Then, you’ll mix your filling ingredients, pour it into the crust, and let the magic happen as it bakes for 25 to 30 minutes.
Step 1. Preheat the Oven to 350°F
To kick off your pecan pie bar journey, preheat your oven to 350°F (175°C). Setting the right temperature is essential for achieving that perfect golden crust and gooey filling.
As the oven warms up, take a moment to gather your ingredients and tools. This will streamline the process once you start mixing everything together.
While you’re waiting, make sure to check that your oven rack is positioned in the center of the oven. This allows for even baking, so all sides of those delicious pecan pie bars get that lovely texture you won’t be able to resist. An oven thermometer can be helpful if you’re unsure about your oven’s accuracy, ensuring you’re right on target.
Once the oven beeps at 350°F, you’ll be ready to go! The anticipation builds as the sweet aroma of pecans and caramel fills your kitchen.
Trust me, getting this step right lays the foundation for a delightful dessert that everyone will rave about. So, let that oven do its magic while you prepare for the next exciting phase of your pecan pie bar adventure! Happy baking!
Step 2. Mix Filling Ingredients Together
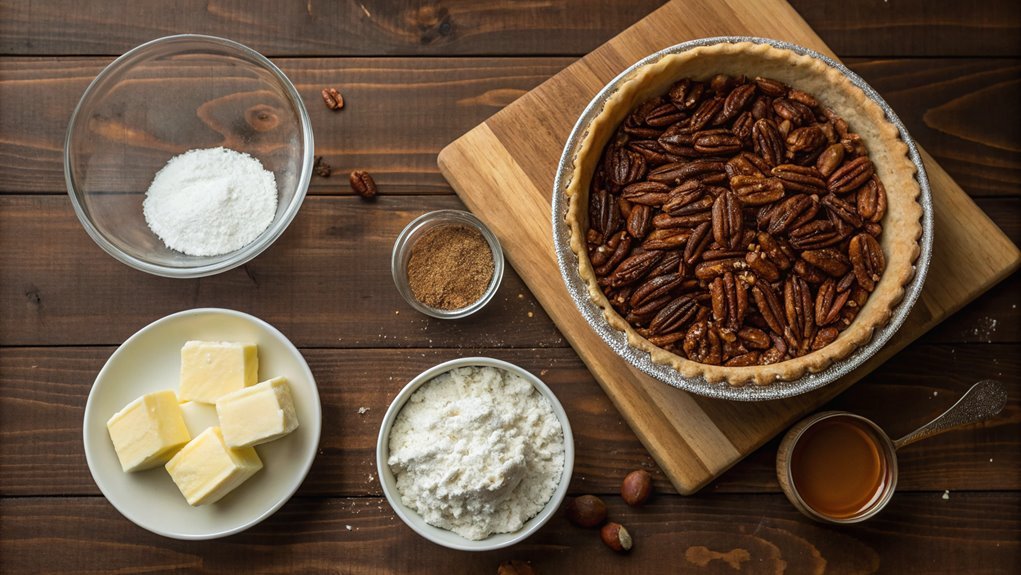
Combine the filling ingredients in a large bowl to create that rich, gooey mixture that makes pecan pie bars so irresistible. Start by whisking together the eggs, corn syrup, and sugar until smooth. Then, melt some delicious butter and fold it in for that extra richness.
Don’t forget to add a pinch of salt and pure vanilla extract for depth of flavor.
Here’s what you’ll need to make this filling truly mouthwatering:
- Fresh pecans: Chopped or whole, depending on your texture preference.
- Dark corn syrup: For that classic sweetness and glossy finish.
- Granulated sugar: Balances out the other flavors, making every bite scrumptious.
Once you’ve combined everything, you’ll see how the ingredients meld together, forming a delightful, glossy mixture that’s just waiting to fill your crust.
This part is where the magic begins, and you can already imagine those sweet, nutty flavors dancing on your taste buds. Embrace the joy of baking as you prepare this family favorite—soon, you’ll be enjoying these delectable bars straight from the oven, sharing smiles and sweet moments with loved ones.
Step 3. Pour Filling Into Crust
Carefully pour the glossy filling into your pre-baked crust, making certain to spread it evenly. Watch as the rich mixture dances across the crust, filling every nook and cranny. This is the moment you’ve been waiting for! The aroma of sweet pecans and vanilla wafts through the air, making your mouth water.
As you pour, tilt the pan slightly to help the filling settle if needed. It’s important to guarantee the filling sits evenly, so it bakes beautifully, providing that perfect texture we all adore. Just imagine cutting into those bars later, revealing a stunning layer of filling!
If you notice any bubbles in the mixture, gently tap the pan on the counter. This will help release air pockets and ensure a smooth surface. And don’t worry if some pecans float to the top; that just means they’re getting their time to shine, adding to the delicious visuals once baked.
Once the filling is poured, take a moment to admire your handiwork. You’re one step closer to enjoying these delightful pecan pie bars. Trust me, your taste buds will thank you for this fantastic dessert!
Step 4. Bake for 25-30 Minutes
Bake the pecan pie bars in a preheated oven for 25-30 minutes, or until the filling is set and the surface is golden brown. This part of the process is essential because it transforms your delicious mixture into a wonderful, firm bar that holds its shape perfectly.
You’ll know they’re ready when you see that gorgeous, caramelized layer on top—just irresistible!
Here are a few tips to maximize your success:
- Check for Doneness: Stick a toothpick in the center; it should come out clean or with just a few crumbs.
- Keep an Eye on the Color: If they brown too quickly, you can lightly cover the bars with foil.
- Use the Right Rack: Bake them on the middle rack to promote even heat distribution.
When the timer goes off, make sure you take a moment to admire your creation. The aroma alone is enough to whet your appetite!
Baking can fill your home with warmth and delightful smells, bringing everyone to the kitchen. You’re one step closer to serving these delightful pecan pie bars—trust me, they’ll be a hit!
Step 5. Cool Before Serving
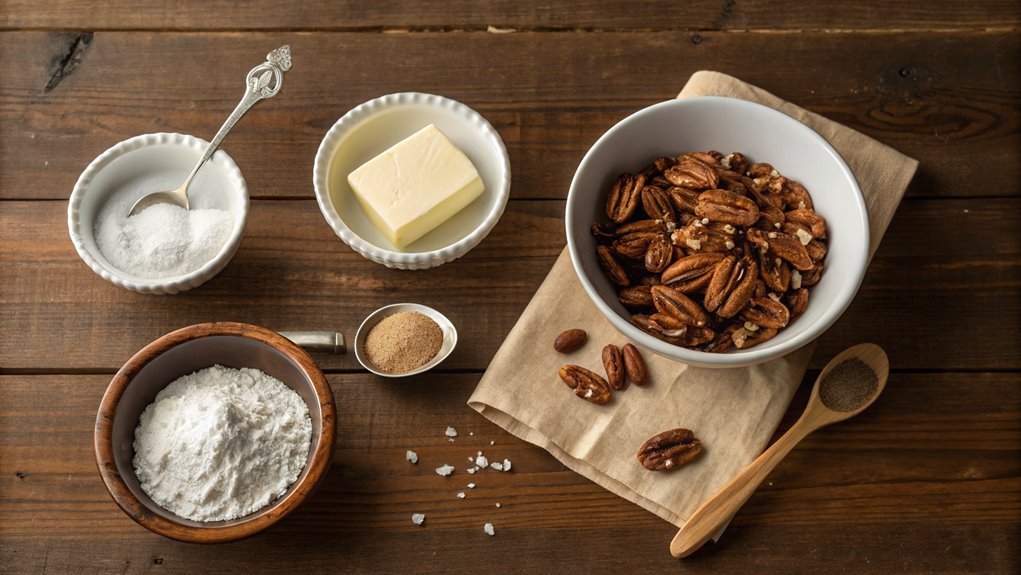
Once your pecan pie bars are out of the oven, let them cool completely in the pan before slicing. This step is essential! Cooling allows the filling to set properly, ensuring those delicious layers hold together beautifully when you cut them.
If you’re too enthusiastic and slice while they’re still warm, you might end up with a gooey mess, and nobody wants that!
To speed up the cooling process, you can gently place the pan on a cooling rack, which helps air circulate around it. If it’s particularly warm in your kitchen, try moving the bars to a cooler spot.
Once they’ve cooled for about 30-45 minutes, check if they’re set to your liking. You’ll know they’re ready when they’re firm but still slightly soft in the center.
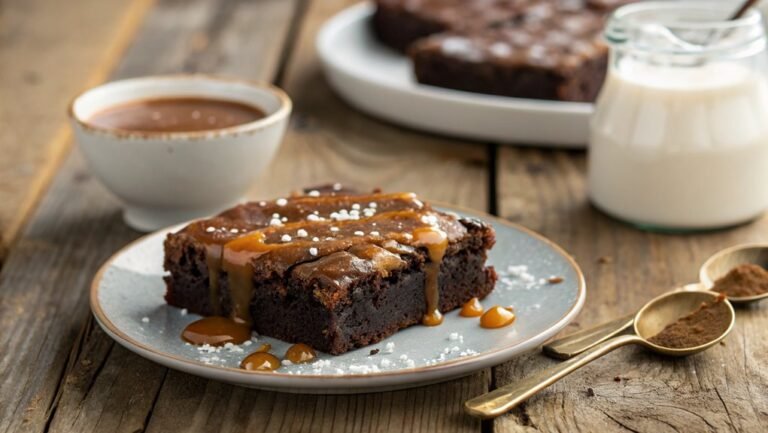
After they’ve reached the right temperature, you can loosen the edges with a knife before lifting them out of the pan. Cut them into squares or bars, and garnish with a sprinkle of sea salt or a drizzle of caramel if you’re feeling adventurous.
Now, it’s time to enjoy your delectable pecan pie bars! They’re perfect for sharing or keeping all to yourself.
Final Thoughts
As you savor your delicious pecan pie bars, it’s easy to appreciate just how simple yet satisfying this recipe is. These bars bring that classic pecan pie flavor in a convenient and shareable form. Whether you’re planning a gathering or just treating yourself, these bars are sure to impress!
- They feature a buttery crust that’s perfectly crisp.
- The gooey pecan topping is sweet and nutty, creating an irresistible combination.
- They’re easy to slice, making them a perfect dessert for any occasion.
You’ll love how quickly they come together and how minimal the cleanup is, too!
Plus, they’re great for making ahead of time, so you can serve them at your leisure. Imagine the joy on your friends’ faces when you share each bite with them!
Don’t be surprised if you find yourself baking these pecan pie bars again and again. They’re wonderfully adaptable; you can add a touch of chocolate or even a sprinkle of sea salt for a unique twist.
Embrace your inner baker and let these delightful treats shine in your kitchen. Jump in, whip up a batch, and enjoy every delicious moment!
Frequently Asked Questions
Can I Use a Gluten-Free Crust for Pecan Pie Bars?
Yes, you can definitely use a gluten-free crust for your bars. Just make sure to choose a suitable flour blend, and you’ll still enjoy a deliciously rich dessert everyone will love. It’ll be great!
How Do I Store Leftover Pecan Pie Bars?
When savoring leftover treats, storing them properly can make or break the experience. Keep your pecan pie bars in an airtight container in the fridge for up to a week, ensuring they stay fresh and delicious.
Can I Freeze Pecan Pie Bars?
Yes, you can freeze pecan pie bars! Just wrap them tightly in plastic wrap and place them in an airtight container. They’ll stay fresh for up to three months, making future snacks easy and convenient!
What Can I Substitute for Corn Syrup in This Recipe?
You might think corn syrup’s irreplaceable, but you can use alternatives like honey, maple syrup, or agave. They’ll give your recipe a unique flavor twist and keep that delicious texture you’re after. Give it a try!
Are Pecan Pie Bars Suitable for a Vegan Diet?
If you’re considering pecan pie bars for a vegan diet, you’ll want to check the ingredients. Traditional recipes often include eggs and dairy, but you can easily find or create vegan versions that fit your needs.


