Sugar-Free Strawberry Sorbet Recipe
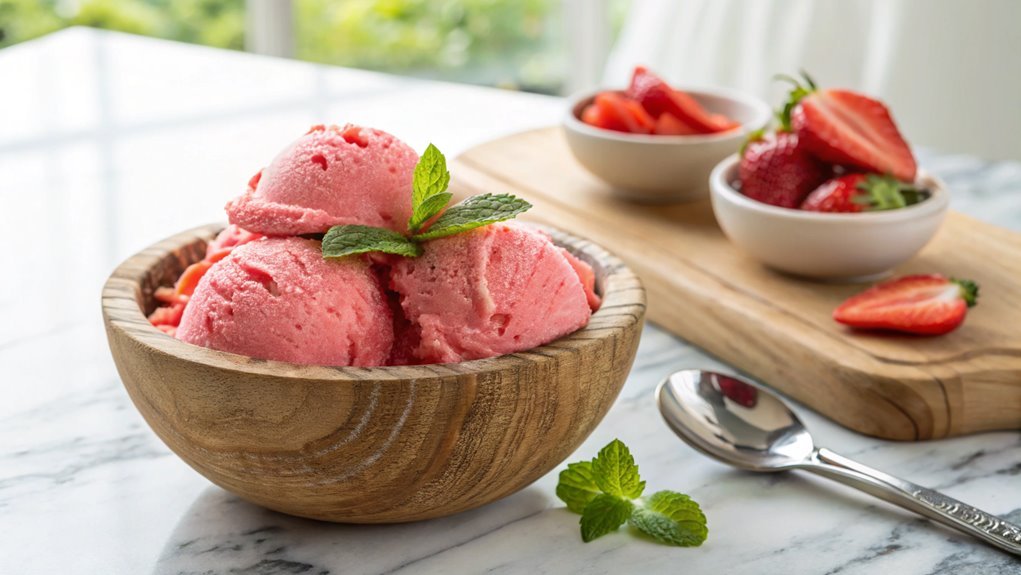
With nearly 70% of adults trying to cut back on sugar, a sugar-free strawberry sorbet offers a health-conscious dessert option. By utilizing the natural sweetness of ripe strawberries and a sugar substitute, this treat is both delicious and guilt-free.
To ensure a perfectly smooth and flavorful sorbet, follow the essential steps carefully. This method will help you create a refreshing dessert that aligns with your health goals.
Recipe
This delicious Sugar-Free Strawberry Sorbet is the perfect treat for a hot day or a revitalizing dessert after a meal. Made with ripe strawberries and natural sweeteners, this sorbet isn’t only a guilt-free indulgence but also a healthy option for those looking to reduce sugar intake.
With just a few simple ingredients and minimal preparation, you’ll have a delightful frozen dessert that everyone will love.
To create this sorbet, begin by selecting the freshest strawberries you can find. Rinse them thoroughly, remove the stems, and slice them for easier blending. The key to achieving the best flavor and texture lies in using ripe strawberries, as they’re naturally sweeter.
Once blended with a sugar alternative, the mixture will be frozen until it reaches the perfect sorbet consistency. Enjoy this fruity delight as a revitalizing snack or a sophisticated dessert at your next gathering.
Ingredients:
- 4 cups fresh strawberries, hulled and sliced
- 1/4 cup water
- 1/4 cup erythritol or preferred sugar substitute
- 1 tablespoon lemon juice
- Pinch of salt
Now let’s move on to the cooking steps.
Cooking Steps
Get ready to whip up something delicious and revitalizing!
First, you’ll prepare those fresh strawberries that will make your sorbet burst with flavor.
Then, you’ll blend them until smooth, chill the mixture, and finally freeze it—trust me, the wait will be worth it when you serve and enjoy your homemade treat!
Step 1. Prepare Fresh Strawberries First
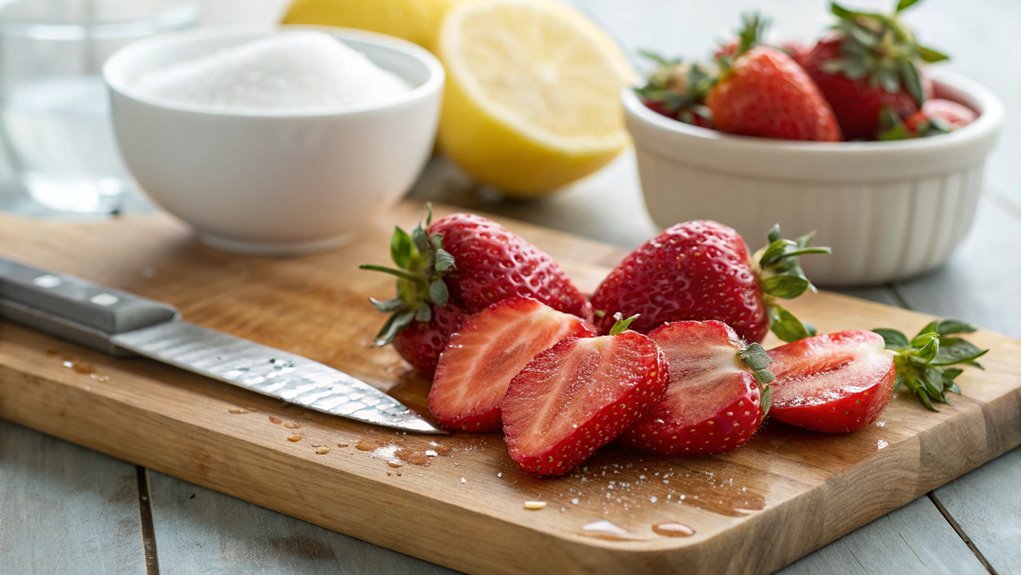
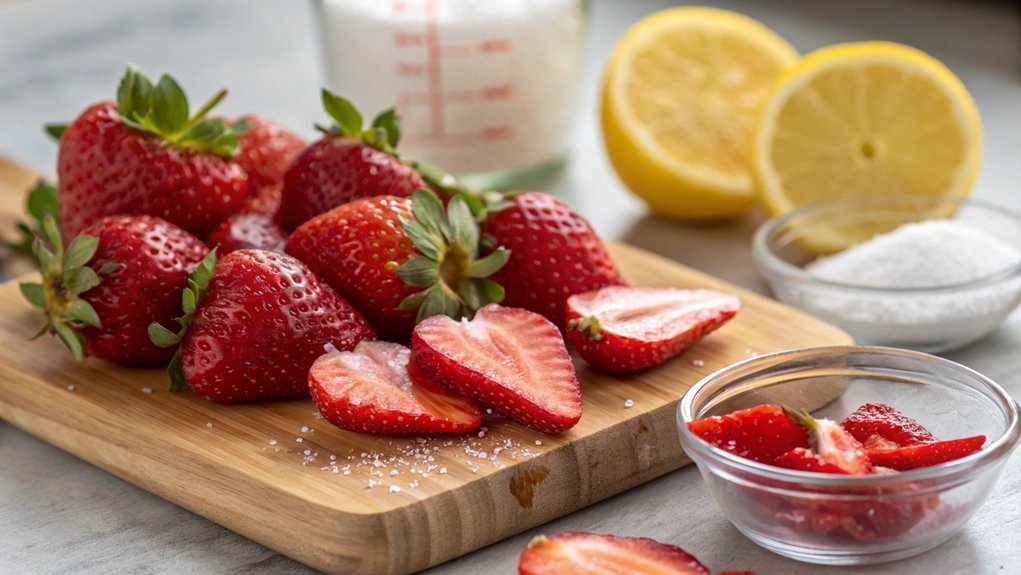
To prepare fresh strawberries for your sugar-free strawberry sorbet, start by selecting about two cups of ripe, juicy strawberries. Look for berries that are bright red, firm, and fragrant, as these will give your sorbet the best flavor.
Once you’ve chosen your strawberries, it’s time to wash them. Rinse the berries under cool running water, gently rubbing them to remove any dirt or residue. After washing, pat them dry with a clean kitchen towel or paper towel.
Next, you’ll need to hull the strawberries, which means removing the green tops. You can do this easily by using a small knife or a huller, gently slicing around the stem and pulling it out.
Once hulled, cut the strawberries into halves or quarters, depending on their size. This not only makes them easier to blend later but also helps release their natural sweetness.
Finally, if you want to elevate the flavor, consider tossing the cut strawberries with a tiny pinch of salt or a splash of lemon juice. This enhances their natural taste and prepares them perfectly for your delightful sorbet.
Enjoy the process—you’re one step closer to a rejuvenating treat!
Step 2. Blend Strawberries Until Smooth
Once you’ve prepared your strawberries, it’s time to blend them until smooth. Grab your blender and toss in those beautiful, ripe strawberries. If you’ve got fresh ones, their vibrant color and sweet aroma will make your kitchen feel like a berry paradise.
For best results, don’t overload the blender. You want to give the strawberries enough space to break down evenly.
Start by pulsing the blender a few times to chop the berries into smaller pieces. Then, switch to a steady blend until you achieve a silky-smooth consistency. You might need to stop the blender occasionally to scrape down the sides with a spatula, ensuring every bit of strawberry gets blended.
Feel free to add a splash of water or a dash of lemon juice if you want to adjust the texture or enhance the flavor. The goal is to create a luscious puree that’s bursting with strawberry goodness. It’s exhilarating to watch the transformation unfold!
Once you’ve reached that perfect smoothness, you’ll be one step closer to enjoying a rejuvenating, sugar-free treat that’s sure to impress. Get ready to savor your homemade strawberry sorbet!
Step 3. Chill Mixture for 30 Minutes
After blending your strawberries into a smooth puree, it’s vital to chill the mixture for about 30 minutes. This step is essential because it helps the flavors meld together beautifully, resulting in a invigorating sorbet that’s bursting with berry goodness.
Place the puree in a bowl or container, making sure it’s well-covered to prevent any unwanted odors from mingling with your delightful strawberry aroma.
While the mixture chills, take a moment to appreciate the vibrant color and tempting scent. Imagine that first scoop of sorbet, the way it’ll cool you down on a hot day!
This waiting time is also a great opportunity to prep your serving dishes or gather your favorite toppings, like fresh mint or a sprinkle of crushed nuts, to enhance your sorbet experience.
Once the 30 minutes pass, you’ll notice how the mixture has thickened slightly, making it even more enticing.
This preparation is a key part of achieving the perfect texture in your sorbet. So, don’t rush it—take your time, enjoy the process, and get ready for the next exciting step in creating your delicious sugar-free strawberry sorbet!
Step 4. Freeze Mixture for Two Hours
With the mixture nicely chilled, it’s time to freeze it for two hours. This step is essential for achieving that perfect sorbet texture we all love.
Pour the chilled mixture into a shallow dish or an ice cream maker, depending on what you have on hand. If you’re using a dish, give it a good stir every 30 minutes to break up any ice crystals that might form. This will help keep your sorbet smooth and creamy!
Here are some tips to make the freezing process enjoyable:
- Choose a shallow dish: It allows for faster freezing and easier stirring.
- Set a timer: This helps you remember to stir the mixture every 30 minutes.
- Taste test: After the first hour, sneak a little taste! If it needs more sweetness, you can add a sugar substitute.
- Keep it covered: This prevents ice crystals from forming on the surface.
After two hours, your kitchen will be filled with the delightful aroma of fresh strawberries, and you’ll be just moments away from enjoying your homemade sorbet.
Step 5. Serve and Enjoy!
Now that your sorbet has reached the perfect consistency, it’s time to serve and enjoy this revitalizing treat!
Grab your favorite serving bowls or elegant glasses to showcase this vibrant strawberry delight. Scoop generous portions of the sorbet into each bowl, letting it sit for a moment to soften just a bit. This will enhance the texture and flavor, making each bite even more enjoyable.
To make it extra special, consider adding a sprig of fresh mint on top. The bright green will contrast beautifully with the luscious red of the sorbet. For a delightful touch, you can also drizzle a bit of sugar-free chocolate sauce or sprinkle some crushed nuts over the sorbet.
Gather your friends and family around, and watch their faces light up as they indulge in this energizing dessert. Don’t forget to savor each spoonful; the burst of strawberry flavor is simply irresistible!
Whether it’s a hot summer day or a simple treat for any occasion, this sugar-free strawberry sorbet is bound to impress.
Final Thoughts
As you savor your homemade sugar-free strawberry sorbet, remember that this invigorating treat not only satisfies your sweet tooth but also supports a healthier lifestyle.
Making this sorbet is a fantastic way to enjoy summer flavors while keeping your sugar intake in check. You’ll feel great knowing you’re treating yourself with wholesome ingredients, and your taste buds will thank you!
Keep in mind these benefits as you whip up your next batch:
- Fresh Ingredients: Using ripe strawberries guarantees maximum flavor and nutrition.
- Low-Calorie Delight: This sorbet is a guilt-free indulgence that won’t derail your diet.
- Versatile Recipe: Feel free to experiment with other fruits or add herbs for a unique twist.
- Easy Preparation: With just a few steps, you can create a delicious dessert that impresses everyone.
Frequently Asked Questions
Can I Use Frozen Strawberries Instead of Fresh Ones?
Yes, you can definitely use frozen strawberries instead of fresh ones. Just remember to slightly adjust your recipe’s liquid content, as frozen fruit may release more moisture when blended. Enjoy your delicious creation!
How Long Does the Sorbet Last in the Freezer?
Your sorbet can last in the freezer for about two to three weeks if stored properly in an airtight container. Just remember to let it soften a bit before serving for the best texture!
What Substitutes Can I Use for Strawberries?
If you’re looking for substitutes for strawberries, try using raspberries, blueberries, or even mangoes. They’ll give you a different flavor profile but still create a delicious, fruity sorbet. Experiment and enjoy your creation!
Is This Recipe Suitable for Diabetics?
Yes, this recipe can be suitable for diabetics. It uses sugar substitutes that won’t spike blood sugar levels. Always check individual ingredients and consult with a healthcare professional to ascertain it fits your dietary needs.
Can I Make This Sorbet Without an Ice Cream Maker?
You can absolutely whip up this sorbet without an ice cream maker! Just blend your ingredients, freeze them in a shallow dish, and stir every 30 minutes until it’s smooth and creamy. Enjoy your delicious treat!
Conclusion
This sugar-free strawberry sorbet is both easy to make and delicious. Even without sugar, it offers a refreshing, sweet treat.
Imagine enjoying the vibrant flavors of ripe strawberries with a hint of lemon. Each spoonful is a burst of summer, and it’s completely guilt-free.
Go ahead and make this sorbet for a delightful, healthy dessert. It’s sure to impress!


