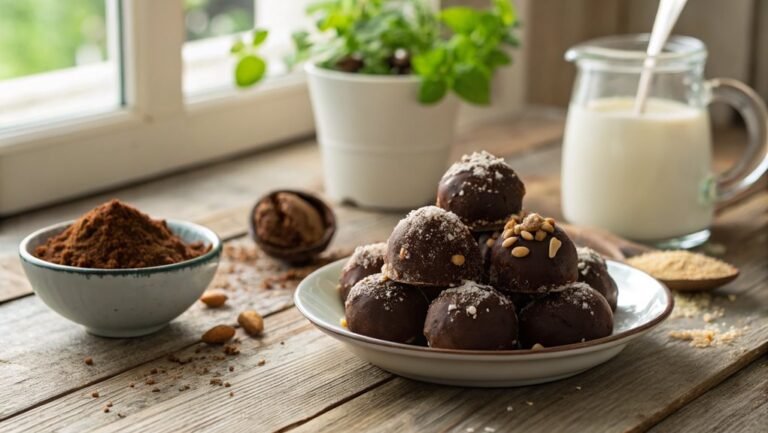
Decadent Chocolate Truffle Recipe
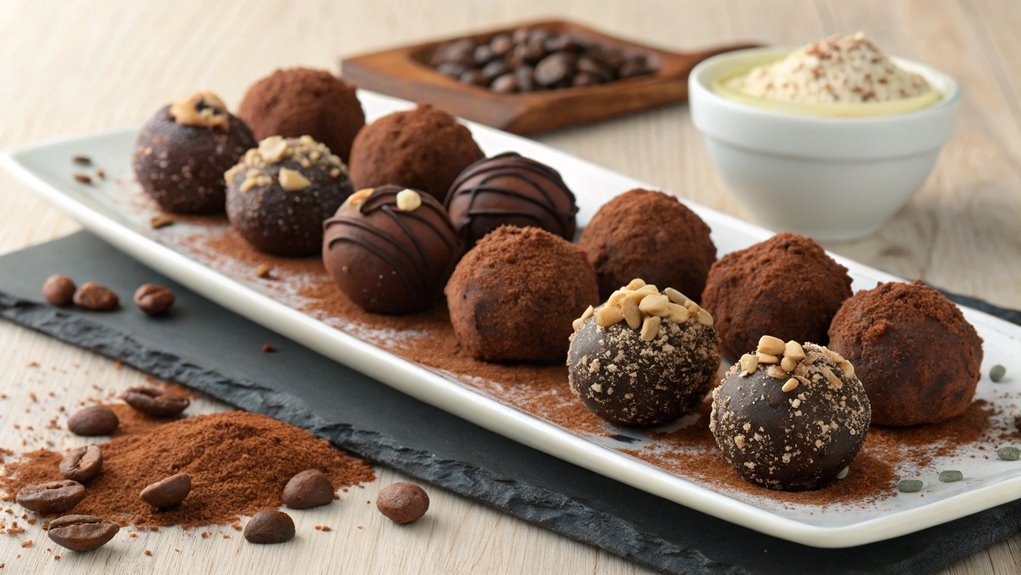
Creating decadent chocolate truffles is simpler than you might think, requiring only a few high-quality ingredients and basic techniques. The satisfaction of crafting perfectly shaped and coated truffles is unmatched.
For a smooth, melt-in-your-mouth texture, follow the essential steps that make all the difference. These luxurious treats are sure to impress anyone who tries them.
Recipe
Indulging in homemade chocolate truffles can be one of life’s sweetest pleasures. These decadent treats are surprisingly easy to make and require just a few simple ingredients.
With a rich, creamy ganache center and a variety of coatings to choose from, you can personalize your truffles to suit any occasion or taste. Whether you want to impress guests at a dinner party or simply satisfy your own chocolate cravings, making truffles from scratch is a delightful experience.
To start, you’ll create a luscious ganache by combining high-quality chocolate with heavy cream. This mixture will form the base for your truffles, which can then be shaped and coated in anything from cocoa powder to chopped nuts or melted chocolate.
Once you master the basic technique, feel free to experiment with flavors by adding extracts, spices, or even liqueurs to elevate your truffles to a gourmet level. Let’s plunge into the recipe!
Ingredients:
- 8 oz dark chocolate (70% cocoa or higher)
- ½ cup heavy cream
- 2 tablespoons unsalted butter
- 1 teaspoon vanilla extract
- Cocoa powder, for dusting
- Chopped nuts (e.g., hazelnuts, almonds), for coating
- Melted chocolate, for coating (optional)
Now let’s move on to the cooking steps.
Cooking Steps
Get ready to create some mouthwatering chocolate truffles that will impress everyone!
First, you’ll melt dark chocolate slowly, ensuring it’s smooth and luxurious.
After that, you’ll chill the mixture until it’s firm enough to roll into delectable bites, setting the stage for a treat that’s truly unforgettable!
Step 1. Melt Dark Chocolate Slowly
As you prepare to melt dark chocolate, it’s essential to do so slowly to achieve that silky, smooth texture perfect for your truffles.
Start by chopping your high-quality dark chocolate into small, uniform pieces. This helps the chocolate melt evenly and prevents any burnt bits. You can choose to melt it using a double boiler or the microwave—both methods work wonderfully!
If you opt for the double boiler, fill a pot with a couple of inches of water and bring it to a gentle simmer. Place a heatproof bowl on top, making sure it doesn’t touch the water. Add your chopped chocolate to the bowl and stir it gently as it melts. The steam will heat the bowl, slowly melting the chocolate to perfection.
If you prefer the microwave, place your chocolate in a microwave-safe bowl and heat it in short bursts of 20 seconds. After each interval, stir it well to encourage even melting.
Continue until it’s just melted, being careful not to overheat it. You want that rich, glossy chocolate that’ll make your truffles irresistible.
Enjoy the process, and get ready for a truly decadent treat!
Step 2. Chill Mixture Until Firm
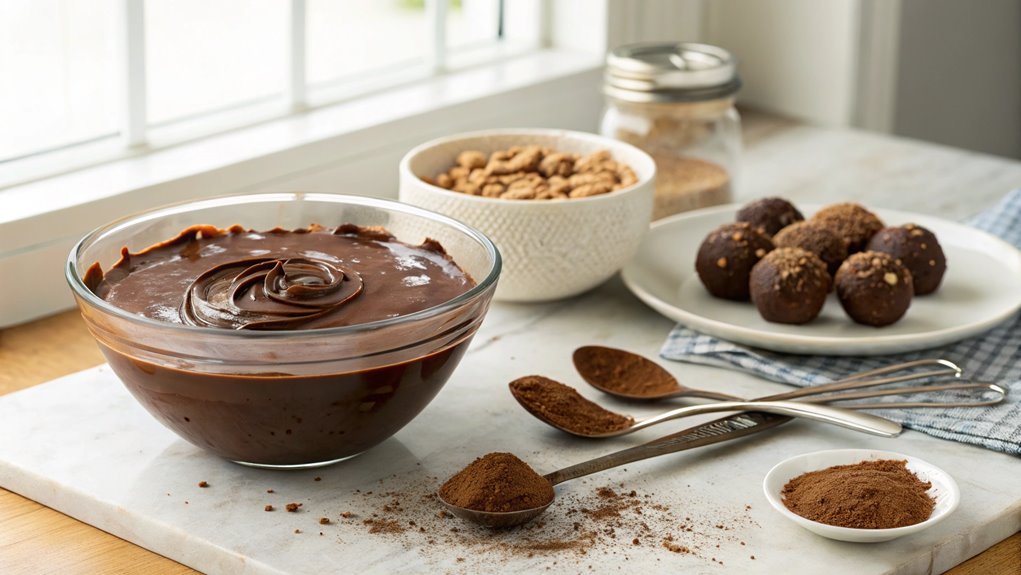
Once your chocolate mixture is smooth and glossy, it’s important to chill it until firm to make shaping the truffles easier. This step is vital, as it allows the chocolate to set properly, achieving that perfect texture we all crave in a truffle.
Pour your decadent mixture into a shallow dish, spreading it out evenly. This will help it cool faster and chill more uniformly.
Now, cover the dish with plastic wrap or a lid to keep out any unwanted odors from your fridge. Pop it in the refrigerator for about 1 to 2 hours. During this time, you can feel the excitement building as you anticipate those rich, melt-in-your-mouth treats!
Keep an eye on the mixture; it should be firm enough to scoop and mold into your desired shape. If it’s too soft, it’ll be challenging to work with, so patience is key.
Once the mixture reaches that perfect consistency, you’ll be ready for the next step. Trust me, this little wait will pay off big time when you finally enjoy your homemade truffles. Get ready for some serious chocolate indulgence!
Step 3. Roll Into Cocoa Powder
Now that your chocolate mixture is perfectly chilled and firm, it’s time to roll those truffles into cocoa powder for a rich, velvety finish.
Start by preparing a shallow dish filled with unsweetened cocoa powder. This will be your truffle coating, adding both flavor and a beautiful appearance to your treats.
Using a small cookie scoop or your hands, take a portion of the chilled chocolate mixture. Roll it gently between your palms to form a smooth ball, about one inch in diameter.
Don’t worry if they’re not perfectly round; a little imperfection adds character!
Once you’ve shaped a few truffles, gently roll them in the cocoa powder, ensuring they’re completely covered. The cocoa will cling to the chocolate, creating a lovely contrast against the rich, dark truffle.
Keep going until all your truffles are coated.
After rolling, let them sit for a few minutes to set. You can enjoy them right away or store them in the fridge for later.
Each bite will melt in your mouth, delivering pure chocolate bliss.
Step 4. Dip in Melted Chocolate
With your truffles beautifully coated in cocoa powder, you can elevate them even further by dipping them in melted chocolate. This step brings an extra layer of richness and a glossy finish that’s simply irresistible!
Start by melting your favorite chocolate—dark, milk, or white—using a double boiler or microwave. If you choose the microwave, heat it in short bursts, stirring in between to prevent burning.
Once the chocolate is smooth and creamy, take your cocoa-dusted truffles and gently dip each one into the melted chocolate using a fork or toothpick. Make sure to coat them evenly, allowing any excess chocolate to drip off. This part is so satisfying, and you’ll see your truffles transform before your eyes!
After dipping, place each truffle on a parchment-lined baking sheet. If you’re feeling adventurous, you can sprinkle some sea salt or crushed nuts on top before the chocolate sets.
Allow the chocolate to harden at room temperature or pop them in the fridge for a quicker set. You’re almost there! The anticipation of indulging in these delicious bites will have everyone excited, including you!
Step 5. Add Finishing Touches
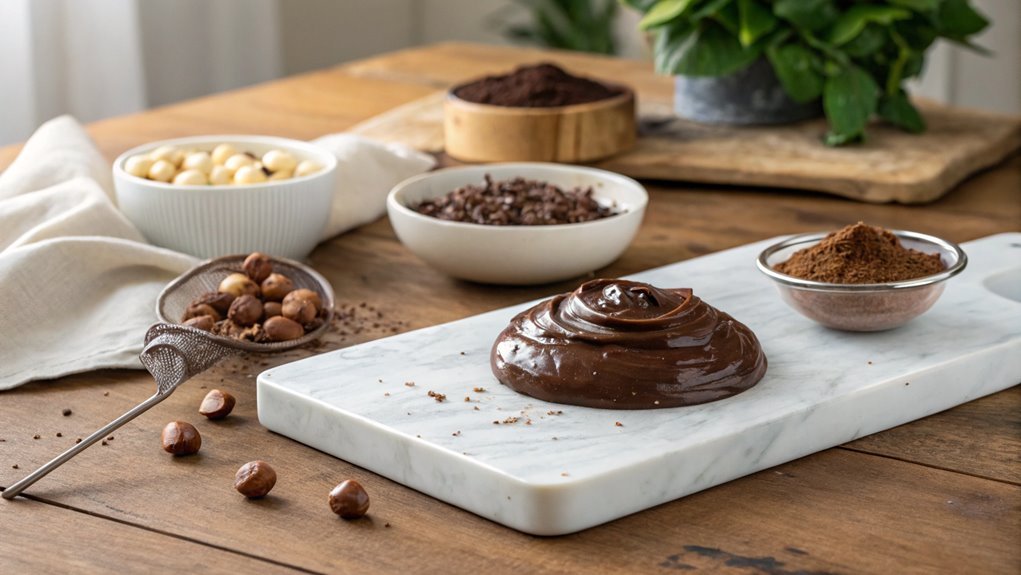
How can you make your chocolate truffles truly stand out? It’s all about those finishing touches! Once your truffles are dipped in melted chocolate and have set, you can elevate their appearance and flavor with a few simple enhancements.
Start by rolling some truffles in finely chopped nuts, cocoa powder, or shredded coconut. These add texture and a delightful crunch that contrasts beautifully with the creamy center.
If you want a touch of elegance, consider drizzling some white chocolate over the top of each truffle. Just melt the white chocolate, transfer it to a piping bag, and let your creativity flow!
For an extra burst of flavor, sprinkle a pinch of sea salt over the truffles right after you’ve dipped them. This will create a savory balance that enhances the rich chocolatey taste.
If you’re feeling adventurous, roll a few in matcha powder or espresso granules for a unique twist.
Finally, place your beautifully finished truffles in decorative boxes or on a lovely serving platter. Your friends and family will be impressed, and you’ll feel proud of your sweet creations! Enjoy every bite, and don’t forget to share the joy!
Final Thoughts
As you indulge in your decadent chocolate truffles, remember that the joy of creating them lies not only in the rich flavors but also in the experience itself.
Each step of the process—from melting the chocolate to rolling the truffles in cocoa—adds layers of satisfaction that elevate your culinary adventure. Don’t shy away from experimenting with flavors and textures, as this is your chance to personalize these treats to your taste.
Gather your friends or family to join you in this delightful experience. Together, you can share tips, taste-test different variations, and create memories that will last long after the last truffle has been savored.
The beauty of chocolate truffles is their versatility; whether you prefer classic dark chocolate, a hint of coffee, or a splash of liqueur, there’s a recipe waiting just for you.
Frequently Asked Questions
Can I Use Dark Chocolate Instead of Milk Chocolate?
Absolutely, you can use dark chocolate instead of milk chocolate! It’ll give your dish a richer flavor, but remember, it’s less sweet. Adjust your sugar accordingly to balance the taste to your liking. Enjoy!
How Do I Store Leftover Truffles?
About 50% of homemade treats end up wasted. To store leftover truffles, keep them in an airtight container in the fridge for up to two weeks, or freeze them for longer-lasting enjoyment.
What Can I Use as a Coating Besides Cocoa Powder?
You can use crushed nuts, shredded coconut, or melted chocolate as alternative coatings. Try sprinkles or matcha powder for a fun twist. Experiment with flavors to create your unique touch and enhance the truffle experience!
How Long Do Truffles Last in the Fridge?
If you’ve made a batch for a party, you’ll want to know how long they last. Typically, truffles stay fresh in the fridge for about a week, though they might last a bit longer.
Can I Make These Truffles Vegan-Friendly?
Yes, you can definitely make these truffles vegan-friendly! Just substitute dairy ingredients with plant-based alternatives like coconut cream and dark chocolate that’s dairy-free. You’ll enjoy delicious treats without compromising your dietary preferences.
Conclusion
Creating decadent chocolate truffles is about more than just the delicious result; it’s the joy of crafting something special. As you melt, chill, and roll, you’re making a treat perfect for sharing, gifting, or enjoying yourself. Gather your ingredients, embrace the process, and let your creativity shine. You’ll be amazed at how a few simple steps lead to such a luxurious delight. Immerse yourself and savor every moment of this delightful experience!
