Red Velvet Trifle Recipe
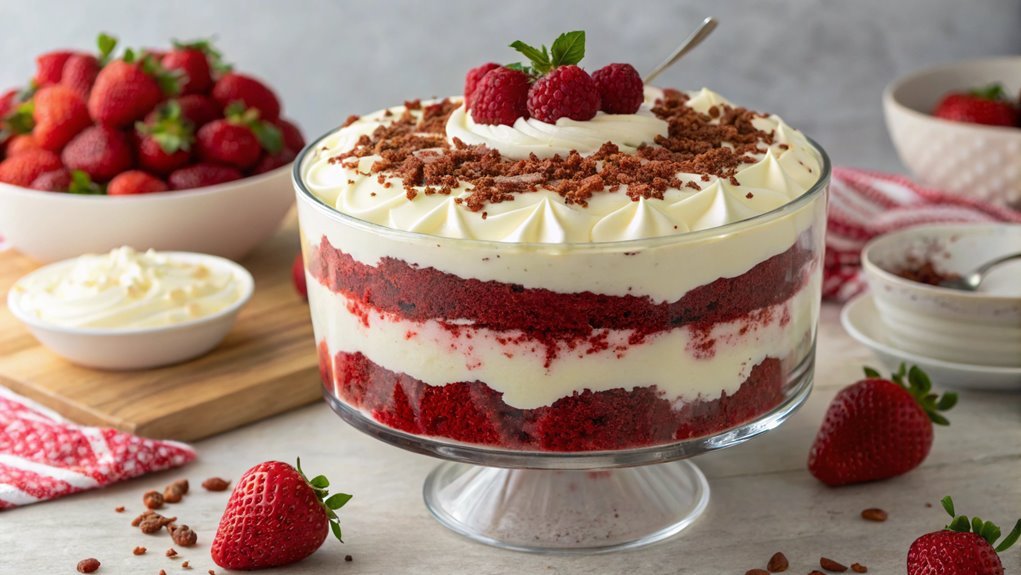
The Red Velvet Trifle is a visually stunning dessert made by layering moist red velvet cake with smooth cream cheese frosting and light whipped cream. Adding fresh berries and a drizzle of chocolate sauce enhances its flavor and appeal.
Achieving the perfect balance of flavors and textures can be challenging. Follow essential steps to ensure your trifle is just right and leaves everyone wanting more.
Recipe
Red Velvet Trifle is a delightful dessert that brings together the rich flavors of red velvet cake, creamy layers of cheesecake filling, and luscious whipped cream. This decadent treat is perfect for special occasions or simply to indulge in a sweet craving.
The contrasting layers not only create a visually stunning presentation but also offer a harmonious blend of textures and flavors that will leave your taste buds wanting more.
To make this trifle truly special, you can customize it with your favorite toppings, such as chocolate shavings, fresh berries, or a drizzle of chocolate sauce. The beauty of a trifle lies in its versatility; you can easily adapt it to suit your preferences.
This recipe will guide you through the steps to create a show-stopping Red Velvet Trifle that’s sure to impress family and friends alike.
Ingredients:
- 1 box of red velvet cake mix
- Ingredients required for cake mix (usually eggs, water, and oil)
- 8 oz cream cheese, softened
- 1 cup powdered sugar
- 1 tsp vanilla extract
- 2 cups heavy whipping cream
- 1/4 cup granulated sugar
- 1/2 tsp vanilla extract (for the whipped cream)
- Fresh raspberries or strawberries (for garnish)
- Chocolate shavings (optional, for garnish)
Now let’s move on to the cooking steps.
Cooking Steps
Get ready to create a stunning Red Velvet Trifle that’s sure to impress!
You’ll start by preparing those luscious cake layers, then layer them with creamy frosting to build a delightful base.
With fresh berries and a drizzle of chocolate sauce, you’ll elevate your trifle to a whole new level of deliciousness before finishing it off with a cloud of whipped cream.
Step 1. Prepare the Cake Layers
While the oven preheats to 350°F (175°C), you can start preparing the cake layers for your trifle. First, gather your ingredients: all-purpose flour, cocoa powder, sugar, baking soda, salt, buttermilk, vegetable oil, eggs, red food coloring, and vanilla extract.
In a large mixing bowl, combine the dry ingredients, whisking them together until everything’s well mixed.
Next, in a separate bowl, blend the buttermilk, vegetable oil, eggs, red food coloring, and vanilla extract. Once that’s smooth, slowly add the wet mixture to the dry ingredients, stirring gently until everything is combined. Don’t overmix; a few lumps are totally okay!
Pour the batter evenly into prepared cake pans, making sure to smooth the tops. Bake for about 25 to 30 minutes or until a toothpick inserted in the center comes out clean.
Once baked, let the cakes cool in the pans for a few minutes before transferring them to a wire rack. Allow them to cool completely; this is key for a great trifle.
Now you’ve got your beautiful red velvet cake layers ready to make your trifle unforgettable! Get excited, because the next steps are just as delicious!
Step 2. Layer With Cream Cheese Frosting
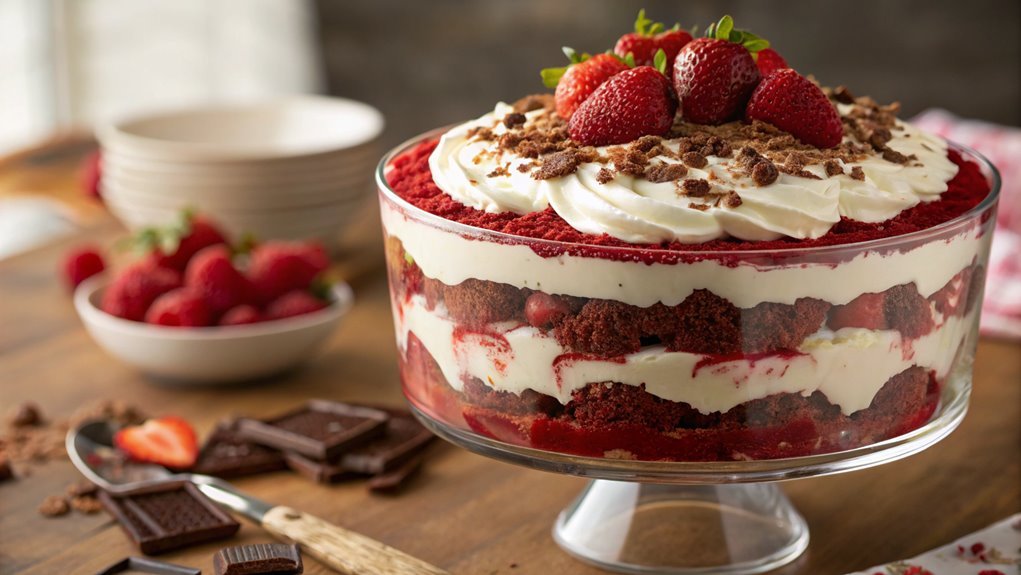
With your red velvet cake layers cooled and ready, it’s time to add the rich cream cheese frosting that will elevate your trifle.
Start by slicing your cake into small cubes; this will make layering easier and create delightful bites. Grab your creamy frosting, which should be smooth and spreadable.
With a spatula or a spoon, spread a layer of frosting over the bottom of your trifle dish. This base won’t only add flavor but will also help the cake layers stick.
Now, it’s time to add your first layer of cake cubes. Gently place them over the frosting, ensuring they’re evenly distributed.
Next, slather another generous layer of cream cheese frosting on top of the cake. Repeat this process, alternating between cake and frosting, until you reach the top of your dish.
Don’t be shy with the frosting; it’s the star of the show!
As you build your trifle, marvel at the beautiful colors and textures coming together. Each layer should be a delightful surprise, inviting everyone to dig in.
Your trifle is shaping up to be a showstopper! Enjoy the process and get ready for the deliciousness ahead!
Step 3. Add Fresh Berries
As you start layering your trifle, adding fresh berries will bring a burst of color and flavor that perfectly complements the richness of the cream cheese frosting.
Begin by selecting a mix of your favorite berries—strawberries, blueberries, and raspberries work beautifully together. Wash them thoroughly and slice the larger strawberries into bite-sized pieces for easy serving.
Once your cream cheese frosting layer is set, sprinkle a generous handful of berries over the frosting. Don’t be shy! The berries not only add visual appeal but also a revitalizing tartness that balances the sweetness of the cake and frosting.
You can alternate colors and types of berries to create a stunning visual effect, making each layer a feast for the eyes.
Continue to layer your trifle with more red velvet cake, another layer of cream cheese frosting, and then more berries.
Repeat this process until you reach the top of your trifle dish. The key is to make each layer count, ensuring every spoonful is packed with that delightful combination of flavors.
Trust me, your guests will love this addition, and it’ll elevate your trifle to a whole new level of deliciousness!
Step 4. Drizzle With Chocolate Sauce
Now it’s time to enhance your trifle with a delicious drizzle of chocolate sauce. This step adds a rich, indulgent touch that perfectly complements the layers of red velvet and berries.
Start by choosing a chocolate sauce that you love—store-bought works just fine, or you can whip up a quick homemade version if you’re feeling adventurous.
To drizzle the chocolate sauce, grab a squeeze bottle or a spoon. If you’re using a squeeze bottle, fill it with the sauce and gently squeeze it over the top of your trifle in a zigzag pattern. This creates a beautiful visual effect that’s sure to impress your guests.
If you’re using a spoon, scoop some sauce and let it flow from the edge of the spoon, allowing it to cascade down the sides of the trifle.
Don’t be shy! You can add as much or as little chocolate sauce as you like, depending on your taste. The glossy finish not only looks stunning but also promises a burst of chocolate flavor in every bite.
Enjoy the process, and get ready to savor the delightful blend of flavors in your finished trifle!
Step 5. Top With Whipped Cream
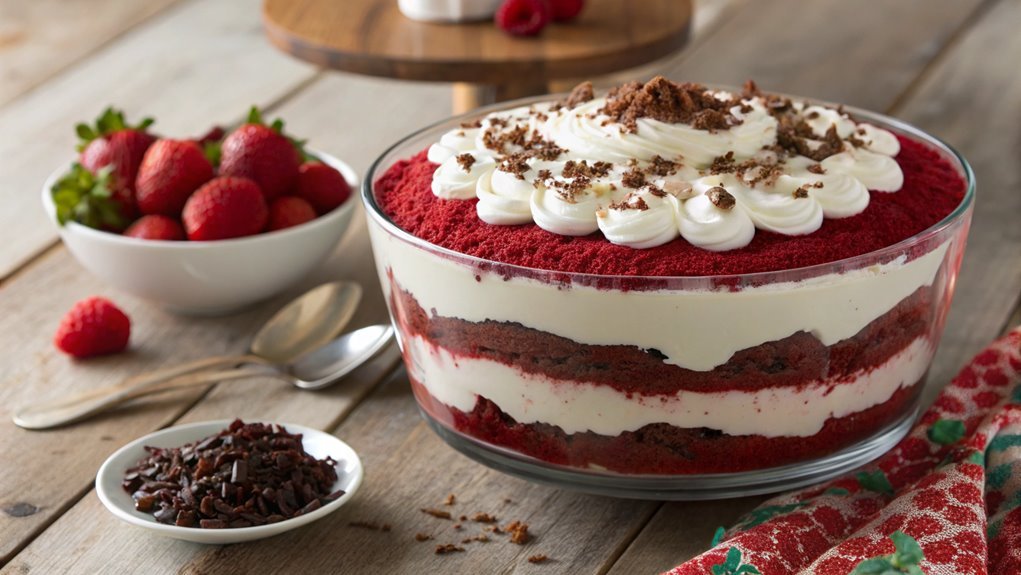
How do you create that perfect finishing touch for your red velvet trifle? Topping it with whipped cream is an absolute must! The fluffy texture and sweet taste of whipped cream elevate your dessert, making it look and taste irresistible.
Start by whipping heavy cream in a mixing bowl until soft peaks form. You can add a splash of vanilla extract or a sprinkle of powdered sugar for extra flavor.
Once your cream is ready, gently spread or pipe it over the top of your trifle. You want to cover the layers without overwhelming them. The contrast of the rich red velvet and the light whipped cream will make your trifle pop!
Here are some tips to enhance your whipped cream topping:
- Use chilled utensils for better whipping results.
- Experiment with flavored extracts like almond or coconut.
- Fold in a bit of cream cheese for a richer texture.
- Top with chocolate shavings or sprinkles for a festive touch.
- Serve immediately for the freshest taste!
Enjoy this delightful finishing touch, and get ready for compliments at your next gathering! Your red velvet trifle will be the star of the show!
Final Thoughts
While creating a Red Velvet Trifle might seem challenging at first, you’ll quickly discover that it’s a rewarding and delicious endeavor. This dessert isn’t just a feast for your taste buds; it’s a visual delight, too! Layering the rich red velvet cake, creamy frosting, and luscious whipped cream creates an eye-catching treat that’ll impress anyone you serve it to.
Don’t worry if you’re not a pro in the kitchen. Each step is straightforward, and the ingredients are easy to find. You can customize your trifle, adding your favorite fruits or even a splash of liqueur for a special touch. The beauty of this recipe is that it invites creativity, allowing you to make it uniquely yours.
Once you plunge into this delightful project, you’ll feel a sense of accomplishment as you assemble your trifle. Whether for a special occasion or just a sweet treat at home, enjoying your creation will be the cherry on top!
Frequently Asked Questions
Can I Use a Different Cake Flavor Instead of Red Velvet?
You can use any cake flavor you like. Chocolate, vanilla, or even lemon would work great. Just make sure the flavors complement each other, and you’ll create a delicious dessert everyone will enjoy!
How Long Can I Store Leftover Trifle in the Fridge?
Storing leftover trifle in the fridge is like keeping a treasure safe. You can enjoy it for up to three days, but the sooner you dig in, the fresher and tastier it’ll be!
What Substitutions Can I Make for Dietary Restrictions?
You can easily make substitutions for dietary restrictions. For gluten-free options, use almond flour or gluten-free cake mix. Substitute dairy with coconut milk or almond yogurt, and replace sugar with agave or stevia for lower sweetness.
Can I Prepare the Trifle a Day in Advance?
You can certainly prepare the trifle a day ahead, allowing those delightful layers to mingle overnight. Just keep it covered in the fridge, and it’ll be ready to impress when you’re set to serve.
What Type of Dish Is Best for Serving Trifle?
When serving trifle, you’ll want a clear glass dish. It not only showcases the beautiful layers but also adds an elegant touch. A large bowl or individual cups can work well, too!
Conclusion
Craft a stunning red velvet trifle that’s both elegant and indulgent. Each layer, from the moist cake to the creamy frosting, offers a delightful contrast that will impress your guests.
The burst of fresh berries and rich chocolate drizzle elevate this dessert into a showstopper. Gather your ingredients and dive into this delicious adventure.
You won’t just be making a dessert; you’ll be crafting a memorable experience that everyone will love! Enjoy every bite!
