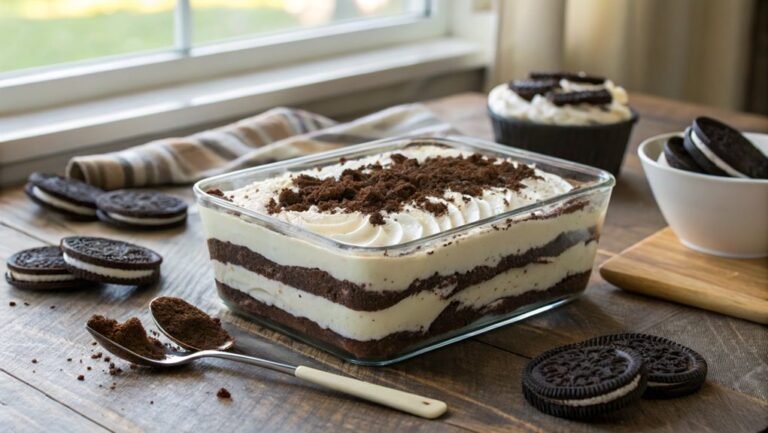
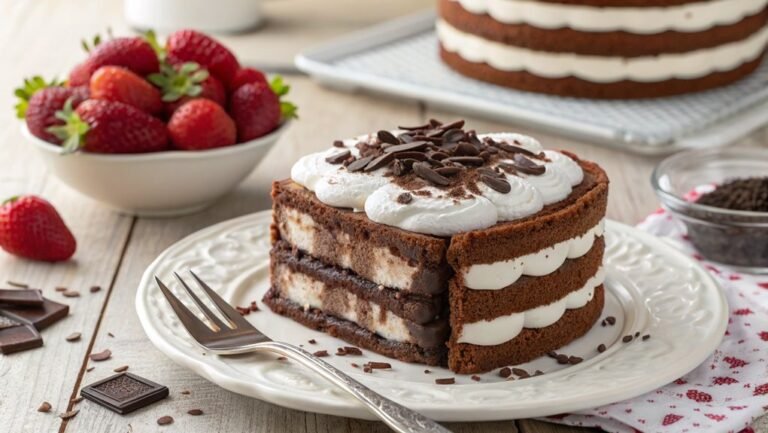
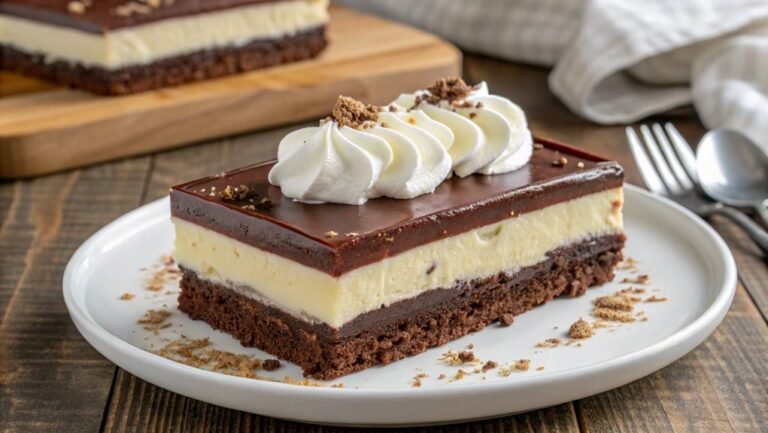
Chocolate Mint Layer Dessert Recipe
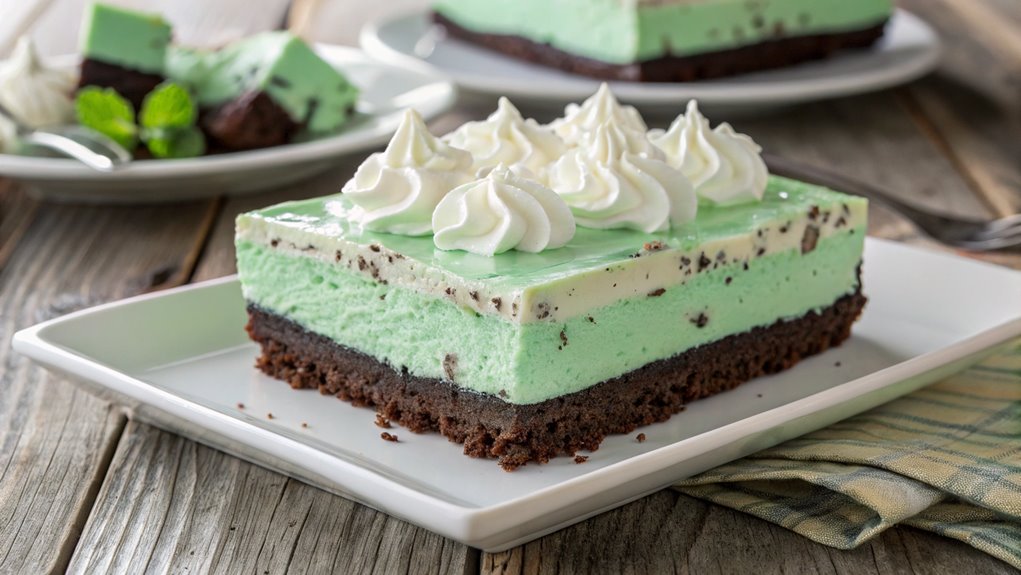
For your next gathering, the Chocolate Mint Layer Dessert is a perfect choice. It combines rich chocolate and invigorating mint in an elegantly layered treat that’s easy to make. With a simple crust and creamy filling, you can prepare it in advance, allowing the flavors to meld beautifully. Each layer not only tastes delicious but also creates a visually stunning dessert for your table.
Recipe
Indulging in a decadent Chocolate Mint Layer Dessert is a delightful way to satisfy your sweet cravings, especially during special occasions or family gatherings.
This dessert isn’t only visually appealing with its beautiful layers, but it also combines the rich flavors of chocolate with the invigorating essence of mint. The preparation is relatively simple and can be done ahead of time, making it an ideal treat for a busy cook.
The dessert features a creamy mint filling layered over a chocolate crust, topped off with whipped cream and garnished with chocolate shavings. Each layer blends harmoniously, creating a delicious experience that tantalizes the taste buds.
Whether you’re a chocolate lover or simply in search of a unique dessert, this Chocolate Mint Layer Dessert is sure to impress your guests.
Ingredients:
- 1 package of chocolate sandwich cookies (about 15-20 cookies)
- 1/2 cup unsalted butter, melted
- 1 cup powdered sugar
- 1 cup heavy whipping cream
- 1 cup cream cheese, softened
- 1 teaspoon peppermint extract
- 2-3 drops of green food coloring (optional)
- 1/4 cup cocoa powder
- 1 cup whipped topping
- Chocolate shavings for garnish
Now let’s move on to the cooking steps.
Cooking Steps
Getting started on your Chocolate Mint Layer Dessert is a delicious adventure you won’t want to miss!
First, you’ll prepare the chocolate crust, then mix the mint layer ingredients, and as you spread that wonderful mint mixture, you’ll see this dessert come to life.
Finally, chilling it until set and topping it off with whipped cream will make your taste buds sing—let’s get cooking!
Step 1. Prepare the Chocolate Crust
To prepare the chocolate crust, start by preheating your oven to 350°F (175°C). Grab a mixing bowl and combine the crushed chocolate cookies with melted butter. Make sure to mix them well, so every crumb is coated, as this is what creates that deliciously rich base.
Once your mixture is ready, press it firmly into the bottom of a greased 9×13-inch baking dish. You want it to create an even layer, so use the back of a spoon or your fingers to compact it nicely.
Now it’s time to bake! Place the baking dish in your preheated oven and let it bake for about 10 minutes. This step gives your crust that delightful crunch, making it the perfect vehicle for all the luxurious layers to come.
After baking, take it out and let it cool to room temperature; this is essential for ensuring your next layers set beautifully.
While it may seem simple, this chocolate crust is the heart of the dessert, delivering that irresistible flavor you’ll love. Get ready to move on to the next step, where the magic truly happens! Your chocolate mint layer dessert is on its way to becoming a masterpiece.
Step 2. Mix Mint Layer Ingredients
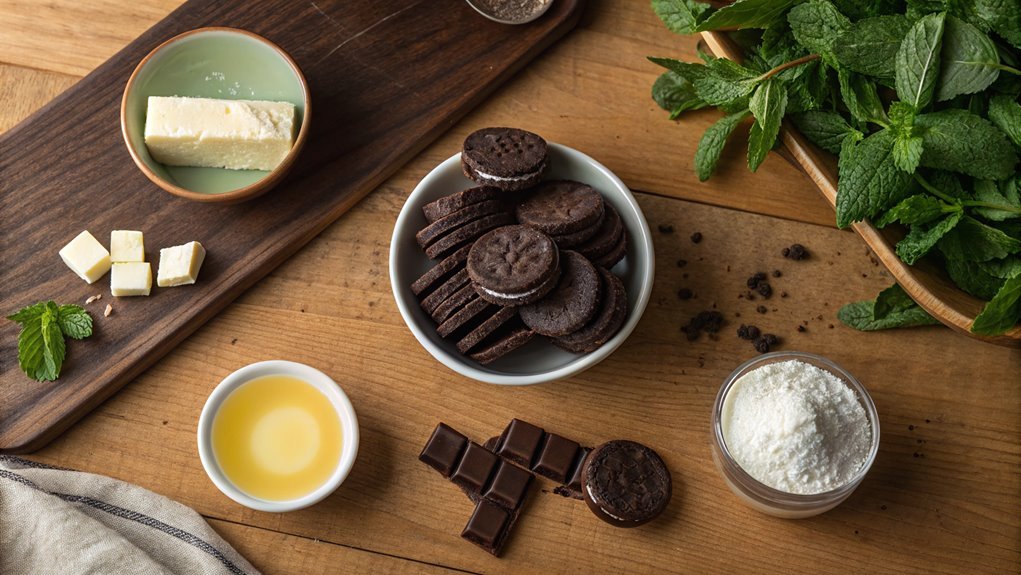
Start by gathering the mint layer ingredients, which include cream cheese, powdered sugar, and a splash of mint extract. You’re going to create a delicious, creamy layer that’ll take your dessert to the next level!
First, grab a mixing bowl and set it on your counter. Confirm your cream cheese is softened to allow for easy blending; nobody likes lumpy filling.
Next, add the powdered sugar to the bowl. This sweet component will balance out the mint, creating a perfect blend. Don’t forget to pour in that splash of mint extract—it’s the magic ingredient that gives this layer its revitalizing kick!
Now, it’s time to mix! Using an electric mixer, blend the ingredients on medium speed until everything is smoothly combined and free of lumps. You want a light and airy texture that’s easy to spread. If you don’t have an electric mixer, a good old-fashioned whisk will work too, but it’ll take a bit more elbow grease.
Taste your mint mixture. If you want a stronger mint flavor, feel free to add a little more extract. This mint layer is going to be delightful, so let’s move on to the next step!
Step 3. Spread the Mint Mixture
Once you’ve perfected your mint mixture, it’s time to spread it over the chilled dessert base. Start by gently spooning the mint mixture onto the cooled crust. Make sure to take your time here; you want an even layer. Use an offset spatula or the back of a spoon to spread it smoothly across the surface. As you work, enjoy the wonderful aroma that fills your kitchen!
Once you’ve covered the base completely, take a moment to admire the beautiful green hue of your mint layer. It’s vibrant and inviting, making this dessert even more enticing. If you find any bubbles in the mixture, gently tap the pan on the counter to release them. This step helps to create a flawless finish.
After smoothing everything out, it’s important to clean the edges of the dish so that your dessert looks neat. Just run your finger along the edge to remove any excess mint mixture.
Doesn’t it already look amazing? You’re well on your way to creating a delightful treat that everyone will love!
Next, you’ll let it chill some more until it sets perfectly. You’re doing great!
Step 4. Chill Until Set
Now that your mint layer is beautifully spread, refrigerating the dessert is vital to help it set perfectly.
Pop that pan into the fridge and let it chill for at least two hours. This significant step guarantees that the mint mixture firms up nicely, keeping the layers distinct and delightful.
Patience is key here, so don’t be tempted to rush this part—you want it to achieve that perfect, luscious texture!
While it’s chilling, you can think about how amazing it’ll taste once it’s ready. The cool mint paired with chocolate will create a symphony of flavors in your mouth!
Just imagine slicing into that beautifully set dessert, each layer holding its own, and your friends and family digging in with glee.
After the time’s up, check the consistency to verify it’s set. If it still feels a bit wobbly, give it another 30 minutes or so.
The waiting game can feel long, but trust me, it’s worth it. That satisfying, creamy mint layer will be the highlight of your dessert.
Soon enough, you’ll be ready to crown your creation and impress everyone at the table! Enjoy this sweet journey—it’s a treat you won’t forget!
Step 5. Top With Whipped Cream
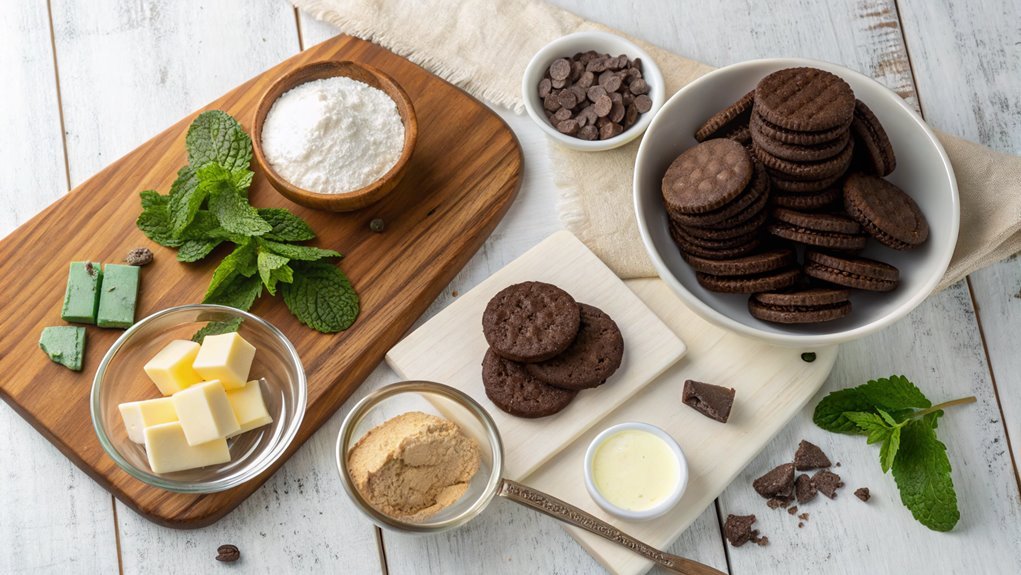
With your mint layer perfectly chilled and set, it’s time to add a luscious topping of whipped cream. Grab a mixing bowl and pour in your heavy cream. Whip it up using an electric mixer until soft peaks form—this is where the magic happens!
Don’t rush it; you want that creamy, fluffy texture that makes your dessert irresistible. Once you’ve achieved the perfect whip, gently fold in a little powdered sugar and vanilla extract for added sweetness and flavor. Use a spatula for this, as it helps keep the cream light and airy.
Now, it’s time to spread that delightful whipped cream over your chilled mint layer. Use a spatula or the back of a spoon to create smooth, even coverage. Feel free to get creative with your presentation! You can pipe the whipped cream on for a beautiful swirl, or simply spread it with love.
Finally, for an extra touch, sprinkle some chocolate shavings or grated mint on top. This will create a stunning visual appeal and enhance the flavor. Now, take a moment to admire your masterpiece before serving—it’s a feast for the eyes and the taste buds! Enjoy every delicious layer!
Final Thoughts
As you wrap up your journey in creating this Chocolate Mint Layer Dessert, you’ll find that its delightful combination of flavors and textures is truly worth the effort.
This dessert isn’t just a treat; it’s an experience that brings joy to any occasion. The layers of chocolate and mint blend harmoniously, creating a delicious harmony that your family and friends will love.
Before you plunge into serving your masterpiece, here are three things to remember:
- Presentation Matters: Take a moment to garnish your dessert with extra chocolate shavings or a sprig of fresh mint. It makes a difference!
- Chill for Best Results: Allow your dessert to chill longer for the layers to set perfectly. This enhances the flavors and makes slicing easier.
- Share the Love: Don’t forget to share this delightful creation with others. Celebrating together makes every bite even sweeter.
In the end, this Chocolate Mint Layer Dessert will dazzle everyone at the table. Your effort and determination will shine through, and you’ll find that crafting this dessert is just as rewarding as tasting it.
Frequently Asked Questions
Can I Substitute Fresh Mint for Mint Extract in This Recipe?
You can definitely substitute fresh mint for mint extract, but remember that fresh mint has a milder flavor. Use about three times more fresh mint to achieve a comparable minty taste in your dish. Enjoy!
How Long Can I Store the Chocolate Mint Layer Dessert?
Like a sweet whisper from the refrigerator, you can store the dessert for about three to five days. Just make sure it’s tightly covered, keeping those delicious layers fresh and inviting for your next indulgence.
Is This Dessert Gluten-Free or Can It Be Modified to Be?
This dessert can be made gluten-free! Just substitute regular cookies with gluten-free ones. You’ll still enjoy the delicious layers without the gluten. Always double-check ingredients to verify they’re gluten-free before starting your preparation.
What Type of Chocolate Works Best for This Dessert?
For the best flavor in this dessert, you’ll want to use semi-sweet chocolate. It balances sweetness and richness perfectly. If you prefer darker chocolate, go for bittersweet to add depth to your layers.
Can I Make This Dessert in Advance for a Party?
Yes, you can definitely make this dessert in advance for a party! Just prepare it a day ahead, cover it well, and refrigerate. That way, it’ll be perfectly chilled and ready to impress your guests.
