Easy Icebox Layer Cake Recipe
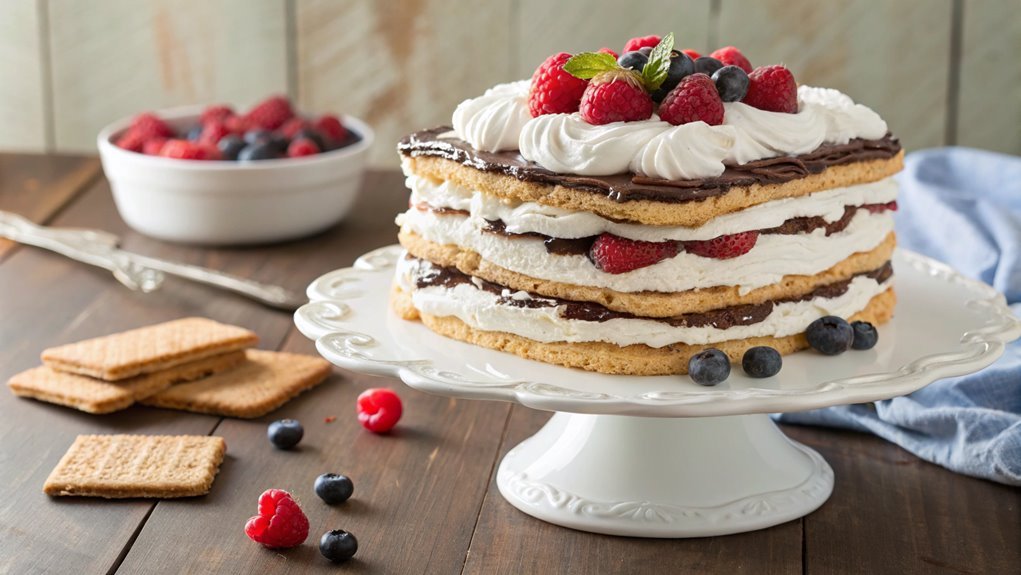
Discover a simple yet elegant dessert perfect for warm afternoons: the Easy Icebox Layer Cake. This treat combines layers of cookies and creamy fillings, offering a customizable and refreshing option. Whether you prefer classic or adventurous flavors, the possibilities are endless. Chilling the cake melds the flavors into an irresistible delight.
Recipe
An icebox layer cake is a delightful dessert that combines layers of cookies, cream, and delicious fillings for a revitalizing treat. This no-bake cake is perfect for warm weather, as it requires no oven and can be made ahead of time.
The cake gains its iconic texture and flavor from sitting in the refrigerator, allowing the layers to meld together beautifully. The combination of flavors can be customized to suit your palate, whether you prefer chocolate, fruit, or a blend of both.
To create your own icebox cake, you’ll need some simple ingredients and a bit of time for layering. The cookie layers typically used can be traditional graham crackers, vanilla wafers, or even chocolate sandwich cookies.
Paired with your choice of whipped cream or alternate layers like pudding, fruit preserves, and nuts, the cake becomes a centerpiece that isn’t only pleasing to the eye but also to the taste buds. Once assembled, all that’s left is to let it chill until ready to serve.
Ingredients:
- 2 cups heavy whipping cream
- 1/2 cup powdered sugar
- 1 teaspoon vanilla extract
- 24 to 30 cookies (such as graham crackers, vanilla wafers, or chocolate sandwich cookies)
- 1 cup chocolate or fruit pudding (optional)
- Fresh fruits or chocolate shavings for garnish (optional)
Now let’s move on to the cooking steps.
Cooking Steps
Let’s get started on making your delicious icebox layer cake!
First, you’ll want to gather all of your cake ingredients so everything’s ready to go.
With a little bit of preparation and some chilling time, you’ll create a mouthwatering treat that’ll impress everyone.
Step 1. Gather Cake Ingredients First
To create a delicious icebox layer cake, start by gathering your cake ingredients first. This is the fun part! You’ll need some graham crackers, which will give your cake that delightful texture, along with creamy filling options like whipped cream or a rich custard.
Don’t forget the sweetness! Grab some sugar or your favorite sweetener to enhance the flavors. You can also use fresh fruits or fruit preserves, like strawberries or blueberries, for layers of freshness and color.
Next, think about chocolate or caramel sauce to drizzle between layers, elevating your cake to the next level. Keen to add a twist? Consider incorporating spices like cinnamon or vanilla extract for an extra touch of magic.
Make sure you have all your ingredients measured and ready to go; this keeps the process smooth and enjoyable.
Don’t worry if you’ve got a small kitchen—cooking is all about creativity and fun! With everything laid out, you’ll be inspired to create a masterpiece.
The anticipation builds as you think about the delicious layers you’re about to assemble. So, roll up your sleeves, and let’s get started on this scrumptious journey!
Step 2. Prepare the Crust Mixture
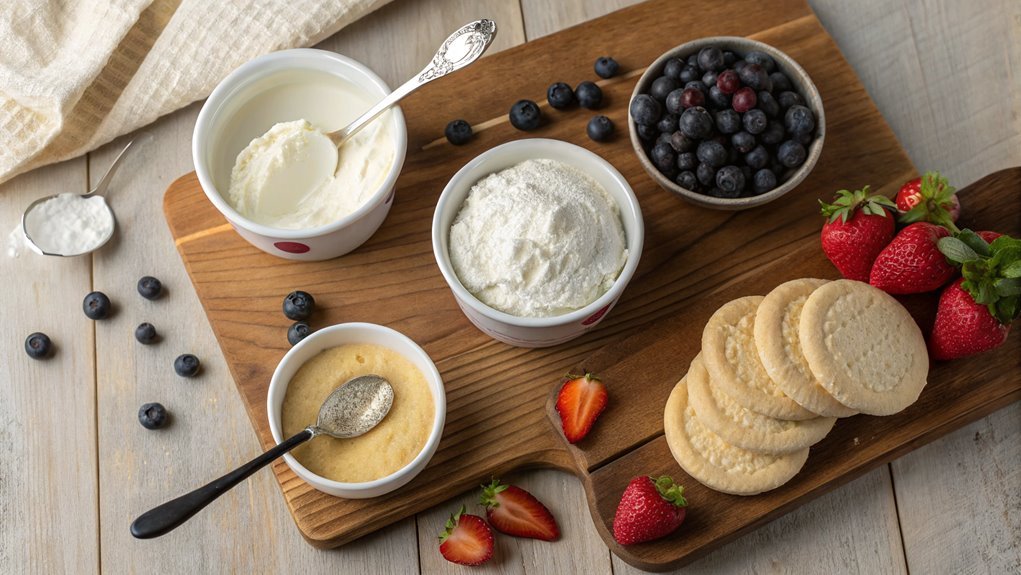
Begin by crushing about 2 cups of graham crackers into fine crumbs, which will form the base of your icebox cake. You can place them in a sealed plastic bag and use a rolling pin, or pulse them in a food processor until they’re finely ground. The texture is key, as you want the crumbs to bind beautifully together.
Next, transfer the crumbs into a mixing bowl and add about 1/2 cup of melted butter. This will help hold your crust together while adding a rich flavor. Use a fork or your hands to combine thoroughly. The mixture should resemble wet sand and easily hold its shape when pressed together.
Once that’s mixed, take a 9×13 inch baking dish and evenly spread your crust mixture across the bottom. Be sure to press down firmly to create an even layer. It’s important for the crust to be sturdy, as it will support the delicious toppings to come.
Now that your crust is ready, let’s get excited to layer in the next delicious goodness. You’re one step closer to a delightful icebox cake that’s sure to impress!
Step 3. Add Ice Cream Layer
With your crust firmly in place, it’s time to layer in the ice cream. This step brings delightful creaminess that makes your icebox layer cake irresistible! Start by softening your favorite ice cream, allowing it to scoop easily and spread smoothly.
Now, it’s all about creating those luscious layers! Follow these steps:
- Scoop out a generous portion of softened ice cream and place it on top of your crust.
- Spread it evenly using a spatula or the back of a spoon—this helps each bite be just as delicious as the last.
- Alternate flavors if you wish; mixing chocolate with vanilla or mint with cookies can create an exciting medley.
- Press down lightly on the layer to guarantee it adheres well before adding the next layer.
Once you’ve layered in the ice cream, you’ll begin to see your cake take shape, and that’s when the excitement truly builds!
Each layer contributes to a delightful experience that your taste buds will adore. So, let your creativity shine as you craft this delicious masterpiece. You’re just steps away from a treat that’s sure to impress family and friends! Enjoy the process!
Step 4. Chill Until Set
Once your ice cream layers are spread evenly, you’ll want to chill the cake until it’s set. This step is super important because it helps the layers firm up, making the cake easier to slice and serve. You’ll need to place your layered masterpiece in the freezer for at least four hours, or even overnight if you can resist the temptation!
During this chilling time, the flavors meld beautifully, and the cake becomes a deliciously cohesive treat. Don’t worry if it seems a bit soft at first; it just needs that time to freeze properly.
Cover the cake with plastic wrap or a lid to protect it from any odd freezer odors, keeping it tasting fresh.
If you’re feeling adventurous, check the cake after a couple of hours. If it’s firm enough, you can sneak a taste test! Just picture the layers of creamy ice cream and the crunchy texture beneath, coming together to create a delightful dessert experience.
You won’t regret the wait when you finally slice into this stunning cake. So, pop it in the freezer and get ready for a sweet reward!
Step 5. Top With Whipped Cream
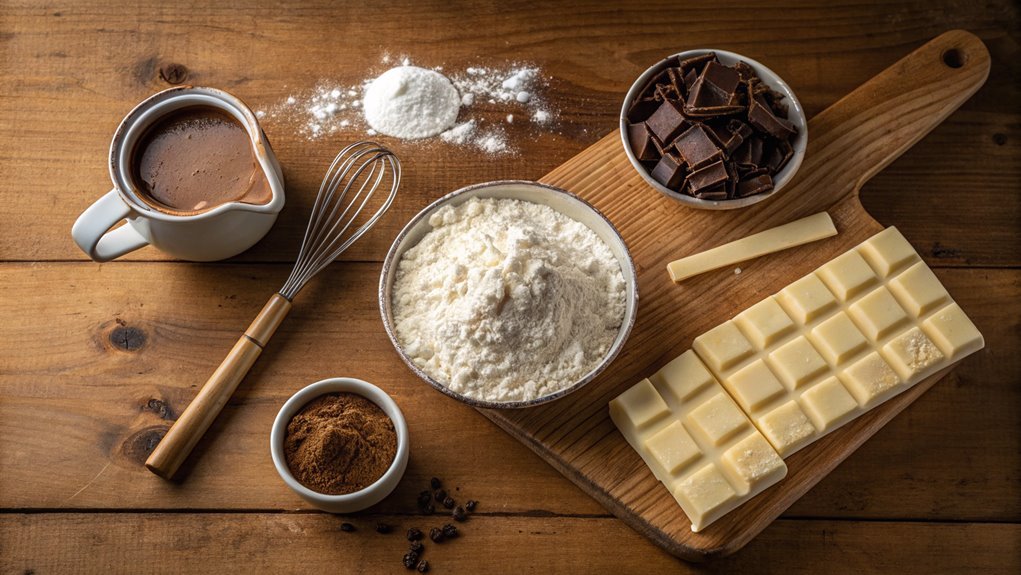
Now that your icebox layer cake is perfectly chilled and set, it’s time to add a luscious topping of whipped cream. This creamy layer not only enhances the cake’s flavor but also makes it visually stunning. You’ll love how easy this part is, and your friends and family will be impressed!
Here’s how to whip it up quickly:
- Use cold heavy cream for the best results.
- Add a bit of sugar to sweeten it up.
- Whip until soft peaks form, but don’t go too far—then it becomes butter!
- Spread the whipped cream evenly over the top of the cake.
Once you’ve topped the cake, consider adding some extra flair. You can sprinkle crushed cookies or colorful sprinkles for that festive touch. Fresh fruit also works wonders, adding both flavor and visual appeal. Imagine juicy strawberries or zesty blueberries, perfectly complementing your creation!
Finally, serve it chilled and watch your guests delight in every bite. This whipped cream topping truly takes your icebox layer cake to the next level, transforming a simple dessert into a showstopper.
Get your spatula ready and enjoy the sweet rewards of your hard work!
Final Thoughts
As you wrap up your icebox layer cake adventure, you might find that the layers of flavor and texture create a delightful experience that’s hard to resist.
This recipe isn’t just a cake; it’s an occasion, a celebration of your hard work in the kitchen. The creamy fillings and cookie layers meld together beautifully, making each bite a little moment of joy.
You’ll love how easy it’s to customize this cake. Whether you’re a fan of chocolate, fruit, or classic vanilla, you can experiment with different flavors.
Don’t hesitate to get creative with your ingredients! Use unique cookies or flavored creams to give it your personal touch.
Frequently Asked Questions
How Long Can an Icebox Layer Cake Be Stored?
You can store an icebox layer cake in the refrigerator for up to five days. Just make sure it’s covered well to keep it fresh and prevent it from absorbing any unwanted odors. Enjoy!
Can I Use Alternative Sweeteners in This Recipe?
Sweeteners are like paint; they shape the flavor of your creation. You can definitely use alternative sweeteners in the recipe, but adjust quantities, since their sweetness levels vary. Experimenting can lead to delightful surprises!
What Size Baking Dish Is Best for This Cake?
For this cake, you’ll want a 9×13 inch baking dish, as it provides ample space for layering. This size guarantees even distribution and helps keep the layers stable while chilling in the refrigerator.
Is There a Gluten-Free Version of This Icebox Cake?
You might wonder if a gluten-free version exists. Picture layers of smooth cream and crunchy cookies, all without gluten. Yes, you can substitute gluten-free cookies to create that delightful, indulgent experience you crave. Enjoy!
Can I Freeze Leftover Icebox Layer Cake?
Yes, you can freeze leftover icebox cake! Just wrap it tightly in plastic wrap or foil, and store it in an airtight container. When you’re ready to enjoy, let it thaw in the fridge overnight.
