Chocolate Croissant Recipe
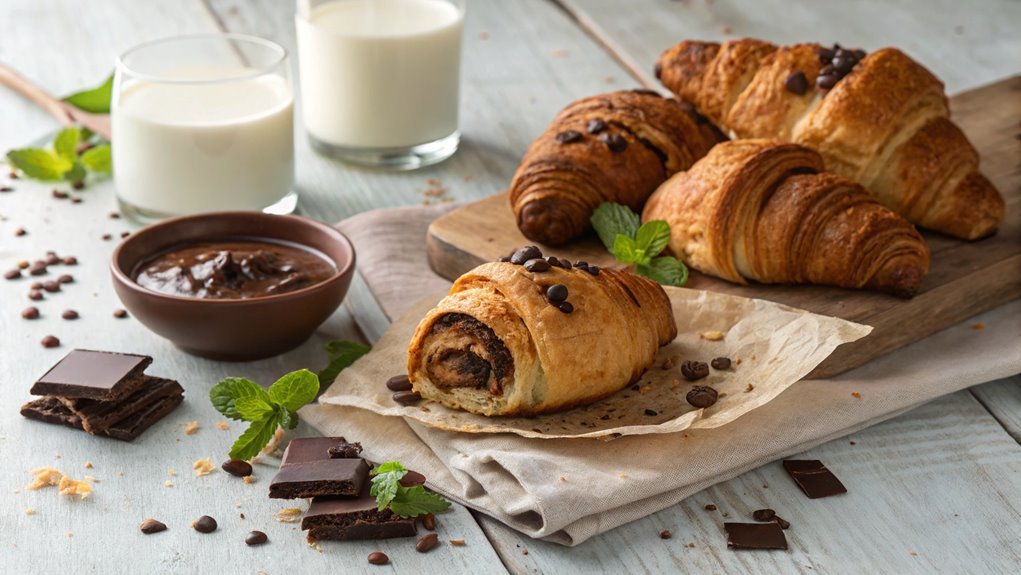
Imagine waking up to the aroma of freshly baked chocolate croissants, transporting you to a Parisian café. Surprisingly, you can create this indulgence at home with just a few key ingredients and techniques.
Mastering dough lamination is where the magic happens. Once you grasp this, the possibilities expand in delightful ways.
What’s your first question about getting started on this culinary journey?
Recipe
Chocolate croissants, also known as pain au chocolat, are a delightful pastry originating from France. They consist of a flaky, buttery dough filled with rich chocolate, making them a beloved breakfast treat or afternoon snack.
The process of making chocolate croissants involves several steps, including preparing a laminated dough, which creates the signature layers that give these pastries their characteristic texture.
While it may seem intimidating to make these croissants from scratch, with a little patience and practice, you can achieve bakery-quality results at home. This recipe will guide you through each step, allowing you to savor the irresistible flavor of homemade chocolate croissants fresh from the oven.
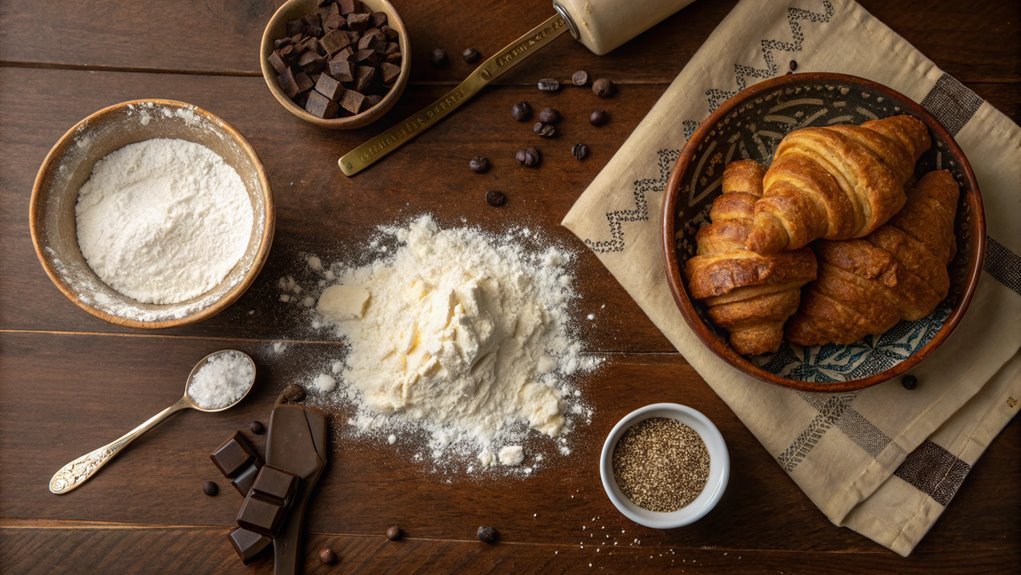
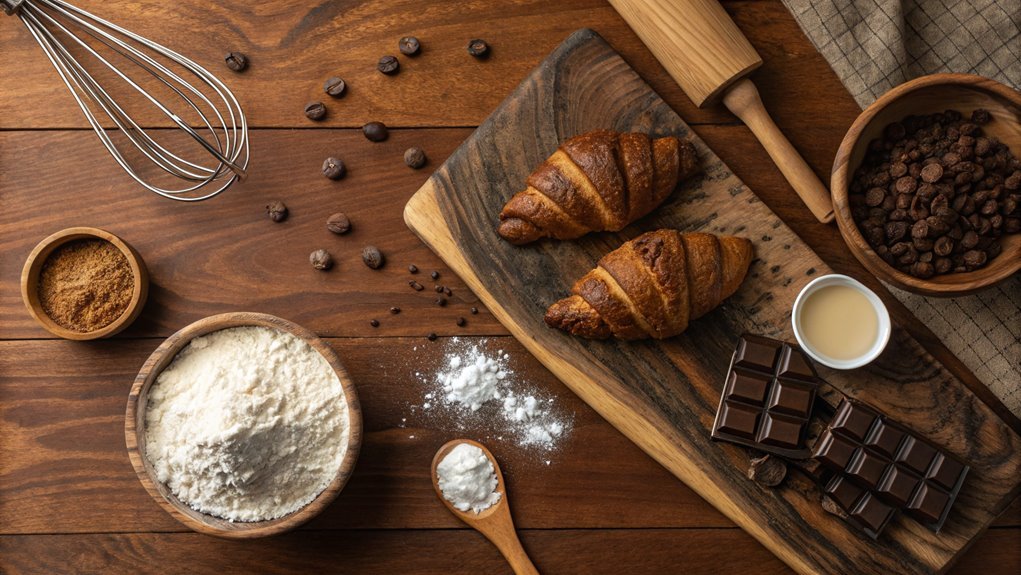
Ingredients:
- 4 cups all-purpose flour
- 1/4 cup granulated sugar
- 1 tablespoon salt
- 1 tablespoon instant yeast
- 1/2 cup unsalted butter, softened
- 1 1/4 cups whole milk, lukewarm
- 1 1/4 cups unsalted butter, chilled (for laminating)
- 1 cup chocolate chips or chocolate batons
- 1 egg (for egg wash)
Now let’s move on to the cooking steps.
Cooking Steps
Now that you’ve got your ingredients ready, it’s time to get started on those delicious chocolate croissants!
First, you’ll need to preheat your oven to 375°F, so it’s nice and hot when your pastries are ready to bake.
Let’s transform those dough sheets into flaky, chocolate-filled treats that are sure to impress!
Now let’s move on to the cooking steps.
Step 1. Preheat Your Oven to 375°F
Preheating your oven to 375°F is an important step in baking the perfect chocolate croissant. This temperature guarantees that your croissants bake evenly and get that delicious, golden-brown color we all crave.
Start by checking that your oven rack is in the middle position; this allows for ideal heat circulation.
While you’re waiting for the oven to reach the right temperature, take a moment to gather your ingredients and tools. It’s exciting to think that in just a little while, you’ll have flaky, buttery pastries right out of the oven!
This step is vital because placing your dough in a pre-heated oven helps activate the yeast quickly, giving your croissants that delightful rise.
Once the oven beeps, it’s time to get started! The inviting aroma of freshly baked chocolate croissants will fill your kitchen, making the wait worthwhile.
So, resist the urge to skip this step, as it’s the foundation for achieving that perfect flakiness. Trust the process, and embrace the anticipation; you’re on the path to baking something truly special!
Happy baking, and enjoy the sweet reward that awaits you!
Step 2. Prepare the Dough Sheets
Once your oven is preheated, it’s time to roll out your dough sheets. First, gather your chilled dough and dust your work surface with a sprinkle of flour. You want to make sure your dough doesn’t stick.
Place the dough on the floured surface and gently flatten it with a rolling pin. As you roll, aim for a rectangular shape, about ¼ inch thick. Don’t stress if it’s not perfect—every batch can have its own charm!
Now, remember to keep the dough cool as you work. If it gets too soft, pop it in the fridge for a few minutes. This guarantees those flaky layers that make croissants irresistible.
Here are some tips to enhance your dough preparation:
- Use a ruler for even measurements.
- Rotate the dough periodically while rolling for uniform thickness.
- Flour your rolling pin to prevent sticking.
- Keep a sharp knife handy for cutting precise triangles.
Enjoy the process! The aroma of freshly baked chocolate croissants is just around the corner, and the flaky dough is going to be a delightful canvas for the rich filling you’ll add soon.
Relax, have fun, and let your creativity shine!
Step 3. Add Chocolate Filling
As you prepare to fill your rolled-out dough, guarantee you have your chocolate ready—this is where the magic happens! Start by breaking your favorite chocolate bars into small pieces or using high-quality chocolate chips. Aim for a rich dark chocolate to create that perfect, indulgent experience.
Now, lay the chocolate pieces along the wider end of the triangle-shaped dough. Don’t be shy; let the chocolate create a generous line, ensuring you’ll get that delicious gooeyness in every bite. Just remember to leave a little space at the edges to avoid any messy spills while rolling.
Once you have the chocolate in place, take a moment to appreciate your creation. You’re one step closer to a delightful treat!
After that, gently fold the dough over the chocolate. Press down slightly to secure it, but don’t squeeze too hard. You want the filling to stay intact!
This part’s essential; the more chocolate you manage to tuck in, the richer your croissant will be. Enjoy the anticipation of baking as you get ready for the next stages, and prepare for the aroma that will soon fill your kitchen!
Step 4. Fold and Shape the Croissants
With your chocolate tucked inside, it’s time to fold and shape the croissants. Start by gently rolling the dough from the wide end toward the narrow tip, encasing that delicious chocolate center securely. As you roll, make certain the croissant maintains a slight curve, resembling that iconic crescent shape.
Once you’ve rolled the entire piece, pinch the edges together to seal in the goodness.
Now, place your formed croissants on a lined baking sheet, giving them some space to rise during baking. You’ll want to let them rest for about 30 minutes, allowing the gluten to relax and the dough to rise a little. Trust me, this step is vital for that airy texture you’ll love!
Here are some helpful tips to guarantee success:
- Use a gentle hand while rolling to avoid squishing the chocolate.
- Make sure your chocolate pieces aren’t too large; smaller pieces melt better!
- If using laminated dough, be mindful of keeping layers intact.
- Don’t rush the resting time; it’s a game-changer for fluffy croissants.
Get ready to enjoy the delightful results of your hard work!
Step 5. Brush With Egg Wash
After allowing your croissants to rest and rise, it’s time to give them a beautiful golden finish by brushing them with egg wash. This step not only enhances their color but also adds a lovely gloss that makes your pastries irresistible.
To prepare the egg wash, grab a small bowl and whisk together one egg with a splash of water or milk until it’s well combined.
Now, gently use a pastry brush to apply the egg wash over the surface of each croissant. Be careful not to saturate them; you want just enough to create that gorgeous sheen. Make sure to cover every nook and cranny, including the edges. This is where you’ll see that golden color develop during baking.
Once you’ve brushed each croissant, let them sit for another 10-15 minutes. This resting period helps the egg wash set and primes them for the oven.
Preheat your oven while you wait, so it’s hot and ready to transform these beautiful creations into a flaky, chocolatey delight.
It’s all coming together now! Soon enough, you’ll have delectably golden chocolate croissants piping hot from the oven, inviting you to take that first, enjoyable bite.
Final Thoughts
While perfecting your chocolate croissant may seem challenging, the reward of biting into a flaky, buttery pastry filled with rich chocolate is well worth the effort.
You’ll find that with practice, these delightful treats can become a staple in your kitchen. Imagine waking up to the irresistible aroma of fresh croissants baking in the oven—there’s simply nothing like it!
As you begin this delicious journey, remember to take your time. Each step, from making the dough to rolling in that luscious chocolate, is essential for achieving the perfect croissant.
Don’t hesitate to try different fillings or experiment with the shaping process; it adds a personal touch to your creations.
Here are a few tips to elevate your chocolate croissant experience:
- Use high-quality chocolate for the best flavor.
- Keep your butter and dough cold to guarantee flakiness.
- Allow the croissants to rise adequately for a lovely texture.
- Enjoy them fresh out of the oven for maximum deliciousness.
With a little patience and practice, you’ll master this recipe and impress everyone who gets to enjoy your chocolate croissants.
Happy baking!
Frequently Asked Questions
Can I Use Dark Chocolate Instead of Milk Chocolate?
Imagine sinking your teeth into rich, velvety chocolate. Yes, you can use dark chocolate instead of milk chocolate! Just keep in mind, it’ll give a more intense flavor, so adjust sweetness if needed. Enjoy the decadence!
How Can I Make Gluten-Free Chocolate Croissants?
To make gluten-free chocolate croissants, you’ll want to use gluten-free flour blends, ensuring they mimic wheat’s texture. Incorporate xanthan gum and follow a reliable recipe, adjusting baking times as needed for the best results.
What Type of Pastry Dough Is Best for Croissants?
For making croissants, use a classic laminated dough. This dough’s layers create that signature flaky texture. Make sure you properly chill and fold the dough for the best results. You won’t regret it!
Can I Freeze Chocolate Croissants After Baking?
You’d think freshly baked chocolate croissants shouldn’t freeze, right? But you can! Just wrap ’em tightly in plastic and stash them in the freezer. They’ll still taste delicious when you pull them out later.
How Long Do Chocolate Croissants Stay Fresh?
Chocolate croissants usually stay fresh for about two to three days at room temperature. For longer freshness, you should store them in the fridge or freeze them, which can extend their life considerably.