No-Bake Icebox Cake Recipe
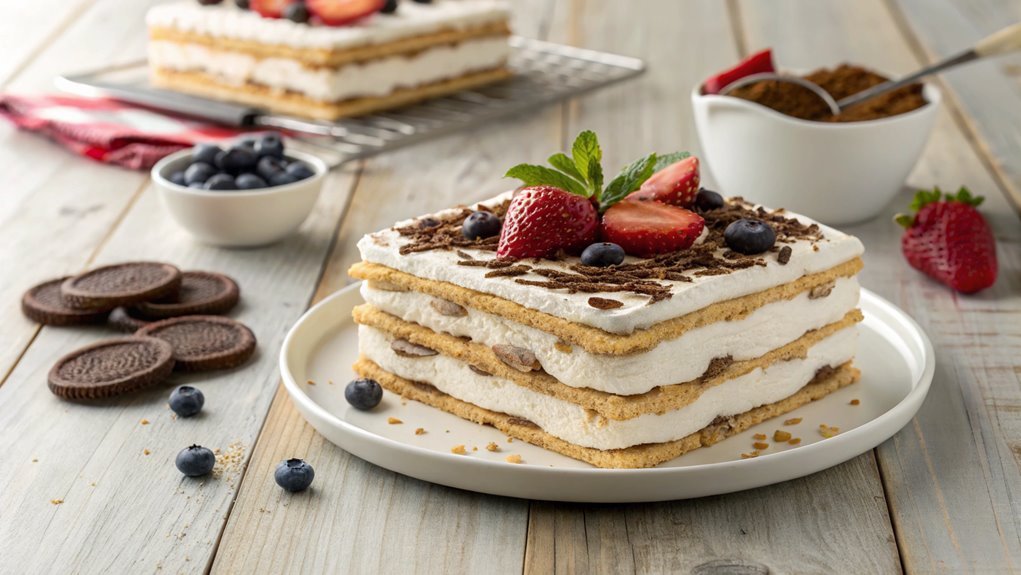
A No-Bake Icebox Cake is a delightful dessert made with simple ingredients without needing an oven. It’s easy to prepare with endless customization options to suit your taste.
As you gather your ingredients, consider experimenting with different combinations for a unique twist. Elevate the experience by trying out new flavors and textures.
Recipe
No-bake icebox cake is a delightful dessert that combines layers of creamy filling and crunchy cookies, creating a treat that’s both easy to prepare and incredibly satisfying. This cake is perfect for warm weather when you want something sweet without having to turn on the oven.
The beauty of an icebox cake lies in its simplicity; it requires minimal ingredients and can be assembled in just a few minutes. Plus, the longer it sits in the refrigerator, the more the flavors meld together, resulting in a rich, decadent dessert.
To make this no-bake icebox cake, you’ll need a few basic ingredients that you might already have in your pantry. The combination of whipped cream, cream cheese, and sweetened condensed milk creates a luscious filling that pairs perfectly with layers of graham crackers or chocolate wafers.
Feel free to get creative with your flavor combinations by adding fruits, chocolate, or even a splash of liqueur for an adult twist. Once you’ve assembled your cake, all that’s left to do is let it chill and enjoy!
Ingredients:
- 2 cups heavy whipping cream
- 8 oz cream cheese, softened
- 1 cup sweetened condensed milk
- 1 teaspoon vanilla extract
- 1 box of graham crackers or chocolate wafer cookies
- Optional toppings: chocolate shavings, fresh fruit, or crushed nuts
Now let’s move on to the cooking steps.
Cooking Steps
Let’s get started on making your delicious no-bake icebox cake!
First, you’ll want to gather all your ingredients, so you have everything at your fingertips.
Once you’ve got that, layering the cookies and cream becomes a fun and easy process that will lead to a delightful dessert you can’t wait to chill and serve!
Step 1. Gather Your Ingredients
Before you immerse yourself in making your delicious icebox cake, gather all the essential ingredients to guarantee a smooth and enjoyable process.
The first thing you’ll need is some graham crackers, which will serve as the base for your cake. Make sure you have enough to create multiple layers.
Next, grab a couple of cups of heavy cream; this will help you achieve that rich, creamy texture everyone loves. You can also add a little sugar to sweeten things up, balancing the flavors beautifully.
Don’t forget to pick up your favorite flavor of pudding mix—vanilla, chocolate, or even lemon work wonders! To elevate your icebox cake, consider adding some fresh fruits or chocolate chips for extra flavor and texture.
Finally, a pinch of vanilla extract can add that delightful aroma that makes your dessert irresistible.
With all these ingredients on hand, you’re ready to jump into the fun part: assembling your cake! Having everything prepped and organized will make the process much more enjoyable, so gather your ingredients and get excited.
You’re one step closer to a delightful treat that everyone will love!
Step 2. Layer the Cookies and Cream
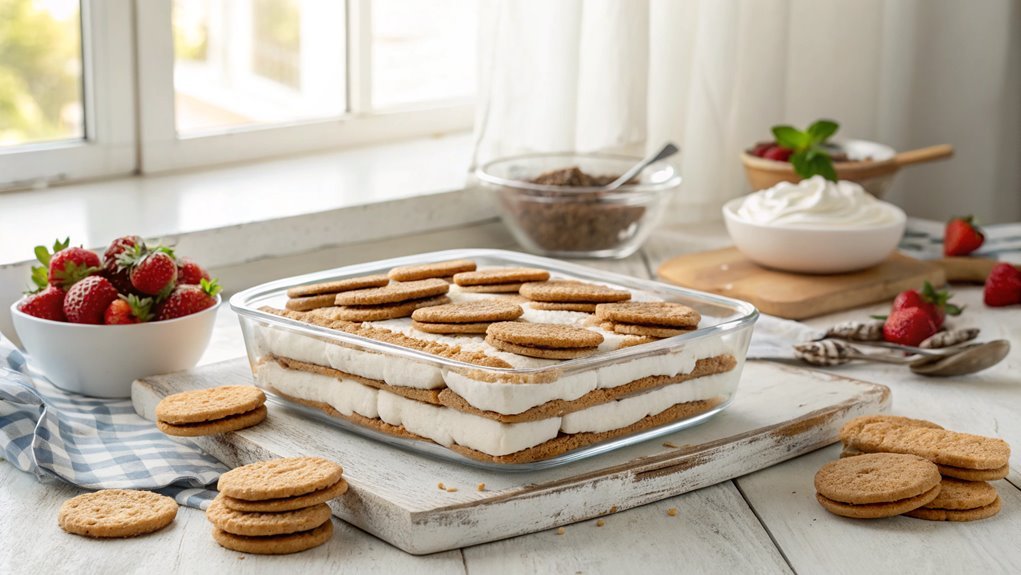
With your ingredients ready, it’s time to layer the cookies and cream for your icebox cake. Start by grabbing a rectangular dish where you’ll build your masterpiece.
Take your cookies, and dip each one briefly into milk, ensuring they’re moist but not soggy. Line the bottom of your dish with a single layer of these delicious cookies.
Next, it’s time to spread some creamy goodness! Take a generous scoop of your whipped cream mixture and spread it evenly over the cookies. Use a spatula for a smooth finish, making sure to cover every corner.
Now, repeat this process! Layer more dipped cookies over the cream, then another layer of whipped cream on top.
Keep going until you run out of ingredients or reach the top of your dish. Don’t forget to finish with a beautiful layer of whipped cream.
If you’re feeling creative, you can even sprinkle crushed cookies or chocolate shavings on top for extra flair. This layering process not only builds flavor but creates that delightful texture everyone loves.
Get ready to impress your friends and family with this no-bake treat they’ll adore!
Step 3. Chill for Two Hours
After you’ve assembled your layers of cookies and cream, it’s crucial to chill your icebox cake for at least two hours. This chilling time isn’t just a suggestion—it’s the magic moment when all those delicious flavors meld together beautifully!
As the cake rests in the refrigerator, the cookies soften, creating that delightful, creamy texture you crave in a dessert.
While you wait, think about how satisfying it’ll be to slice into that chilled cake afterward. The anticipation makes it even more exciting!
Cover your cake with plastic wrap or a lid to keep it fresh and free from any fridge odors. You’ll want to make sure it’s well-protected, as you don’t want any unwanted flavors sneaking in.
Don’t be tempted to skip this step or rush the process. Trust us; the result will be worth it!
Once the two hours are up, you’ll be ready to take your icebox cake out of the fridge, and trust us, it’ll look irresistible. This is the perfect time to gather your friends or family for a fun dessert reveal. Get ready to impress everyone with your delicious creation!
Step 4. Add Whipped Topping Layer
As you plunge into adding the whipped topping layer, grab your favorite whipped topping—store-bought or homemade works perfectly. This layer adds a delightful creaminess that contrasts beautifully with the other elements of your icebox cake.
Using a spatula, gently spread the whipped topping over the entire surface of your chilled cake, ensuring it covers every inch.
To create a stunning presentation, consider these three key items to sprinkle on top:
- Chocolate shavings – These little curls add a touch of elegance and an extra chocolatey flavor.
- Crushed cookies – Use the same cookies you layered in the cake for a cohesive look and taste.
- Chopped nuts – A sprinkle of chopped walnuts or pecans provides a satisfying crunch that complements the creaminess of the topping.
Once you’ve added your toppings, take a moment to admire your creation. The whipped topping layer not only enhances the flavor but also makes your icebox cake look irresistible.
Now, you’re just a step away from serving this delightful dessert to friends and family. Enjoy the process, and get ready for the compliments to roll in!
Step 5. Serve With Fresh Berries
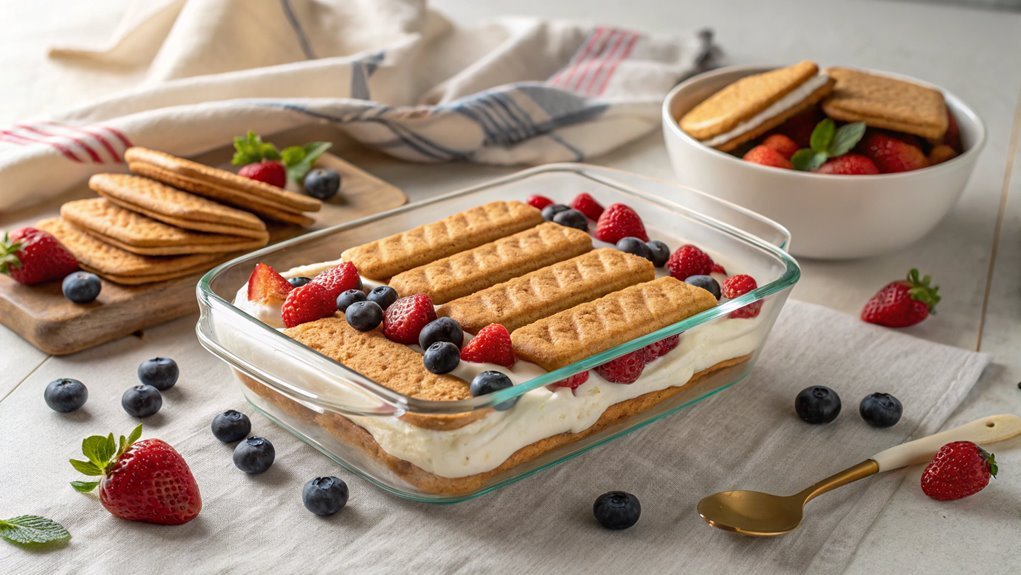
To elevate your icebox cake, serving it with fresh berries adds a burst of flavor and color that perfectly complements the creamy layers. Choose a mix of your favorites, like strawberries, blueberries, or raspberries. Their natural sweetness and slight tartness will enhance the rich taste of the cake while providing a stunning presentation.
Start by washing the berries thoroughly and patting them dry with a paper towel. If you’re using strawberries, slice them into halves or quarters to make them easier to eat and to showcase their vibrant red flesh.
Place the berries in a bowl and, if you like, sprinkle a little sugar over them to draw out their juices, creating a delightful syrup to drizzle over your cake.
When you’re ready to serve, slice the icebox cake and plate it up. Generously scatter the fresh berries on top or around the sides for a beautiful touch. You can also add a dollop of whipped cream for extra indulgence.
As you dig into this revitalizing dessert, you’ll appreciate how the berries bring a delightful contrast to the creamy, dreamy layers. Enjoy every bite of your no-bake creation!
Final Thoughts
While you may have plenty of dessert options, a no-bake icebox cake stands out for its simplicity and deliciousness.
This delightful dessert brings together layers of flavor and texture without the need for an oven. It’s perfect for any occasion, whether you’re entertaining guests or simply treating yourself.
Imagine serving this cake and seeing the smiles it brings.
Here’s what makes it so special:
- Creamy Layers: Each bite melts in your mouth, thanks to the rich whipped cream and creamy fillings.
- Crunchy Texture: The cookies provide a delightful crunch, balancing the creaminess perfectly.
- Endless Flavor Options: You can customize it with your favorite flavors—chocolate, fruit, or even caramel!
Frequently Asked Questions
How Long Does the Icebox Cake Need to Chill?
To guarantee your dessert sets perfectly, you’ll want to chill it for at least four hours. If you can, letting it sit overnight will enhance the flavors and improve the texture even more. Enjoy!
Can I Use Gluten-Free Cookies for the Recipe?
Using gluten-free cookies in your recipe is like finding a hidden gem; it works beautifully! Just make sure they’re sturdy enough to hold up, and you’ll create a delightful treat everyone can enjoy.
What Are Some Popular Flavor Variations for Icebox Cakes?
You can experiment with various flavors for icebox cakes. Consider chocolate, strawberry, or lemon. You might also try adding layers of peanut butter or coconut. Don’t hesitate to mix and match to find your favorite!
How Can I Store Leftover Icebox Cake?
You’ve got leftovers, but you don’t want them to go to waste. Store your icebox cake in an airtight container, and it’ll stay fresh in the fridge for up to five days. Enjoy later!
Is It Possible to Make This Dessert Vegan?
Yes, you can definitely make this dessert vegan! Substitute dairy ingredients with plant-based alternatives like coconut cream or almond milk. Use vegan cookies and guarantee any additional components, like toppings, are also dairy-free. Enjoy your creation!
Conclusion
You’ve crafted a delectable no-bake icebox cake that’s as refreshing as a summer breeze. Each creamy layer and crunchy cookie blend beautifully, inviting everyone to indulge.
Top it with fresh berries to add a burst of color and flavor. Gather your loved ones, serve this treat, and watch them smile with delight.
