S’mores Bar Recipe
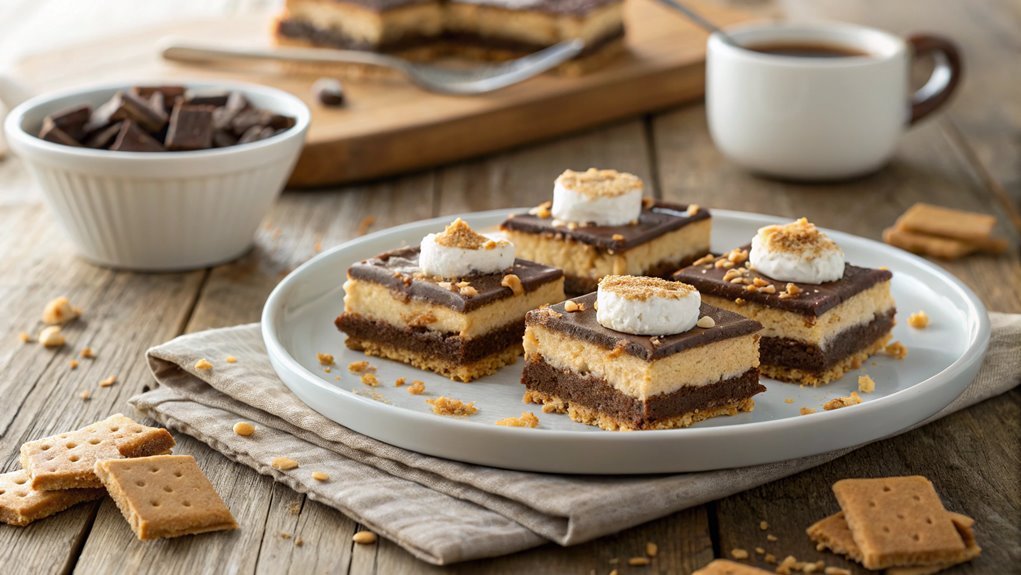
A S’mores Bar offers a delightful blend of flavors that can enhance any gathering, with each ingredient playing a crucial role in achieving the perfect balance of sweetness and texture. Consider the customization options to cater to diverse tastes and preferences without the need for baking.
Before heading to the kitchen, follow essential steps and tips to enhance your S’mores experience. Proper preparation ensures that this treat will satisfy everyone’s cravings.
Recipe
S’mores bars are a delightful twist on the classic campfire treat, perfect for satisfying your sweet tooth without the need for a fire. This no-bake recipe combines the delicious flavors of graham crackers, chocolate, and marshmallows into a convenient bar form, making it easy to enjoy anytime.
Whether you’re hosting a gathering, enjoying a family movie night, or just craving something sweet, these s’mores bars are sure to please everyone.
To make the s’mores bars, you’ll start by preparing a simple graham cracker crust that serves as the base. Once the crust is set, you’ll layer it with melted chocolate and gooey marshmallows, creating that iconic s’mores flavor profile.
After chilling the bars in the refrigerator, cut them into squares and enjoy the deliciousness! This recipe isn’t only easy to follow but also customizable; feel free to experiment with different types of chocolate or add in extras like nuts or peanut butter for a unique twist.
Ingredients:
- 2 cups graham cracker crumbs
- 1/2 cup unsalted butter, melted
- 1/4 cup granulated sugar
- 2 cups milk chocolate chips
- 2 cups mini marshmallows
- 1 teaspoon vanilla extract
- Pinch of salt
Now let’s move on to the cooking steps.
Cooking Steps
Ready to create a delicious s’mores bar? Start by gathering all your ingredients, as having everything on hand makes the process smooth and fun.
Next, you’ll melt the chocolate over low heat, assemble your s’mores, and toast those marshmallows to perfection before serving them with some exciting toppings!
Step 1. Gather Your Ingredients First
Before diving into the delicious world of s’mores, you’ll want to gather all the essential ingredients. Start with graham crackers, as they form the perfect crunchy base. Next, pick up some chocolate bars; milk chocolate works beautifully for that classic sweet flavor. You’ll also need marshmallows, which add that gooey, melty goodness we all love.
If you’re feeling adventurous, consider adding extras like peanut butter cups or caramel for a twist on the traditional recipe.
Don’t forget your tools! Grab a baking dish, parchment paper, and a spatula for easy assembly. If you plan to toast your marshmallows, a skewer or long fork will come in handy.
Before you begin, take a moment to arrange everything within reach. This way, you won’t have to scramble around while your taste buds anticipate the delicious outcome.
With your ingredients ready, the excitement builds! You’re one step closer to creating a delightful s’mores bar that’ll impress family and friends alike.
Step 2. Melt Chocolate Over Low Heat
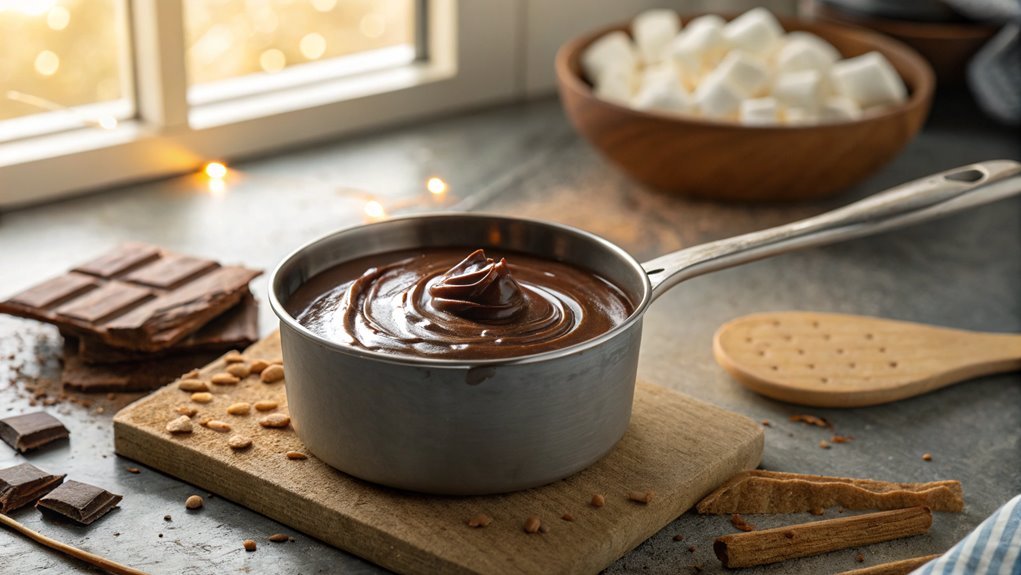
Start by breaking your chocolate bars into smaller pieces to guarantee they melt evenly. This step is vital for achieving that creamy, luscious texture you’re after.
Next, place the chocolate in a saucepan over low heat. It’s important to keep the heat low; high temperatures can scorch the chocolate, ruining its smoothness. As the chocolate begins to melt, stir it gently with a spatula or wooden spoon. This not only helps it melt uniformly but also prevents it from sticking to the bottom of the pan.
Keep an eye on it, and don’t rush the process! You want to enjoy watching the chocolate transform into a velvety mix.
Once it’s mostly melted, remove it from the heat and continue stirring until it’s completely smooth. If you feel adventurous, you can mix in a pinch of salt or a splash of vanilla extract to elevate the flavor. The aroma will be irresistible, making you enthusiastic to move on to the next steps.
Melting chocolate is an essential part of your s’mores bar adventure. Trust me, once you experience that delightful gooeyness, you’ll be hooked on making your own sweet treats!
Step 3. Assemble S’mores Ingredients Together
As you gather your ingredients, make certain everything is within reach for a smooth assembly process. You’ll need graham crackers, chocolate, and marshmallows—all the essentials for your delicious s’mores!
Start by breaking the graham crackers in half to create your base. Lay them out on a clean surface or plate, making sure they’re ready for the assembly line.
Next, grab the melted chocolate and carefully drizzle or spread it over one half of each graham cracker. The warm chocolate will melt just a bit more as you add the marshmallow, creating a gooey masterpiece. Place a marshmallow on top of the chocolate. Don’t be shy—use as many as you like!
Finally, take the other half of the graham cracker and gently press it down on top of the marshmallow. This will create a delightful sandwich of flavors and textures. If you want to get a little fancy, consider adding extra ingredients like peanut butter or sprinkles before topping it off.
Once you’ve got your s’mores assembled, you’re one step closer to enjoying a classic treat that’s sure to please everyone! So, let’s get ready to toast those marshmallows to perfection!
Step 4. Toast Marshmallows to Perfection
Now that your s’mores are assembled, it’s time to toast those marshmallows to perfection. This is where the magic happens! Toasting marshmallows is all about finding that ideal balance between golden-brown and gooey. You want them to melt just right, so let’s get started!
- Choose Your Heat Source: Whether you’re using a campfire, a grill, or a kitchen torch, make certain it’s hot but manageable. Safety first!
- Skewer the Marshmallows: Use a long skewer or roasting stick. This keeps your hands safe from the heat while allowing you to rotate the marshmallows easily.
- Toast Slowly: Hold the marshmallow above the flame, not directly in it. Rotate it slowly for even toasting. You’re aiming for that perfect golden color!
- Watch Closely: Keep an eye on them, as they can go from perfect to burnt in seconds. Once they’re bubbly and golden, pull them off the heat!
Once your marshmallows are perfectly toasted, you’re just moments away from enjoying an epic s’more experience.
Get ready to indulge in that delightful gooeyness!
Step 5. Serve With Fun Toppings
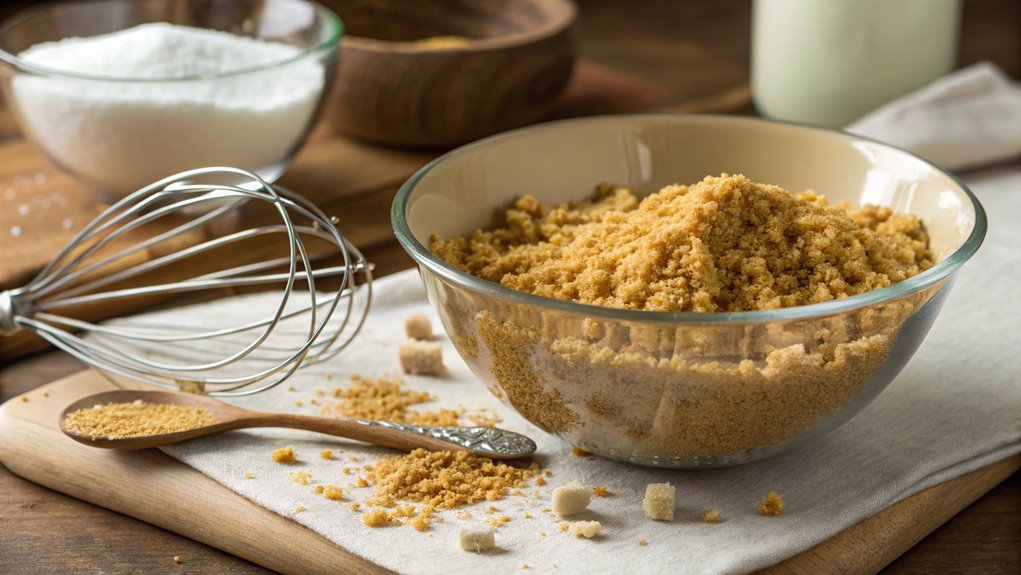
While your toasted marshmallows are still warm and gooey, it’s the perfect time to elevate your s’mores with fun toppings. Don’t hold back—this is your chance to get creative! Start by adding a drizzle of chocolate or caramel sauce over your marshmallow. The warmth will make it ooze deliciously into every bite.
Next, consider sprinkling crushed graham crackers or even nuts for that extra crunch. You might also want to experiment with different chocolate flavors. Try milk chocolate, dark chocolate, or even white chocolate for a unique twist.
Feeling adventurous? Slice up some fresh strawberries, bananas, or even a hint of peanut butter for a fruity or nutty surprise. You could create a s’mores bar and let everyone customize their own treats.
Gather your friends and family around, and encourage them to mix and match toppings. The joy of s’mores comes not just from the taste, but also from the fun of creating something special together.
Final Thoughts
Creating a s’mores bar isn’t just about enjoying a delicious treat; it’s about crafting a fun, interactive experience.
Whether you’re hosting a party or just want a cozy night in, this setup invites everyone to get creative. You can customize each s’more to your taste, making it a memorable event!
To make your s’mores bar even more exciting, consider these four key elements:
- Variety of Chocolates: Use milk chocolate, dark chocolate, or even flavored bars like mint or sea salt caramel.
- Unique Cookies: Swap traditional graham crackers for cookies like Oreos or shortbread for a twist.
- Fun Toppings: Add toppings like crushed nuts, sprinkles, or peanut butter for extra flavor.
- Different Marshmallows: Try flavored marshmallows like caramel or strawberry to surprise your guests.
Frequently Asked Questions
Can I Use Gluten-Free Graham Crackers for the S’mores Bar?
Yes, you can use gluten-free graham crackers for your recipe. They’ll work just as well, ensuring everyone can enjoy the treat. Just make sure to check the ingredients for any hidden gluten sources.
How Can I Store Leftover S’mores Bars?
Did you know that nearly 60% of people enjoy sweet treats more when they’re fresh? To store leftover bars, wrap them tightly in plastic wrap or place them in an airtight container. They’ll stay delicious for days!
What Are Some Alternative Toppings for S’mores Bars?
You can get creative with toppings! Try adding crushed pretzels for crunch, peanut butter chips for richness, or fresh fruit like strawberries. Experimenting with different flavors will make your treats even more exciting and delicious!
Can I Make S’mores Bars Ahead of Time?
Yes, you can definitely make s’mores bars ahead of time! Just store them in an airtight container at room temperature. They’ll stay fresh for a few days, so you can enjoy them later.
Is There a Vegan Version of the S’mores Bar Recipe?
Imagine crafting a cozy campfire vibe without the guilt. You can definitely whip up a vegan version of s’mores bars, using plant-based chocolate, dairy-free marshmallows, and graham crackers. It’s simpler than you think!
Conclusion
Savor each layer of your S’mores Bar as a celebration of sweet moments and cherished memories. Every bite brings warmth, reminiscent of a campfire with friends and laughter. Gather loved ones and immerse yourselves in this delightful recipe. Let the joy of creating something special fill your hearts. Cooking is about connecting and making lasting memories. Enjoy!


