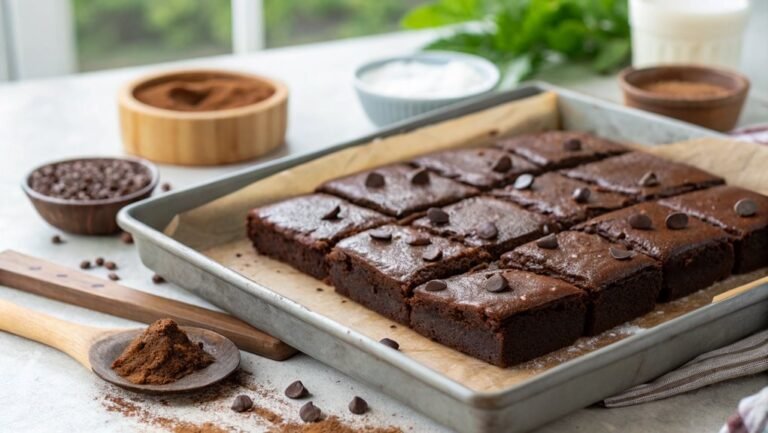
Chewy Blondie Bar Recipe
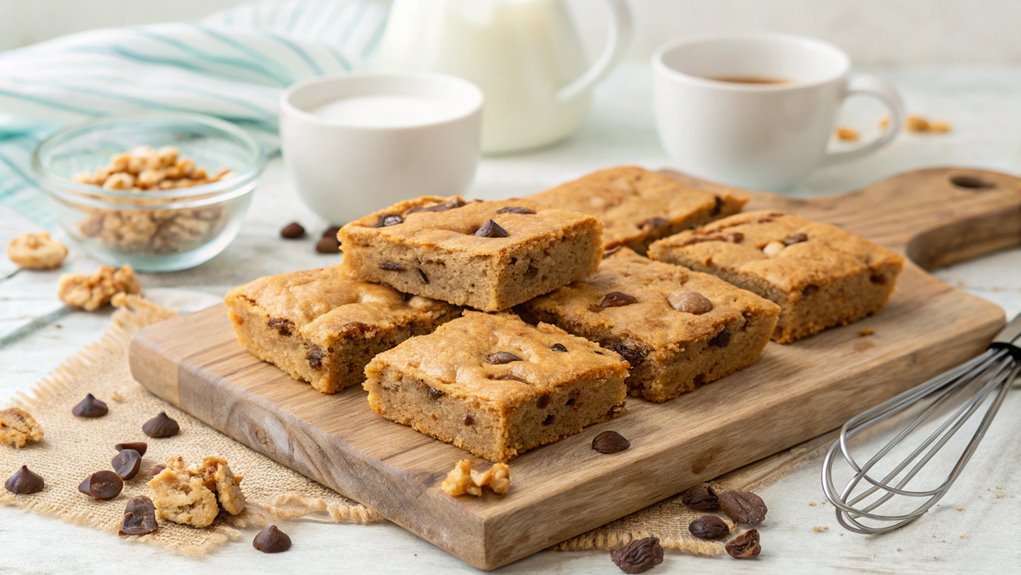
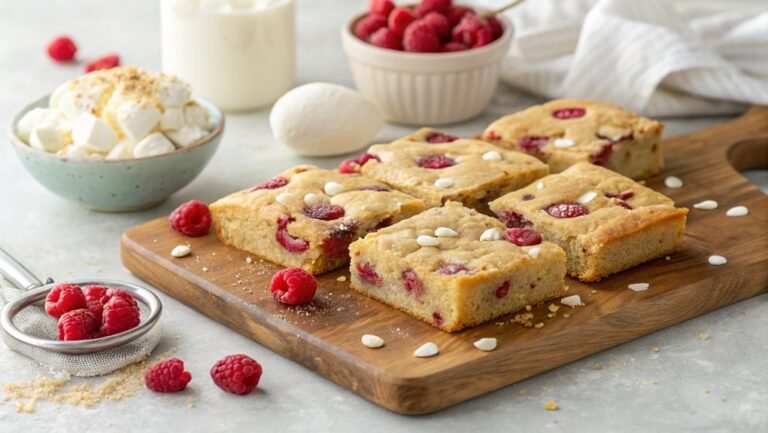
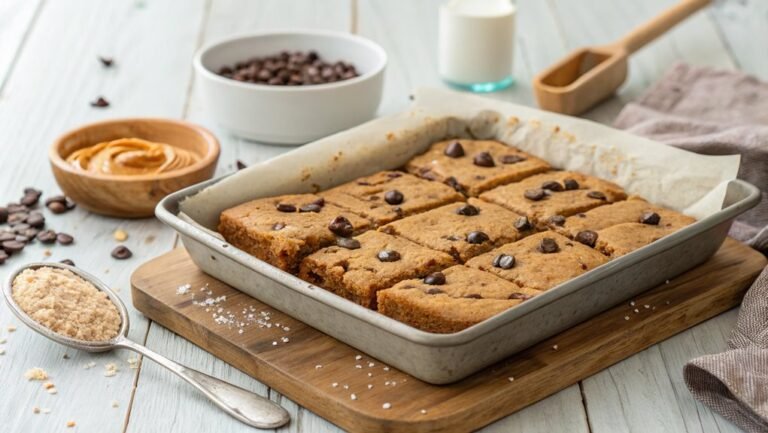
Imagine pulling a tray of golden-brown blondies from the oven, with edges slightly crisp and a chewy center. This simple combination of ingredients creates a dessert that’s both comforting and satisfying.
By following a few straightforward steps, you can make these irresistible bars sure to impress at any gathering or serve as a sweet indulgence at home. The real question is, what secret ingredient could elevate your blondies to the next level?
Recipe
Chewy blondie bars are a delightful treat that perfectly balances sweetness and chewiness, making them an irresistible dessert for any occasion. These bars, often described as a richer cousin of brownies, are made with brown sugar, giving them a caramel-like flavor that pairs beautifully with chocolate chips or nuts.
Whether you’re hosting a gathering or simply satisfying a sweet tooth, these blondies are sure to impress family and friends alike.
The best part about making chewy blondie bars is how simple and quick they’re to prepare. With just a handful of ingredients and minimal prep time, you can whip up a batch that will fill your kitchen with a mouthwatering aroma.
Once baked, these bars can be enjoyed warm or cooled, and they’re perfect for storing and sharing. Follow this recipe for a deliciously chewy treat that will become a staple in your dessert repertoire.
Ingredients:
- 1 cup unsalted butter, melted
- 1 ½ cups packed brown sugar
- 2 large eggs
- 2 teaspoons vanilla extract
- 2 cups all-purpose flour
- ½ teaspoon baking powder
- ½ teaspoon baking soda
- ½ teaspoon salt
- 1 cup chocolate chips (or nuts, optional)
Now let’s move on to the cooking steps.
Cooking Steps
Now that you’ve gathered your ingredients, it’s time to get cooking!
Start by preheating your oven to 350°F, which sets the perfect stage for those chewy blondies.
Next, you’ll mix the dry ingredients together before adding the wet ones gradually—this is where the magic begins!
Step 1. Preheat Oven to 350°F
To kick off your Chewy Blondie Bar recipe, preheat your oven to 350°F. This step is essential, as it guarantees that your blondies bake evenly and come out perfectly chewy every time.
While you’re waiting for the oven to reach the right temperature, take a moment to gather your ingredients and baking supplies. A well-prepared kitchen makes all the difference in your baking experience.
As the oven heats up, imagine the delicious smell of warm, gooey blondies wafting through your home. That aroma is just a few steps away! Preheating the oven also helps create a lovely golden crust, which is one of the highlights of these treats.
Make certain you’ve got your oven rack positioned in the center, which promotes even baking. If you have an oven thermometer, it’s a good idea to check the accuracy of your oven’s temperature.
Once it hits 350°F, you’ll be ready to move on to the next exciting step in your blondie-making journey. Baking is all about patience and anticipation, and you’re on your way to creating something truly special. So, let’s get those blondies started!
Step 2. Mix Dry Ingredients Together
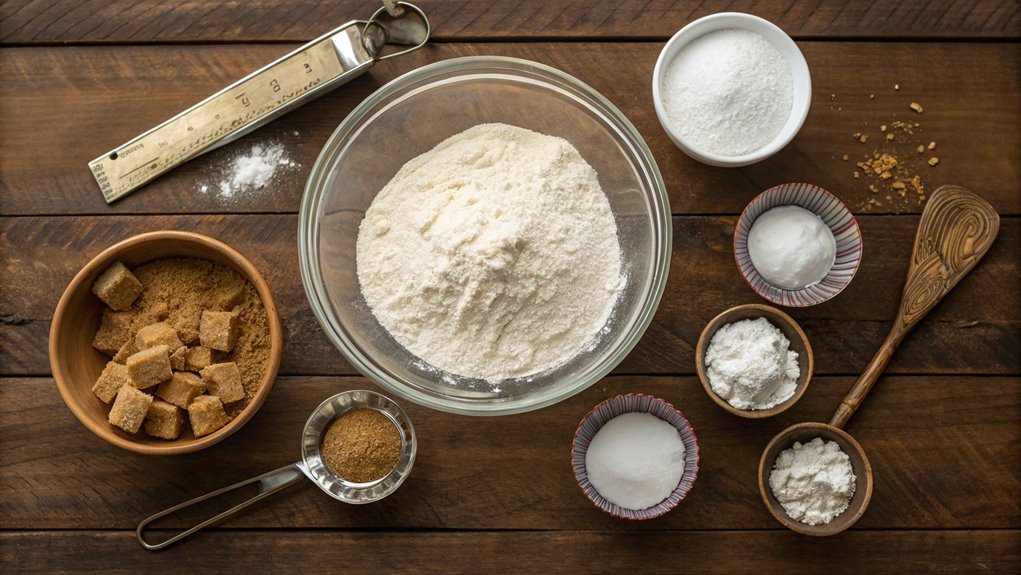
With the oven preheated and your kitchen prepped, it’s time to mix the dry ingredients together.
Start by grabbing a large mixing bowl and add your all-purpose flour. You’ll want to measure it accurately, so use a spoon to fluff it up before scooping. This helps prevent clumping and guarantees a perfect texture.
Next, sprinkle in the baking powder and a pinch of salt; these will give your blondies that delightful rise and balance the sweetness.
Now, it’s time to add the brown sugar. Make certain to break up any lumps for a smooth consistency. The brown sugar is essential for that rich, chewy texture you’re after.
Don’t forget to mix in the optional ingredients, like chopped nuts or chocolate chips, if you want to elevate your blondies! Stir everything together until it’s evenly combined, making sure that no dry spots are left behind.
As you blend the ingredients, you’ll start to feel the excitement of what’s to come. Your kitchen will soon be filled with the heavenly aroma of freshly baked blondies.
Once everything’s mixed well, you’ll be ready to move on to the next step, where the magic truly begins!
Step 3. Add Wet Ingredients Gradually
As you prepare to create that irresistible blondie batter, it’s crucial to add the wet ingredients gradually. This step guarantees that everything blends smoothly, resulting in a deliciously chewy texture.
Start with your melted butter and let it cool slightly before adding it to your dry mix. Once that’s done, crack in the eggs one at a time, mixing well after each addition. This method helps incorporate air into the batter, giving it that perfect rise.
Next, pour in your vanilla extract, adding it to the mixture with care. Don’t rush! Remember, taking your time enhances the flavors and creates a rich blondie experience.
Here are a few tips to keep in mind while adding those wet ingredients:
- Mix thoroughly: Make sure to combine well after each addition for a uniform batter.
- Avoid over-mixing: Stir just until combined to maintain that soft, chewy texture.
- Temperature matters: Verify your wet ingredients are at room temperature for the best results.
Step 4. Fold in Chocolate Chips
Once you’ve achieved a smooth batter, it’s time to fold in the chocolate chips, ensuring they’re evenly distributed throughout. Grab a spatula and gently scoop under the batter, lifting it over the chocolate chips. This method prevents the chips from breaking apart, keeping their delightful shape intact. You want to incorporate them without overmixing, so a few folds should do the trick.
Imagine those melty chocolate morsels blending into the sweet, buttery base, creating pockets of gooey goodness in every bite. You can use semisweet, milk chocolate, or even a mix of both, depending on your taste. It’s all about what makes your taste buds dance!
As you fold, keep an eye on the consistency of the batter; it should remain thick and luscious. This is the moment where anticipation builds—you’re just steps away from a delicious treat.
Once the chocolate chips are evenly mixed in, you’ll feel that excitement bubbling up. Can you picture the warm, chewy blondies fresh out of the oven? Trust me; folding in those chips is the key to achieving that perfect blend of flavors.
Step 5. Bake for 25 Minutes
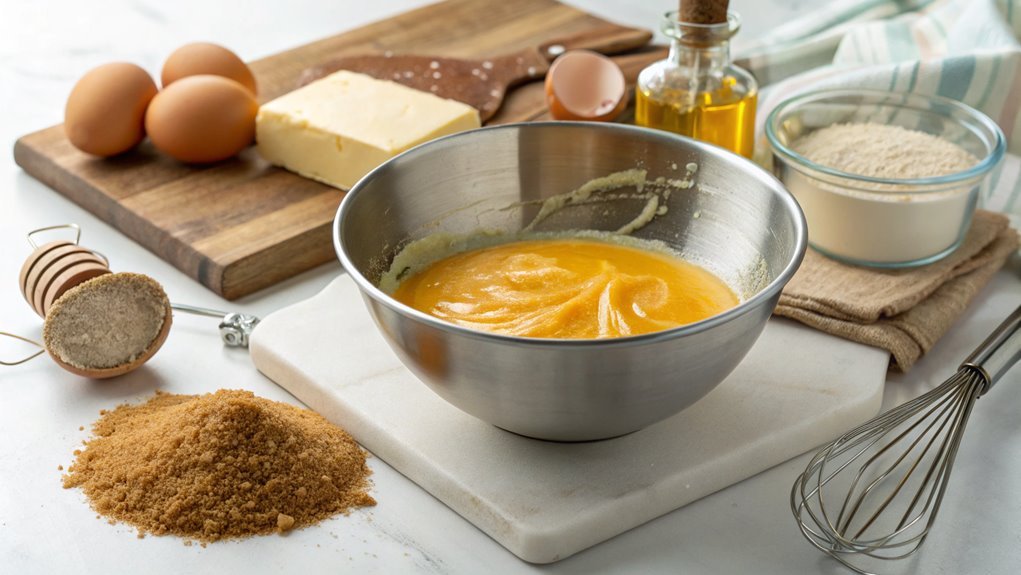
Now it’s time to bake the blondies to perfection. Preheat your oven to 350°F (175°C), and while it’s heating, make sure you’ve got your baking pan ready. Grease it lightly to prevent your delicious dessert from sticking.
Once your oven is prepped, pour your blondie batter into the pan and spread it evenly. Set your timer for 25 minutes and place the pan in the oven. As it bakes, you’ll start to smell that irresistible aroma wafting through your kitchen.
Here are some tips to keep in mind:
- Check for doneness: Insert a toothpick into the center; it should come out with a few moist crumbs.
- Cool before cutting: Allow the blondies to cool in the pan for about 10 minutes before slicing. This helps them set up nicely.
- Store properly: Keep leftovers in an airtight container at room temperature for up to a week, if they last that long!
After 25 minutes, pull those golden, chewy blondies out of the oven. Let the excitement build as you anticipate that first delicious bite. Enjoy every moment!
Final Thoughts
While you may have tried many dessert recipes, there’s something uniquely satisfying about whipping up a batch of chewy blondie bars. These delightful treats combine the rich, buttery flavor of brown sugar with the perfect chewy texture that makes every bite a joy. Once you taste them, you’ll know why they’re a favorite among dessert lovers.
Making blondies is a straightforward process that doesn’t require fancy techniques or equipment. Just gather your ingredients, mix them up, and pour the batter into a pan. You’ll find that the smell of baking blondies fills your kitchen with warmth and anticipation.
Plus, they’re incredibly versatile! You can add chocolate chips, nuts, or even your favorite candies to customize them to your liking.
Sharing these blondie bars with friends and family is one of the best parts. Watch their faces light up as they take a bite, and you’ll feel a sense of accomplishment.
Frequently Asked Questions
Can I Substitute Ingredients for a Gluten-Free Version?
Yes, you can substitute ingredients for a gluten-free version! Use gluten-free flour blends or almond flour instead of regular flour. Just make sure to adjust baking times, as gluten-free ingredients can behave differently. Enjoy your baking!
How Should I Store Leftover Blondies?
To keep your blondies as fresh as morning dew, store them in an airtight container at room temperature for up to three days. For longer storage, pop them in the fridge for up to a week!
Can I Freeze Chewy Blondies?
Yes, you can freeze chewy blondies! Just wrap them tightly in plastic wrap or foil, then place them in an airtight container. They’ll stay fresh for up to three months, so you can enjoy them later!
What Toppings Pair Well With Blondies?
When it comes to toppings that pair well with blondies, you can’t go wrong with chocolate chips, nuts, or a drizzle of caramel. Fresh fruit or whipped cream adds a delightful touch, too! Enjoy experimenting!
How Do I Know When They’re Done Baking?
Most bakers find that 90% of the time, a toothpick test is reliable. You’ll know they’re done when the edges look set, and a toothpick inserted in the center comes out with just a few moist crumbs.
Conclusion
You’ve created chewy blondie bars that offer comfort like a warm hug. The mix of brown sugar and butter delivers a flavor explosion that is irresistible.
Enjoy them alone or share with friends; each bite is delightful. Gather your ingredients, preheat the oven, and let the delicious aroma fill your kitchen—happy baking!

