Cherry Clafoutis Recipe
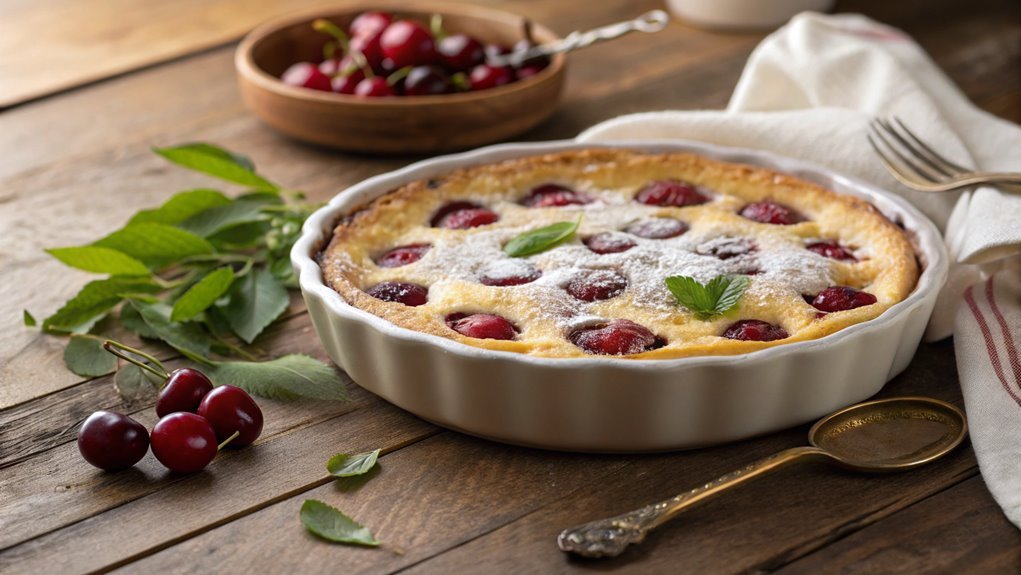
Cherry Clafoutis is a classic French dessert that balances simplicity with elegance. Using just a few ingredients, it creates a custard-like texture that complements the tartness of fresh cherries.
It’s easy to prepare, making it suitable for casual gatherings or special occasions. Consider some variations to elevate the flavor before gathering your cherries.
Recipe
Cherry clafoutis is a classic French dessert that beautifully showcases the natural sweetness of cherries enveloped in a delicate, custard-like batter. This rustic dish is easy to prepare and perfect for showcasing fresh, seasonal cherries. Traditionally, clafoutis is made with whole cherries, which add a burst of flavor and a wonderful texture.
You can serve it warm or at room temperature, making it an excellent choice for any occasion, from a casual family dinner to a celebratory gathering.
The beauty of cherry clafoutis lies in its simplicity. Utilizing just a handful of ingredients, this dish combines flour, eggs, milk, sugar, and cherries to create a light and airy custard that puffs up in the oven.
The sweet, juicy cherries contrast perfectly with the subtly sweet batter, resulting in a delightful dessert that will have everyone coming back for seconds. Get ready to impress your guests with this elegant yet effortless treat.
Ingredients:
- 1 cup fresh cherries, pitted and halved
- 3 large eggs
- 1 cup whole milk
- 1 teaspoon vanilla extract
- 1/2 cup granulated sugar
- 1/2 cup all-purpose flour
- 1/4 teaspoon salt
- Butter, for greasing the baking dish
- Powdered sugar, for serving (optional)
Now let’s move on to the cooking steps.
Cooking Steps
Now that you’ve gathered your ingredients, it’s time to get cooking!
Start by preheating your oven to 350°F, which will create the perfect environment for your cherry clafoutis to rise and set beautifully.
Once that’s done, you’ll mix your cherries with the batter, pour it all together, and let the magic happen in the oven—trust me, the delicious aroma will have everyone excited to taste your creation!
Step 1. Preheat Oven to 350°F
To get started on your Cherry Clafoutis, preheating your oven to 350°F is vital. This step is important because it guarantees your dessert bakes evenly and achieves that delightful golden hue. An adequately preheated oven helps create that perfect custard-like texture that makes clafoutis so irresistible.
Here’s what you need to do:
- Locate your oven—make sure it’s clean and ready to go.
- Turn the oven dial or press the button to set it to 350°F.
- Confirm the oven rack is positioned in the center for even heat distribution.
- Give it a few moments to heat up; an oven thermometer can help confirm the temperature.
- Use this time to prep your ingredients, so you’re all set when the oven is ready!
Once you’ve preheated your oven, you’re one step closer to enjoying that luscious Cherry Clafoutis. The aromas of baking cherries and creamy batter are simply magical!
Step 2. Mix Cherries With Batter
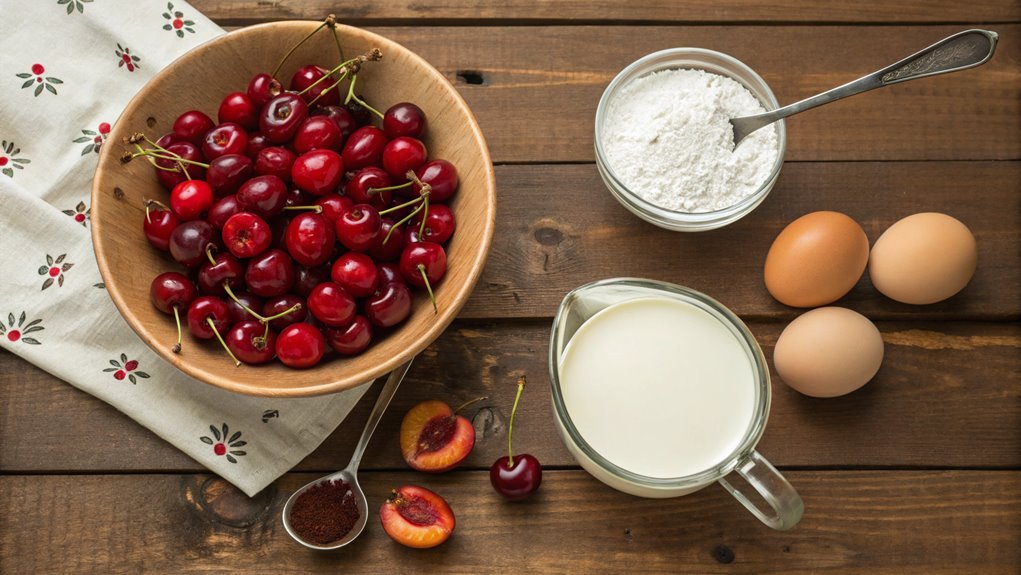
With the oven preheated and ready, the next step involves mixing the cherries with the batter. Start by getting those fresh cherries, pitting them if necessary. You want to make certain they’re clean and juicy, as they’ll add a burst of flavor to your clafoutis.
In a large bowl, pour in your prepared batter, which should already include ingredients like flour, eggs, milk, and sugar. This mix should be smooth and not too thick, perfect for coating those cherries beautifully.
Carefully fold the cherries into the batter, gently stirring to guarantee every piece is surrounded by that sweet mixture. Be mindful not to crush the cherries too much; you want them to keep their shape and deliver that delightful pop of sweetness when you take a bite.
The color from the cherries will mix in slightly, turning your batter a lovely shade of red, which is always tempting!
Once you have everything combined, take a moment to admire your hard work. The excitement of seeing this lovely mix will make your mouth water. You’re nearly there, so get ready to move on to pouring that wonderful batter over the cherries!
Step 3. Pour Batter Over Cherries
It’s time to pour the delicious batter over the cherries, bringing your clafoutis one step closer to perfection. This moment is where the magic happens, and you’re going to love the transformation. As you gently pour the batter, make sure it evenly coats every cherry, allowing their flavors to meld beautifully.
Follow these simple tips for the best results:
- Use a ladle: This helps you control the amount of batter you pour, making sure of even coverage.
- Start from the center: Pour the batter in the middle, letting it flow around the cherries for an appealing look.
- Don’t overflow: Be careful not to overfill your dish; leave some space for expansion as it cooks.
- Make it even: Bump your dish slightly on the counter to help settle the batter and remove air bubbles.
- Visual appeal: Don’t shy away from arranging the cherries for a beautiful presentation before pouring.
As you watch the batter lazily embrace the cherries, you can almost taste the sweet treat that’s about to come. Excitement is in the air; your clafoutis is getting ready for its next stage!
Step 4. Bake for 35 Minutes
Set your oven to bake your clafoutis for 35 minutes, creating a warm environment that will turn your batter into a delectable dessert.
Once you place your baking dish in the oven, get ready for the magic to happen. You’ll notice the buttery aroma starting to fill your kitchen, and it’s a delightful reminder of what’s to come.
During this time, the batter will puff up and turn a beautiful golden brown. As it bakes, the cherries will release their juices, mingling perfectly with the creamy custard.
Keep an eye on it after about 25 minutes; ovens can vary, and you’ll want to check for that lovely set texture. You’re looking for a firm, yet slightly jiggly center.
When the 35 minutes are up, use a toothpick to test the clafoutis, ensuring it comes out clean. If it does, take it out and marvel at your handiwork. If not, pop it back in for a few more minutes.
The anticipation builds, and soon you’ll enjoy every rich, fruity bite. Get ready to impress your friends and family with this simple, yet impressive dessert! Happy baking!
Step 5. Cool Before Serving
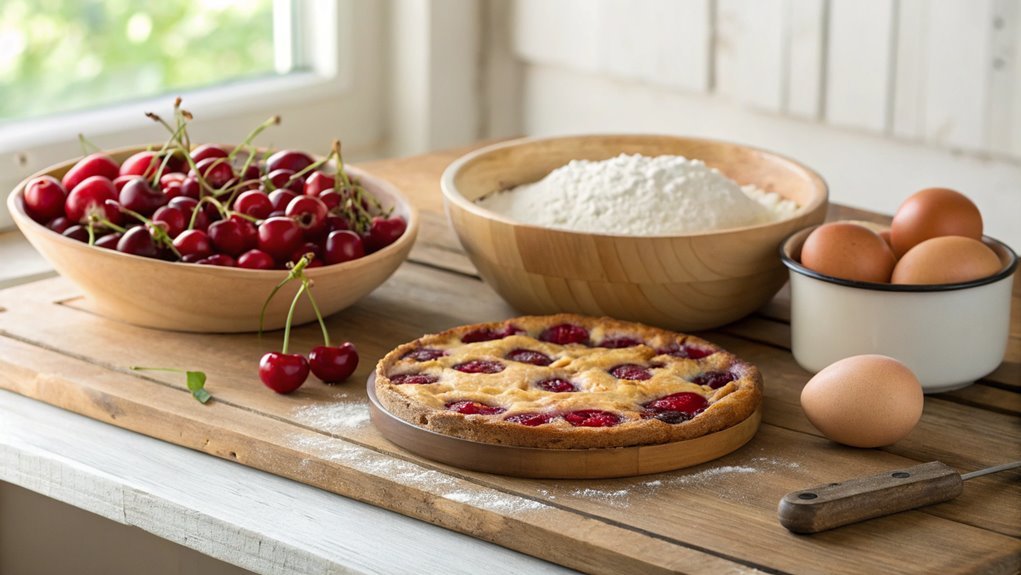
Although you might be tempted to dig in right away, allowing the clafoutis to cool before serving greatly enhances its flavor and texture. Once it’s out of the oven, patience truly pays off. Cooling not only sets the clafoutis but also lets those rich cherry flavors blossom.
Here’s what you should do while it’s cooling:
- Let it rest: Aim for about 15-20 minutes on the counter.
- Check consistency: You want it slightly firm but still a touch custardy in the center.
- Serve warm: Clafoutis is best enjoyed slightly warm, so don’t let it cool completely!
- Pair with toppings: Dust with powdered sugar or serve with whipped cream for an extra treat.
- Store leftovers: If you have any, cover and refrigerate. It tastes wonderful chilled too!
With each slice, you’ll experience that perfect blend of sweet cherries and custardy goodness. It’s truly a delightful dessert that feels both special and comforting.
Final Thoughts
As you wrap up your cherry clafoutis adventure, remember that this delightful dessert is more than just a recipe; it’s an experience best enjoyed with family and friends. The vibrant cherries, rich custard, and slightly crisp edges create a symphony of flavors that’s sure to impress everyone at your table.
As you gather around to serve this gorgeous dish, watch the smiles light up on their faces.
Don’t hesitate to share your creation online or with loved ones. The beauty of clafoutis lies in its versatility; feel free to experiment by incorporating different fruits or flavorings. From tart berries to a sprinkle of citrus zest, get creative and let your taste buds guide you.
As you bake, breathe in the sweet aroma that fills your kitchen, knowing you’re crafting something truly special. This recipe is simple enough for any home cook yet offers a touch of sophistication, making it ideal for casual gatherings or special occasions.
Frequently Asked Questions
Can I Use Frozen Cherries Instead of Fresh Ones?
Yes, you can use frozen cherries instead of fresh ones. Just thaw them beforehand, and drain excess moisture. This’ll guarantee your dish maintains the right texture and flavor, so it turns out delicious!
What Is the Origin of Clafoutis?
When you explore the heritage of clafoutis, you uncover a tale of rustic charm from the Limousin region in France, where simple ingredients unite to create a delightful, memory-filled dessert embodying French culinary tradition.
Can I Substitute Almond Milk for Regular Milk?
Yes, you can substitute almond milk for regular milk in most recipes. Just keep in mind that it may alter the flavor slightly. Make sure to choose unsweetened almond milk for a more neutral taste.
How Do I Store Leftover Clafoutis?
Think of leftover clafoutis as a treasure. To store it, cover it tightly with plastic wrap or foil, then place it in the refrigerator. It’ll be ready for you to enjoy later on!
Is Clafoutis Typically Served Warm or Cold?
Clafoutis is typically served warm, allowing its flavors to shine. However, you can enjoy it cold if you prefer. Just remember that the texture might change, but it’ll still taste delicious either way.
