Chocolate Coconut Layer Bar Recipe
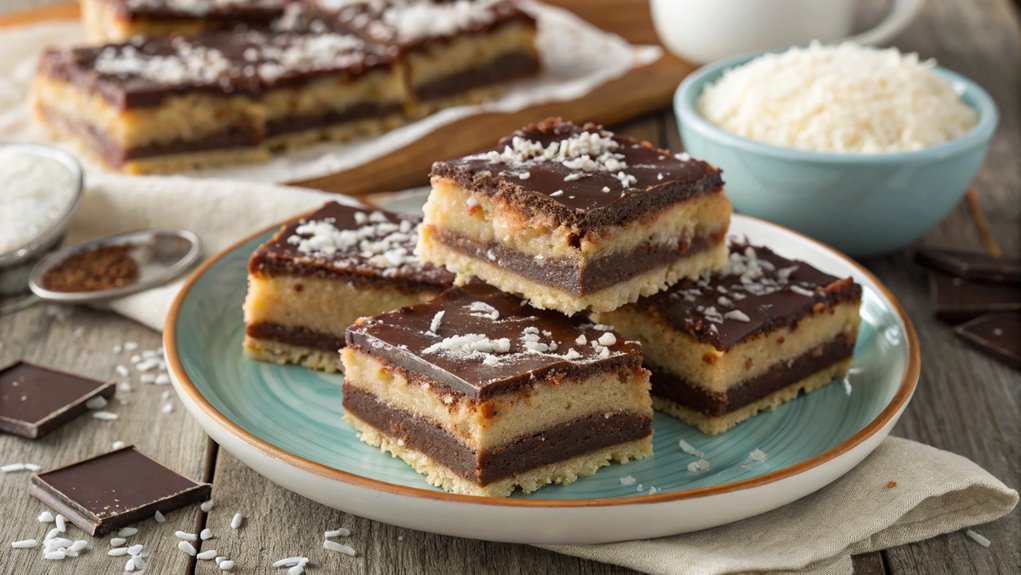
Crafting a Chocolate Coconut Layer Bar offers a delightful balance of rich chocolate and tropical coconut, perfect for any occasion. The straightforward process yields impressive results, with easily combined layers.
Enhance your bars with subtle tips and variations to make them uniquely yours. Curious about perfecting each layer?
Recipe
Indulging in a Chocolate Coconut Layer Bar is a delightful experience that combines the rich flavors of chocolate with the tropical essence of coconut. This recipe is perfect for those who enjoy a sweet treat that’s both satisfying and easy to make.
The layers of chocolate and coconut create a harmonious balance, making it a favorite among dessert lovers. Whether you’re hosting a gathering, looking to satisfy a sweet tooth, or simply want to treat yourself, these bars are sure to impress.
To get started, you’ll want to gather all your ingredients and prepare your baking dish. These bars consist of a buttery crust, a creamy coconut filling, and a luscious chocolate topping, all baked to perfection.
The preparation is straightforward, and the result is a decadent dessert that can be enjoyed by all ages. Let’s plunge into the recipe and see how you can create your own Chocolate Coconut Layer Bars at home.
Ingredients
- 1 cup all-purpose flour
- 1/2 cup unsweetened cocoa powder
- 1/2 cup powdered sugar
- 1/2 cup unsalted butter, softened
- 1 can (14 ounces) sweetened condensed milk
- 2 cups shredded sweetened coconut
- 1 teaspoon vanilla extract
- 1 cup semi-sweet chocolate chips
- 1 tablespoon coconut oil (optional)
Now let’s move on to the cooking steps.
Cooking Steps
Let’s get started on making those delicious chocolate coconut layer bars!
First, you’ll want to preheat your oven to 350°F, so it’s nice and ready for baking.
Then, you can mix together the chocolate and coconut, layer it in your pan, and bake it up for 25 minutes of pure anticipation!
Step 1. Preheat Oven to 350°F
Preheating your oven to 350°F is an essential first step in creating the perfect chocolate coconut layer bars. This not only guarantees even baking but also helps develop that delightful gooey texture we all crave.
As you set your oven, take a moment to gather your ingredients and tools. It’s all about getting organized and ready to whip up something delicious!
Here are a few reasons why preheating matters:
- Even Cooking: A preheated oven cooks your bars consistently, preventing any soggy spots.
- Perfect Texture: The right temperature helps achieve that heavenly combination of chewy and crispy.
- Time Efficiency: While the oven heats, you can prep your ingredients, making the process smoother.
- Better Flavor Development: Starting at the right temp enhances the overall taste, making your bars irresistible.
- Avoids Baking Mishaps: No one wants to underbake or overbake their treats, so preheating helps promote success!
Once your oven reaches 350°F, you’ll be ready to plunge into the next steps, bringing those chocolate coconut layer bars to life.
Get excited—deliciousness is just around the corner!
Step 2. Mix Chocolate and Coconut
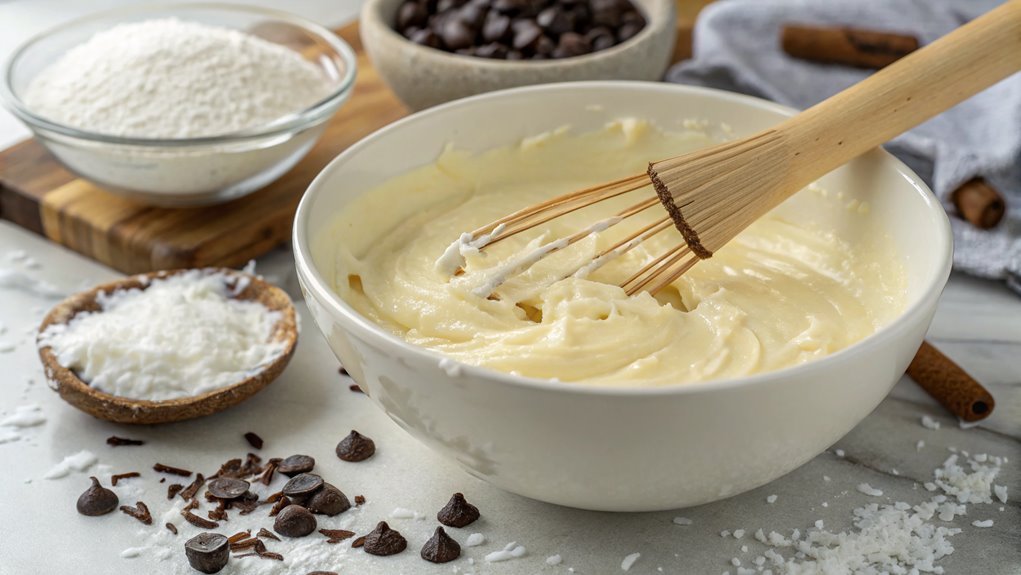
With your oven now heated to 350°F, it’s time to mix the chocolate and coconut for your layer bars.
First, grab a medium-sized mixing bowl. You’ll want to melt about one cup of chocolate chips in a microwave-safe bowl. Heat them in short bursts of 30 seconds, stirring in between until they’re smooth and creamy. The rich aroma of melted chocolate will get your taste buds tingling!
Next, add a generous cup of sweetened shredded coconut to the melted chocolate. This combination brings together the creamy texture of chocolate and the delightful chewiness of coconut. Stir them together well, ensuring every bit of coconut gets coated in chocolate. You want this mixture to be evenly blended, creating a luscious filling that’ll be the star of your layer bars.
Feel free to add a pinch of salt or a splash of vanilla extract if you want an extra flavor boost.
Once it’s mixed, you’ll be ready for the next step, where all this deliciousness will come together in the pan. Enjoy the process—it’s the beginning of something truly scrumptious!
Step 3. Layer Mixture in Pan
Once your chocolate and coconut mixture is ready, pour it into a greased 9×9-inch baking pan.
Watch as the rich, glossy mixture spreads across the bottom, filling your kitchen with a delightful aroma. Level it out with a spatula to guarantee every bite has that perfect texture.
Here’s why you’re going to love this step:
- Even Distribution: A well-levelled mixture guarantees uniform baking.
- Easy Removal: Greasing the pan helps your bars come out smoothly.
- Perfect Portioning: A 9×9-inch pan gives you ideal bar sizes.
- Aesthetic Appeal: A neat layer enhances the visual appeal of your dessert.
- Delicious Layers: This base sets the stage for the delicious layers to come!
As you pour, you’ll feel the excitement build.
You’re creating something special! Once it’s in the pan, take a moment to admire your handiwork.
You’re one step closer to enjoying these delectable chocolate coconut layer bars.
Get ready for the next phase of baking, but for now, just relish this moment of sweet anticipation!
You’ve got this!
Step 4. Bake for 25 Minutes
Set your oven to 350°F (175°C) and bake the mixture for 25 minutes. This step is essential in bringing your chocolate coconut layer bars to life!
As the mixture bakes, the delightful aromas of chocolate and coconut will fill your kitchen, making it hard to resist sneaking a taste.
Pour the layered mixture into your prepared pan, spreading it evenly to guarantee every bite is equally delicious.
Once the oven reaches the right temperature, place the pan inside and close the door. The heat will work its magic, allowing the layers to meld together beautifully.
Keep an eye on the timer but don’t open the oven too soon, as you want to maintain the heat for the perfect bake.
After 25 minutes, you’ll notice the edges starting to golden, and the center will look set. This is the moment you’ve been waiting for!
Step 5. Cool Before Serving
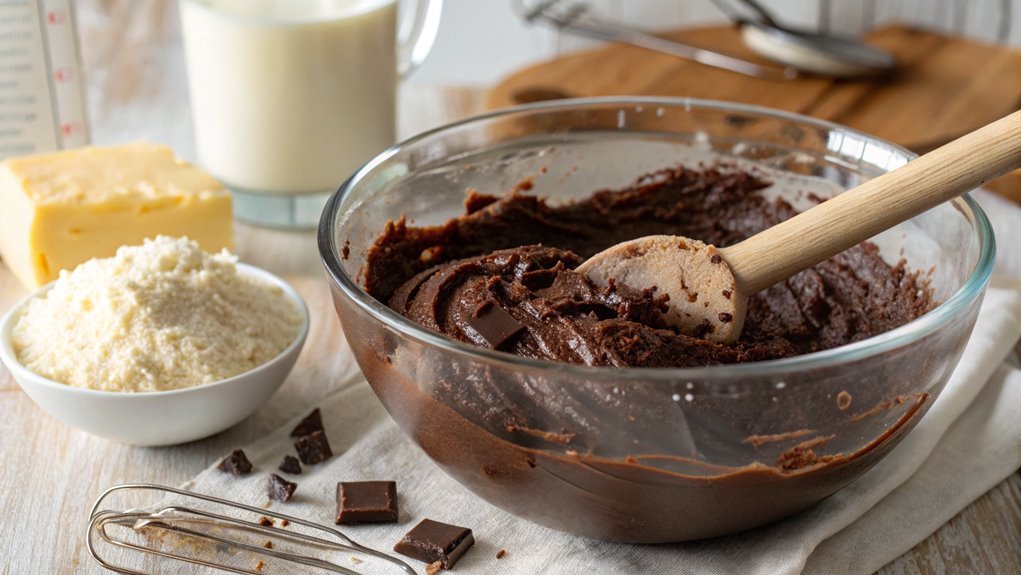
After your bars have baked to perfection, let them cool in the pan for about 20 minutes. This step is essential! Cooling allows the layers to set properly, making it easier to cut and serve. Plus, the flavors have a chance to meld together beautifully.
Once the bars have cooled a bit, transfer them to the fridge for an additional 30 minutes. This extra chill will give you those clean, gorgeous slices you want.
Here are some tips to enhance your cooling experience:
- Patience is key: Resist the urge to jump in too soon!
- Use a sharp knife: For clean cuts, a sharp knife makes all the difference.
- Store leftovers: Keep them in an airtight container for up to a week.
- Experiment with toppings: Drizzle melted chocolate or sprinkle extra coconut for flair.
- Share the love: These bars make great gifts. Who wouldn’t want a delicious treat?
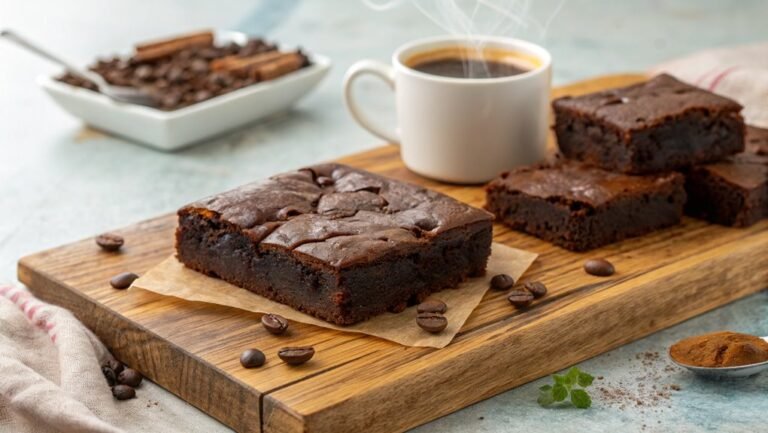
Once they’re fully cooled and set, cut them into squares and enjoy! You’ll be amazed at how satisfying it’s to share your homemade chocolate coconut layer bars with friends and family. Happy baking!
Final Thoughts
As you reflect on this Chocolate Coconut Layer Bar recipe, you’ll likely realize just how simple it’s to create a delightful treat that satisfies your sweet tooth. The combination of rich chocolate and creamy coconut is simply irresistible!
You can whip up this recipe in no time, making it perfect for any occasion, whether it’s a family gathering or a casual get-together with friends.
What’s even better is the versatility of these bars. You can easily customize them by adding your favorite nuts or even a sprinkle of sea salt on top for an extra flavor boost.
Once you get the hang of it, you might find yourself experimenting with different variations. Imagine incorporating peanut butter or swapping the coconut for your favorite dried fruit!
Frequently Asked Questions
Can I Substitute Other Nuts for the Coconut?
You can definitely substitute other nuts if you prefer! Think about using almonds, walnuts, or pecans to add different flavors and textures. Just remember to adjust the quantities based on your taste and recipe requirements.
How Should I Store Leftover Chocolate Coconut Layer Bars?
To preserve your delectable masterpiece, wrap it tightly in parchment, like a treasure chest guarding jewels. Store it in the fridge for up to a week or freeze it for longer enjoyment. Enjoy every bite!
Is This Recipe Suitable for Vegan Diets?
Yes, this recipe can be suitable for vegan diets if you substitute dairy ingredients with plant-based alternatives. Make certain to check all ingredient labels to guarantee they align with your dietary preferences. Enjoy your delicious treat!
What Type of Chocolate Works Best for This Recipe?
You might think any chocolate works, but for the best flavor, go for dark chocolate with at least 70% cocoa. It balances sweetness and adds depth, enhancing the overall taste of your creation. Enjoy!
Can I Make These Bars Ahead of Time?
Yes, you can definitely make these bars ahead of time! Just store them in an airtight container in the fridge. They’ll stay fresh and delicious, ready for you to enjoy whenever you want.
Conclusion
Made with love, Chocolate Coconut Layer Bars offer rich flavors and delightful textures. Impress your family and friends with this easy recipe perfect for any occasion. Once you take that first bite, you’ll see why they’re irresistible. Happy baking!
