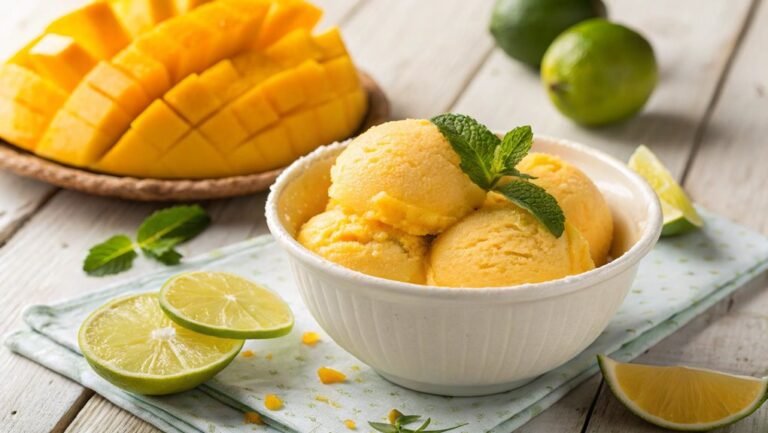
Vegan Coconut Ice Cream Recipe
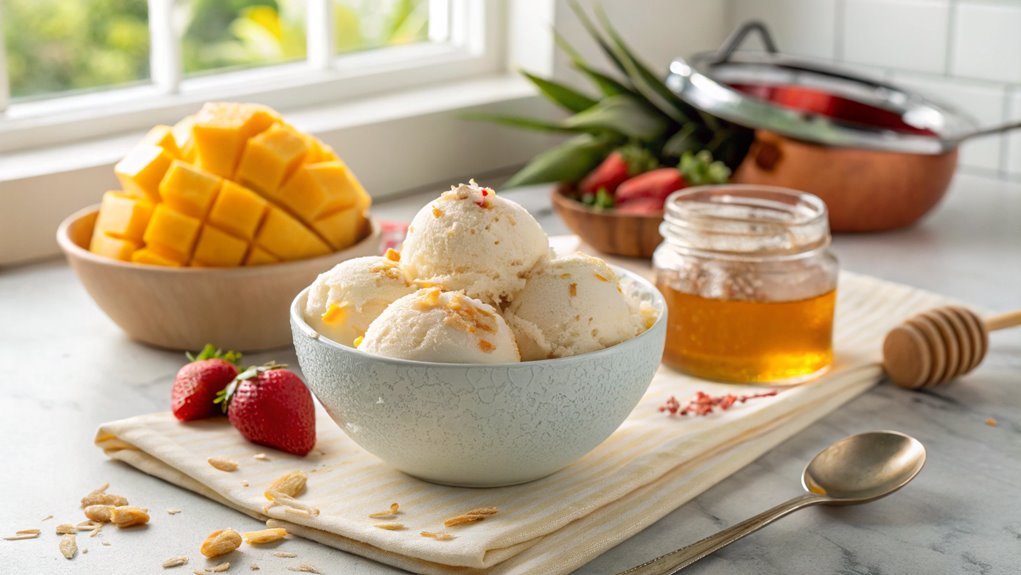
With a surge of over 30% in global demand for plant-based ice cream, many are eager to try making a creamy vegan coconut ice cream at home. This recipe not only aligns with dietary preferences but also offers a delightful treat for everyone.
To create this invigorating dessert, you’ll need to gather essential ingredients and follow a few simple steps. Let’s explore the process together.
Recipe
Making vegan coconut ice cream at home is a delightful way to enjoy a creamy dessert without any dairy. This recipe highlights the rich flavor of coconut milk, which provides a smooth and luscious texture.
Perfect for hot summer days or whenever you’re craving something sweet, this ice cream isn’t only easy to prepare but also a healthier alternative to traditional ice cream.
To get started, you’ll need a few simple ingredients and an ice cream maker. If you don’t have an ice cream maker, don’t worry—you can still make this delicious treat by using a few alternative methods.
The combination of coconut milk, sweetener, and vanilla will create a rich base, while the addition of optional mix-ins like shredded coconut or fruit can personalize your ice cream to suit your taste.
Let’s plunge into the recipe!
Ingredients:
- 2 cans full-fat coconut milk
- 1/2 cup maple syrup (or agave syrup)
- 1 tablespoon vanilla extract
- 1/4 teaspoon salt
- Optional: 1/2 cup shredded coconut (unsweetened)
- Optional: chopped fruit or chocolate chips for mix-ins
Now let’s move on to the cooking steps.
Cooking Steps
Let’s get started on making your delicious vegan coconut ice cream!
First, you’ll blend the coconut milk thoroughly, ensuring it’s smooth and creamy.
Then, you’ll mix in your chosen sweetener and chill the mixture for 30 minutes to enhance the flavors before pouring it into your ice cream maker.
Step 1. Blend Coconut Milk Thoroughly
To achieve a creamy texture in your vegan coconut ice cream, blending the coconut milk thoroughly is crucial.
Start by pouring the coconut milk into your blender. Make sure to use full-fat coconut milk for that rich, indulgent taste. Blend on high speed for about 30 seconds, or until you see a smooth, silky consistency. You want to incorporate air into the mixture, which will help create that luscious mouthfeel we all crave in ice cream.
Here are some reasons why blending is a game changer:
- Creamy Delight: A well-blended mixture guarantees your ice cream isn’t icy, but smooth and dreamy.
- Flavor Infusion: Blending helps all the flavors meld beautifully, making every bite a heavenly experience.
- Silky Finish: A thorough blend assures that you won’t encounter any graininess in your ice cream.
- Easy to Make: This step is simple yet essential, making your ice cream-making journey enjoyable!
Step 2. Add Sweetener to Mixture
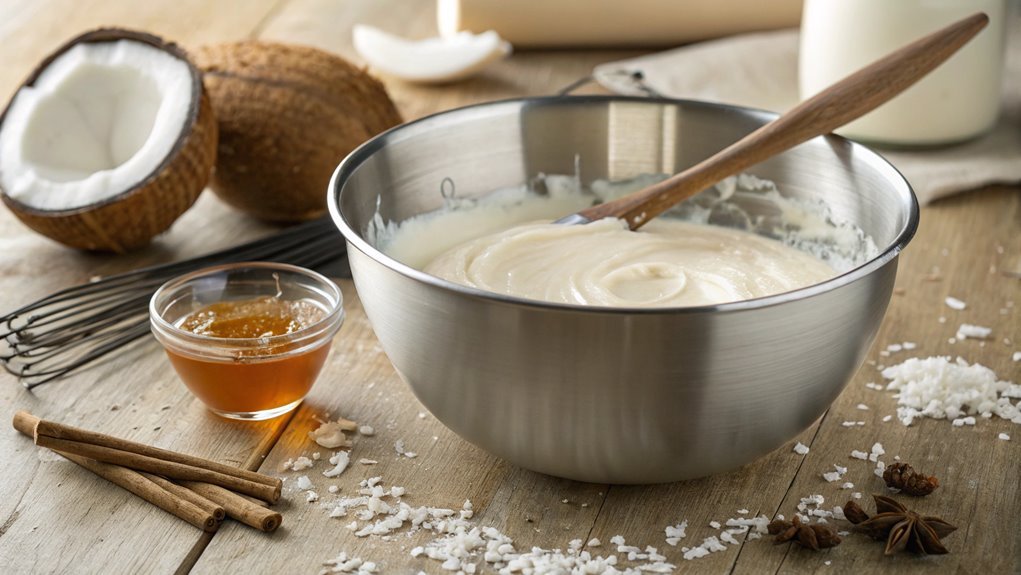
Once you’ve achieved that silky coconut milk blend, it’s time to sweeten the deal. Adding the right sweetener transforms your ice cream from a simple coconut base to an indulgent treat. You’ve got several options here!
Maple syrup is a fantastic choice, offering a rich, earthy sweetness that pairs beautifully with coconut. If you prefer something lighter, agave nectar provides a mild flavor and dissolves easily. You might also consider using a granulated sugar alternative, like coconut sugar or stevia, depending on your dietary needs.
Start by drizzling in your chosen sweetener, about half a cup should do, but you can adjust to your taste. Mix it in thoroughly; you want the sweetener fully integrated into the coconut milk for that luscious flavor in every bite.
Taste it! Don’t hesitate to add a bit more if you like your ice cream sweeter. This is your creation, so make it just how you want! Stir until everything’s well combined, and let the magic of flavors unfold.
Your base is now primed for the next steps in this delightful journey of making vegan coconut ice cream. Get ready for the chilling part ahead!
Step 3. Chill Mixture for 30 Minutes
After sweetening your coconut mixture, it’s important to chill it for about 30 minutes. This step is essential because it helps the flavors meld together beautifully and the mixture to thicken just a bit.
Plus, a chilled base will yield a creamier, more delightful ice cream texture when you finally churn it!
Find a cozy spot in your kitchen while you wait—perhaps pour yourself a cup of tea or grab a book. Anticipation builds, and soon you’ll be enjoying a luscious treat.
- Feel the excitement of creating something delicious from scratch.
- Picture the first scoop of homemade coconut ice cream on a sunny day.
- Imagine the smiles on your friends’ faces when you share this delightful dessert.
- Relish the satisfaction of knowing it’s completely vegan and guilt-free!
This short chill time may seem simple, but it sets the stage for an extraordinary dessert experience.
Step 4. Pour Into Ice Cream Maker
Now it’s time to pour your chilled coconut mixture into the ice cream maker. This step is where the magic begins! Carefully open the lid of your ice cream maker and make sure it’s ready to go.
Grab your mixing bowl and slowly pour the creamy coconut blend into the machine, allowing it to flow evenly. You’ll notice the rich aroma of coconut filling the air, and it’s going to make your mouth water!
Ensure you don’t overfill the ice cream maker, as it needs room for the mixture to expand while churning. If you’ve got a model that requires pre-freezing, make sure the bowl is properly chilled to get the best results.
Secure the lid back on tightly so nothing spills during the process. This is the moment where all your hard work pays off! You’re just a step away from enjoying delicious, homemade vegan coconut ice cream.
Once everything is in place, you’re ready to move on to the next step, where the fun really begins. Get excited—you’re making something wonderful!
Step 5. Churn Until Smooth and Creamy
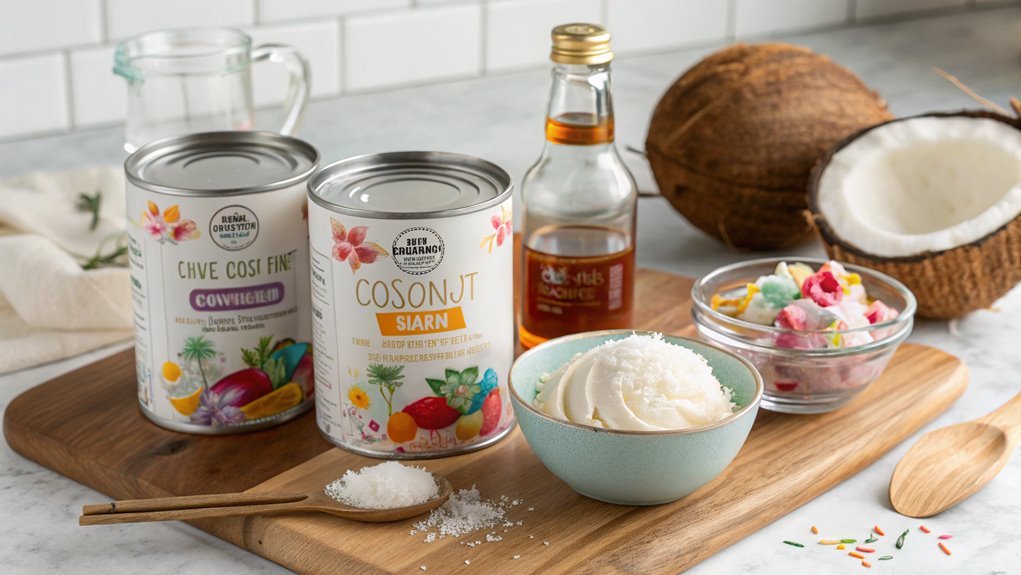
As you turn on the ice cream maker, the mixture begins to churn, transforming into a luscious, creamy delight. You can already smell the sweet, tropical aroma filling the kitchen, making your taste buds dance with anticipation.
As the churning continues, keep an eye on the mixture’s texture. You want it to achieve that perfect smoothness, free of any icy crystals. This usually takes about 20 to 30 minutes, so be patient; the wait will be worth it!
Feel the excitement build as you watch the mixture thicken and morph into a velvety treat. Once it reaches that ideal creamy consistency, it’s time to scoop it out.
- The pure joy of homemade indulgence
- The satisfaction of knowing it’s vegan
- The thrill of sharing it with loved ones
- The delight of each delicious spoonful
Final Thoughts
While you may have experimented with various flavors and textures, making vegan coconut ice cream offers a delightful way to indulge without sacrificing your dietary preferences. This creamy treat not only satisfies your sweet tooth but also showcases the natural goodness of coconut.
You’ll be amazed at how simple it’s to whip up at home, using just a few ingredients that work harmoniously together.
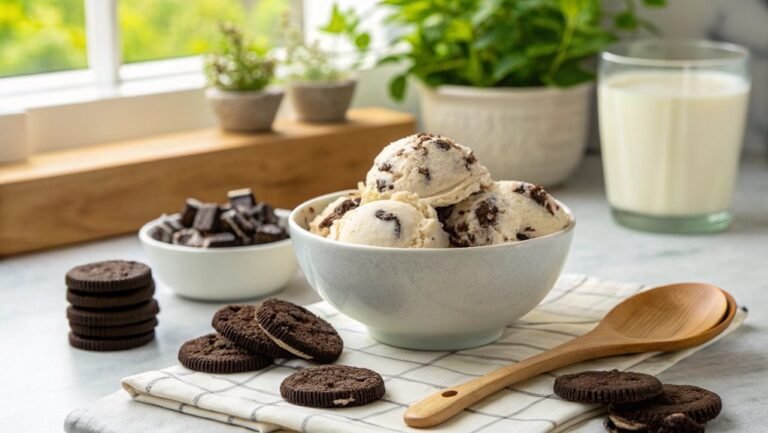
As you explore this recipe, remember that the joy of making vegan coconut ice cream lies in personalization. Feel free to experiment with mix-ins like fresh fruits, nuts, or even chocolate chips to create your unique flavor combinations.
The process is all about creativity and enjoyment, so don’t hesitate to make it your own!
Once you take that first spoonful, you’ll understand the satisfaction of enjoying a homemade, dairy-free dessert. The rich, tropical flavor will have you dreaming of sunny days, regardless of the weather outside.
Frequently Asked Questions
Can I Use a Different Type of Milk Instead of Coconut Milk?
Yes, you can definitely use a different type of milk instead of coconut milk! Almond, soy, or cashew milk can work well, but keep in mind they’ll alter the flavor and texture of your dish.
How Long Does Homemade Coconut Ice Cream Last in the Freezer?
Your homemade ice cream won’t last forever, but it’ll stay delicious in the freezer for about two to three months. Just don’t expect it to survive that long; it’s too irresistible to resist!
Is This Recipe Suitable for Nut Allergies?
This recipe’s coconut base makes it suitable for those with nut allergies, as it doesn’t contain any nuts. Always double-check your ingredients, though, to verify they’re free from cross-contamination with nuts. Enjoy without worry!
Can I Add Flavors or Mix-Ins to the Ice Cream?
Absolutely, you can add flavors or mix-ins to your ice cream! Experiment with fruits, extracts, or chocolate to create your perfect treat. Just make sure to adjust the sweetness to balance the flavors. Enjoy!
What Equipment Do I Need to Make Coconut Ice Cream?
Imagine starting on a culinary voyage. To create your coconut ice cream, you’ll need a high-speed blender, a mixing bowl, an ice cream maker, and some containers. These tools are your ship to deliciousness!
Conclusion
Follow these simple steps to create a sensational scoop of vegan coconut ice cream. This creamy, coconutty delight is perfect for warm days or whenever you crave a sweet treat.
With its rich flavor and customizable mix-ins, you’ll easily impress friends and family. Gather your ingredients, start churning, and enjoy the invigorating joy of this delightful dessert.
Dive into this delicious adventure—you won’t regret it. Savor every luscious bite!
