Strawberry Ice Cream Recipe
The key to perfect strawberry ice cream is choosing ripe berries to enhance the flavor. With the right strawberries, your homemade ice cream can go from good to exceptional. It’s not just about mixing ingredients; specific techniques can achieve a creamy texture without excessive churning. To craft a delightful treat capturing summer’s essence, explore the details of this simple yet exquisite recipe.
Recipe
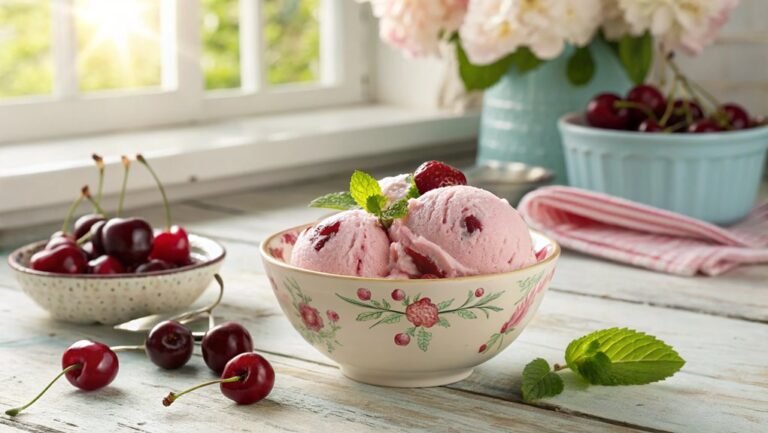
Strawberry ice cream is a delightful treat that captures the essence of summer with every scoop. The vibrant flavor of ripe strawberries perfectly balances the creamy texture, making it an irresistible dessert for all ages.
With just a few simple ingredients and a little bit of time, you can create a homemade version that isn’t only fresher but also customizable to your taste preferences.
This recipe is easy to follow and can be made without an ice cream machine, allowing everyone to enjoy the creamy goodness. Whether you’re hosting a gathering or simply indulging in a sweet treat, this strawberry ice cream will elevate your dessert experience.
Grab your ingredients and let’s get started!
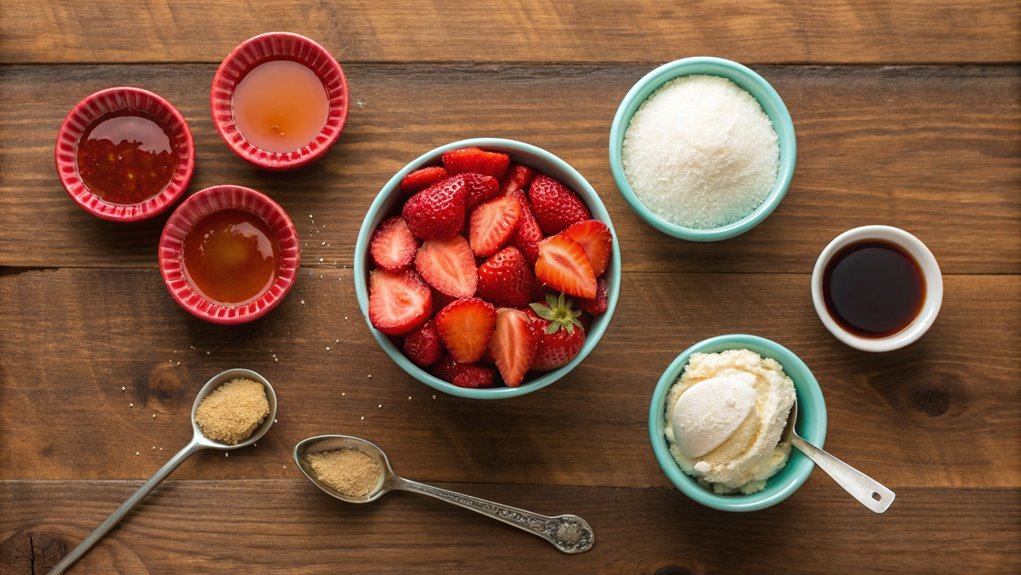
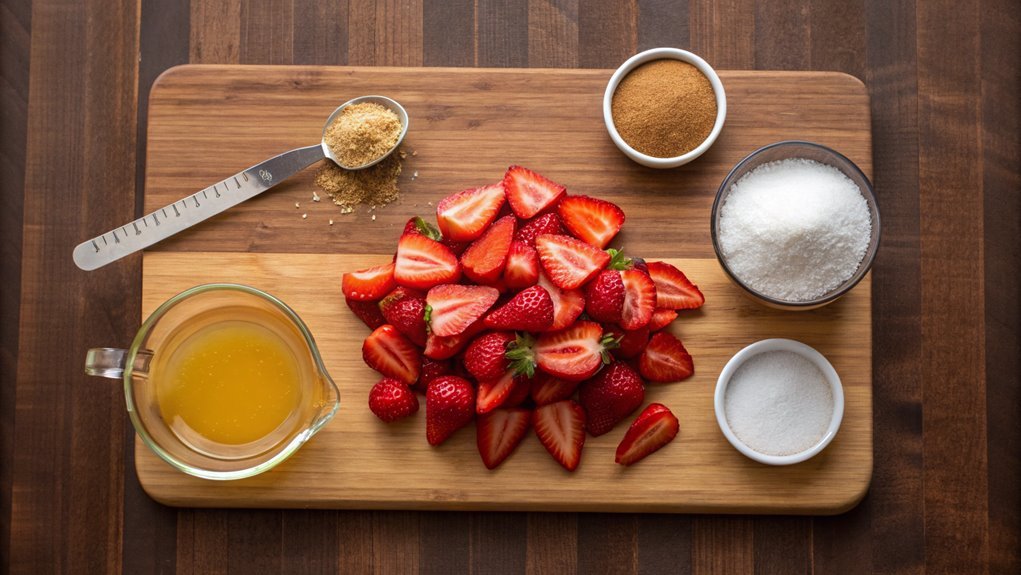
Ingredients
- 2 cups fresh strawberries, hulled and sliced
- 3/4 cup granulated sugar
- 1 teaspoon vanilla extract
- 2 cups heavy cream
- 1 cup whole milk
- A pinch of salt
Now let’s move on to the cooking steps.
Cooking Steps
Let’s get started on making your delicious strawberry ice cream!
First, you’ll want to prepare your fresh strawberries, blending them with sugar to create a sweet, fruity base.
After chilling the mixture for 30 minutes, it’ll be time to transfer it to the ice cream maker and churn until you achieve that irresistibly smooth texture.
Step 1. Prepare Fresh Strawberries First
Once you’ve gathered your fresh strawberries, it’s essential to wash them thoroughly to remove any dirt or pesticides. Fill a bowl with cool water, and gently place your strawberries in. Let them soak for about five minutes, then rinse each one under running water. This simple step guarantees you’re enjoying nothing but the freshest flavors in your ice cream!
After washing, it’s time to hull the strawberries. Use a paring knife to carefully remove the green leafy tops and any white parts at the core. You want the sweet red flesh without any bitterness. If you’re dealing with particularly large berries, you might want to slice them in half to make hulling easier.
Next, place the cleaned and hulled strawberries on a paper towel to dry completely. This step is crucial since excess water can affect the texture of your ice cream later on.
With fresh, clean strawberries ready, you’re setting yourself up for a delicious treat. The bright red color and sweet aroma will have your taste buds tingling with excitement! Get ready for the next delicious phase of blending them into your creamy concoction. Happy cooking!
Step 2. Blend Strawberries and Sugar
Start by placing your clean, hulled strawberries into a blender or food processor. This is where the magic begins! Add about half a cup of granulated sugar to the strawberries. The sugar not only sweetens the mix but also enhances the strawberries’ natural flavor, making your ice cream irresistibly delicious.
Now, it’s time to blend! Pulse the mixture until the strawberries break down and create a smooth puree. Don’t worry if you still see a few chunky bits; that can add a delightful texture to your ice cream. Remember to scrape down the sides of the blender with a spatula if needed, ensuring everything gets evenly mixed.
As you blend, your kitchen will fill with that sweet, fruity aroma—just a hint of what’s to come! Once you reach your desired consistency, taste the mixture. If it needs more sweetness, you can sprinkle in a little extra sugar. Blend again briefly to incorporate it.
This is your base, and it’s so simple yet flavorful! You’ve just taken a vital step toward creating a fabulous homemade strawberry ice cream that’s sure to impress everyone!
Enjoy the process, and get excited for what’s next!
Step 3. Chill Mixture for 30 Minutes
After blending your strawberries and sugar into a smooth puree, it’s time to cool things down. This step’s essential, as chilling your mixture makes for an even creamier ice cream.
To begin, pour the strawberry puree into a mixing bowl. If you’ve added any cream or milk, include that now for extra richness. Give it a gentle stir to combine everything thoroughly.
Once mixed, cover the bowl with plastic wrap or a lid to prevent any flavors from escaping. Now, place it in the refrigerator for about 30 minutes. Yes, it might feel like a stretch, but this chilling time allows the flavors to meld beautifully and creates a invigorating base.
While that’s happening, you can prepare your workspace, clean up, or even dream about how delicious your strawberry ice cream will be!
Once the mixture is chilled, it’ll be ready for its next adventure in the ice cream maker. You’ll be one step closer to enjoying a homemade treat that’s bursting with strawberry goodness.
Take a moment to appreciate your progress; you’re almost there, and it’s going to be delightful!
Step 4. Transfer to Ice Cream Maker
Now that your mixture has chilled beautifully, it’s time to transfer it to the ice cream maker. This is where the magic happens!
First, take your ice cream maker’s bowl out of the freezer if you haven’t already. Make sure it’s frozen solid, as this is vital for achieving that creamy goodness.
Pour your chilled mixture directly into the bowl, filling it to the recommended line—don’t overfill it, or you might’ve some overflow!
Once you’ve poured in the mixture, secure the lid and turn the ice cream maker on. You’ll hear the delightful whirl of the machine as it starts to work its magic.
Keep an eye on it; the ice cream should start thickening and turning into a luscious treat. Depending on your machine, this process can take about 20-30 minutes.
While it’s churning, take a moment to savor the sweet strawberry aroma wafting through the air.
It’s almost time to enjoy your homemade ice cream! Embrace the excitement; you’re just a step away from that creamy, dreamy strawberry delight!
Step 5. Churn Until Smooth Texture
Churn the mixture until it reaches a smooth, creamy texture that’s irresistible. This step is essential in making your strawberry ice cream a delightful treat. As you start churning, you’ll notice the mixture gradually thickening. Keep an eye on the consistency; it should become velvety and luscious. This process typically takes about 20 to 30 minutes, but it can vary depending on your ice cream maker.
Take a moment to savor the delightful aroma of fresh strawberries mingling with the cream. The excitement builds as you see the mixture transform. You’ll want to stop churning when it resembles soft serve ice cream; it’s the perfect balance between creamy and light. If you churn it for too long, it may become overly dense.
Once it reaches that smooth texture, you can taste test it! This is a great time to adjust the sweetness if needed. Spoon the mix into a freezer-safe container, spreading it evenly. Cover it up and let it firm up in the freezer for a few hours. Soon, you’ll be enjoying homemade strawberry ice cream that’s bursting with flavor!
Don’t you just love the magic of making ice cream?
Final Thoughts
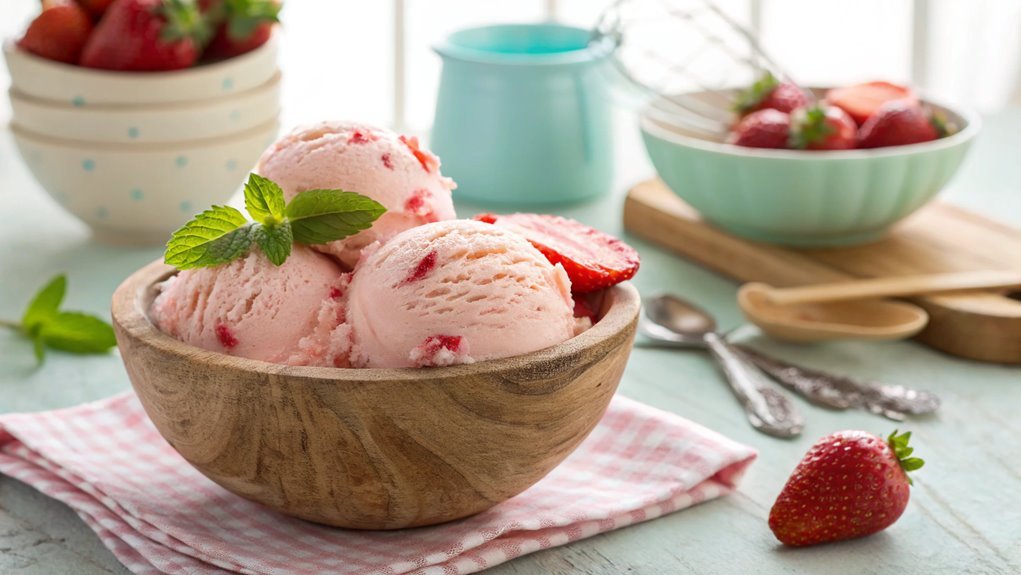
As you savor the creamy sweetness of homemade strawberry ice cream, take a moment to appreciate the simplicity and joy that comes from crafting this delightful treat.
It’s more than just a dessert; it’s an experience that enhances your appreciation for fresh, seasonal ingredients. With each bite, you’re reminded of summer days spent picking strawberries and the joy of sharing sweet moments with loved ones.
Remember, making this ice cream can become a cherished tradition. Here are a few tips to elevate your ice cream-making adventure:
- Use ripe, fresh strawberries for the best flavor.
- Experiment with different mix-ins like chocolate chips or nuts.
- Serve it alongside a slice of warm pie for a delicious contrast.
- Don’t be afraid to customize the sweetness level to your liking.
Frequently Asked Questions
Can I Use Frozen Strawberries Instead of Fresh Ones?
Absolutely, you can use frozen strawberries instead of fresh ones. Just remember to thaw and drain excess liquid before using them. This’ll guarantee your dish maintains the right texture and flavor you’re aiming for.
How Long Does Homemade Strawberry Ice Cream Last?
You might worry about homemade treats spoiling quickly, but don’t fret. Homemade strawberry ice cream typically lasts up to two weeks in the freezer if stored properly. Just make sure it’s in an airtight container!
Is There a Vegan Version of Strawberry Ice Cream?
Yes, there’s definitely a vegan version of strawberry ice cream! You can use coconut milk or almond milk blended with fresh strawberries and sweeteners. It’s creamy, delicious, and perfect for your dairy-free cravings. Enjoy!
Can I Use a Blender Instead of an Ice Cream Maker?
Yes, you can use a blender instead of an ice cream maker. Just blend your ingredients until smooth, then freeze the mixture in a container, stirring occasionally to achieve a creamy texture. Enjoy your homemade treat!
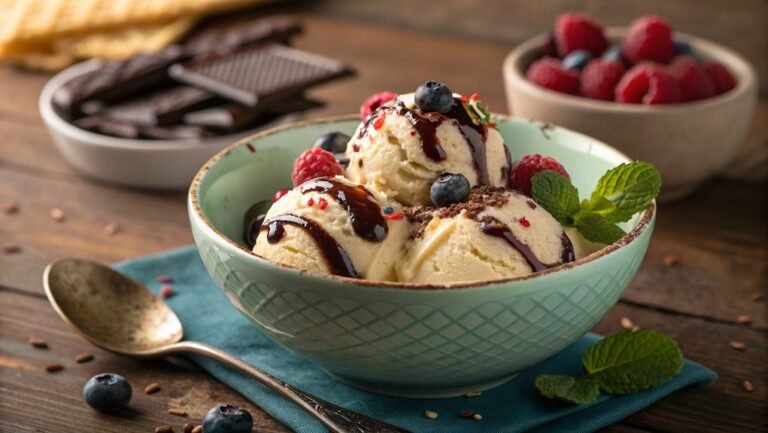
What Are the Best Toppings for Strawberry Ice Cream?
Imagine discovering the perfect topping while diving into a bowl of your favorite dessert! For strawberry ice cream, you can’t go wrong with fresh berries, whipped cream, chocolate syrup, or crushed nuts to enhance that delightful flavor.