Cherry Ice Cream Recipe
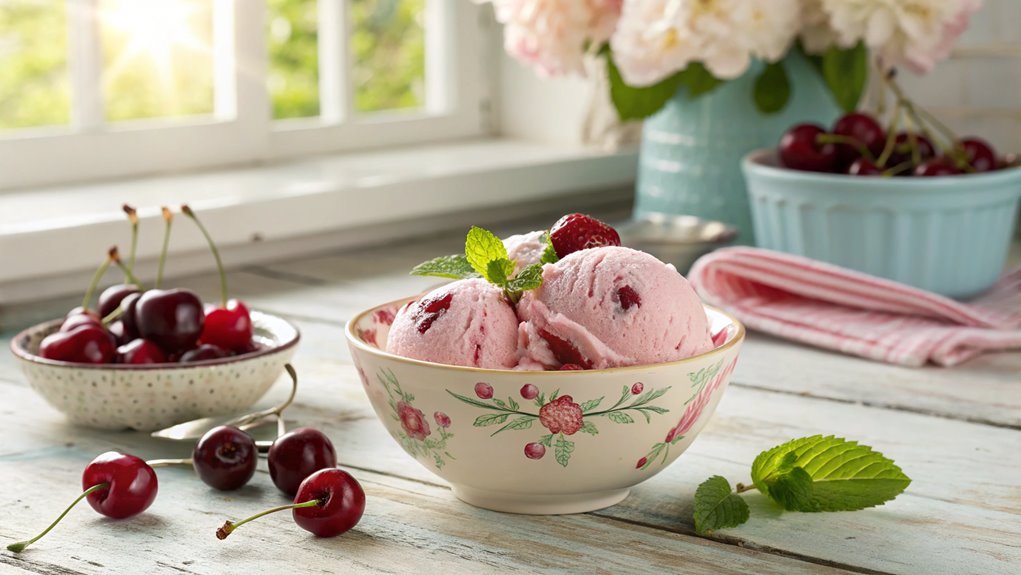
Cherries rank among the top ten most popular fruits in the U.S., especially in summer. This popularity often leads to a craving for cherry ice cream, which perfectly balances sweet and tart flavors. If you have fresh cherries, you’re just steps away from making this creamy treat. Before you start, consider the nuances that can elevate your homemade version to something exceptional.
Recipe
Cherry ice cream is a delightful treat perfect for hot summer days or any time you crave something sweet and invigorating. This creamy dessert combines the sweetness of cherries with rich cream and a hint of vanilla, creating a luscious flavor that’s hard to resist.
Making cherry ice cream at home isn’t only simple but also a rewarding experience, as you can enjoy the freshest ingredients and customize it to your taste.
To start, you’ll want to choose the right cherries; sweet, ripe cherries will give your ice cream the best flavor. Using an ice cream maker will yield the creamiest texture, but you can still create a delicious version without one.
This recipe is straightforward, requiring just a few simple steps and ingredients. In no time, you’ll have a smooth and indulgent cherry ice cream that’s sure to impress family and friends.
Ingredients:
- 2 cups fresh cherries, pitted and halved
- 1 cup heavy cream
- 1 cup whole milk
- ¾ cup granulated sugar
- 1 teaspoon vanilla extract
- ¼ teaspoon salt
- Juice of half a lemon
Now let’s move on to the cooking steps.
Cooking Steps
Ready to make some delicious cherry ice cream?
Start by gathering fresh, ripe cherries that’ll give your treat a burst of flavor.
Once you have those, you’ll carefully pit them and blend them with cream, creating a mixture that’s truly irresistible!
Step 1. Gather Fresh Cherries First
Before you plunge into making delicious cherry ice cream, it’s essential to gather fresh cherries. The quality of your cherries can make all the difference in the final flavor and texture of your ice cream, so aim for the ripest and juiciest ones you can find. Look for cherries that are plump, firm, and vibrant in color. Avoid any that are soft or blemished, as they may affect the taste.
Head to your local farmers’ market or grocery store where you’ll likely find a variety of cherries in season. You can even pick some yourself if you have access to cherry orchards! Imagine the satisfaction of using ingredients you’ve personally selected.
When you’ve gathered your cherries, be sure to wash them thoroughly under cold water to remove any dirt or potential pesticide residue.
You’ll want to savor that sweet and tart flavor in every bite of your ice cream. After gathering your cherries, you can’t help but feel excited about the delightful treat you’ll create. Embrace this joyful experience, and get ready for a fresh homemade dessert that’s simply irresistible!
Step 2. Pit the Cherries Carefully
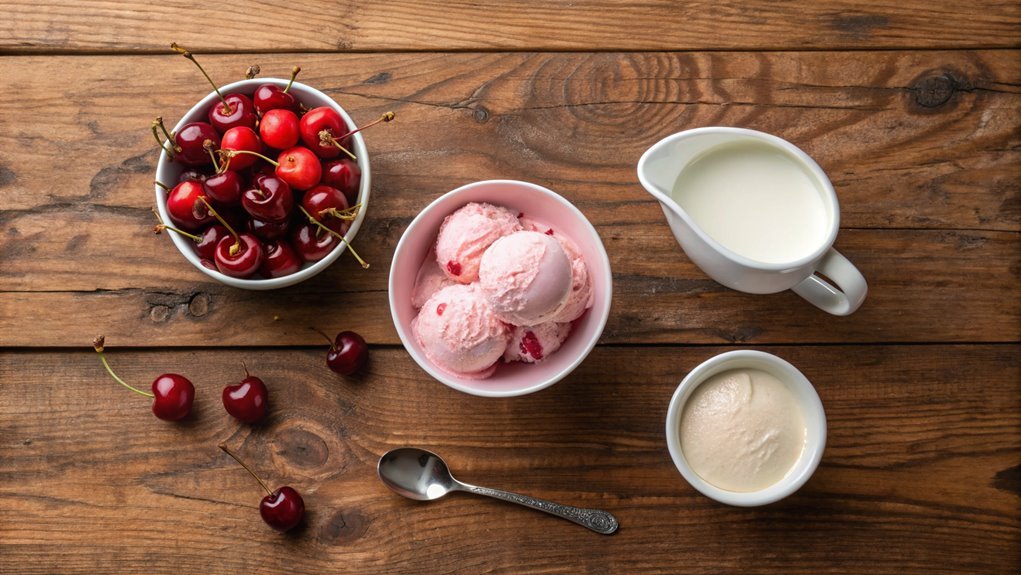
With your fresh cherries washed and prepped, it’s time to pit them carefully. This step is essential because those pesky pits can ruin your cherry ice cream experience.
Don’t worry; pitting cherries can be fun and super rewarding! You’ll want to make sure you do it right, so follow these simple steps:
- Get a Cherry Pitter: If you have one, this tool makes pitting a breeze. It’s designed to remove the pit cleanly, so the flesh stays intact.
- Use a Knife: If you don’t have a cherry pitter, a sharp knife works well. Simply cut the cherry in half, twist, and pull out the pit with your fingers.
- Wear an Apron: Keep yourself clean! Cherry juice can be a bit messy, so protect your clothes as you work.
- Be Gentle: Handle the cherries with care. You want to maintain their shape and flavor while removing those pits.
Once you’ve pitted all your cherries, you’ll feel accomplished and ready for the next step in your delicious cherry ice cream adventure!
Enjoy the process and savor each moment!
Step 3. Blend Cherries With Cream
Now that you’ve pitted your cherries, it’s time to blend them with cream to create a luscious base for your ice cream. Begin by placing your fresh cherries in a blender, ensuring they’re evenly distributed.
Next, pour in some heavy cream—this will give your ice cream that rich and velvety texture we all love. For a touch of sweetness, add sugar to taste; feel free to experiment with the amount.
Blend the mixture on high until you achieve a smooth consistency. You want to see those beautiful cherry colors swirling in the cream! If you prefer a chunkier ice cream, blend just until combined, leaving some small cherry pieces for texture.
Don’t forget to taste and adjust the sweetness if needed; you want that delightful balance of flavors to shine through.
Once you’re satisfied with your blend, pour the mixture into a bowl, scraping down the sides of the blender to capture every bit of flavor.
This creamy, cherry-filled base is just the beginning of your ice cream adventure. Get ready to scoop up some deliciousness soon! Trust me—your taste buds are in for a treat.
Step 4. Chill Mixture in Freezer
After you’ve blended your cherry and cream mixture, it’s essential to chill it in the freezer for ideal texture. This step enhances creaminess and helps the flavors meld beautifully. So, let’s get that mixture ready for some serious chilling!
- Pour the blended mixture into a shallow container—this will help it freeze evenly.
- Cover the container with plastic wrap or a lid, preventing ice crystals from forming, and maintaining the rich flavor.
- Place it in the freezer for about 2-3 hours—during this time, your kitchen will fill with a delightful cherry aroma, making it all the more exciting.
- Check the mixture every 30 minutes, stirring vigorously with a fork to break up any ice crystals that form, ensuring a smooth, velvety finish.
Step 5. Add Sugar to Mixture
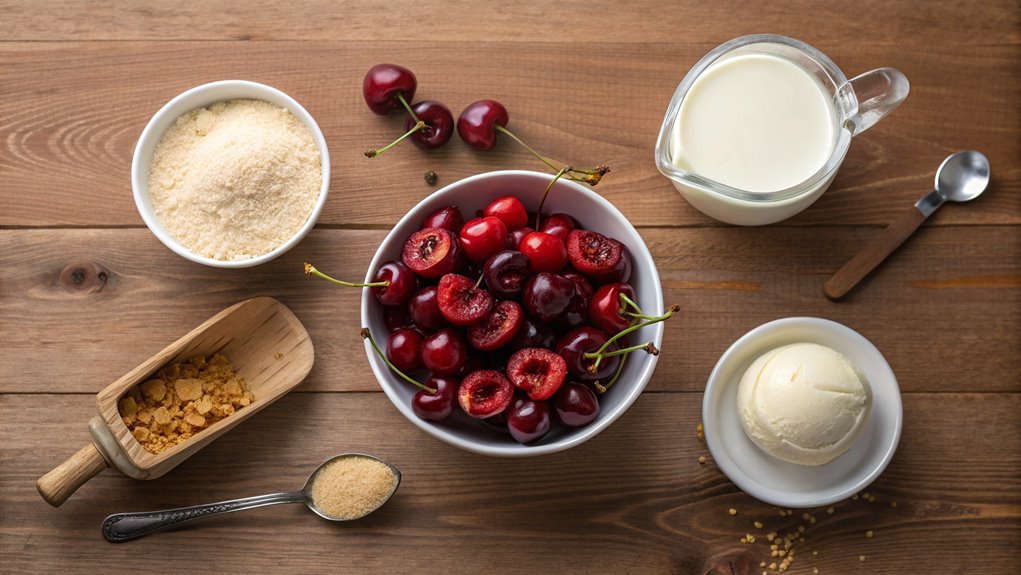
Begin by adding sugar to your cherry and cream mixture for that perfect sweetness. The amount of sugar you choose really sets the tone for your ice cream, so feel free to adjust it according to your taste buds! Start with about three-quarters of a cup of granulated sugar, and don’t forget to stir well until it’s completely dissolved. This step guarantees that every bite you take bursts with that delightful sweetness.
Once the sugar’s blended in, you can sit back for a moment to admire the beautiful color of your mixture. The vibrant red of the cherries combined with the creamy texture is already mouth-watering!
Remember, you want to taste your mixture as you go. If you like things sweeter, a little extra sugar won’t hurt! After adjusting the sweetness to perfection, give your mixture a final gentle whisk to confirm everything is well combined.
This is the moment when your cherry ice cream starts transforming into something truly special. It’s a fun and creative process, and you’re one step closer to enjoying a bowl of homemade cherry ice cream that will impress anyone lucky enough to share it with you!
Final Thoughts
As you savor the last spoonful of your homemade cherry ice cream, it’s hard not to appreciate the joy it brings to warm summer days.
This delightful treat isn’t just about taste; it’s about creating memories, sharing laughter, and enjoying a revitalizing burst of cherry flavor.
You’ve crafted something special, and the satisfaction is unmatched!
Here are a few reasons why making your cherry ice cream is a must:
- Fresh Ingredients: Using ripe, juicy cherries enhances the flavor, making every scoop richer and more vibrant.
- Customization: You can tweak the recipe to suit your taste, whether that means adding almonds, chocolate chips, or a swirl of fudge.
- Family Fun: Involving family and friends in the process turns it into a fun bonding activity – everyone can pitch in!
- Showcase Creativity: Try out different presentations. Serve it in waffle cones, sundaes, or even with a drizzle of sauce for an extra treat.
Frequently Asked Questions
Can I Use Frozen Cherries Instead of Fresh Ones?
Yes, you can definitely use frozen cherries instead of fresh ones! Just remember to let them thaw a bit before using, as this helps enhance the flavor and texture in your dish. Enjoy your cherry creation!
How Long Does Cherry Ice Cream Last in the Freezer?
When it comes to food storage, time flies when you’re having fun! Cherry ice cream can last about two to three months in the freezer, but it’s best to enjoy it sooner for ideal flavor.
What Can I Substitute for Heavy Cream?
If you need a substitute for heavy cream, you can use coconut cream, evaporated milk, or a mixture of milk and butter. These alternatives can provide richness and creaminess, perfect for your recipes!
Is This Recipe Dairy-Free or Vegan-Friendly?
This recipe isn’t dairy-free or vegan-friendly since it includes traditional dairy products. To make it suitable for those diets, you’ll need to substitute with plant-based alternatives like coconut cream or almond milk instead.
Can I Add Other Flavors to Cherry Ice Cream?
Why not throw caution to the wind? You can definitely add other flavors to cherry ice cream. Swirl in some vanilla or mix in chocolate chips; the possibilities are endless, and your taste buds will thank you!
