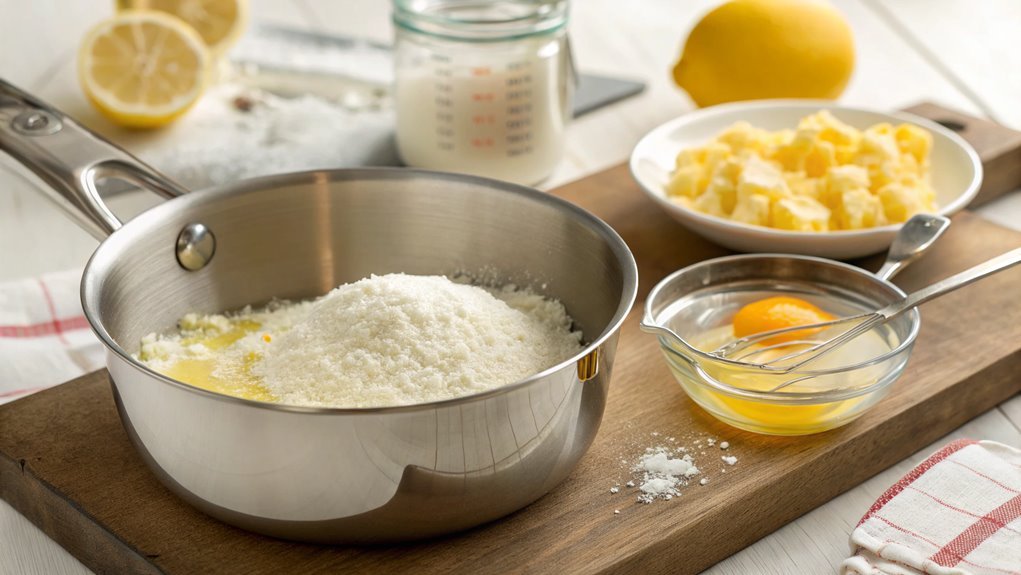
Easy Lemon Meringue Pie Recipe

Lemon meringue pie is a classic dessert known for its perfect balance of tartness and sweetness, easily made by focusing on a flaky crust and luscious lemon filling. Achieving stiff peaks while whipping the egg whites is crucial for the meringue’s texture.
If the meringue isn’t whipped correctly, it can significantly affect the pie’s final outcome. Let’s explore the nuances that ensure your pie turns out perfectly.
Recipe
Lemon meringue pie is a classic dessert that combines the tartness of fresh lemons with a fluffy meringue topping, all nestled in a flaky crust. This delightful pie is perfect for any occasion, whether it’s a summer picnic, a holiday gathering, or just a sweet treat to enjoy at home.
The bright and zesty lemon filling is balanced beautifully by the light and airy meringue, creating a delicious contrast in flavors and textures that will leave your taste buds wanting more.
Making lemon meringue pie might seem challenging, but with this easy recipe, you’ll be able to impress family and friends without too much fuss. The process involves preparing a simple lemon filling, whipping up a cloud-like meringue, and baking it all to perfection.
Follow these steps to create a stunning dessert that showcases your baking skills.
Ingredients:
- 1 pre-made pie crust (9-inch)
- 1 cup granulated sugar
- 2 tablespoons cornstarch
- 1/4 teaspoon salt
- 1 cup water
- 3 large egg yolks, beaten
- 1/3 cup freshly squeezed lemon juice
- 1 tablespoon lemon zest
- 2 tablespoons butter
- 3 large egg whites
- 1/4 teaspoon cream of tartar
- 1/2 teaspoon vanilla extract
Now let’s move on to the cooking steps.
Cooking Steps
Now that you have your ingredients ready, it’s time to bring this lemon meringue pie to life!
Start by preheating your oven to 350°F, which sets the perfect stage for your pie.
As you whisk the egg whites until they’re stiff and gradually add the sugar, you’ll see the magic of the meringue come together beautifully—this is where the excitement really begins!
Step 1. Preheat Oven to 350°F
Before diving into the delicious process of making your lemon meringue pie, you need to preheat your oven to 350°F. This step is essential because a properly heated oven guarantees that your pie crust bakes evenly, resulting in a perfect golden finish. So, go ahead and turn that dial or press that button!
While your oven warms up, take a moment to gather your ingredients and tools. You’ll want everything within reach when it’s time to assemble your pie. Preheating allows you to get started on the right foot, making the entire process smoother and more enjoyable.
Plus, the anticipation of that warm oven will heighten your excitement about what’s to come!
Once the oven reaches the desired temperature, you can confidently move on to the next steps. Remember, a well-prepared kitchen is key to a successful baking experience.
You’re about to create a delightful dessert that will impress friends and family alike. Embrace the joy of baking, and let that lemony goodness brighten your day. Trust me, your taste buds will thank you for it!
Now, let’s get ready to whip up that luscious filling!
Step 2. Whisk Egg Whites Until Stiff

Grab your mixing bowl and electric mixer because it’s time to whisk the egg whites until they form stiff peaks. This step is essential for achieving that light, airy meringue that will crown your lemon pie perfectly.
Start by placing your egg whites into the mixing bowl. Make certain your bowl is clean and dry, as any grease can hinder the whipping process.
Turn on your mixer to medium speed and let it do its magic. As you whisk, you’ll notice the egg whites beginning to froth and bubble. Keep an eye on them, as they’ll go from foamy to soft peaks, which means they’ll hold their shape but still droop over. This is a fun part to watch!
Once you see the whites forming stiffer peaks that stand tall, you’ve reached the right consistency. Stiff peaks mean that the egg whites can hold their shape firmly, making your meringue light and fluffy.
Don’t rush this step; take your time to guarantee perfection. This is where the magic begins for your lemon meringue pie, setting the stage for a delicious dessert that everyone will love.
Enjoy this process; it’s all part of the fun!
Step 3. Add Sugar Gradually to Whites
As you prepare to create the perfect meringue, gradually adding sugar to the whipped egg whites is vital for achieving that glossy finish.
Start by ensuring your egg whites are whipped to stiff peaks. Once you reach that stage, it’s time to sweeten things up. Take your granulated sugar and begin to sprinkle it in slowly, about a tablespoon at a time. This step is important because it allows the sugar to dissolve completely, giving your meringue that silky texture we all love.
Keep your mixer on medium speed as you add the sugar. You’ll notice the mixture becoming shinier and more stable with each addition. It’s like magic!
Continue this process until all the sugar is incorporated and the meringue is smooth and glossy. If you want to check for readiness, rub a small amount between your fingers; it should feel completely smooth, with no graininess left.
This gradual addition creates a beautiful meringue that holds its shape perfectly. Remember, patience is key here!
You’re just a few steps away from creating a delightful lemon meringue pie that will impress everyone at your gathering. Happy baking!
Step 4. Spread Meringue on Filling
With your glossy meringue ready, it’s time to spread it over the lemon filling. Grab a spatula and gently dollop the meringue onto the warm filling. Start from the center, using smooth, sweeping motions to cover every inch of that luscious lemon layer. Don’t be shy! You want to create peaks and swirls that’ll add to the pie’s charm.
As you work, make sure the meringue touches the edges of the crust. This seals the filling and prevents it from shrinking during baking. Remember, a good, tight seal is key! If you leave gaps, the filling might leak out, which isn’t what we want.
Once you’ve spread the meringue, take a moment to admire your handiwork. It should look beautiful and inviting, with those lovely peaks ready to catch the heat. The texture is just as important as the taste in this dessert.
So, if you’re feeling adventurous, use the back of a spoon to create even more interesting designs.
Now that your pie is fully dressed in meringue, you’re ready for the next step. Get excited—your lemon meringue pie is almost complete!
Step 5. Bake Until Golden Brown

Once you’ve spread the meringue, it’s time to pop the pie into the oven and bake it until the top turns a beautiful golden brown. Set your oven to 350°F (175°C) and carefully place your pie on the middle rack. This is where the magic happens! You’ll want to keep a close eye on it for the next 10 to 15 minutes.
As the meringue bakes, it will start to puff up and develop that gorgeous golden hue. The sugar in the meringue caramelizes, creating a delightful contrast to the tangy lemon filling beneath. When you see the tips of the meringue turning a light golden color, it’s time to take it out.
Don’t let it over-bake, as you want to maintain a soft, fluffy texture. Once you’ve removed the pie from the oven, let it cool at room temperature for about an hour. This waiting period allows the flavors to meld beautifully.
Finally, refrigerate the pie for at least a couple of hours before serving. The anticipation builds, and trust me, the first bite of that perfect lemon meringue pie will be worth the wait! Enjoy!
Final Thoughts
Making a delicious lemon meringue pie is a rewarding experience that can elevate any dessert table. The bright, tangy lemon filling paired with the fluffy meringue creates a perfect balance that everyone will love.
You’ll find that this pie not only impresses your guests but also satisfies your sweet tooth in the best way possible.
As you try your hand at this recipe, remember a few key points to guarantee your success:
- Use fresh ingredients: Fresh lemons and eggs will make a noticeable difference in flavor and texture.
- Don’t rush the process: Allow each layer—crust, filling, and meringue—to set properly for the best results.
- Enjoy the moment: Cooking is about having fun, so don’t stress! Embrace the joy of creating something delicious.
Frequently Asked Questions
Can I Use Store-Bought Pie Crust for This Recipe?
Yes, you can definitely use store-bought pie crust for your recipe. It saves time and effort, so you can focus on making that delicious filling and fluffy meringue. Enjoy your baking experience!
How Do I Prevent the Meringue From Weeping?
To prevent meringue from weeping, make sure to use fresh eggs, beat it until stiff peaks form, and spread it over a warm filling. Also, avoid overbaking the meringue to maintain its texture.
What Can I Substitute for Lemons if Needed?
If you need a substitute for lemons, try using lime juice or vinegar for acidity. You could also experiment with citrus zests, like orange or grapefruit, to add a different flavor while keeping it tangy.
How Long Can I Store Lemon Meringue Pie?
You can store lemon meringue pie in the refrigerator for up to two days. Just make sure to cover it lightly to prevent the meringue from losing its texture and absorbing any odors. Enjoy it fresh!
Is It Possible to Make This Pie Gluten-Free?
Yes, you can make a gluten-free lemon meringue pie! Substitute traditional flour with gluten-free alternatives like almond or coconut flour for the crust. This way, you still enjoy a delicious dessert without gluten.
Conclusion
You’ve crafted a delightful lemon meringue pie that’s sure to impress. Serve this invigorating dessert to family and friends and watch their faces light up with joy.
The tangy lemon filling and fluffy meringue are a heavenly match. Roll up your sleeves, embrace the joy of baking, and savor every delicious bite!


