Angel Food Cake Recipe
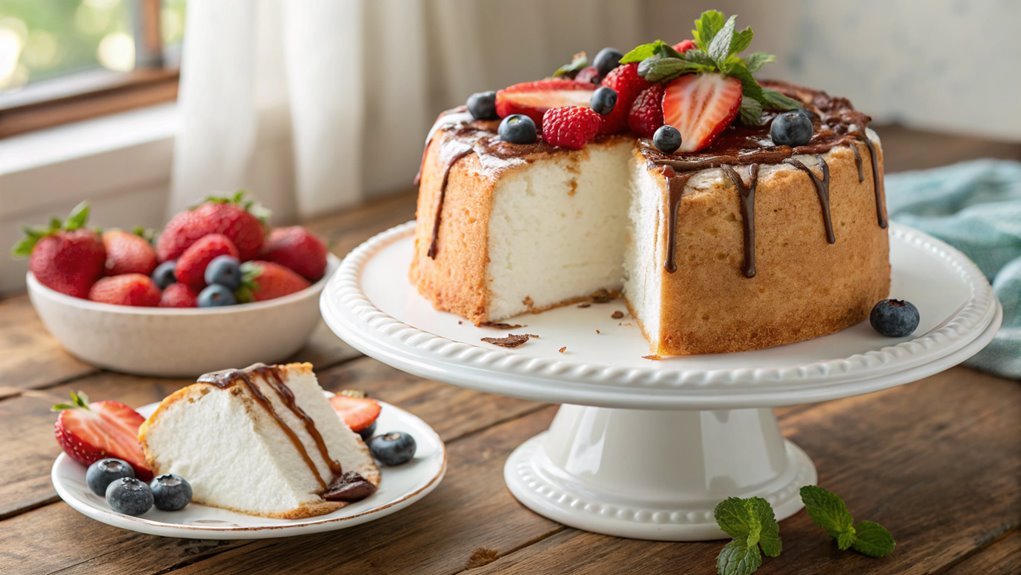
Making an angel food cake involves transforming a cloud-like texture into a dessert. Though it seems simple, precise techniques elevate this treat to something special.
Every step, from folding ingredients to choosing the right pan, serves a purpose. Balancing flavor and texture reveals why this cake is renowned for its heavenly reputation.
The secret to its light, airy finish lies in mastering these techniques.
Recipe
Angel food cake is a light and airy dessert that’s perfect for any occasion. Its delicate texture comes from whipped egg whites, which create a fluffy and sponge-like quality that’s simply irresistible.
Traditionally, this cake is served with fresh fruit or a drizzle of chocolate sauce, making it a versatile choice for a sweet treat. Whether you’re preparing it for a summer barbecue or a holiday gathering, angel food cake is bound to impress your guests with its ethereal lightness.
To make an authentic angel food cake, you’ll want to take care in mixing the ingredients to guarantee the egg whites retain as much air as possible. This recipe features simple ingredients that allow the sweetness of the cake to shine through.
The key is to use a tube pan without a non-stick coating so that the cake can cling to the sides as it rises during baking. Follow these steps for a successful angel food cake that’s sure to become a favorite in your household.
Ingredients:
- 1 cup cake flour
- 1 ½ cups granulated sugar
- 12 large egg whites (at room temperature)
- 1 teaspoon vanilla extract
- 1 teaspoon cream of tartar
- ½ teaspoon salt
- ⅓ cup water
Now let’s move on to the cooking steps.
Cooking Steps
Now that you’ve gathered your ingredients, it’s time to jump into the cooking steps!
Start by preheating your oven to a warm 350°F, which is essential for that perfect rise.
As you move through each step, from adding the egg whites to folding in the flour gently, you’ll see how these simple actions create a light and airy masterpiece.
Step 1. Preheat Oven to 350°F
To achieve the perfect texture for your angel food cake, preheat your oven to 350°F. This step is essential because the right temperature guarantees your cake rises beautifully and develops that oh-so-delicious airy structure.
Grab your oven dial and turn it up—this is where the magic begins!
While your oven heats up, take this time to prepare your baking pan. A tube pan is ideal for angel food cakes, as it helps with even cooking and supports the cake as it rises.
Make certain to keep the pan ungreased. That’s right, no grease here! This allows the batter to cling to the sides and gives your cake the perfect height.
Once your oven reaches that magical 350°F, you’ll be ready to move on to the next steps in creating your heavenly dessert.
The anticipation builds as you think about that fluffy, light cake that will emerge. The golden-brown top and soft texture await you!
Step 2. Add Egg Whites Gradually
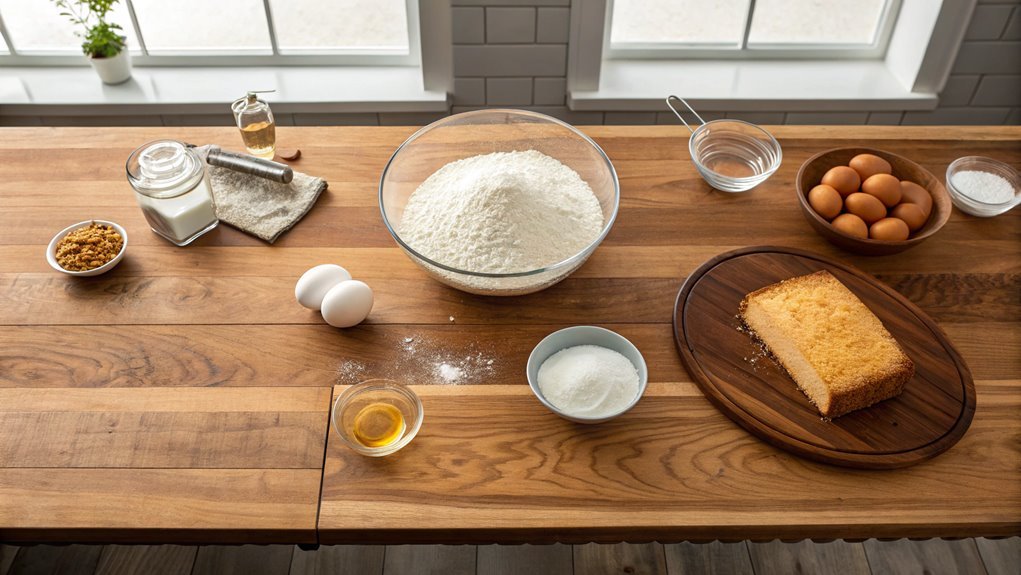
As you prepare to create that light, airy texture in your angel food cake, you’ll want to add the egg whites gradually.
Start by ensuring your egg whites are at room temperature; this helps them whip up nicely. In a large mixing bowl, beat the egg whites until they become frothy. You want to incorporate air right from the beginning, so feel free to use a hand mixer or a stand mixer for this task.
Once they’re frothy, it’s time to add a pinch of salt and cream of tartar. This combination stabilizes the egg whites and enhances their volume.
Now, gradually pour in the sugar, one tablespoon at a time. This slow addition is essential because it allows the sugar to dissolve fully, ensuring a smooth mixture.
Keep mixing until stiff peaks form—the whites should be glossy and hold their shape.
Step 3. Fold in Sugar Mixture
Gently fold the prepared sugar mixture into the whipped egg whites to maintain that fluffy texture you’ve worked so hard to create. This step is key to ensuring your angel food cake rises beautifully in the oven.
Start by adding about a third of the sugar mixture to the egg whites. Use a rubber spatula and make smooth, sweeping motions to combine the ingredients. You want to be gentle here; over-mixing can deflate those precious air bubbles.
Continue adding the sugar mixture, a little at a time, folding it in until everything is well incorporated. The mixture should look glossy and still light and airy—just like a cloud!
If you see streaks of egg white or sugar, that’s fine; they’ll bake out in the oven. Remember, the goal is to keep that airy feeling intact.
Once combined, you’ll feel a surge of excitement knowing you’re one step closer to a delightful dessert. Take a moment to appreciate the fluffy, sweet-smelling batter before you, and get ready to pour it into your pan.
You’re creating something special—the softest, most delicious angel food cake!
Step 4. Add Cream of Tartar
Now that your sugar mixture is folded into the whipped egg whites, it’s time to enhance the structure of your cake by adding cream of tartar. This magical ingredient not only stabilizes your egg whites but also helps create that perfect, light texture we all crave in an angel food cake. Just think about how airy and fluffy your cake will be!
- Stabilizes Egg Whites: Keeps them from collapsing.
- Increases Volume: Gives your cake a delightful lift.
- Promotes Whiteness: Helps maintain that beautiful light color.
- Enhances Flavor: Adds a subtle tang that complements the sweetness.
To add cream of tartar, simply sprinkle about a teaspoon into your whipped egg whites before you fold in the sugar mixture.
It’s important not to skip this step—your cake’s structure relies on it! Use a clean whisk to gently mix the cream of tartar in, ensuring it’s evenly distributed.
You’ll notice how the texture becomes even more beautiful and glossy. Now you’re ready for the next step!
This cake is going to turn out so wonderfully, you won’t believe you made it yourself! Enjoy every moment of the baking process!
Step 5. Fold in Flour Gently
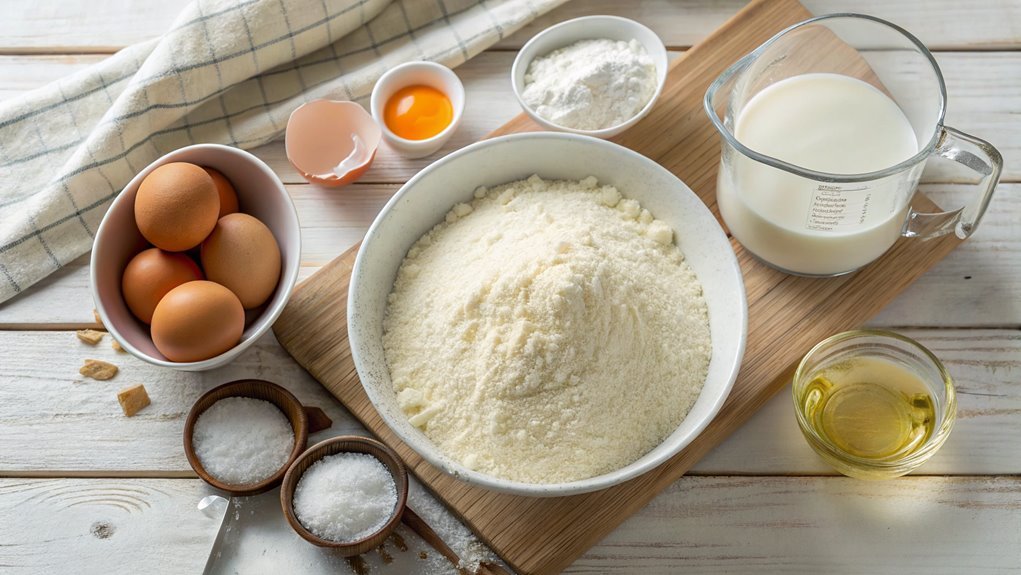
With a soft and steady motion, fold the flour into your egg white mixture. This step is essential for creating that signature light texture of angel food cake.
Gently scoop some flour and sprinkle it over the airy egg whites, then use a rubber spatula to lift and turn the mixture. Be careful not to deflate those precious bubbles; they’re what give your cake its height and fluffiness!
You want to incorporate the flour without stirring aggressively. Instead, think of it as cradling the mixture, ensuring every bit of flour is included without losing volume.
Continue this gentle process until there are no flour streaks left. Watching it come together is so satisfying!
Once fully combined, you’re almost there! This careful folding technique builds not only the structure but also the lightness that makes angel food cake so delightful.
Picture serving a slice, topped with fresh berries or a drizzle of glaze. You’ll feel proud knowing you created it from scratch.
Final Thoughts
Satisfaction comes from mastering the delicate art of baking an angel food cake.
With its light and airy texture, this cake is a true showstopper that’s sure to impress anyone who gets a slice. Diving into this process gives you a taste of accomplishment like no other, and the best part? It’s easier than you might think!
Here are a few reasons why you’ll love making this cake:
- It’s low in fat, making it a guilt-free dessert option.
- You only need a few common ingredients, so it’s budget-friendly.
- Its versatility allows for countless flavor variations.
- It’s perfect for any celebratory occasion or just a sweet treat.
Frequently Asked Questions
Can I Use Egg Whites From a Carton?
Sure, you can use egg whites from a carton. They’re convenient and often pasteurized, making them safe for your recipes. Just make sure to check the packaging for the equivalent quantity needed for your dish.
How Long Does Angel Food Cake Last?
Time slips by like clouds in the sky, and your cake lasts about one to two days at room temperature. If stored properly in the fridge, it can stay fresh for up to a week.
Can I Make This Cake Gluten-Free?
Yes, you can make it gluten-free! Substitute regular flour with a gluten-free blend, ensuring it contains xanthan gum for the right texture. Just follow the rest of your recipe, and you’ll have a delicious cake!
What Frosting Pairs Well With Angel Food Cake?
Wondering what frosting pairs perfectly with your cake? Light and fluffy whipped cream or a tangy lemon curd balances sweetness beautifully. You can’t go wrong with fresh berries on top for a burst of flavor!
Can I Freeze Leftover Angel Food Cake?
Yes, you can freeze leftover cake! Just wrap it tightly in plastic wrap, then place it in an airtight container. When you’re ready to enjoy it, let it thaw at room temperature for the best texture.
