No-Bake Lemon Icebox Pie Recipe

A dessert that requires no baking is perfect for warm-weather gatherings, and the No-Bake Lemon Icebox Pie is a standout for its simplicity and delightful flavor. This creamy treat is both quick to make and impressive, ideal for guests or satisfying a sweet craving.
Before mixing, consider the elements that make this pie exceptional, particularly the balance of tangy lemon and sweet cream. These secrets contribute to the pie’s easy preparation and outstanding taste.
Recipe
No-Bake Lemon Icebox Pie is a delightful and invigorating dessert that’s perfect for warm weather or any occasion where you want to impress your guests without spending hours in the kitchen.
This light and zesty pie combines the tartness of fresh lemons with the creaminess of sweetened condensed milk, all nestled in a buttery graham cracker crust. The best part? You don’t need to turn on the oven, making it an easy and convenient treat for any dessert lover.
To make this pie, you’ll need to gather your ingredients and follow a few simple steps. Once assembled, all it takes is a bit of chilling time in the refrigerator for the pie to set up beautifully.
Serve it with a dollop of whipped cream or a sprinkle of lemon zest for an extra touch. Get ready to enjoy a slice of this invigorating pie that’s sure to become a favorite!
Ingredients:
- 1 ½ cups graham cracker crumbs
- ½ cup unsalted butter, melted
- ¼ cup granulated sugar
- 1 can (14 ounces) sweetened condensed milk
- 1 cup freshly squeezed lemon juice
- Zest of 2 lemons
- 1 teaspoon vanilla extract
- 1 cup heavy whipping cream
- 2 tablespoons powdered sugar (optional, for sweetening whipped cream)
Now let’s move on to the cooking steps.
Cooking Steps
Get ready to whip up something delicious with these simple cooking steps!
You’ll start by preparing the crust mixture, and then mix in the creamy goodness of cream cheese and sugar.
Once you add the fresh lemon juice and zest, you’ll fold in the whipped topping for that perfect, velvety finish—just remember to chill it for four hours to let those flavors meld beautifully!
Step 1. Prepare the Crust Mixture
To prepare the crust mixture, start by combining one and a half cups of crushed graham crackers with a third of a cup of granulated sugar in a mixing bowl. This simple step lays the foundation for your delicious pie!
Use a fork or your hands to mix these ingredients thoroughly until they’re well combined. You want the sugar evenly distributed to guarantee a sweet, flavorful crust.
Next, melt a third of a cup of unsalted butter in the microwave or on the stove, then let it cool slightly. Adding melted butter is what brings everything together, creating that delightful crumbly texture.
Pour the melted butter into the bowl with the graham cracker mixture. Now, it’s time to mix again! Stir until all the crumbs are coated with butter, and the mixture resembles wet sand.
Once it’s ready, transfer the crust mixture into a 9-inch pie dish. Press it firmly and evenly along the bottom and up the sides. This step is vital for a sturdy crust that holds your luscious filling.
Now you’re all set to move on to the next exciting part of this no-bake lemon icebox pie adventure!
Step 2. Mix Cream Cheese and Sugar
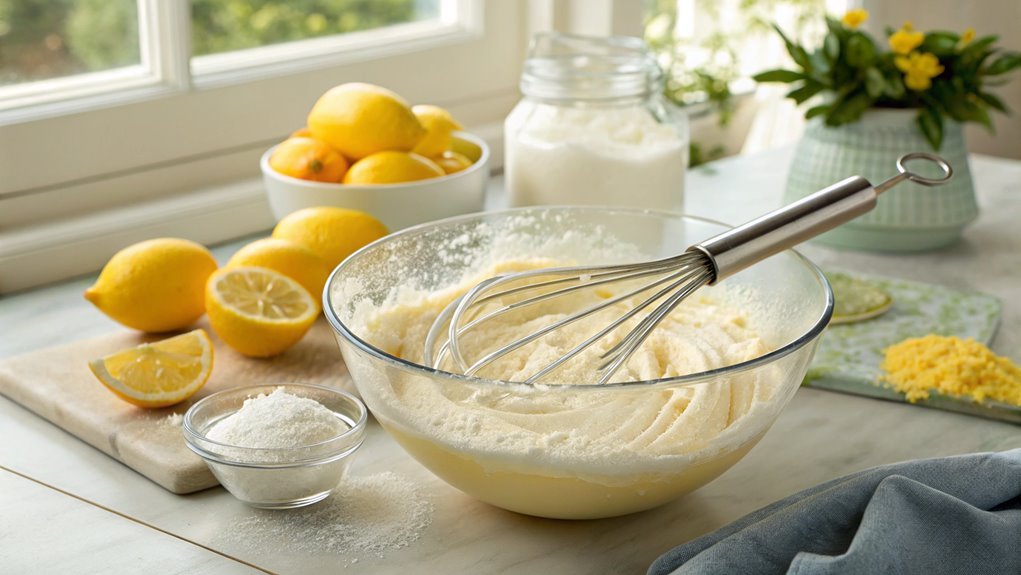
Start by beating eight ounces of softened cream cheese in a mixing bowl until it’s smooth and creamy. You want that luscious texture to set the stage for your pie.
Once you have that base, it’s time to sweeten the deal! Gradually add in one cup of granulated sugar while continuing to mix. This will help dissolve the sugar and create a perfect blend with the cream cheese. The mixture should start to look glossy and inviting, so keep an eye on it!
Make sure you scrape down the sides of the bowl occasionally to incorporate all the ingredients well. This step is vital, as you want every bite of your pie to be deliciously sweet and creamy. Mixing until everything is well combined will also enhance the overall flavor of your pie.
The excitement builds as you see your mixture transform into a beautiful, smooth filling. What you’ve created so far is the heart of your no-bake lemon icebox pie!
Trust me, this creamy blend is going to elevate your dessert to new heights. So, enjoy this process, and get ready to add some zesty lemon goodness next!
Step 3. Add Lemon Juice and Zest
As you incorporate the zesty flavors, add half a cup of freshly squeezed lemon juice and the zest of two lemons to your creamy mixture. This is where the magic happens! The bright citrus notes will elevate your pie, creating a revitalizing balance that’s simply irresistible.
Gently stir the lemon juice and zest into the cream cheese and sugar blend until everything’s well combined. You’ll notice the mixture becoming lighter and airier, which is just what you want.
Make certain to scrape down the sides of the bowl as you mix. This guarantees that every bit of that tangy goodness gets evenly distributed throughout the filling. The aroma of fresh lemon will fill your kitchen, making it hard to resist tasting the mixture!
Don’t worry if you sneak a little taste; it’s a vital part of the process. Adjust the sweetness if needed, but remember that the tartness of the lemon is what makes this pie special.
Keep stirring until you achieve a smooth and creamy consistency. Once you’ve got that delightful mix, you’re ready to move on to the next step in creating your no-bake lemon icebox pie. Enjoy the process!
Step 4. Fold in Whipped Topping
Gently fold in the whipped topping to your creamy lemon mixture, creating a luscious and light filling. This step is essential for achieving that airy texture that makes a lemon icebox pie so delightful.
Grab a large spatula and scoop a dollop of the whipped topping into your lemon mixture. With a soft hand, start to gently combine the two. You want to incorporate the whipped topping without deflating it, so use a folding motion rather than stirring aggressively.
Continue this process until the whipped topping is evenly blended, and you can see a beautiful, pale yellow color throughout. The mixture should look fluffy and inviting, promising a rejuvenating dessert ahead.
Don’t rush; take your time to guarantee everything is well-combined. Once you’ve folded in the whipped topping, you’ll notice how much lighter and creamier your filling becomes.
It’s the perfect balance of tangy and sweet! This is the moment where your excitement builds—your pie is coming together beautifully. Now, it’s ready for the crust, and you’re just a few steps away from enjoying your homemade lemon icebox pie. Trust me, you’re going to love this!
Step 5. Chill Pie for Four Hours
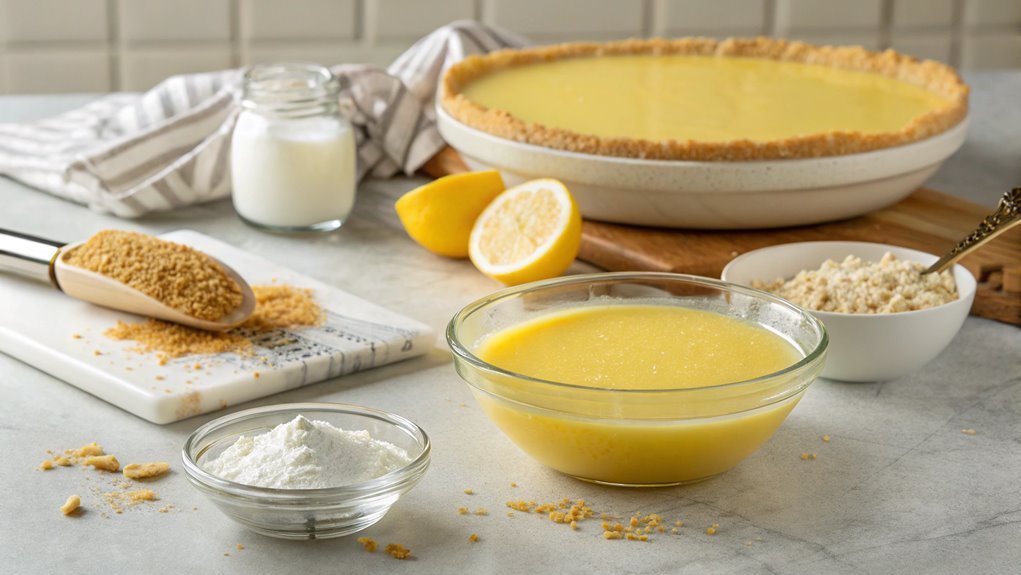
After folding in the whipped topping, it’s important to chill your pie for at least four hours. This step might seem simple, but it’s vital for achieving that perfect, creamy texture you crave.
The chilling time allows the flavors to meld beautifully, making every bite a revitalizing delight.
Find a suitable spot in your fridge where the pie can rest undisturbed. Cover it lightly with plastic wrap to prevent any odors from mingling with your delicious lemon filling. While you wait, you can dream about how amazing it’ll taste!
Once the four hours are up, it’s time for the grand reveal. Carefully remove the pie from the fridge, and take a moment to admire your handiwork.
You can garnish it with extra whipped topping or slices of fresh lemon for that extra pop of color and flavor.
Serve it to family and friends, or treat yourself to a slice! The joy that comes from sharing your no-bake lemon icebox pie is truly unparalleled.
Final Thoughts
Whether you’re looking to impress guests or simply satisfy your own craving for something sweet, this no-bake lemon icebox pie is a perfect choice.
It’s bright, revitalizing, and incredibly easy to whip up. You’ll love how the zesty lemon flavor dances on your taste buds, leaving you wanting more.
It’s a delightful treat that can elevate any gathering or make any day feel special.
As you enjoy this recipe, keep in mind these key points:
- Fresh Ingredients: Use the freshest lemons for the best flavor.
- Chill Time: Allow the pie to chill adequately for that perfect creamy texture.
- Garnish Options: Consider topping with whipped cream or fresh fruit for added flair.
- Make Ahead: This pie is great for preparing in advance, making hosting stress-free.
- Versatile Base: Feel free to experiment with different crusts, like graham cracker or oreo!
Frequently Asked Questions
How Long Can I Store Leftover Lemon Icebox Pie?
You can store leftover lemon icebox pie in the fridge for about three to four days. Just make sure to cover it well to keep it fresh. Enjoy your delicious treat while it lasts!
Can I Use a Different Type of Citrus?
Absolutely, you can use a different type of citrus! Oranges, limes, or grapefruits work well too. Just adjust the sweetness based on the citrus you choose, and you’ll create a delicious twist on your dessert!
Is There a Gluten-Free Option for the Crust?
Imagine sinking your teeth into a crust that’s both blissful and gluten-free! You can easily swap traditional crusts for almond flour or gluten-free graham crackers to keep that delightful crunch without the gluten. Enjoy!
Can I Make This Pie Vegan-Friendly?
Yes, you can make this pie vegan-friendly! Use a plant-based cream cheese substitute and a dairy-free whipped topping. For the crust, opt for gluten-free cookies or a nut-based alternative to keep it vegan.
What Toppings Pair Well With Lemon Icebox Pie?
Like sunshine on a cloudy day, fresh berries brighten up your lemon icebox pie. You can’t go wrong with whipped cream or a sprinkle of coconut, either. They’ll elevate your dessert to new heights!
Conclusion
Indulge in a slice of No-Bake Lemon Icebox Pie with its creamy, tangy filling and buttery graham cracker crust. Perfect for warm days or gatherings, this dessert is a crowd-pleaser and disappears quickly.
