Tropical Fruit Pavlova Recipe
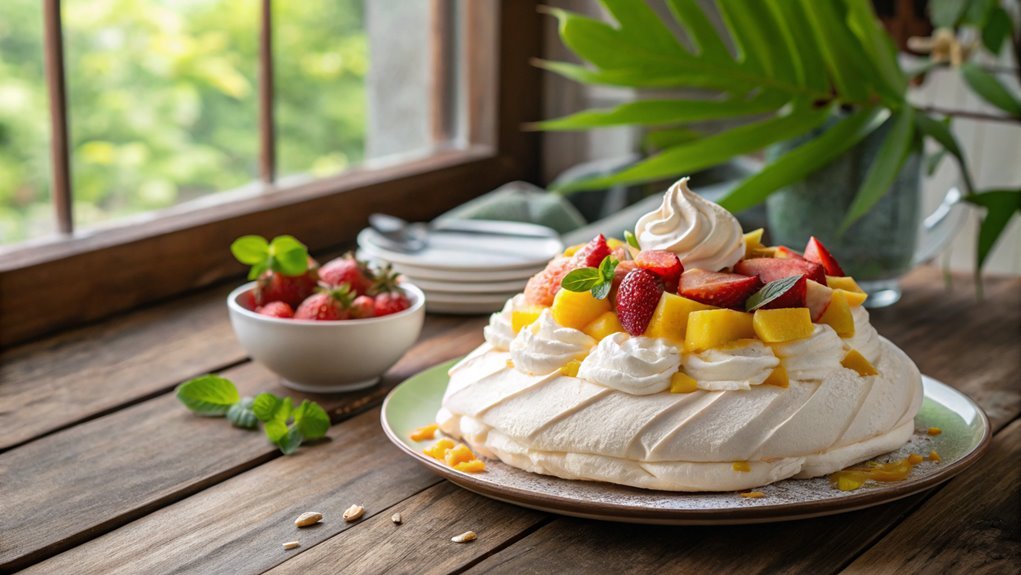
For a dessert that marries elegance with a refreshing twist, consider making a Tropical Fruit Pavlova. This dish balances a crisp meringue shell with a creamy topping and vibrant fruits, making it a stunning finale for any warm-weather gathering. Before you begin, note a few key steps and tips to ensure your pavlova turns out perfectly.
Recipe
Pavlova is a light and airy dessert that originates from New Zealand and Australia, named after the famous Russian ballerina Anna Pavlova.
This delightful treat consists of a crisp meringue shell that’s chewy on the inside, topped with whipped cream and an array of fresh tropical fruits, creating a symphony of flavors and textures.
It’s an ideal dessert for warm-weather gatherings, as it captures the essence of summer in every bite.
Making a Tropical Fruit Pavlova isn’t only simple but also allows for creative customization with the types of fruits you choose.
While the classic recipe calls for kiwis and strawberries, swapping in mango, passion fruit, and pineapple adds a rejuvenating twist.
Once you’ve mastered the meringue, you’ll find that this impressive dessert is as enjoyable to make as it’s to eat.
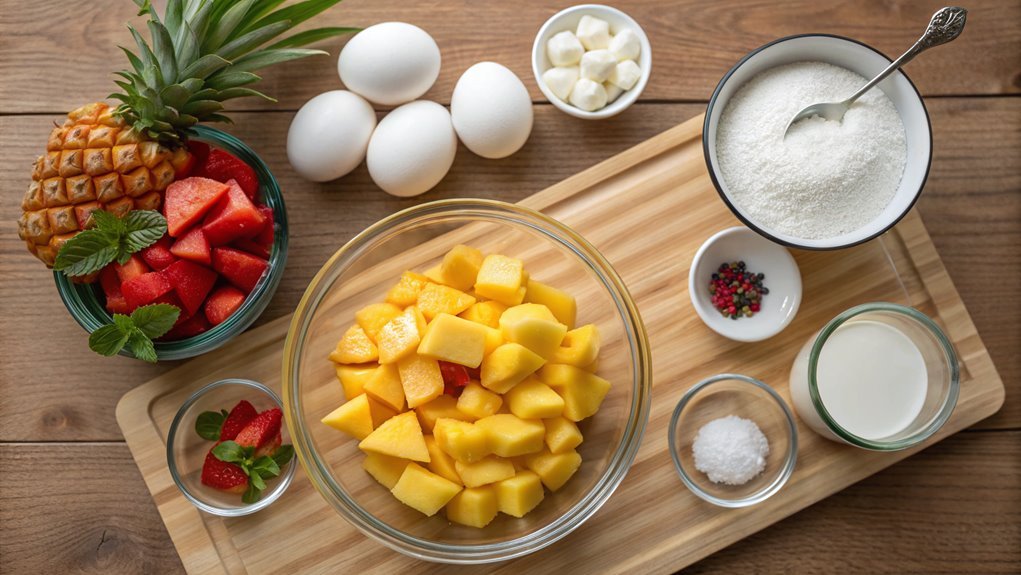
Ingredients:
- 4 large egg whites
- 1 cup granulated sugar
- 1 teaspoon white vinegar
- 1 teaspoon cornstarch
- 1 cup heavy whipping cream
- 2 tablespoons powdered sugar
- 1 teaspoon vanilla extract
- 1 cup diced mango
- 1 cup sliced strawberries
- 1 cup diced pineapple
- 1/2 cup passion fruit pulp (about 4-5 passion fruits)
- Mint leaves (for garnish, optional)
Now let’s move on to the cooking steps.
Cooking Steps
Getting started on your Tropical Fruit Pavlova is as thrilling as the final outcome!
First, you’ll preheat your oven to 250°F to set the stage for that perfect meringue.
Then, you’ll whisk the egg whites until they form stiff peaks, which is where the magic truly begins!
Step 1. Preheat the Oven to 250°F
Before you embark on making your tropical fruit pavlova, preheating the oven to 250°F is essential for achieving that perfect, crisp meringue. This low temperature allows the meringue to dry out slowly, preventing it from browning too quickly while creating that heavenly, chewy interior.
You’ll love how a little patience pays off in the end! To preheat your oven, simply turn the dial or push the button until it reaches the desired temperature. It’s important to give your oven enough time to heat properly, so kick back and get excited about what’s to come!
While you’re waiting, take a moment to gather your ingredients and prepare your workspace. This will make things a breeze once you get started mixing those egg whites. Don’t rush this step; it’s key to achieving that delicate texture that makes pavlova special.
As the oven warms up, you can appreciate the delicious tropical flavors that’ll soon come together in this delightful dessert. Trust me, your effort will make all the difference once you taste that light, fluffy meringue topped with vivid fruits.
Let’s get to the fun part soon, and enjoy every moment of the process!
Step 2. Whisk Egg Whites Until Stiff
Once your oven is preheated, it’s time to whisk the egg whites until stiff peaks form. Grab your clean mixing bowl and make sure your beaters are free of any oil or residue; this helps the egg whites whip up beautifully!
Begin by adding your egg whites to the bowl and turn your mixer to medium speed. As the egg whites start to foam, you’ll notice them turning frothy and light.
Now, increase the speed to high. Keep an eye on them as you whisk! In just a few moments, you’ll see the egg whites becoming glossy and slightly thick. This is an exciting part of the process!
When the mixture starts to hold its shape and you can form soft peaks, it’s almost ready. You’ll want to whisk a little longer until those peaks become stiff—meaning when you lift the beater, they stand tall without drooping. This is essential for achieving that perfect pavlova texture!
Don’t rush this step—patience pays off! A well-whipped mixture creates a sturdy base for your tropical fruit toppings.
Trust the process and enjoy this perfect moment of culinary magic as you prepare for the next delicious step!
Step 3. Fold in Cornstarch Mixture
With your egg whites whipped to stiff peaks, it’s time to fold in the cornstarch mixture. This step is essential for achieving that perfect, light texture in your pavlova.
First, take the cornstarch and place it in a small bowl alongside the vinegar and vanilla extract. Whisk them together until they’re well combined. This mix adds stability to your meringue as it bakes, so don’t skip it!
Now, grab your spatula and begin gently folding the cornstarch mixture into the whipped egg whites. Use a slow, sweeping motion, bringing the spatula from the bottom to the top. This method helps maintain the airiness of the egg whites, which is critical for a fluffy pavlova.
Be careful not to overmix; you want to keep those lovely peaks intact. As you fold, you’ll notice the mixture becoming more uniform in color, which shows you’re on the right track.
The key here is patience—take your time and really enjoy the process. This light, airy blend is what’ll create a beautiful dessert that’s not only delicious but also impressively stunning!
Once everything’s combined, you’re ready to move on to the next exciting step.
Step 4. Bake Meringue for One Hour
Now that you’ve expertly combined your ingredients, it’s time to bake the meringue. Preheat your oven to 225°F (110°C) and line a baking sheet with parchment paper. This step guarantees the meringue bakes evenly and doesn’t stick, so don’t skip it!
Spoon your meringue mixture onto the prepared baking sheet, forming a circular shape with a slight dip in the center. This is where your luscious fruit topping will eventually sit. Smooth out the edges, and make certain it looks inviting!
Once you’ve shaped it, carefully place the baking sheet in the oven. Baking the meringue for one hour is essential. This time helps it dry out, creating that delightful, crisp exterior while keeping the inside soft and chewy. The gentle heat will do wonders, so resist the urge to open the oven door; this can cause your meringue to collapse.
After an hour, turn off the oven, but leave the meringue inside for an additional hour. This slow cooling process helps prevent cracks from forming. You’ll be rewarded with a perfectly baked shell, ready for its tropical topping! Enjoy the anticipation!
Step 5. Add Topping and Serve
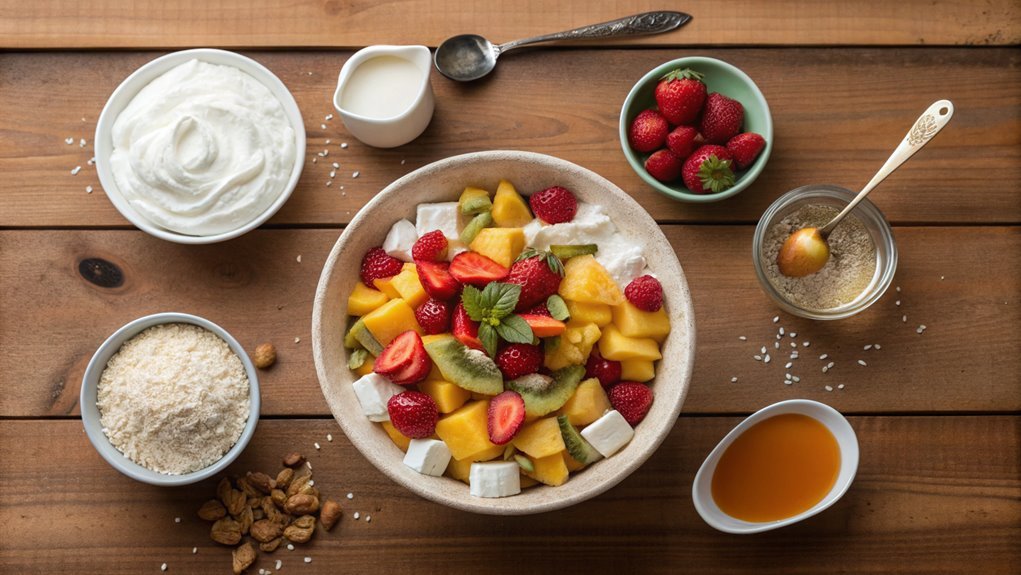
Carefully remove the meringue from the oven and let it cool completely on the baking sheet.
Once it’s cool, gently lift the meringue off the sheet and place it on a serving platter.
Now it’s time to get creative with your toppings! Start by whipping your cream until it’s light and fluffy, then spread it generously over the meringue, allowing it to fill the center well.
Next, take your selection of tropical fruits. Fresh mango, kiwi, pineapple, and passion fruit work beautifully! Slice them up and arrange them artfully on top of the whipped cream, creating a vibrant, colorful display.
Don’t forget to drizzle a bit of passion fruit pulp or syrup for that extra zing!
Finally, give your pavlova a light sprinkle of toasted coconut flakes for a delightful crunch.
Once you’ve finished, you’ll be presenting a stunning dessert that not only looks incredible but also tastes heavenly!
Serve it right away for the best experience, and enjoy watching everyone delight in your creation.
This tropical fruit pavlova is sure to wow your guests, so dig in and savor every bite!
Final Thoughts
As you wrap up your tropical fruit pavlova adventure, consider the joy it brings not just in flavor, but also in presentation.
Imagine serving a stunning dessert that not only tastes amazing but also catches everyone’s eye at the table. This pavlova is sure to impress!
Here are four delightful elements that make your pavlova shine:
- Crispy Outer Shell: The meringue’s delicate crunch provides a beautiful contrast to the creamy filling.
- Velvety Whipped Cream: Luxuriously smooth and rich, it complements the meringue perfectly.
- Vibrant Tropical Fruits: Think shiny mango, luscious kiwi, and sweet passionfruit, showcasing a rainbow of colors on your pavlova.
- Drizzle of Passionfruit Sauce: A tangy sauce adds an extra layer of flavor, tying the dish together beautifully.
Frequently Asked Questions
Can I Use Frozen Fruit for the Topping?
Sure, you can absolutely sprinkle frozen fruit on top! Just be mindful it might create a little extra liquid. A quick thaw can bring out those vibrant flavors beautifully, making your dish delightful and invigorating.
How Do I Store Leftover Pavlova?
To store leftover pavlova, cover it loosely with plastic wrap and leave it at room temperature. Avoid refrigerating, as it can become sticky. Enjoy within a day or two for the best texture!
Is Pavlova Gluten-Free?
Yes, pavlova is gluten-free! It’s made from egg whites and sugar, which means you don’t need to worry about gluten. Just be sure to check any toppings or add-ins for hidden gluten ingredients. Enjoy!
What Can I Substitute for Sugar in the Recipe?
If you’re looking to swap out sugar, you’re in luck! You can use honey, maple syrup, or stevia. Just remember, a little goes a long way, so adjust those measurements carefully for sweetness!
How Long Does It Take to Make Pavlova?
Making pavlova generally takes about 2 to 3 hours. You’ll need time for whipping the egg whites, baking, cooling, and adding toppings. Don’t rush; the process helps create that perfect, airy texture you want!
