Cherry Pie Recipe
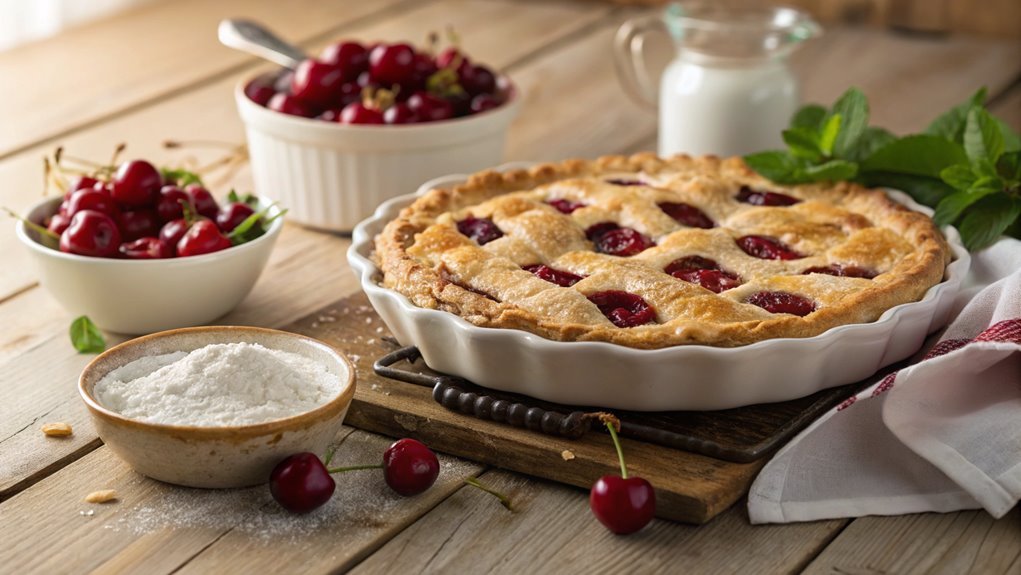
Cherry pie traces its origins to medieval Europe, traditionally made with sour cherries and spices. Achieving the perfect balance of sweetness and tartness is crucial for that classic flavor.
To elevate your cherry pie from ordinary to extraordinary, focus on essential techniques and tips. These strategies can help craft a memorable dessert that will impress family and friends.
Recipe
Cherry pie is a classic dessert that brings a taste of summer to your table, no matter the season. With its flaky crust and sweet-tart cherry filling, it’s a favorite among many.
Whether you’re making it for a special occasion or simply to satisfy your sweet tooth, this recipe is easy to follow and yields a delicious result that will impress family and friends alike.
To start, you’ll need to prepare the pie crust. You can use a store-bought version for convenience or make your own from scratch. The crust should be tender and flaky, forming the perfect base to hold the juicy cherry filling.
After the crust is ready, the key is to use fresh or frozen cherries, which provide that vibrant flavor and lovely color. With just a few simple ingredients, you’ll have a cherry pie that’s bursting with flavor.
Ingredients:
- 2 pie crusts (store-bought or homemade)
- 4 cups fresh or frozen cherries, pitted
- 1 cup granulated sugar
- 2 tablespoons cornstarch
- 1 tablespoon lemon juice
- 1 teaspoon vanilla extract
- 1/4 teaspoon almond extract (optional)
- 1/4 teaspoon salt
- 1 tablespoon butter, cut into small pieces
- 1 egg (for egg wash, optional)
- Sugar for sprinkling (optional)
Now let’s move on to the cooking steps.
Cooking Steps
Now that you’ve got your ingredients ready, it’s time to jump into the cooking steps that’ll bring your cherry pie to life!
Start by preparing the pie crust, then layer in those delicious cherries mixed with sugar and cornstarch.
Once everything’s in place, you’ll bake it to perfection, and soon enough, you’ll be savoring a slice of homemade goodness!
Step 1. Prepare the Pie Crust
Before you plunge into the delicious filling, it’s important to prepare the pie crust properly. Start by gathering your ingredients: flour, butter, sugar, and a pinch of salt.
In a large bowl, mix the flour, sugar, and salt together. Next, cut cold butter into small pieces and add it to the flour mixture. Use a pastry cutter or your fingers to blend until the mixture resembles coarse crumbs. This step is essential for achieving that flaky texture we all love!
Now, slowly add ice-cold water, a tablespoon at a time, mixing until the dough holds together. Don’t overwork it; you want a tender crust, not tough!
Once your dough is formed, shape it into a disk, wrap it in plastic wrap, and refrigerate for at least 30 minutes. This chilling time helps the butter solidify, which is necessary for that perfect flakiness.
After chilling, roll out the dough on a floured surface until it’s about 1/8 inch thick. Carefully transfer it to your pie pan, pressing it gently into the corners. Trim any excess dough, and your crust is ready to hold that delicious cherry filling. Happy baking!
Step 2. Add Cherries and Sugar
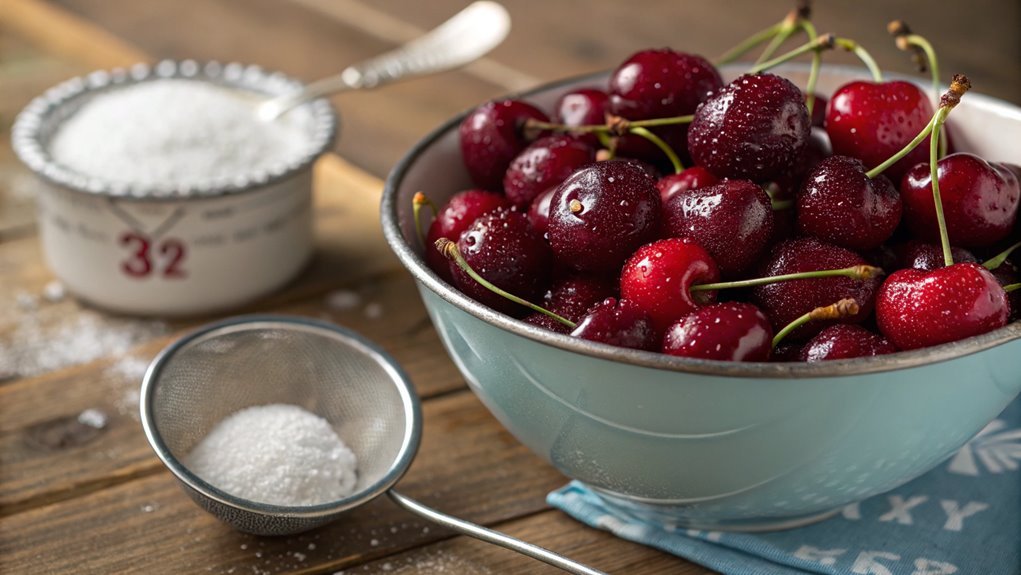
With your pie crust ready, it’s time to fill it with the sweet and tangy cherry mixture. This step is where the magic truly begins! Start by washing your fresh cherries thoroughly, removing the stems, and pitting them. If you’re using frozen cherries, just let them thaw and drain any excess liquid.
Next, toss those beautiful cherries into a bowl and sprinkle them with sugar. This will enhance their natural sweetness and create a delicious syrup. You’ll want to use just the right amount of sugar to balance the tartness of the cherries, so taste as you go!
Here are a few tips to keep in mind:
- Use fresh, ripe cherries for the best flavor.
- Adjust the sugar based on how sweet you like your pie.
- Don’t forget to save a few cherries for decoration!
Once you’ve mixed everything together, gently pour the cherry mixture into your prepared pie crust. Spread it evenly, making sure every inch is covered with those juicy cherries.
The anticipation builds as you prepare for the next steps in your cherry pie adventure! Enjoy the process; you’re creating something truly delightful!
Step 3. Mix in Cornstarch
To achieve the perfect cherry filling, you’ll want to mix in cornstarch to help thicken the juices as the pie bakes. Cornstarch is a fantastic thickening agent, and it’ll give your cherry filling that luscious, gooey texture you crave.
Start by measuring out about two tablespoons of cornstarch. This amount strikes a great balance, making sure your filling is thick enough without becoming too gummy.
In a large bowl, sprinkle the cornstarch over the cherries and sugar mixture. Gently toss everything together until the cherries are evenly coated. This step is essential because it prevents clumping and guarantees that the cornstarch distributes evenly throughout the filling.
The beauty of cornstarch is that it’ll absorb the juices from your cherries and create that delightful, syrupy consistency you want.
Take a moment to admire your work; it’s coming together beautifully! Once the cherries are coated, let them sit for a few minutes. This allows the cornstarch to start activating, drawing out more juice.
You’ll be amazed at how this simple step transforms your pie filling into something truly special. Now, you’re well on your way to baking a delicious cherry pie!
Step 4. Bake at 425°F for 30 Minutes
Now that your cherry filling is perfectly mixed and ready, it’s time to bake. Preheat your oven to 425°F, and while it warms up, take a moment to admire your beautiful pie crust. You’ve put in the effort, and it’s about to pay off!
Once your oven is hot, place your pie on the middle rack. This guarantees even heat distribution, which is key for that golden crust.
Bake the pie for 30 minutes. You’ll want to keep an eye on it as it bakes. You might notice the filling bubbling up, and that’s a great sign! The crust should turn a lovely golden-brown.
To make the most of this baking experience, consider these tips:
- Use a pie shield or foil to protect the edges from burning.
- Rotate the pie halfway through baking for even cooking.
- Enjoy the mouthwatering aroma wafting through your kitchen!
After 30 minutes, check your pie to see if it’s ready. You’re just a step away from a delicious homemade cherry pie. The anticipation is real, and trust me, it’ll be worth the wait!
Step 5. Cool Before Slicing
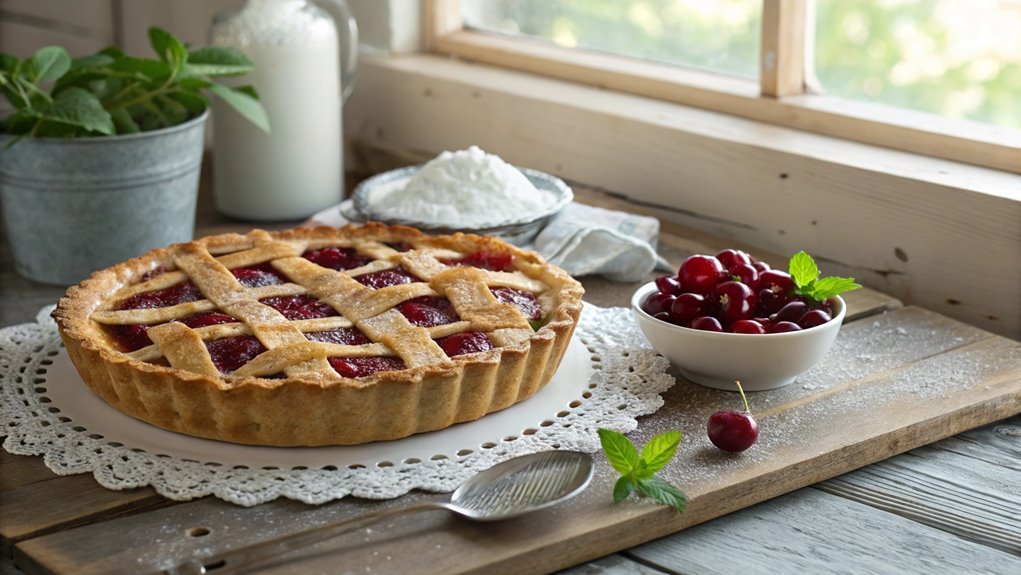
Once your cherry pie has finished baking, it’s important to let it cool before slicing. This step may seem simple, but it’s vital for achieving that perfect slice. If you jump in too soon, the filling might ooze out, leaving you with a messy plate instead of a beautiful pie.
Allowing your pie to cool for at least two hours lets the filling set up nicely, making it easier to cut clean slices that showcase those vibrant cherries.
While the pie cools, take a moment to admire your handiwork. The golden crust and bubbling cherry filling are a sight to behold! You can even use this time to prepare some whipped cream or vanilla ice cream to accompany your pie.
There’s nothing quite like warm cherry pie paired with a scoop of ice cream, right?
Once the cooling time is up, grab a sharp knife and slice into that masterpiece. Enjoy the first bite, and savor the blend of sweet and tart flavors.
You’ve earned it! Sharing this delightful dessert with friends or family makes it even better, so get ready to impress everyone with your cherry pie skills!
Final Thoughts
As you wrap up your cherry pie adventure, it’s clear that the joy of baking goes beyond simply following a recipe. It’s about creating something delicious from scratch and sharing it with those you love. The sweet aroma, the vibrant color of the cherries, and the perfect golden crust all come together to make a delightful treat that’s hard to resist.
Before you plunge into your next baking session, here are a few thoughts to keep in mind:
- Embrace the process: Enjoy every step, from mixing the dough to baking it in the oven.
- Experiment with flavors: Feel free to add a twist with spices like cinnamon or nutmeg to make it your own.
- Share the love: Nothing makes a cherry pie taste better than sharing it with friends and family.
Baking is a beautiful way to express creativity, and each pie tells a story. Don’t be afraid to make it your own!
Frequently Asked Questions
Can I Use Frozen Cherries Instead of Fresh Ones?
Absolutely, you can use frozen cherries instead of fresh ones! Just make sure to thaw and drain them before using. This’ll help avoid excess moisture in your dish and keep everything perfectly balanced. Enjoy!
How Do I Store Leftover Cherry Pie?
To store leftover pie, let it cool completely. Cover it tightly with plastic wrap or aluminum foil, or place it in an airtight container. Refrigerate for up to five days, reheating as desired before serving.
What Can I Substitute for Sugar in the Recipe?
When it comes to substitutes for sugar, you’ve got options! Honey, maple syrup, or even stevia can do the trick. Just remember, it might take some tweaking to get the taste just right!
Can I Make the Pie Crust Ahead of Time?
Yes, you can definitely make the pie crust ahead of time! Just prepare it, wrap it tightly in plastic wrap, and store it in the refrigerator or freezer. It’ll save you time when you’re ready to bake!
How Do I Prevent the Pie From Being Too Runny?
To keep your pie from resembling a soupy mess, you’ll want to thicken the filling with cornstarch or flour. Let it cool before slicing, allowing the juices to set like warm sunlight on a cool evening.
Conclusion
Indulge in a slice of homemade cherry pie, and you’ll be whisked away to a sunny summer day reminiscent of Grandma’s kitchen. The perfect blend of sweet and tart flavors creates a nostalgic experience that’s simply irresistible.
Roll up your sleeves and embrace the joy of baking with this delightful pie. Whether for a special occasion or a personal treat, this cherry pie is sure to bring smiles all around!
