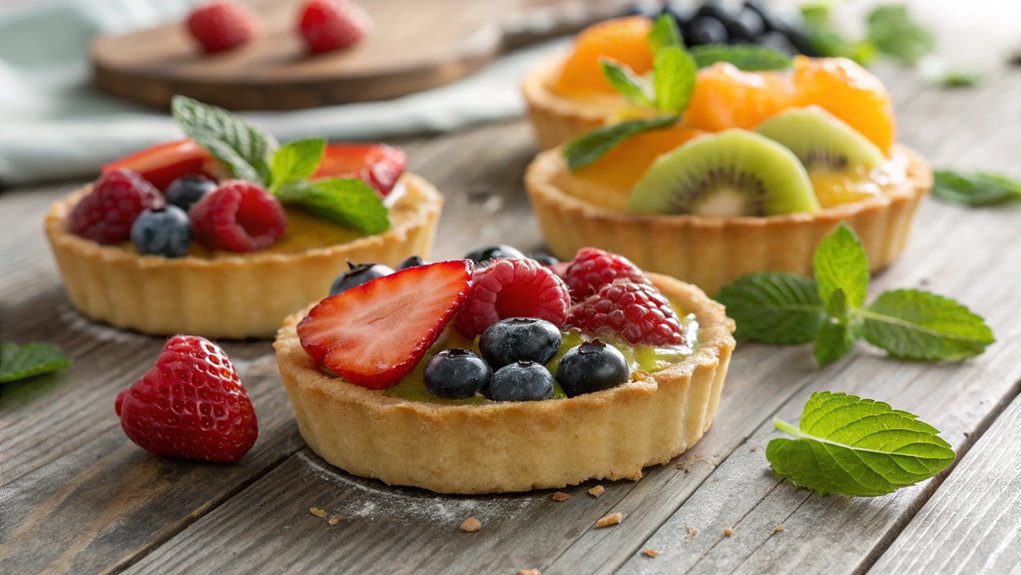
Mini Fruit Tart Recipe
Mastering mini fruit tarts can elevate your dessert skills significantly. With just a few steps, you can create a treat that delights the palate and impresses guests.
Consider the balance of flavors in the filling and the freshness of the fruit. As you delve into crust preparation and assembly, you may uncover tips that transform your tarts from ordinary to extraordinary.
What’s the secret to achieving that perfect balance?
Recipe
Mini fruit tarts are a delightful dessert that combines a buttery, flaky crust with a creamy filling and an array of fresh fruits. These individual-sized treats are perfect for any occasion, whether it’s a summer picnic, a birthday party, or just a sweet indulgence at home.
The tart shells are easy to make and can be filled with a variety of flavors, but the classic combination of vanilla pastry cream and seasonal fruits is always a crowd-pleaser.
Creating mini fruit tarts allows for personalization and creativity in presentation. You can choose your favorite fruits, such as strawberries, blueberries, kiwi, or peaches, making it a versatile dessert that can adapt to your tastes or the season.
These bite-sized tarts aren’t only beautiful but also bursting with fresh flavors, making them irresistible to everyone who tries them.
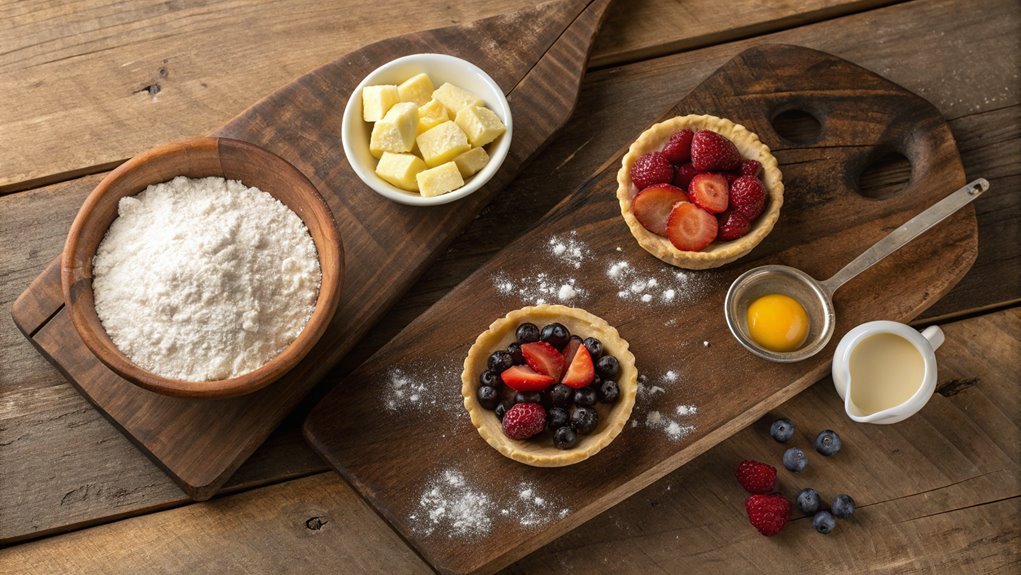
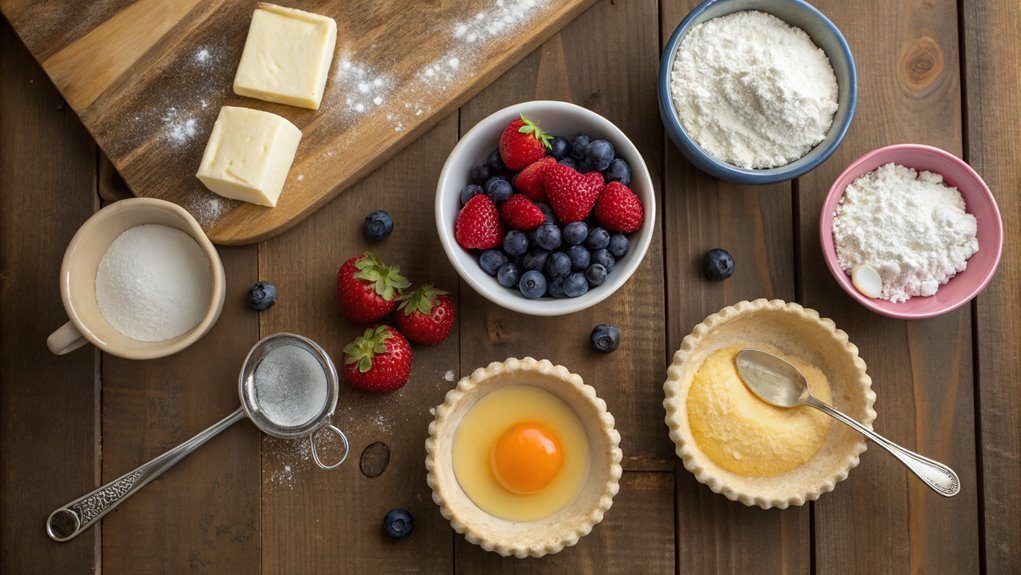
Ingredients:
- 1 cup all-purpose flour
- 1/2 cup unsalted butter, softened
- 1/4 cup powdered sugar
- 1 large egg yolk
- 1/4 teaspoon salt
- 1 cup vanilla pastry cream (store-bought or homemade)
- Assorted fresh fruits (strawberries, blueberries, kiwi, raspberries)
- Apricot preserves (optional, for glazing)
- Mint leaves (for garnish, optional)
Now let’s move on to the cooking steps.
Cooking Steps
Now that you’ve gathered all your ingredients, it’s time to jump into the fun cooking steps!
Begin by preparing the tart crust, then whip up a delicious filling mixture that will make your tarts irresistible.
Once you’ve baked the tart shell, you’ll get to assemble it with fresh, colorful fruit and chill it before serving, creating a delightful treat that everyone will love!
Step 1. Prepare the Tart Crust
To create a perfect tart crust, you’ll first need to gather your ingredients and tools. You’ll want to have all-purpose flour, unsalted butter, sugar, and a pinch of salt ready to go. Bring out your mixing bowl, pastry cutter, or food processor to make things easier.
Start by combining the flour, sugar, and salt in your bowl. Mix them together neatly.
Next, cut the cold butter into small cubes and add it to the dry ingredients. Using your pastry cutter or your fingertips, blend them until the mixture resembles coarse crumbs. This step is essential, as it guarantees your crust will be flaky and buttery!
Now, gently add ice-cold water, a tablespoon at a time, mixing until the dough just starts to come together. Don’t overwork it; you want to keep that tender texture!
Once it’s ready, form the dough into a disc, wrap it in plastic wrap, and chill in the refrigerator for about 30 minutes. This helps the butter firm up, making your tart crust even more delightful.
Once chilled, roll it out and press it into your tart pan, making sure it’s even. You’re one step closer to a delicious mini fruit tart!
Step 2. Prepare the Filling Mixture
While your tart crust chills, it’s time to prepare the filling mixture that will elevate your mini fruit tart. Start by gathering your ingredients: cream cheese, powdered sugar, vanilla extract, and a splash of heavy cream.
In a mixing bowl, beat the softened cream cheese until it’s smooth and creamy; this will be the luscious base of your tart filling. Next, add the powdered sugar and vanilla extract, blending until everything is well combined and silky.
If you want a lighter texture, drizzle in your heavy cream while mixing. This not only adds richness but also makes the filling easy to spread. Keep mixing until the mixture is fluffy and delightful—this is the secret to a mouthwatering filling that perfectly complements your tart crust.
Once your filling is ready, you can taste it and adjust the sweetness if needed. You’re now set for the next stage of assembly with a filling that’s bursting with flavor.
The excitement of layering this creamy treat with vibrant fruits is just around the corner. Get ready to create a stunning mini fruit tart that’ll impress everyone at the table!
Step 3. Bake the Tart Shell
Preheat your oven to 350°F (175°C) for the perfect tart shell. While the oven heats up, gather your pre-made dough and get ready to roll.
On a lightly floured surface, roll out the dough until it’s about 1/4 inch thick. This thickness helps guarantee a nice, flaky crust that’ll hold up beautifully. Once rolled, gently transfer the dough to your mini tart pans. Don’t forget to press it firmly into the edges, so your tarts have that classic shape!
Next, trim any excess dough hanging over the edges and prick the bottom of each shell with a fork. This step is essential because it prevents air bubbles from forming while baking.
Place the pans on a baking sheet for easier handling, and transfer them to your preheated oven. Bake for about 15-18 minutes, or until the shells turn golden brown. Your kitchen will smell amazing!
Once they’re done, take them out and let them cool completely in the pans. This is the foundation of your mini fruit tarts, and with each bite, you’ll be thrilled with your creation.
Get ready to assemble them with all your favorite fresh fruits!
Step 4. Assemble With Fresh Fruit
Once your tart shells have cooled, it’s time to fill them with a delightful array of fresh fruits. First, grab a spoon and gently fill each tart shell with a generous layer of pastry cream or whipped cream. This creamy base not only adds flavor but also acts as a glue for your gorgeous fruit toppings.
Now, let your creativity shine! Slice up strawberries, kiwis, blueberries, and any seasonal favorites you have on hand. Arrange the fruit pieces artfully on top of the cream, creating a colorful pattern that’ll make your tarts irresistible.
Don’t hold back—mix and match various fruits to add texture and vibrancy!
If you’re feeling fancy, consider drizzling a bit of honey or a glaze over your fruit for an extra touch of sweetness and shine. Keep it simple yet elegant. The final presentation will wow your guests and add a professional flair.
Once you’ve assembled your tarts, take a moment to admire your handiwork. You’ve crafted something beautiful and delicious!
Now, they’re ready for the next step, but for now, enjoy the satisfaction of creating these miniature masterpieces. Happy tart making!
Step 5. Chill Before Serving
After you’ve artfully arranged your fruit atop the creamy filling, it’s vital to chill your mini fruit tarts before serving. This step might seem simple, but it’s essential for making your tarts a delightful experience! By placing them in the refrigerator for at least an hour, you allow the flavors to meld beautifully. The cool temperature helps the filling firm up, ensuring each bite is a perfect blend of freshness and creaminess.
While the tarts chill, take a moment to savor the anticipation. Imagine that crisp, buttery crust melting in your mouth as you experience the burst of sweetness from the fruit. Visualize your friends’ faces lighting up when they take their first bite. Isn’t that the joy of cooking?
Once chilled, your mini fruit tarts will be ready to impress. They’ll be perfectly set, easy to slice, and simply irresistible. Serve them with a dollop of whipped cream or a sprinkle of mint for an extra touch of elegance!
Final Thoughts
As you finish up your mini fruit tarts, it’s essential to appreciate the delightful journey of flavors you’ve created. Each tart is a little masterpiece, bursting with color and vibrance!
There’s something truly magical about bringing this delicious vision to life. Whether you’re enjoying these tarts yourself or sharing them with loved ones, they’re bound to impress!
Here are a few tips to elevate your tart experience:
- Experiment with Fruits: Don’t hesitate to mix and match different fruits. Berries, kiwi, or even peaches can add a unique twist!
- Add a Personal Touch: Think about drizzling some chocolate or adding a sprinkle of mint for a revitalizing finish. This personalization makes each tart special.
- Presentation Matters: You can serve them on a beautiful platter or garnished with extra fruit. A little artistry goes a long way!
Frequently Asked Questions
Can I Use Different Fruits for the Tart Topping?
Absolutely, you can use different fruits for the topping! Mix and match according to your taste and seasonal availability. Just remember to balance flavors and colors for a visually appealing and delicious result. Enjoy experimenting!
How Long Can I Store Mini Fruit Tarts?
While you might worry about freshness, you can store mini tarts in the fridge for up to two days. Just keep them covered to maintain their taste and texture. Enjoy them at their best!
Can I Make the Tart Shell Ahead of Time?
Yes, you can make the tart shell ahead of time! Just prepare it, cool it completely, and store it in an airtight container. It’ll stay fresh for a couple of days, ready for filling later.
What Gluten-Free Options Are Available for the Crust?
Where there’s a will, there’s a way! You can use almond flour, coconut flour, or a gluten-free all-purpose blend for your crust. Just make sure to follow a reliable recipe for the best results.
Do I Need to Refrigerate the Tart Before Serving?
Yes, you’ll want to refrigerate the tart before serving. Chilling helps the filling set properly and enhances the flavors. Plus, a cold tart is usually more revitalizing and enjoyable for everyone at the table.