No-Bake Energy Bites Recipe
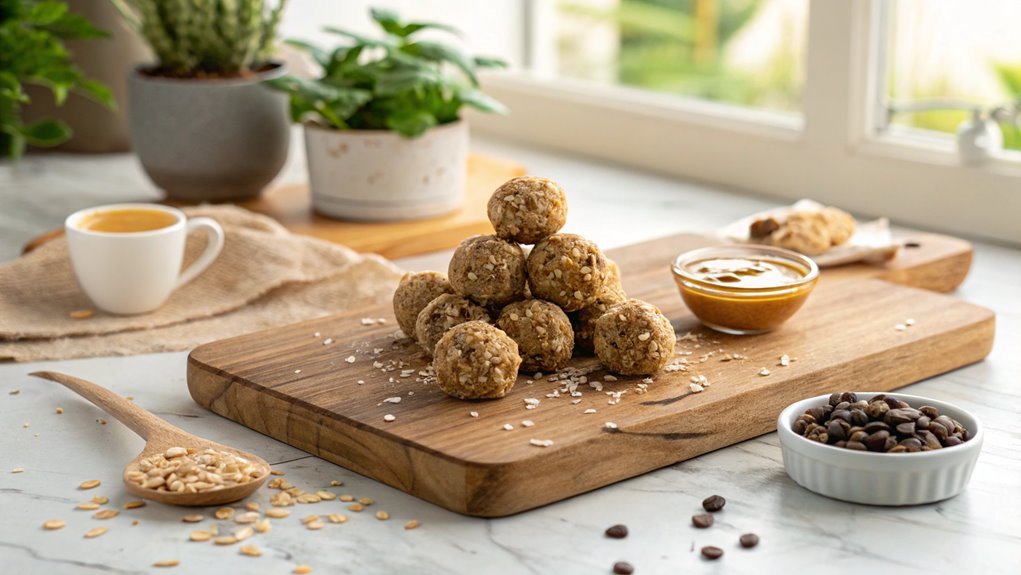
Nearly 70% of people seek quick, nutritious snacks for busy days, and no-bake energy bites are an ideal solution. They’re simple to make and customizable to your taste.
These bites offer a perfect balance of convenience and nutrition. Ready to try them? Let’s explore the easy steps and key ingredients to enhance their flavor.
Recipe
No-bake energy bites are a quick and easy snack option that require minimal prep time and no baking at all.
These delicious little bites are perfect for a midday pick-me-up, a pre-workout snack, or even a healthy dessert. With a combination of oats, nut butter, and sweeteners, they provide a great source of energy to keep you fueled throughout the day.
Plus, they’re easily customizable with your favorite ingredients, making them a versatile choice for anyone looking to maintain a healthy diet.
Making no-bake energy bites is as simple as mixing your ingredients together and letting them chill in the refrigerator. In just a few minutes, you can whip up a batch that will last you the whole week or serve them at gatherings to impress your friends and family.
Whether you prefer a classic peanut butter flavor or want to experiment with different mix-ins like chocolate chips or dried fruit, these bites can be tailored to suit your taste.
Ingredients:
- 1 cup rolled oats
- 1/2 cup nut butter (peanut, almond, or cashew)
- 1/3 cup honey or maple syrup
- 1/2 cup chocolate chips or dried fruit (optional)
- 1/4 cup ground flaxseed or chia seeds (optional)
- 1 teaspoon vanilla extract
- A pinch of salt
Now let’s move on to the cooking steps.
Cooking Steps
Get ready to whip up some delicious no-bake energy bites!
Start by mixing your dry ingredients together, then gradually add the wet ingredients for a perfect blend.
After chilling the mixture for 30 minutes, you’ll form it into bite-sized balls and coat them in coconut flakes for an extra tasty finish!
Step 1. Mix Dry Ingredients Together
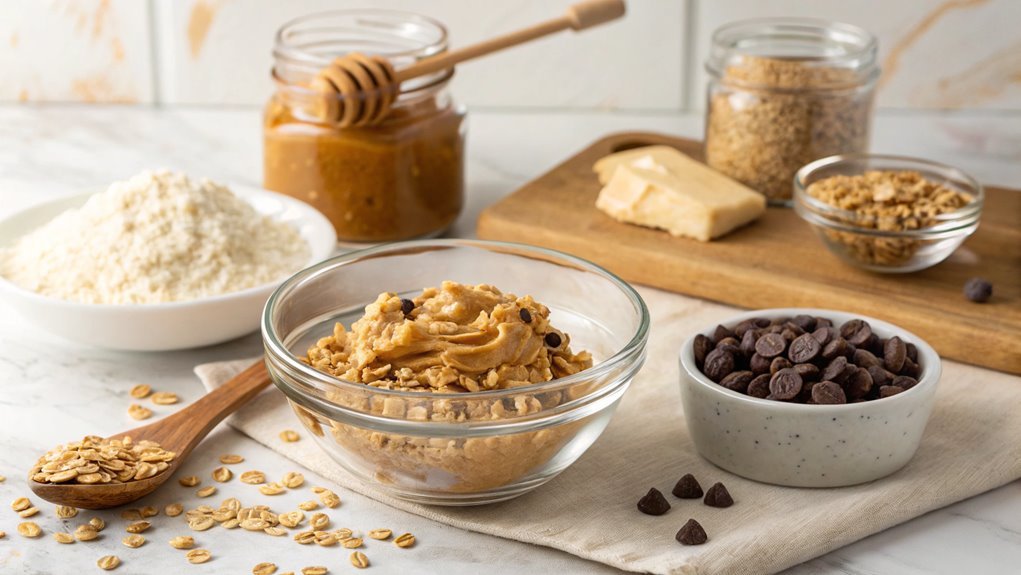
Start by gathering your dry ingredients in a large mixing bowl. You’ll need rolled oats, nut butter, ground flaxseed, and chocolate chips. These ingredients are the foundation of your energy bites, so let’s make certain they’re well combined.
Begin by measuring out the oats. They’re packed with fiber and provide great texture. Next, add in the ground flaxseed, which isn’t only nutritious but also helps bind the mixture together. Then, toss in those delicious chocolate chips; they’ll add a sweet touch that makes these bites irresistible!
As you combine these ingredients, use a spatula or a wooden spoon to mix them thoroughly. You want to ascertain that everything is evenly distributed, so every bite is just as tasty as the last.
Don’t rush this step—get in there and really mix it up! You’ll feel the excitement building as your dry ingredients come together, creating a delightful blend that’s bursting with flavor.
Once you’ve got everything mixed nicely, you’re ready to move on to the next step. Trust me, this is going to be a treat you’ll want to make again and again!
Step 2. Add Wet Ingredients Gradually
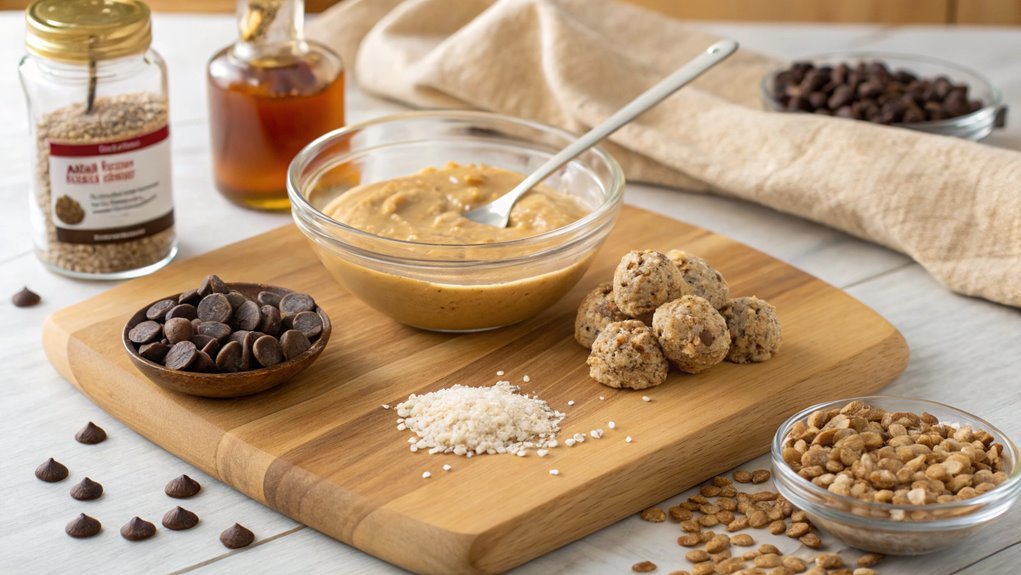
Once your dry ingredients are well mixed, it’s time to incorporate the wet ingredients gradually. This step is essential, as it guarantees that everything blends perfectly together, creating a delicious and cohesive mixture.
Start by adding a small amount of your chosen wet ingredients, like honey or nut butter. Stir them into the dry mix with enthusiasm, making sure every bit is evenly coated.
As you mix, you’ll notice the texture change, becoming sticky and more unified. Don’t rush this process! If you add everything at once, it can be challenging to achieve that perfect consistency. Instead, keep adding the wet ingredients a little at a time, mixing well after each addition.
Feel free to give it a taste as you go! This way, you can adjust flavors to your liking. If you want it sweeter, add a bit more honey; if you prefer a nuttier flavor, a splash of almond butter could be the answer.
You’re the chef here, so trust your instincts! Enjoy the process, and get ready for some delightful energy bites that are perfect for any time of day!
Step 3. Chill Mixture for 30 Minutes
Chilling the mixture for 30 minutes is an essential step that helps solidify the ingredients and makes them easier to shape into bites. Once you’ve combined all your ingredients, it’s time to let them rest in the fridge. This short chill time allows the oats, nut butter, and sweeteners to meld together, creating a deliciously cohesive mixture.
Simply cover your bowl with plastic wrap or transfer the mixture to an airtight container. Placing it in the refrigerator not only thickens the mixture but also enhances the flavors, making those energy bites even tastier. You’ll be amazed at how a little patience can lead to such delightful results!
While you’re waiting, you can clean up your workspace or even prepare your favorite toppings for when you’re ready to roll those bites. This downtime is a perfect moment to think about how you’ll enjoy these treats—maybe as a post-workout snack or a quick breakfast on the go?
Step 4. Form Into Bite-Sized Balls
After letting the mixture chill, it’s time to shape it into bite-sized balls. Grab a small bowl of water to keep your hands slightly damp; this helps prevent sticking as you work.
Take a spoonful of the chilled mixture and roll it between your palms until it forms a nice, round ball. Aim for about one inch in diameter—this size makes the perfect snack.
Don’t worry about making them look perfect; a little variation adds character to your energy bites! If you find the mixture too crumbly, you can add a splash of honey or a bit more nut butter to help bind it all together.
As you shape each ball, place it on a parchment-lined baking sheet or plate. This way, they’ll be easy to store later. Keep rolling until you’ve used all the mixture, and don’t forget to taste a few along the way!
The excitement of creating these delicious bites is as satisfying as eating them. Once you’ve shaped them all, you’ll be just a step away from enjoying a wholesome snack that’s both nutritious and oh-so-tasty!
Step 5. Coat in Coconut Flakes
To give your energy bites an extra layer of flavor and texture, you’ll want to coat them in coconut flakes. This step adds a delightful crunch and a hint of tropical sweetness that perfectly complements the nutty energy bites. It’s super simple and makes your treats look irresistible!
Here’s how to do it:
- Prepare a shallow dish: Pour unsweetened coconut flakes into a shallow dish. This’ll make it easy to roll your bites without making a mess.
- Roll each bite: Take a bite-sized ball and gently roll it in the coconut flakes until it’s fully coated. This is where the magic happens!
- Press slightly: Don’t be shy! Press the coconut flakes onto the surface to guarantee they stick well. You want that coconut goodness to stay in place.
- Chill and enjoy: After coating, place your bites on a plate and pop them in the fridge for a bit. This helps the coconut set and enhances the flavors.
Once you’ve coated all your bites, you’ll have a deliciously textured treat that’s ready to enjoy. Immerse yourself and savor every bite!
Final Thoughts
While you’re enjoying your no-bake energy bites, remember that they’re not just a tasty treat; they’re also a convenient and nutritious snack option.
These little bites pack a punch of flavor and energy, making them perfect for busy days when you need a quick pick-me-up. With just a few simple ingredients, you can whip up a batch in no time, and the best part is, there’s no oven required!
Experimenting with different flavors and add-ins is part of the fun. Whether you prefer chocolate chips, dried fruit, or a sprinkle of seeds, you can customize each batch to suit your taste.
You’ll find that they’re not only great for satisfying your cravings but also excellent for sharing with friends and family.
Frequently Asked Questions
Can I Substitute Peanut Butter With Another Nut or Seed Butter?
Absolutely, you can substitute peanut butter with almond butter, cashew butter, or sunflower seed butter. Each option brings a unique flavor and texture, so feel free to experiment and find what you enjoy most!
How Long Do No-Bake Energy Bites Last in the Fridge?
Think of your energy bites as little treasures. In the fridge, they’ll stay fresh for about one week. Just make sure you store them in an airtight container to keep their deliciousness intact!
Are No-Bake Energy Bites Gluten-Free?
Yes, no-bake energy bites can be gluten-free if you use certified gluten-free oats and other gluten-free ingredients. Always check labels to guarantee everything you use meets your dietary needs and preferences. Enjoy your healthy snack!
Can I Freeze No-Bake Energy Bites for Later Use?
Think of your no-bake energy bites as little treasures; freezing them locks in freshness. Just store them in an airtight container, and you’ll have a delicious snack ready whenever you need a boost!
What Are Some Variations to Customize My Energy Bites?
You can customize your energy bites by adding ingredients like nuts, seeds, dried fruits, or chocolate chips. Experiment with flavors by incorporating spices, extracts, or protein powders to suit your taste preferences and nutritional needs.
Conclusion
You’ve made a tasty batch of no-bake energy bites! Let them chill before enjoying. These bites are easy to make and packed with nutrition, perfect for any time of day. Enjoy a healthy snack that fuels your busy life. Get creative with your favorite mix-ins—your taste buds will thank you!
