Funfetti Sprinkle Cookie Recipe

Adding sprinkles to cookies can transform them from ordinary to extraordinary by enhancing both their visual appeal and texture. The vibrant colors and playful crunch create a delightful bite that elevates the cookie experience.
Achieving the perfect balance of soft chewiness with a hint of crunch involves a specific method. The secret lies in the careful selection of ingredients and precise baking techniques, which can revolutionize your baking skills.
Recipe
Funfetti sprinkle cookies are a delightful treat that brings joy to any occasion. These colorful cookies aren’t only visually appealing but also incredibly tasty, making them perfect for birthday parties, celebrations, or just a fun baking day at home.
With their soft, chewy texture and the sweet crunch of sprinkles in every bite, they’re sure to please both kids and adults alike.
Making these delightful cookies is a straightforward process that can be enjoyed by bakers of all levels. The combination of vanilla and almond extracts gives them a unique flavor, while the vibrant sprinkles add a festive touch.
Gather your ingredients and get ready to whip up a batch of these cheerful cookies that are sure to brighten your day!
Ingredients:
- 2 ½ cups all-purpose flour
- 1 teaspoon baking powder
- ½ teaspoon baking soda
- ½ teaspoon salt
- 1 cup unsalted butter, softened
- 1 cup granulated sugar
- ½ cup brown sugar, packed
- 2 large eggs
- 1 teaspoon vanilla extract
- ½ teaspoon almond extract
- 1 cup rainbow sprinkles
- Additional sprinkles for topping (optional)
Now let’s move on to the cooking steps.
Cooking Steps
Let’s get started on making those delicious Funfetti sprinkle cookies!
First, you’ll preheat your oven to 350°F, and then you’ll mix your dry ingredients together to create a perfect base.
After folding in those colorful sprinkles, you’ll chill the dough for 30 minutes, making sure each bite is bursting with fun!
Step 1. Preheat Oven to 350°F
Before you plunge into mixing your ingredients, you’ll want to preheat your oven to 350°F. This step is essential, as it guarantees your cookies bake evenly and come out perfectly golden.
While you gather your supplies and prepare your dough, the oven heats up, saving you time later. To preheat, simply turn your oven knob or press the appropriate buttons on your digital oven until it reaches the desired temperature. You might hear a beep or see a light indicating that it’s warming up.
It’s a good idea to let the oven heat for about 10-15 minutes before you start baking. This way, your cookies will begin baking immediately when you place them inside, creating that delicious, warm aroma that fills your kitchen.
Plus, it helps achieve a better texture—crispy on the outside and soft on the inside. While you wait, take a moment to enjoy the anticipation of those colorful, funfetti cookies that are just moments away from being in your oven.
You’re on your way to creating a delightful treat that’s perfect for any occasion! So, let the preheating begin, and get ready for some fun in the kitchen!
Step 2. Mix Dry Ingredients Together
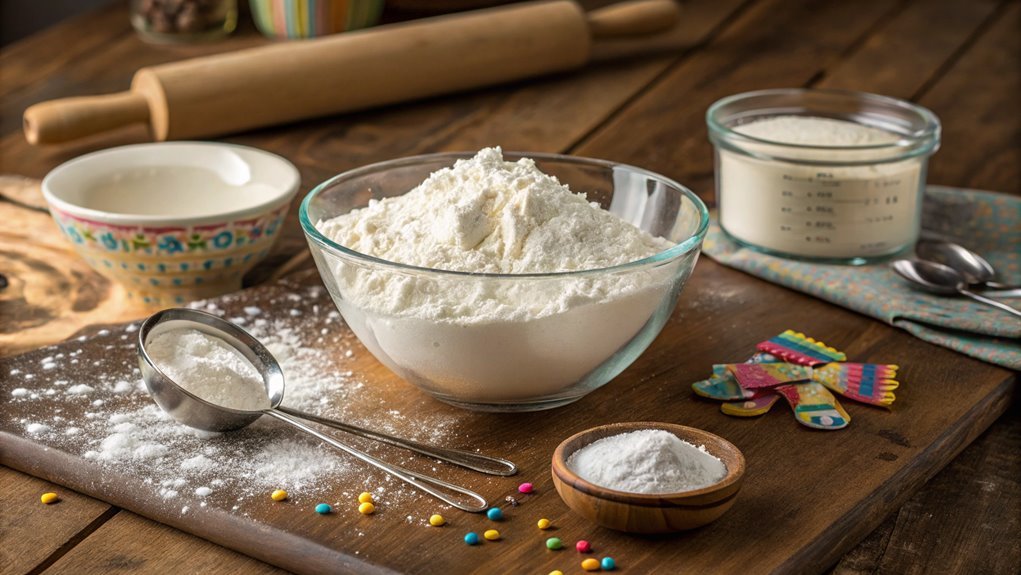
To create the perfect base for your funfetti cookies, you’ll need to mix together three key dry ingredients: flour, baking powder, and salt.
Start by measuring out two and a half cups of all-purpose flour. This is the foundation of your dough, giving it structure and that delightful chewy texture.
Next, add a teaspoon of baking powder. This ingredient is essential, as it helps your cookies rise, guaranteeing they’re soft and fluffy.
Finally, don’t forget the salt! Just half a teaspoon is all you need. It enhances the flavors and balances the sweetness.
Once you’ve gathered these ingredients, grab a medium-sized mixing bowl. Sift the flour, baking powder, and salt together. Sifting not only combines them evenly but also aerates the flour, making your cookies lighter.
If you don’t have a sifter, whisking the ingredients together works just as well!
Make certain there are no lumps, as this will assure a smooth cookie dough later.
Now you’ve got your dry ingredients ready to go, and you’re one step closer to baking those irresistible funfetti cookies.
Get excited, because the best part is coming next!
Step 3. Fold in Funfetti Sprinkles
With your dry ingredients perfectly mixed, it’s time to add some fun and color to your dough by folding in the Funfetti sprinkles.
Grab your bowl and gently add a generous handful of those vibrant sprinkles to the mixture. You want to incorporate them without overmixing, so use a spatula or wooden spoon to carefully fold them in. This technique helps keep the sprinkles intact, ensuring they stay bright and cheerful.
As you fold, envision the colorful little bursts of joy that’ll be hidden throughout each cookie. Make sure you mix just enough so that the sprinkles are evenly distributed, creating a delightful surprise in every bite. The key here is to be gentle; you don’t want to crush those adorable sprinkles!
Once you’ve finished folding, take a moment to admire your masterpiece in progress. The dough should look inviting, speckled with joyful colors that scream celebration.
This is the magic of baking—transforming simple ingredients into something special. Now that your dough is ready to shine, you’re one step closer to indulging in these delightful Funfetti sprinkle cookies.
Get excited, because your kitchen is about to smell amazing!
Step 4. Chill Dough for 30 Minutes
Chilling the dough for 30 minutes is an essential step that helps improve the texture of your cookies. This short wait allows the butter to firm up and the flavors to meld, resulting in a cookie that’s both chewy and flavorful.
Plus, it makes the dough easier to handle when you’re ready to scoop it out.
While you’re waiting, take a moment to enjoy the process! Here are some great reasons to chill your dough:
- Better Texture: Chilling creates a firmer dough, leading to a chewy center and crisp edges.
- Enhanced Flavor: Allowing the dough to rest lets the ingredients blend beautifully, enriching the cookie’s taste.
- Easier to Scoop: Cold dough doesn’t stick as much, making it simpler to work with.
- Controlled Spreading: A chilled dough spreads less in the oven, giving your cookies a lovely shape.
- Perfect Timing: Use this time to clean up your kitchen or prep your baking sheets.
Step 5. Scoop Dough Onto Baking Sheet

Grab a cookie scoop or tablespoon and start portioning out the chilled dough onto your prepared baking sheet. Make certain to leave about two inches between each scoop, as these cookies will spread while baking. You don’t want them to stick together!
If you’re using sprinkles, now’s the perfect time to add a few extra on top of each portion. This way, they’ll look extra festive and colorful when they come out of the oven.
Once you’ve scooped all the dough onto the sheet, take a moment to admire your work. Those little mounds of dough are about to transform into delicious, funfetti cookies!
Preheat your oven to the temperature specified in the recipe while you wait. This step is essential, as it guarantees your cookies bake evenly and come out perfectly golden brown.
After you’ve preheated the oven, it’s time to bake! Slide the baking sheet into the oven and set a timer. You’ll want to keep an eye on them, as they’ll be ready in just a few minutes.
Enjoy the delightful aroma that fills your kitchen—it’s the best part of baking!
Final Thoughts
As you wrap up your baking session, consider how these Funfetti sprinkle cookies can bring joy to any occasion. Whether you’re celebrating a birthday, hosting a casual get-together, or simply treating yourself, these colorful cookies will surely brighten the day.
Their delightful crunch paired with a soft, chewy center creates a perfect balance that everyone will love.
Don’t forget, baking is about sharing happiness, and these cookies are a fantastic way to spread that joy. Picture serving these at your next gathering, and watch as friends and family gather around, smiles on their faces.
Here are a few ideas to inspire you:
- Celebrate special moments with themed sprinkles.
- Pair with a glass of milk for a classic treat.
- Package them as gifts for friends or neighbors.
- Make them with kids for a fun family activity.
- Experiment with different flavors by adding extracts or mix-ins.
Frequently Asked Questions
Can I Substitute the Sprinkles With Other Toppings?
Sure, you can definitely substitute sprinkles with other toppings! Consider using chocolate chips, nuts, or dried fruit. Just keep in mind that different toppings might change the texture and flavor of your final result.
How Long Do These Cookies Stay Fresh?
You’d think cookies last forever, right? They actually stay fresh for about a week in an airtight container. After that, they might get a little stale, but who could resist eating them before then?
Are There Gluten-Free Options for This Recipe?
Yes, there are gluten-free options you can use. Substitute regular flour with a gluten-free blend, ensuring it contains xanthan gum for structure. You’ll still get delicious cookies without compromising on taste or texture!
Can I Freeze the Dough for Later Use?
You can freeze the dough for later use, just like capturing summer’s warmth in winter’s chill. Shape it into balls, wrap them tight, and when you’re ready, bake them fresh and delightful!
What Beverages Pair Well With Funfetti Cookies?
When you think about pairing beverages with cookies, consider milk, coffee, or a fruity soda. Each option complements the sweetness and texture, enhancing your enjoyment and making your treat even more delightful. Enjoy experimenting!
Conclusion
These funfetti sprinkle cookies are a celebration in every bite. Whether impressing friends or treating yourself, they’re sure to spread joy.
Don’t be fooled by the sprinkles; this is more than just a cookie—it’s an experience! Grab your apron, release your inner baker, and dive into the colorful world of funfetti.
