Vegan Peanut Butter Cup Recipe

These vegan peanut butter cups are a modern-day treat, offering divine indulgence without sacrificing dietary principles. Crafting them is simple and rewarding, as rich dairy-free chocolate meets smooth peanut butter. The key is balancing flavors and textures, making this recipe an excellent choice for any diet. Want to learn the steps for this delightful creation?
Recipe
Vegan peanut butter cups are a delightful treat that combines the rich taste of peanut butter with the satisfying sweetness of chocolate, all without any animal products. They’re perfect for satisfying your sweet tooth while still adhering to a plant-based lifestyle.
Making these cups at home isn’t only simple but allows you to customize the ingredients to your liking.
Begin by melting your chocolate, which will serve as the outer layer of the peanut butter cups. While the chocolate is melting, you can prepare the peanut butter filling, which is a creamy mixture of peanut butter and a sweetener of your choice.
Once the two components are ready, it’s just a matter of layering them in a cupcake liner and letting them set in the fridge. The result is a delicious, guilt-free treat that you can enjoy any time!
Ingredients:
- 1 cup dairy-free chocolate chips
- 1/2 cup natural peanut butter
- 1/4 cup maple syrup or agave nectar
- 1 teaspoon vanilla extract
- 1/4 teaspoon salt
- Cupcake liners or silicone molds
Now let’s move on to the cooking steps.
Cooking Steps
Get ready to whip up something delicious!
First, you’ll melt those vegan chocolate chips, making the base for your peanut butter cups.
Then, add your creamy peanut butter mixture, chill until firm, drizzle with extra chocolate, and cut into perfect squares for a treat that’s sure to impress!
Step 1. Melt Vegan Chocolate Chips
To melt vegan chocolate chips, start by placing them in a heatproof bowl. This is where the magic begins!
Next, you can choose to melt them over a double boiler or in the microwave. If you opt for the double boiler method, fill a pot halfway with water and bring it to a gentle simmer. Make certain the bowl with the chocolate sits snug on top, but doesn’t touch the water. Stir occasionally until the chips are smooth and melted. It’s such a satisfying sight!
If you’re using the microwave, simply place the bowl with chocolate chips in there, and heat them in 20 to 30-second intervals. Stir between each interval to guarantee even melting. Be careful not to overheat; you want that glossy, smooth texture without hardening.
Once you’ve melted the chocolate to perfection and it’s nice and dreamy, you’re ready for the next step in creating your scrumptious vegan peanut butter cups.
Just wait until you taste the combination of rich chocolate and sweet peanut butter! It’s a delightful treat that’ll have you coming back for more. Enjoy this exciting process; your treats are about to brighten your day!
Step 2. Add Peanut Butter Mixture
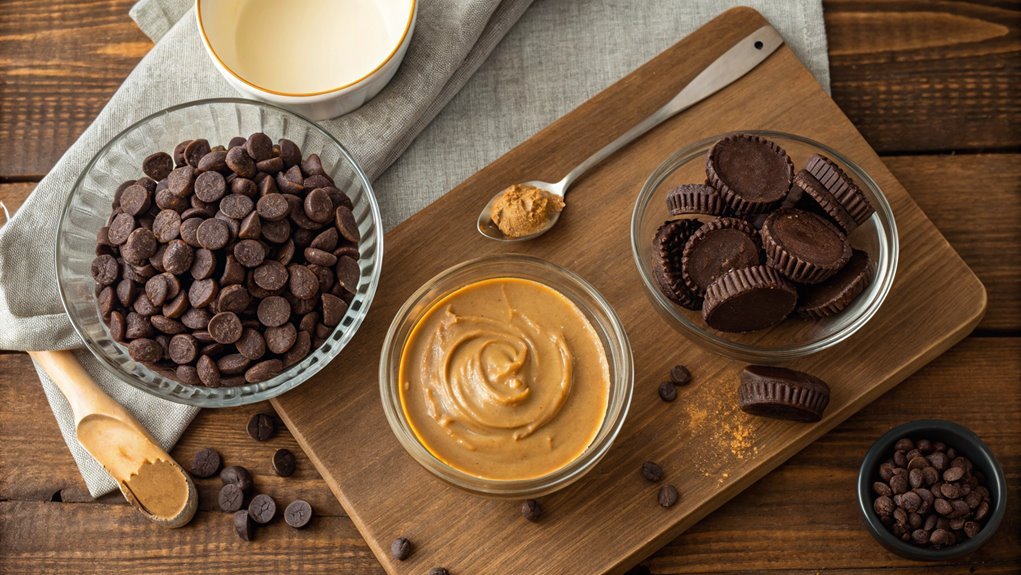
Grab your melted chocolate and let’s move on to the peanut butter mixture!
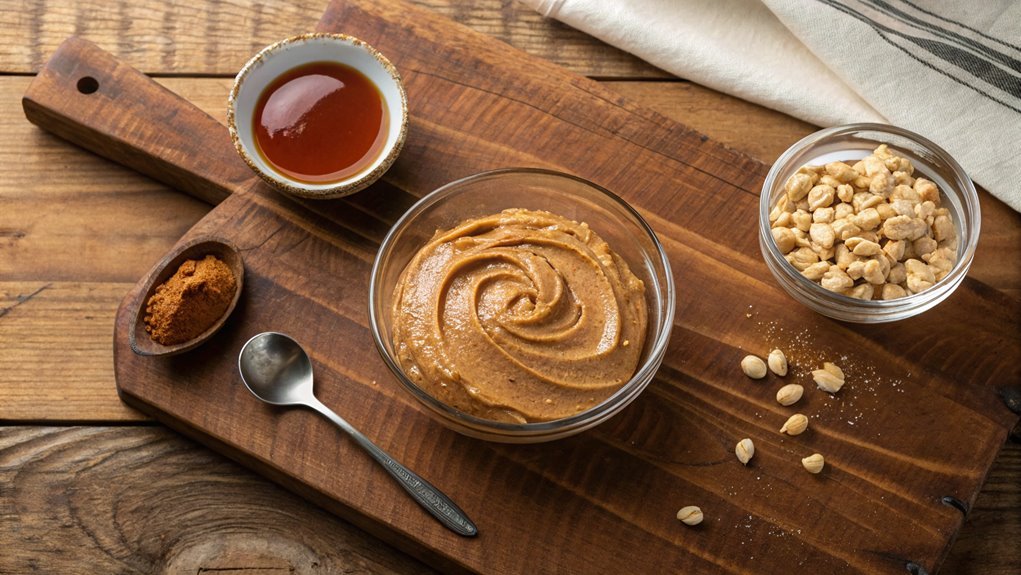
You’ll want to take a medium bowl and combine your creamy peanut butter with a bit of maple syrup and a pinch of salt. Mixing these ingredients together until they’re smooth creates that deliciously sweet and salty filling we all crave.
If you like a little extra flavor, consider adding some vanilla extract—just a splash will do!
Now, take a spoon and scoop out dollops of this luscious peanut butter mixture. It’s time to add it into the chocolate cups you’ve already prepared.
Gently press each dollop into the center of the chocolate. This helps the peanut butter blend perfectly with the chocolate, ensuring each bite is a delightful explosion of flavor.
Step 3. Chill Until Firm
Once you’ve pressed the peanut butter mixture into the chocolate cups, it’s time for them to chill. This step is essential because it allows your delicious creation to set perfectly.
Grab a tray and place it in the fridge for at least 30 minutes, or until the cups are firm to the touch. You’ll be amazed at how the flavors meld together while they cool!
To make the waiting time more enjoyable, here are a few tips:
- Set a timer: Keep track of the chilling time to guarantee they’re perfectly solid.
- Stay inspired: Think about how delicious these peanut butter cups will taste once they’re ready.
- Organize your kitchen: Use this time to clean up your workspace and prep for the final touches.
- Try not to peek: It can be tempting, but keeping the fridge closed helps maintain the right temperature for setting.
Once they’re chilled and firm, you’ll be ready to take your treats to the next level. You’ve already done the hard work, and you’re so close to enjoying these delightful vegan peanut butter cups!
Step 4. Drizzle With Extra Chocolate
Now that your peanut butter cups are set and firm, it’s time to add a delightful finishing touch by drizzling them with extra chocolate. This step not only enhances their look but also boosts the flavor in the most incredible way!
Begin by melting some dairy-free chocolate chips in a microwave-safe bowl. Heat them in short bursts of about 30 seconds, stirring between each, until they’re completely smooth.
Once you’ve got that luscious melted chocolate, grab a fork or a piping bag. If you’re using a fork, dip it into the chocolate and let it drizzle over your peanut butter cups in zigzag patterns. If you’re feeling fancy, using a piping bag allows for more control; simply snip off the tip and let the chocolate flow over the cups in beautiful designs!
Let the drizzled chocolate set briefly before indulging. You can speed up the process by popping them in the fridge for a few minutes.
As you admire your chocolatey masterpiece, imagine the delicious flavor you’ve created. Trust me, the effort is well worth it. Get ready to share, or keep them all to yourself—no judgment here! Enjoy!
Step 5. Cut Into Perfect Squares
After letting your vegan peanut butter cups set completely, it’s time to cut them into perfect squares. This moment is exciting because you’re about to transform your delicious creation into bite-sized treats!
Start by removing the cups from their molds. If you’ve used a pan, simply lift the edges of the parchment paper. Next, grab a sharp knife and prepare to slice.
When cutting, here are a few tips to guarantee every square is just right:
- Chill the cups: If they’re too soft, pop them back in the fridge briefly to firm up for easier cutting.
- Use a gentle sawing motion: This prevents squishing the layers together.
- Wipe the knife: Between cuts, clean your knife with a damp cloth for cleaner lines.
- Measure your squares: For uniformity, you can score the surface lightly with the knife before cutting all the way through.
Once you’ve cut them into squares, you’ll have a delightful assortment ready to share!
Enjoy the satisfaction of creating your treats, and don’t forget to savor each moment. Your vegan peanut butter cups are sure to impress everyone!
Final Thoughts
As you savor these delightful vegan peanut butter cups, it’s clear that indulging in a sweet treat doesn’t have to compromise your dietary choices. You’ve just whipped up a guilt-free, delicious snack that not only satisfies your sweet tooth but also nourishes your body.
Each bite is a perfect harmony of creamy peanut butter and rich chocolate, making it hard to believe they’re entirely plant-based!
Cooking can be a joyful exploration, and these peanut butter cups are an indication of that. They offer a wonderful way to impress friends and family, proving that vegan desserts can be just as delightful as traditional ones.
Plus, you can feel good about sharing this treat, knowing it aligns with a compassionate lifestyle.
Don’t hesitate to get creative! You can customize these cups by adding nuts, sea salt, or even a hint of spice. The possibilities are endless.
So roll up your sleeves, gather your ingredients, and plunge into this rewarding cooking experience. Enjoying the process is key, and what’s more rewarding than treating yourself to a homemade dessert that you can be proud of?
Happy cooking!
Frequently Asked Questions
Can I Use Natural Peanut Butter Instead of Regular Peanut Butter?
Sure, you can totally swap natural peanut butter for regular. It’ll give your dish a unique twist. Just keep in mind it might be a bit runnier and less sweet, but that’s a fun change!
How Should I Store Leftover Peanut Butter Cups?
You can store leftover peanut butter cups in an airtight container. Keep them in the refrigerator for up to two weeks. If you want them to last longer, you might consider freezing them for a few months.
Are There Any Nut-Free Alternatives for This Recipe?
If you’re looking to avoid nuts, consider using sunflower seed butter or pumpkin seed butter. They’ll provide a delightful twist while keeping the essence of your treat intact, ensuring everyone can enjoy a delicious indulgence!
Can I Substitute Maple Syrup for Agave Syrup?
Yes, you can substitute maple syrup for agave syrup in most recipes. Both sweeteners provide a similar consistency and sweetness level, so you’ll still achieve a delicious outcome without greatly altering the taste or texture.
How Long Do These Peanut Butter Cups Last in the Fridge?
Like treasures nestled in a cool cave, these peanut butter cups can last about a week in the fridge. Keep ’em in an airtight container, and you’ll savor that delectable flavor longer. Enjoy every bite!
