Monster Cookie Recipe
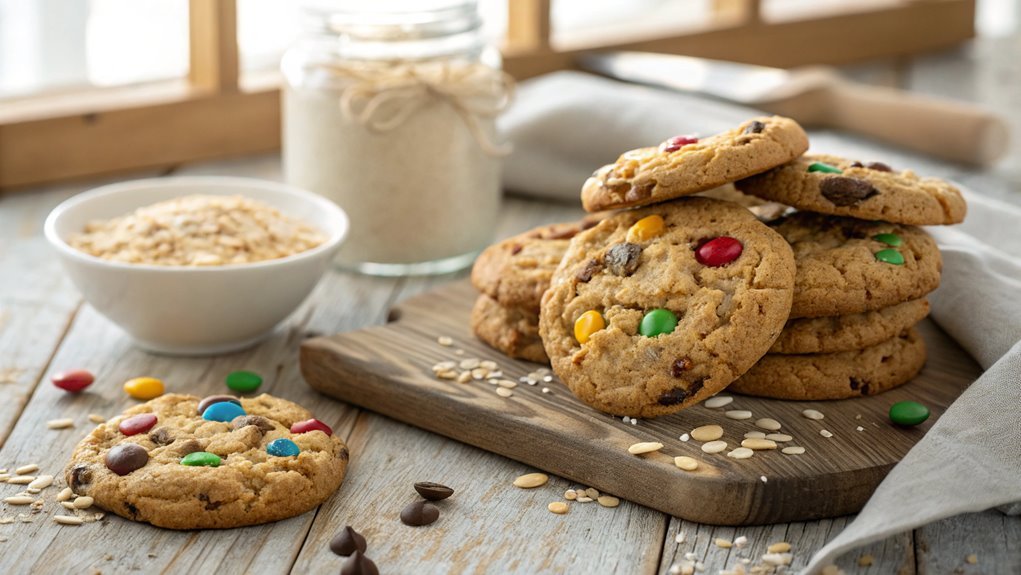
The monster cookie, with its mix of oats, peanut butter, and chocolate chips, is a formidable contender in the cookie world, offering a comforting and indulgent flavor experience. As you make these cookies, consider how the right balance of ingredients can enhance their appeal.
Achieving the perfect chewy texture is key, and the solution may surprise you as you delve into the intricacies of this beloved recipe.
Recipe
Monster cookies are a delightful treat that combines the best elements of classic cookies into one giant, chewy masterpiece. With a mix of oats, peanut butter, and chocolate chips, these cookies aren’t only delicious but also incredibly versatile. You can customize them by adding your favorite candies or nuts, making them perfect for any occasion, from birthday parties to holiday gatherings.
The combination of flavors and textures guarantees that every bite is satisfying and packed with sweet surprises.
To make monster cookies, you’ll want to start by preheating your oven and preparing your baking sheets. The dough comes together quickly, and once you have it mixed, you’ll find that the hardest part is waiting for them to bake!
These cookies are best enjoyed fresh out of the oven while they’re still warm and gooey, but they also store well for a few days, if you can resist eating them all at once. So gather your ingredients and get ready to whip up a batch of these irresistible cookies!
Ingredients:
- 1 cup creamy peanut butter
- 1 cup granulated sugar
- 1 cup brown sugar, packed
- 3 large eggs
- 1 teaspoon vanilla extract
- 1 teaspoon baking soda
- 3 cups rolled oats
- 1 cup chocolate chips
- 1 cup M&M’s (or other candies)
Now let’s move on to the cooking steps.
Cooking Steps
Let’s get cooking those delicious monster cookies!
First, you’ll want to preheat your oven to 350°F, setting the stage for that perfect bake.
Then, mix your dry ingredients together before gradually adding the wet ones, and soon you’ll be folding in those irresistible chocolate chips!
Step 1. Preheat Oven to 350°F
Before you immerse yourself in mixing your ingredients, preheating the oven to 350°F is essential for achieving the perfect monster cookies. This simple step is often overlooked, but it sets the stage for deliciousness!
By preheating your oven, you guarantee that your cookies bake evenly and develop that delightful golden-brown color we all crave.
To preheat your oven, just turn the dial or press the button to 350°F and wait for it to reach the desired temperature. Most ovens will have a light or sound indicator to let you know when they’re ready, so keep an eye out for that.
While you’re waiting, take a moment to gather all your ingredients. This way, you’ll be ready to go once that oven hits the right temperature!
Once your oven is preheated, you’ll be one step closer to enjoying those warm, gooey monster cookies. The anticipation builds as you prepare to mix in those delicious ingredients, knowing that the heat will transform them into something magical.
Step 2. Mix Dry Ingredients Together
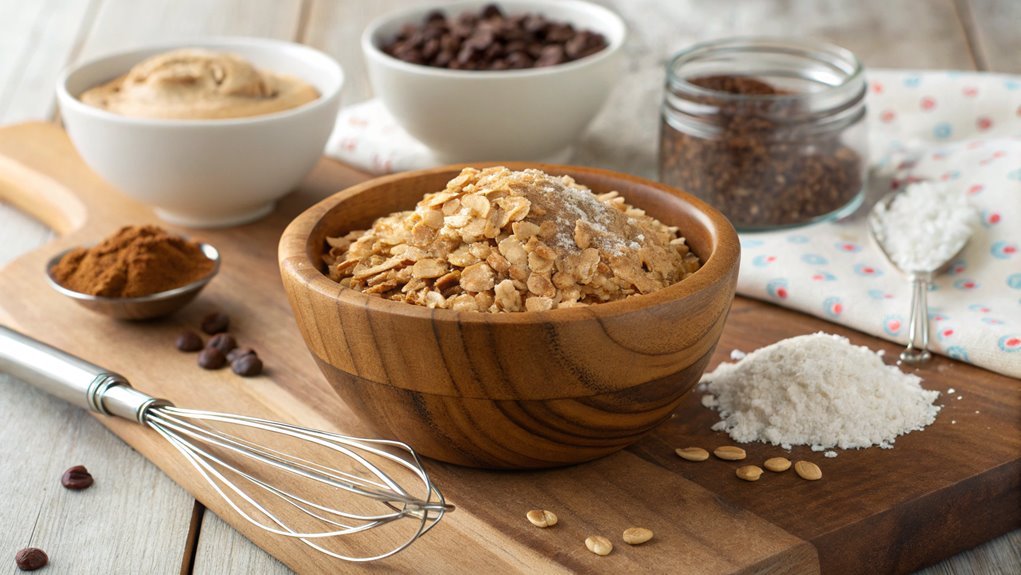
To create the perfect base for your monster cookies, start by mixing together your dry ingredients. Grab a large mixing bowl and measure out your flour, baking soda, salt, and oats. As you add each ingredient, take a moment to appreciate the textures and aromas. The flour should feel soft and powdery, while the oats offer a hearty, nutty scent.
Once you’ve got all your dry ingredients in the bowl, use a whisk or a fork to combine them thoroughly. This step is essential because it helps to evenly distribute the baking soda and salt throughout the mixture, guaranteeing that your cookies rise perfectly and taste amazing. Keep whisking until you see no streaks of flour or clumps of oats.
Next, you might want to add any additional dry flavors like chocolate chips or nuts. They’ll add delightful bursts of flavor in every bite! Mixing these in now will assure they’re evenly spread throughout your cookie dough later.
Now that your dry ingredients are ready, you’re one step closer to baking delicious monster cookies that everyone will love. Get excited because the best part is coming up next!
Step 3. Add Wet Ingredients Gradually
As you prepare to add the wet ingredients, verify your butter is softened and your eggs are at room temperature for better incorporation. This step is essential; it guarantees a smooth and creamy batter that’s full of flavor.
Start by adding the softened butter to your mixing bowl. Blend it until it’s light and fluffy, which usually takes about two to three minutes. This process adds air to your mixture, making your cookies tender and delightful.
Next, crack in your eggs one at a time, mixing thoroughly after each addition. This gradual approach allows each egg to fully combine with the butter before the next one joins in. It’s all about creating that perfect, cohesive mixture!
Once the eggs are blended in, pour in your vanilla extract, which adds a warm, inviting aroma to your cookie dough.
Stir everything together until your wet ingredients are well combined. You want a silky consistency that will blend perfectly with your dry ingredients.
Step 4. Fold in Chocolate Chips
With your wet ingredients beautifully mixed, it’s time to fold in the chocolate chips. This step is where your monster cookies truly come alive!
Grab a spatula and gently add those delightful chocolate chips to your mixture. You’ll want to fold them in carefully, ensuring that each chip is integrated without overmixing the dough.
As you do this, picture the gooey chocolate melting in your mouth with every bite. It’s that perfect balance of sweetness you can’t resist. The key here is to be gentle; folding helps maintain the dough’s structure while evenly distributing the chocolate.
If you’re feeling adventurous, why not mix in some other fun ingredients? You can add butterscotch chips, peanut butter chips, or even chopped nuts for extra texture and flavor. Just imagine the delicious combination of flavors you’ll create!
Once you’ve folded in the chips and any extras, take a moment to admire your creation. You’re so close to enjoying these treats!
Next, you’ll be ready to scoop the dough onto a baking sheet, but for now, relish in this exciting step of your monster cookie journey!
Step 5. Scoop Dough Onto Baking Sheet
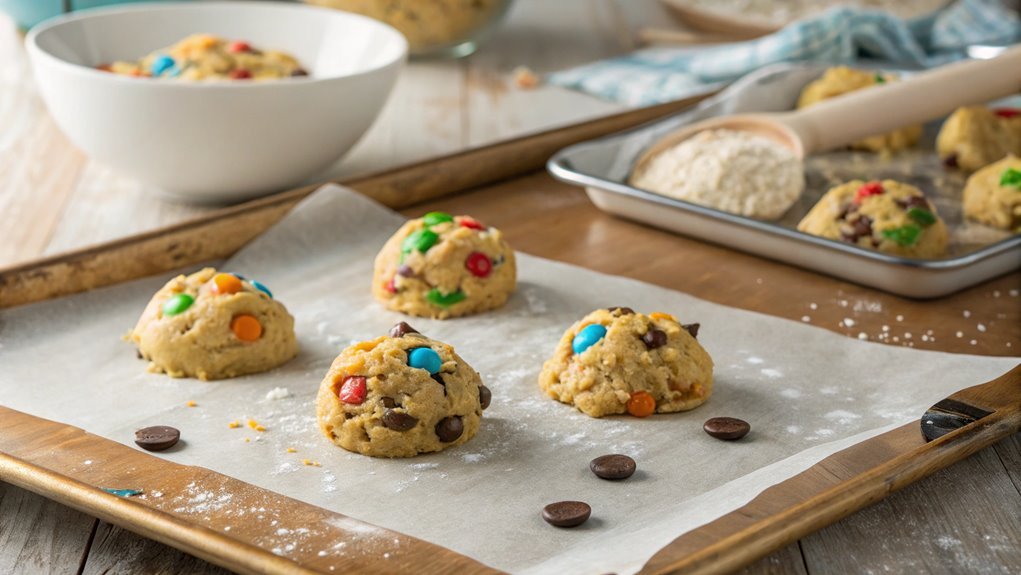
Grab a cookie scoop or a tablespoon and start portioning out your dough onto a baking sheet lined with parchment paper. This step is where the magic truly begins! If you’ve prepped your dough right, it should be thick and ooey-gooey, making it easy to scoop. Aim for about two tablespoons of dough for each cookie. This size will give you that perfect monster cookie experience: chewy on the inside with a delightful crunch on the edges.
As you scoop, space the dough balls about two inches apart. This gives them room to spread while baking, so you don’t end up with one giant cookie! If you want to get a little creative, you can gently flatten the dough balls with the back of your scoop or your hand. This will help them bake evenly and look extra appealing.
Once you’ve filled your baking sheet, take a moment to admire your work. You’re just a few steps away from enjoying a delicious treat!
Now, it’s time to pop them in the oven and let the aroma fill your kitchen. Trust me, you won’t be able to resist the deliciousness that’s about to unfold!
Final Thoughts
While baking monster cookies can be a fun and rewarding experience, the real joy comes from sharing them with friends and family.
There’s something magical about pulling those warm, gooey cookies out of the oven and watching everyone’s faces light up with delight. You’ve created a treat that’s not just delicious but also brings people together, making memories that last a lifetime.
Don’t hesitate to experiment with your monster cookie recipe, either!
Feel free to mix in your favorite chocolates, nuts, or even dried fruits. Each batch can be a new adventure, tailored to your taste.
You’ll discover that cooking isn’t just about following a recipe; it’s about expressing yourself and creating joy in the kitchen.
Frequently Asked Questions
Can I Use Gluten-Free Flour for This Recipe?
Yes, you can definitely use gluten-free flour in this recipe. Just make sure to choose a blend that works well for baking, and adjust any other ingredients if needed for the best results. Enjoy your baking!
How Long Do Monster Cookies Stay Fresh?
You might think cookies go stale quickly, but they can actually stay fresh for about one week if stored properly in an airtight container. For longer freshness, consider freezing them for up to three months.
Can I Freeze Monster Cookie Dough?
Yes, you can freeze cookie dough! Just scoop it into balls, place them on a baking sheet, freeze until solid, then transfer to a freezer bag. They’ll stay fresh for up to three months.
What Toppings Can I Add to Monster Cookies?
Imagine a cookie bursting with joy! You can add chocolate chips, M&Ms, nuts, or even dried fruit. Mix and match your favorites to create a delightful treat that’ll make your taste buds dance. Enjoy!
Are There Nut-Free Alternatives for This Recipe?
Yes, you can definitely find nut-free alternatives! Use sunbutter or soy nut butter instead of peanut butter, and choose nut-free chocolate chips. Just make sure all other ingredients are also nut-free to keep it safe.
Conclusion
Making monster cookies is a fun and rewarding experience! Enjoy the chewy texture and delightful flavors that will make your taste buds dance. Gather your ingredients, follow the simple steps, and savor the satisfaction of homemade goodness. These cookies are perfect for sharing or enjoying alone. Create a treat that brings smiles all around. Happy baking!
