Mini Cheesecake Bites Recipe
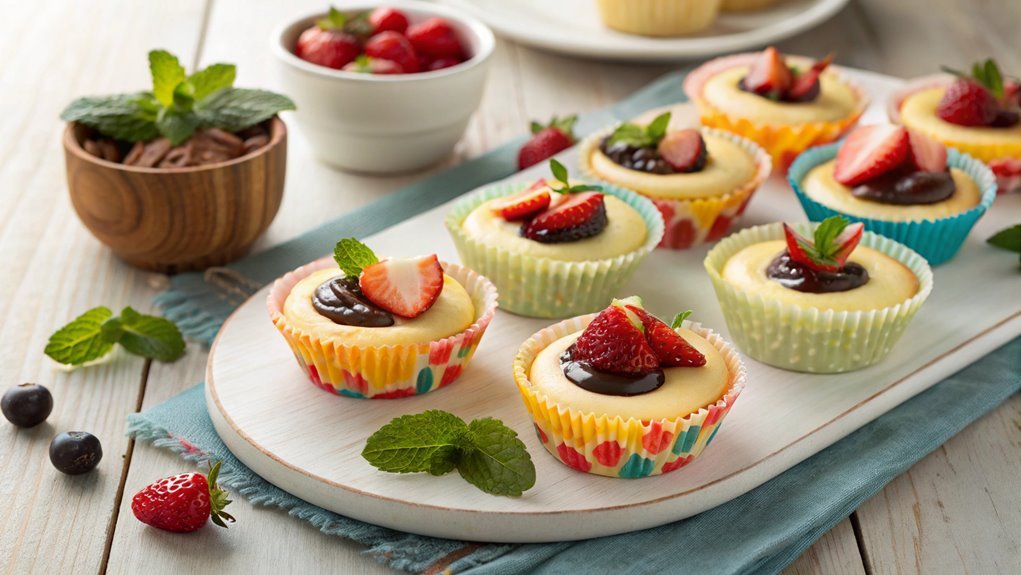
Mini cheesecake bites are a delightful dessert that combines creamy richness with a satisfying crunch, perfect for any occasion. With a simple recipe, you can easily customize flavors to please every palate.
To achieve the ideal texture and flavor, start with a few basic ingredients and tailor them to your liking. These treats promise to leave everyone satisfied with their delicious bite-sized indulgence.
Recipe
Mini cheesecake bites are a delightful treat that combines the creamy richness of cheesecake with the convenience of bite-sized portions. These little desserts are perfect for parties, gatherings, or simply a sweet indulgence at home.
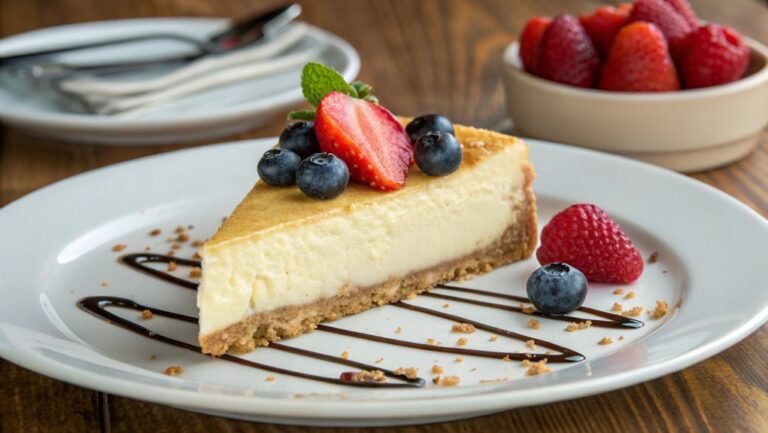
They’re easy to make and can be customized with various toppings, such as fresh fruit, chocolate, or caramel, making them a versatile addition to any dessert table.
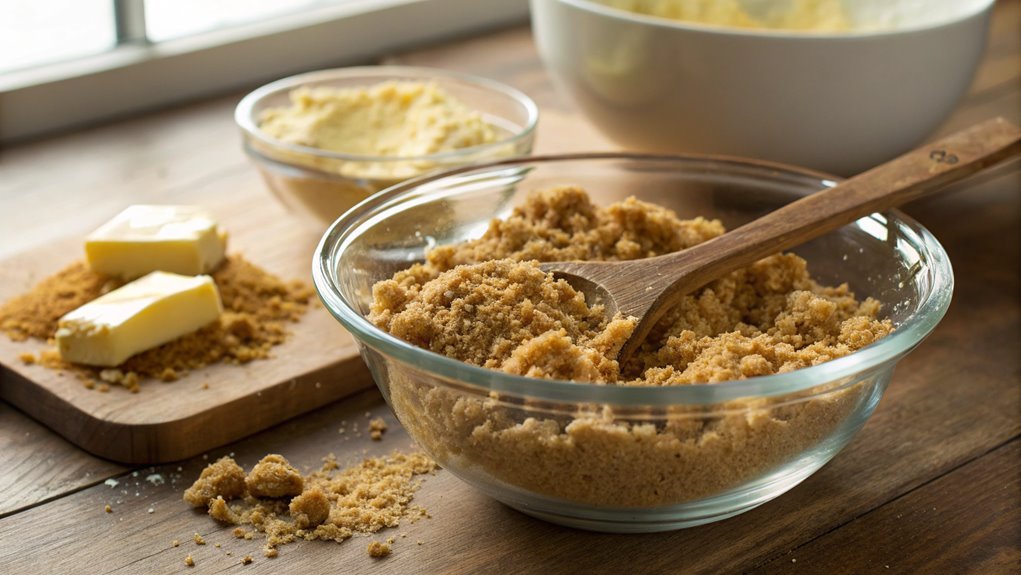
To make these scrumptious mini cheesecake bites, you’ll need a muffin tin and some cupcake liners to help with portioning and serving. The crust is made from crushed graham crackers mixed with melted butter, while the creamy filling consists of cream cheese, sugar, eggs, and vanilla.
Once baked, these cheesecake bites can be chilled and topped as desired. Get ready to impress your friends and family with this simple yet delicious recipe!
Ingredients:
- 1 cup graham cracker crumbs
- 1/4 cup unsalted butter, melted
- 16 oz cream cheese, softened
- 1/2 cup granulated sugar
- 2 large eggs
- 1 teaspoon vanilla extract
- 1/4 cup sour cream (optional)
- Fresh fruit, chocolate, or caramel for topping (optional)
Now let’s move on to the cooking steps.
Cooking Steps
Let’s get started on those delicious mini cheesecake bites!
First, you’ll want to preheat your oven to 325°F, setting the stage for your treats.
Then, it’s all about mixing cream cheese and sugar until smooth, adding eggs and vanilla for that rich flavor that’s hard to resist!
Step 1. Preheat Oven to 325°F
Before you start assembling your mini cheesecake bites, preheating the oven to 325°F is vital for achieving that perfect texture. A properly preheated oven guarantees that your cheesecakes bake evenly, giving you that creamy, luscious consistency we all crave. So, let’s get that oven fired up!
First, turn the oven dial or press the button to set it to 325°F. If you’ve got a conventional oven, it’s a good idea to let it preheat for at least 15 minutes. This allows the heat to distribute evenly throughout the oven, creating the ideal environment for baking.
While it’s heating up, you can gather your ingredients and tools. Make certain to check that the oven rack is in the middle position; this will help your mini cheesecakes bake evenly without burning.
Once the oven reaches the right temperature, you’ll be ready to pop in those delightful cheesecake bites. The anticipation is part of the fun! Preheating your oven is a small but vital step that sets the stage for baking success. So, embrace this moment, and let’s get ready to create some delicious mini cheesecakes that will impress everyone!
Step 2. Mix Cream Cheese and Sugar
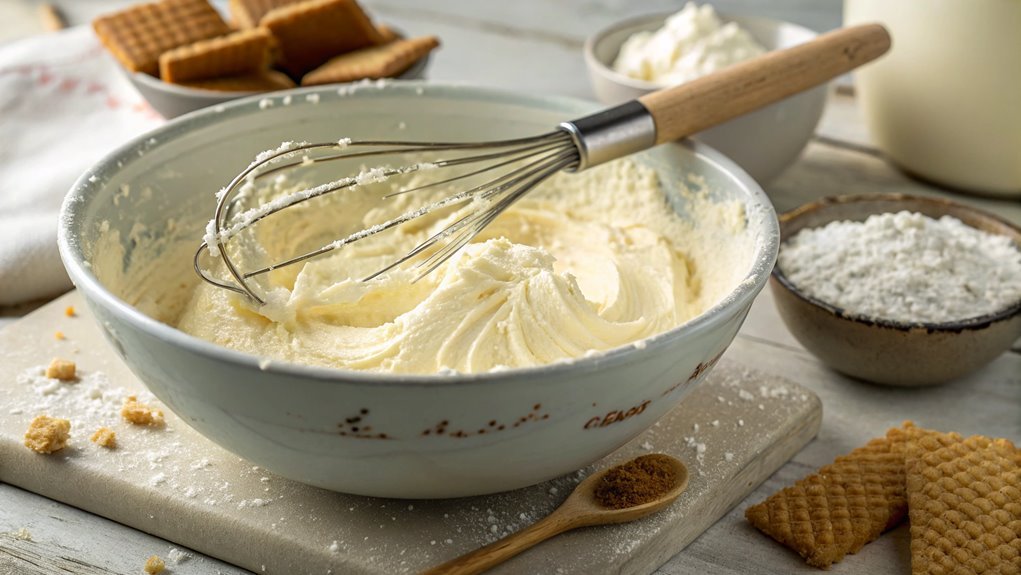
With the oven preheated and ready, it’s time to mix cream cheese and sugar to create a smooth and creamy filling for your mini cheesecake bites. This step is essential because it sets the foundation for that rich, indulgent flavor you crave.
Start by taking your softened cream cheese and placing it in a mixing bowl. You want it to be at room temperature, so it blends easily.
Then, add the sugar. The sugar adds sweetness and balances the tangy flavor of the cream cheese. Using a hand mixer or a stand mixer, beat the cream cheese and sugar together until it’s perfectly smooth. You’ll want to scrape down the sides of the bowl a couple of times to guarantee everything’s well combined.
Here are a few tips to keep in mind:
- Use full-fat cream cheese for the creamiest texture.
- Make sure there are no lumps for that perfect bite.
- Don’t rush—mix until silky smooth.
- Taste the mixture to adjust sweetness if needed.
Once you’ve achieved that luscious consistency, you’re one step closer to cheesecake bliss! Enjoy the process; your mini cheesecakes will be absolutely delightful!
Step 3. Add Eggs and Vanilla
Next, incorporate the eggs and vanilla into your cream cheese mixture for that perfect, creamy texture. Start by cracking in two large eggs, one at a time, mixing thoroughly after each addition. This step is essential, as it helps to create a smooth batter without any lumps. The eggs will add richness and stability to your mini cheesecakes, so don’t rush through this part!
Once your eggs are blended in, it’s time to add a splash of pure vanilla extract. This simple ingredient elevates the flavor and brings warmth to your cheesecake bites. Just one teaspoon is enough to make a difference! As you mix, you’ll notice the batter becoming even more velvety and inviting.
Be certain to scrape down the sides of your mixing bowl to verify everything is well combined. You want every bit of the mixture to be infused with that delicious vanilla and the creamy goodness of cream cheese.
Take a moment to admire your work; you’re on your way to creating something truly delightful. The anticipation of those mini cheesecakes is already building, so let’s keep going and bring this recipe to life!
Step 4. Spoon Mixture Into Cups
Now that your cream cheese mixture is perfectly blended, it’s time to spoon it into your prepared cups. This step is essential, as it sets the foundation for your delightful mini cheesecakes. Grab a spoon and start scooping! You’ll want to fill each cup about three-quarters full to allow space for rising.
Take your time—this is where the magic begins!
Here are a few tips to keep in mind as you spoon away:
- Use a cookie scoop for even portions and a neat presentation.
- Tap the cups gently on the counter to release any air bubbles, ensuring a smooth texture.
- Consider layering with fruit preserves or chocolate between scoops for extra flavor.
- Keep it tidy by using a damp cloth to wipe any drips off the sides of the cups.
As you fill each cup, imagine the deliciousness that awaits! The creamy texture and rich flavor will soon be a treat for your taste buds.
Step 5. Bake for 20 Minutes
Once you’ve filled your cups with the creamy mixture, it’s time to bake them to perfection. Preheat your oven to 325°F (160°C) to create a warm environment that will help your mini cheesecakes rise beautifully.
Carefully place your filled cups on a baking sheet, ensuring they’re spaced out evenly. This allows for even cooking and makes it easier to handle them later.
Now, slide them into the preheated oven and set your timer for 20 minutes. The magic happens during this time! You’ll notice the tops slightly puffing up, and the edges will start to turn a light golden color. This is a sign that your cheesecakes are on their way to becoming a delicious treat.
Once the timer goes off, resist the temptation to plunge in right away. Let them cool in the oven with the door cracked for about 10 minutes. This helps prevent cracking.
After that, transfer your mini cheesecakes to a wire rack to cool completely. The anticipation will only make the first bite taste even better! Get ready to wow your friends and family with these delightful bites of heaven.
Final Thoughts
As you savor these mini cheesecake bites, you’ll likely find that they make the perfect treat for any occasion.
Whether you’re hosting a party, celebrating a milestone, or simply indulging yourself, these delightful bites are sure to impress. Their creamy texture, combined with a buttery crust, creates an irresistible flavor that everyone will love.
Here are a few reasons to whip up these mini delights:
- Versatile toppings: You can customize each bite with your favorite toppings, like fresh fruit, chocolate drizzle, or caramel sauce.
- Easy to share: These bite-sized treats are perfect for sharing, making them a hit at gatherings.
- Make-ahead option: You can prepare them in advance, freeing up your time on the day of your event.
- Kid-friendly fun: Get the kids involved! They’ll love helping you decorate and enjoy eating their creations.
Frequently Asked Questions
Can I Use a Different Crust Than Graham Crackers?
Yes, you can definitely use a different crust! Try crushed cookies, nuts, or even a gluten-free option. Just make sure it complements your filling and provides the right texture for a tasty treat. Enjoy experimenting!
How Long Do These Cheesecake Bites Last in the Fridge?
Cheesecakes typically last about a week in the fridge. Curiously, they can lose moisture after three days, affecting texture. So, enjoy your cheesecake bites within that timeframe for the best flavor and consistency!
Can I Freeze Mini Cheesecake Bites for Later?
Yes, you can freeze those cheesecake bites for later! Just place them in an airtight container or wrap them tightly. They’ll maintain their flavor and texture for about two to three months in the freezer.
What Toppings Pair Well With Mini Cheesecakes?
Toppings for cheesecakes can be a flavor explosion! You’ll love fresh berries, chocolate ganache, caramel drizzle, or whipped cream. Each adds a delicious twist, making your treats irresistible and perfect for any occasion. Enjoy experimenting!
Are There Any Dairy-Free Options for This Recipe?
Yes, you can use dairy-free cream cheese or cashew cream instead of regular cream cheese. Swap out regular milk for almond or coconut milk, and don’t forget to check your crust ingredients for dairy content.
Conclusion
These mini cheesecake bites offer a perfect blend of creamy and crunchy textures. Perfect for parties or personal indulgence, you can customize flavors to suit your mood. Share these delightful treats with friends or savor them quietly at home. Start mixing and create sweet memories that linger long after the last bite.
