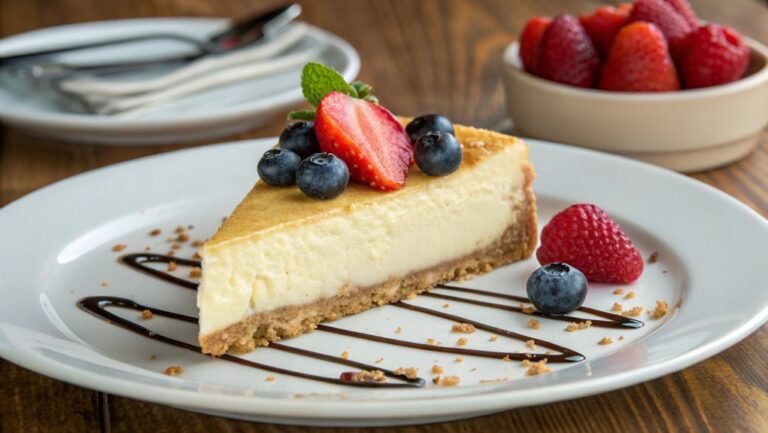
Espresso Cheesecake Recipe
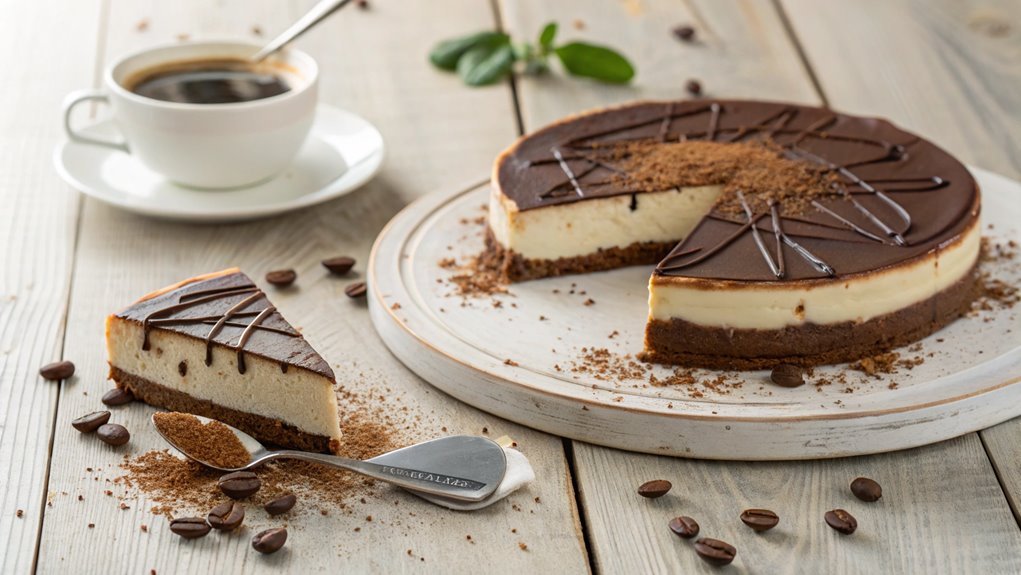
Imagine a creamy cheesecake infused with the rich aroma of freshly brewed espresso, balancing sweetness with bold coffee flavors. This sophisticated dessert, crafted from everyday ingredients, is sure to delight both your sweet tooth and coffee enthusiasts alike.
Creating this impressive treat involves just a few simple steps, making it accessible yet extraordinary. The key elements that elevate this espresso cheesecake are its perfect harmony of flavors and its luxurious texture.
Recipe
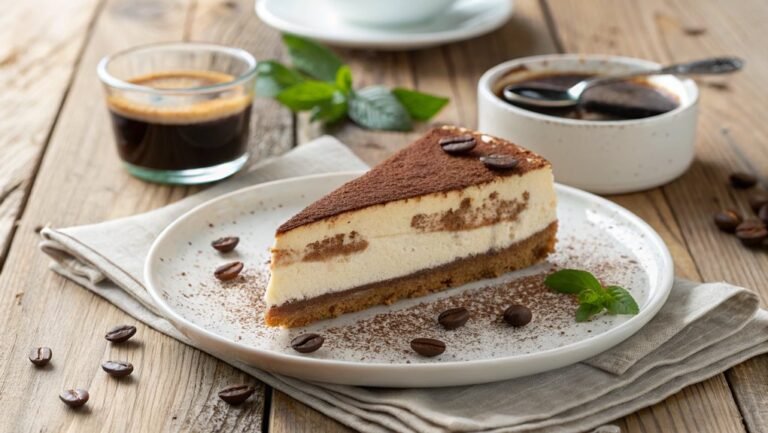
Espresso cheesecake is a delightful dessert that combines the rich, creamy texture of traditional cheesecake with the bold flavor of espresso. Perfect for coffee lovers, this treat is both indulgent and satisfying. The combination of cream cheese, sugar, and espresso creates a luscious filling that’s complemented by a buttery graham cracker crust.
Topped with a light dusting of cocoa powder or a drizzle of chocolate, this cheesecake is sure to impress at any gathering or dinner party.
Making espresso cheesecake may seem challenging, but with a few simple ingredients and some patience, you can create a stunning dessert that will wow your guests. Begin by preparing the crust, which provides a delicious base for the creamy filling.
Once the crust is ready, you’ll whip up the filling, allowing the flavors to meld together beautifully. After baking and chilling, your espresso cheesecake will be ready to serve, offering a perfect balance of sweetness and coffee richness.
Ingredients:
- 1 ½ cups graham cracker crumbs
- ½ cup unsalted butter, melted
- 2 cups cream cheese, softened
- 1 cup granulated sugar
- 3 large eggs
- 1 cup sour cream
- ½ cup brewed espresso, cooled
- 1 teaspoon vanilla extract
- 2 tablespoons all-purpose flour
- Cocoa powder for dusting (optional)
- Chocolate sauce for drizzling (optional)
Now let’s move on to the cooking steps.
Cooking Steps
Now that you’ve gathered your ingredients, let’s get started on those cooking steps!
First, you’ll preheat your oven to 350°F, creating the perfect environment for your cheesecake to bake.
Get ready to mix cream cheese and sugar, then add that rich espresso and vanilla, because this is where the magic really begins!
Step 1. Preheat Oven to 350°F
Before diving into the delicious process of making your espresso cheesecake, it’s vital to preheat your oven to 350°F. This step might seem simple, but it sets the stage for your cheesecake to bake perfectly. An oven that’s at the right temperature guarantees even cooking, giving your dessert that creamy texture we all love.
To preheat your oven, turn the dial or press the button to set it to 350°F. If your oven has a digital display, you’ll often see a light indicating that it’s heating up.
While you wait, take a moment to gather your ingredients and tools. This is a great time to get excited about the amazing flavors that’ll soon fill your kitchen!
It usually takes about 10-15 minutes for your oven to reach the desired temperature. You can check the temperature with an oven thermometer if you want to be precise.
Once your oven beeps or the indicator light shows it’s ready, you can move on to the next steps with confidence. Preheating is key, so don’t skip this vital part. Your perfect espresso cheesecake awaits!
Step 2. Mix Cream Cheese and Sugar
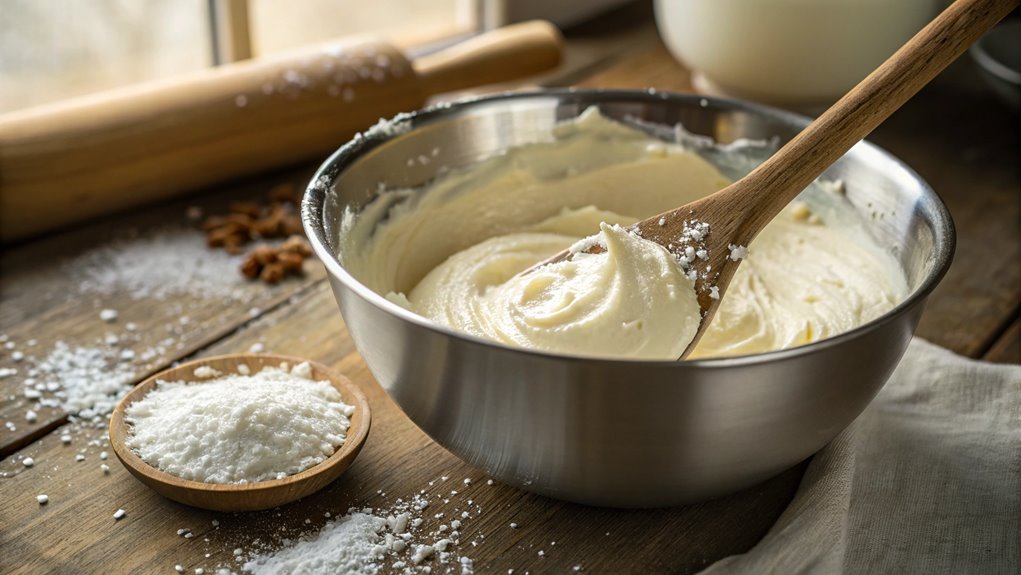
Start by placing your softened cream cheese in a large mixing bowl. This step is essential, as softened cream cheese blends smoothly, creating a creamy base for your cheesecake.
Using a hand mixer or a stand mixer, beat the cream cheese on medium speed until it’s light and fluffy. This should take about two to three minutes. You’ll love how it transforms into a velvety texture!
Next, add granulated sugar to the cream cheese. The sugar will sweeten the mixture and help achieve that deliciously rich flavor.
Keep mixing on medium speed until the sugar is fully incorporated, which usually takes another minute or so. You want to make certain there are no lumps, so don’t rush this step!
As you mix, take a moment to enjoy the wonderful aroma filling your kitchen. The combination of cream cheese and sugar is simply irresistible!
Once you’ve achieved a smooth consistency, you’re ready for the next step in creating your espresso cheesecake masterpiece. Trust me, this mixture is just the beginning of a delightful journey that will lead to a creamy dessert that everyone will love.
Step 3. Add Espresso and Vanilla
Pour the brewed espresso into your creamy mixture, allowing its rich flavor to infuse the cheesecake. This is where the magic begins! As you mix, you’ll notice how the deep, robust notes of coffee blend beautifully with the cream cheese and sugar.
Make sure to scrape down the sides of the bowl, ensuring every bit of that delicious espresso is incorporated. It’s the secret to a luscious, flavorful cheesecake.
Next, add in the vanilla extract. This aromatic ingredient complements the espresso perfectly, enhancing the overall taste of your dessert. Just a splash goes a long way!
Stir gently but thoroughly until everything is well combined. You want a smooth and creamy texture, so take your time with this step.
As you mix, imagine the delightful combination of flavors that will soon tantalize your taste buds. The espresso adds a bold kick, while the vanilla softens it with sweetness, creating a perfectly balanced dessert.
Once everything’s mixed, you’ll be one step closer to a heavenly espresso cheesecake that will impress everyone at your gathering. Enjoy this process—it’s the heart of your creation!
Step 4. Fold in Whipped Cream
Once your espresso and vanilla mixture is perfectly blended, gently fold in the whipped cream to add a light and airy texture to your cheesecake. This step is essential, as it transforms your mixture into a luscious filling that will impress everyone. The key here is to be gentle; you want to maintain that fluffy consistency.
To successfully fold in the whipped cream, keep these tips in mind:
- Use a Rubber Spatula: A spatula allows you to scoop from the bottom and gently lift the mixture without deflating it.
- Incorporate Gradually: Start by adding a small amount of whipped cream to lighten the espresso mixture, then gradually fold in the rest. This helps blend the two without losing volume.
- Turn, Don’t Stir: Use a turning motion to combine the mixtures, which helps keep that delightful airiness intact.
As you fold, you’ll notice the mixture becoming smoother and creamier. The rich espresso flavor combined with the lightness of the whipped cream creates a heavenly filling that’s hard to resist.
Enjoy this moment; you’re one step closer to a delicious cheesecake!
Step 5. Add Crust and Bake
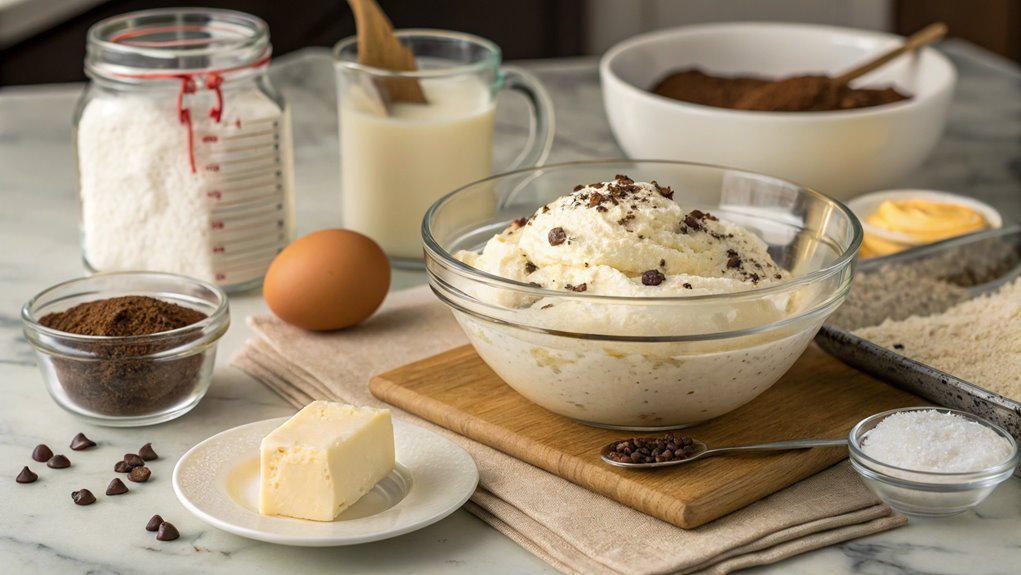
With your luscious espresso filling ready, the next step is to prepare the crust and bake the cheesecake to perfection.
Start by preheating your oven to 325°F (160°C). For the crust, you’ll need crushed graham crackers, melted butter, and a touch of sugar. In a mixing bowl, combine one and a half cups of graham cracker crumbs with a quarter cup of sugar.
Pour in half a cup of melted butter and mix until it resembles wet sand.
Now, press this mixture firmly into the bottom of a springform pan, creating an even layer. Make sure it’s packed down well, as this will provide a sturdy base for your cheesecake.
Once you’ve got the crust ready, it’s time to pour in that delightful espresso filling you’ve prepared earlier. Spread it evenly over the crust, smoothing the top for a beautiful finish.
Place the pan in the preheated oven and bake for about 50 to 60 minutes, or until the edges are set and the center still has a slight jiggle.
When it’s done, turn off the oven, crack the door, and let the cheesecake cool gradually. This helps prevent cracking and sets the flavors beautifully!
Final Thoughts
As you savor the rich flavors of your homemade espresso cheesecake, you’ll appreciate how this dessert elevates any occasion. Whether it’s a cozy dinner with friends or a festive celebration, this cheesecake is sure to impress. Its creamy texture combined with the bold coffee flavor creates a delightful harmony that will leave everyone wanting more.
To truly enjoy your cheesecake experience, consider these tips:
- Pairing: Serve your cheesecake with fresh berries or a drizzle of chocolate sauce to enhance the flavors even further.
- Serving Temperature: Allow the cheesecake to chill thoroughly in the refrigerator before slicing. This guarantees a perfect, creamy texture that melts in your mouth.
- Presentation: Garnish with whipped cream and a sprinkle of cocoa powder or espresso for an eye-catching finish.
Making your own espresso cheesecake isn’t just about following a recipe; it’s about creating a memorable experience.
So, roll up your sleeves, gather your ingredients, and let your passion for baking shine. You’ll not only enjoy the process but also delight in sharing this scrumptious dessert with others.
Happy baking!
Frequently Asked Questions
Can I Use Decaf Espresso for This Cheesecake Recipe?
Sure, you can use decaf espresso! It’ll give your dessert a rich coffee flavor without the caffeine jolt. Just make sure to adjust the amount if your recipe calls for a strong coffee taste.
How Do I Store Leftover Espresso Cheesecake?
Storing leftover cheesecake’s like wrapping a precious gift. Keep it in the fridge, covered tightly with plastic wrap or in an airtight container. It’ll stay fresh for about three to five days—enjoy every bite!
Can I Freeze the Espresso Cheesecake?
Yes, you can freeze it! Just wrap the cheesecake tightly in plastic wrap and foil to prevent freezer burn. When you’re ready to enjoy, thaw it overnight in the fridge for the best texture.
What’s a Good Topping for Espresso Cheesecake?
For your dessert, try drizzling chocolate ganache or a rich caramel sauce on top. Fresh whipped cream adds a delightful touch, while chocolate shavings or crushed espresso beans can enhance the flavor and presentation beautifully.
How Long Does the Cheesecake Need to Chill?
Your cheesecake needs to chill for at least four hours in the refrigerator. If you’ve got the time, letting it sit overnight will enhance the flavors and improve the texture even more. Enjoy!
Conclusion
Your espresso cheesecake is ready to impress at your next gathering. Delight in the creamy, coffee-infused bites and watch as friends and family praise your culinary skills.
Who needs a caffeine fix when you have this dessert masterpiece? Try this recipe once, and you’ll wonder why you haven’t been making it all along.
Happy baking!
