Red Velvet Cake Recipe
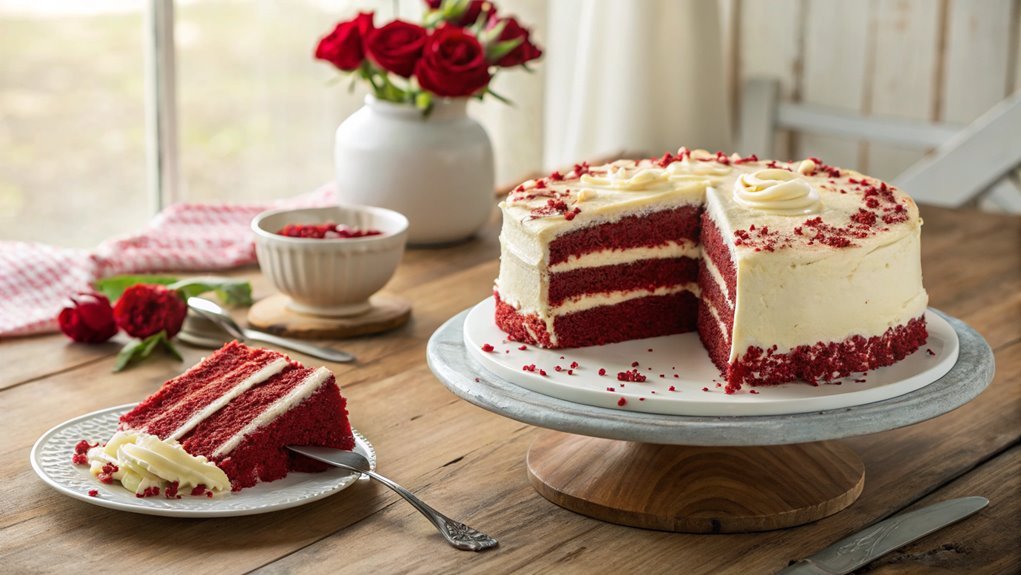
The distinctive red hue of Red Velvet Cake originally resulted from a reaction between cocoa powder and acidic ingredients. Beyond its appearance, this cake offers a unique flavor that distinguishes it from other chocolate desserts.
To achieve the ideal balance of moistness and flavor, follow a simple approach. These essential steps and techniques can elevate your baking skills and ensure your cake stands out at any gathering.
Recipe
Red velvet cake is a classic dessert that combines a rich, velvety texture with a subtle hint of cocoa, all beautifully complemented by a luscious cream cheese frosting.
This cake isn’t only visually stunning with its vibrant red color, but it also offers a delightful contrast of flavors that makes it a favorite for celebrations and special occasions.
Whether you’re hosting a birthday party or planning a romantic dinner, red velvet cake is sure to impress your guests.
Making a red velvet cake from scratch is surprisingly easy, and the result is a moist, tender cake that melts in your mouth.
The key to achieving that signature red hue lies in using cocoa powder and red food coloring.
Don’t be intimidated by the number of steps; with a little patience and care, you can create this show-stopping dessert in your own kitchen.
Ingredients:
- 2 ½ cups all-purpose flour
- 1 ½ cups granulated sugar
- 1 teaspoon baking soda
- 1 teaspoon salt
- 1 teaspoon cocoa powder
- 1 ½ cups vegetable oil
- 1 cup buttermilk, room temperature
- 2 large eggs, room temperature
- 2 tablespoons red food coloring
- 1 teaspoon vanilla extract
- 1 teaspoon white vinegar
For the Cream Cheese Frosting:
- 8 oz cream cheese, softened
- ½ cup unsalted butter, softened
- 4 cups powdered sugar
- 1 teaspoon vanilla extract
Now let’s move on to the cooking steps.
Cooking Steps
Let’s get started on making your delicious red velvet cake!
First up, you’ll want to preheat your oven to 350°F so it’s nice and ready for your batter.
Then, mix your dry ingredients together before adding the wet ones gradually—this will guarantee everything blends perfectly for a rich, velvety texture!
Step 1. Preheat the Oven to 350°F
Before diving into the delicious layers of your red velvet cake, preheating your oven to 350°F is vital. This step is significant because a properly heated oven guarantees that your cake bakes evenly and rises beautifully. If you skip this step, you might end up with a cake that’s dense or unevenly cooked, and we definitely don’t want that!
To preheat your oven, simply turn the dial or press the button to set it to 350°F. It’s a good idea to check that your oven is functioning correctly; some ovens can be a bit off, so you might want to use an oven thermometer for accuracy.
While the oven warms up, you can gather your ingredients and get ready for the mixing process ahead. The anticipation of that warm, fragrant cake filling your kitchen is part of the joy of baking!
Once the oven reaches the right temperature, you’ll be ready to pop your cake in, creating a delightful treat that everyone will love. Embrace the excitement of baking! You’re about to create something truly special, and that’s worth celebrating. Get ready for a red velvet cake experience you won’t forget!
Step 2. Mix Dry Ingredients Together
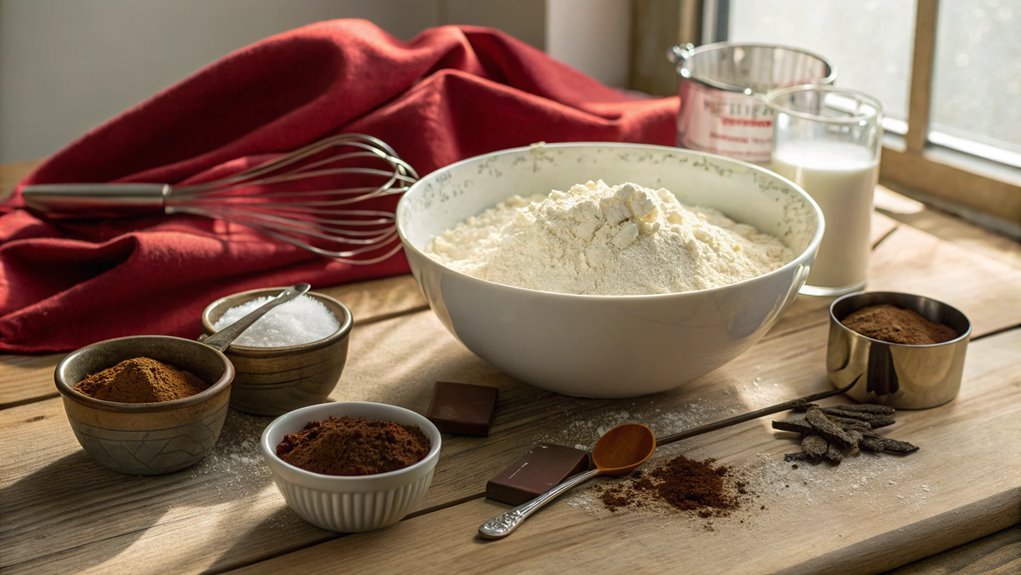
As you prepare to create your red velvet cake, mixing the dry ingredients together is vital for achieving that perfect texture. Start by grabbing a medium-sized bowl and sifting together all-purpose flour, cocoa powder, baking soda, and salt.
Sifting not only helps break up any clumps but also aerates the flour, making your cake light and fluffy. You want to guarantee these ingredients are well-combined, so whisk them together vigorously until you see a uniform mixture.
Next, don’t forget to add a touch of sugar to your dry mix. This will enhance the sweetness of your cake and balance the cocoa’s richness. Stir it in thoroughly.
Remember, each ingredient plays a significant role in the final flavor and texture, so take your time to make sure everything is evenly distributed.
Once you’re satisfied with your dry mix, you’ll be ready to move on to the next steps. Mixing your dry ingredients might seem simple, but it sets the stage for a delicious red velvet cake that’s sure to impress.
Enjoy the process, and get excited—your beautiful cake is just around the corner!
Step 3. Add Wet Ingredients Gradually
With your dry ingredients perfectly mixed, it’s time to bring your red velvet cake to life by adding the wet ingredients. This step is essential, as it’ll give your cake that moist, tender crumb you’re looking for.
Start by pouring in your liquid ingredients, but do it gradually. This helps guarantee everything blends smoothly without any lumps.
Here’s how you can do it effectively:
- Combine wet ingredients separately: Whisk together buttermilk, oil, eggs, and vanilla extract in a bowl before adding them to the dry mix.
- Pour slowly: Add the wet mixture in a steady stream while gently stirring your dry ingredients. This keeps the batter light and airy.
- Mix gently: Use a spatula or wooden spoon to fold the mixture until just combined, avoiding overmixing to keep the cake fluffy.
- Check for lumps: If you see any dry spots or lumps, make sure to break them down without overworking the batter.
You’ll feel the excitement building as your batter comes together!
Keep your energy high, and get ready for the delightful aroma of your red velvet cake filling your kitchen. Enjoy every moment of this baking adventure!
Step 4. Incorporate Food Coloring Thoroughly
Once you’ve mixed your wet and dry ingredients, it’s crucial to incorporate the food coloring thoroughly to achieve that signature red hue. Start by adding your red food coloring to the batter. Don’t be shy! Use enough to get that vibrant color you’re aiming for.
As you stir, make sure to mix it in well, scraping the sides of the bowl to guarantee even distribution. You want every bit of the batter to reflect that beautiful red.
If you’re using gel food coloring, it’s particularly important to blend it well, since it’s more concentrated than liquid dyes. Use a whisk or a spatula to really work it in, so there are no streaks left behind. The batter should turn a rich, deep red as you mix.
Once you’re satisfied with the color, take a moment to admire your work! The vibrant hue not only looks stunning but also promises deliciousness.
A well-colored batter sets the stage for a fabulous cake. So, get ready to bake! Your red velvet masterpiece is just a step away from the oven. Enjoy the process, and let your excitement build as you create something truly special!
Step 5. Fold in Chopped Nuts
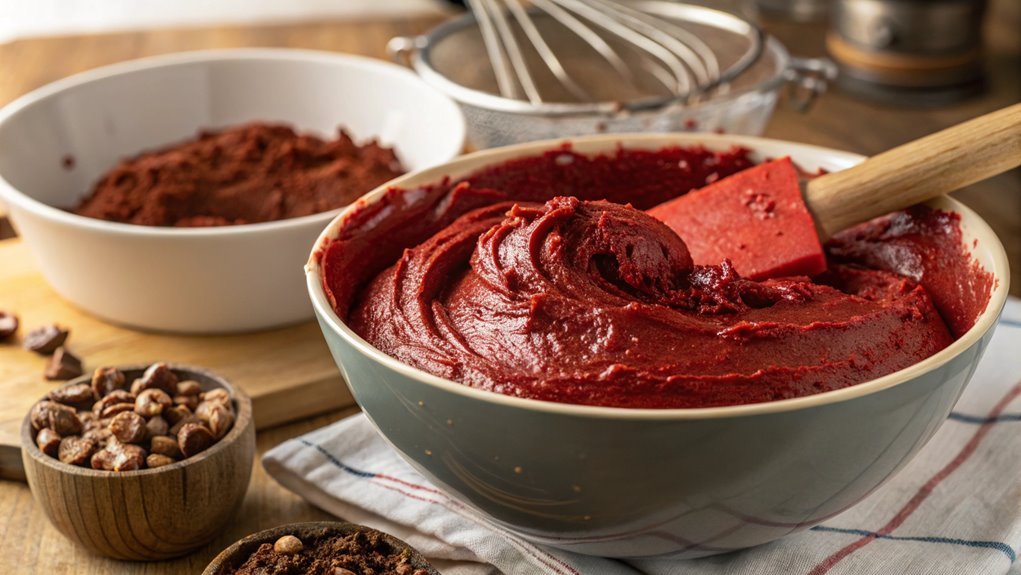
Gently fold in the chopped nuts to your red velvet batter, adding a delightful crunch that complements the cake’s soft texture. This step is all about incorporating those nuts without deflating the batter.
Grab a spatula and carefully lift and turn the batter over the nuts, ensuring they’re evenly distributed. You want those nuts to be a pleasant surprise in every bite!
Choosing the right nuts can elevate your cake even further. Consider these options:
- Walnuts: Their rich, earthy flavor pairs beautifully with the sweetness of the cake.
- Pecans: These nuts add a lovely buttery taste and a satisfying crunch.
- Almonds: Sliced or chopped, they offer a delicate nuttiness that works wonders.
- Hazelnuts: For a unique touch, their slightly sweet flavor can create a standout cake.
Once you’ve folded in your nuts, your batter is ready for the next step!
The combination of flavors and textures will make your red velvet cake unforgettable. So, take a moment to savor this process; it’s all part of the joy of baking!
You’re one step closer to a delicious creation that’ll impress everyone. Enjoy!
Final Thoughts
As you wrap up your baking adventure, remember that a red velvet cake isn’t just a dessert; it’s a celebration. This vibrant cake brings joy and excitement to any occasion, from birthdays to anniversaries. It’s a way to show love and appreciation to friends and family.
With its stunning red hue and creamy frosting, it invites everyone to gather around and indulge.
Don’t be afraid to experiment with your recipe. You can add your own twist by incorporating different flavors or toppings. Maybe try a hint of vanilla or a sprinkle of chopped nuts for an extra crunch.
The beauty of baking lies in your creativity, so let your imagination run wild!
When you slice into that fluffy cake, you’ll feel a sense of accomplishment. You’ve created something delicious that’s sure to impress.
So, whether you’re a seasoned baker or a beginner, give this red velvet cake a try. It’s more than just a recipe; it’s an experience.
Share it with loved ones, and watch as smiles light up their faces. Immerse yourself in this delightful baking journey, and enjoy every moment of it!
Frequently Asked Questions
Can I Use Food Coloring Instead of Cocoa Powder?
You can’t use food coloring as a substitute for cocoa powder because they serve different purposes. Cocoa powder adds flavor and texture, while food coloring only affects the color. Stick to cocoa for the best results.
How Can I Make a Gluten-Free Version?
Did you know that about 1 in 100 people have celiac disease? To make a gluten-free version, substitute all-purpose flour with a gluten-free blend, ensuring it contains xanthan gum for proper texture and stability.
What Is the Origin of Red Velvet Cake?
Red velvet cake originated in the United States during the early 20th century. Its unique color and flavor gained popularity, especially after the recipe appeared in a cookbook and in promotions by a certain food company.
Can I Make This Cake Ahead of Time?
Yes, you can definitely make this cake ahead of time! Just bake and cool it, then wrap it tightly in plastic wrap. Store it in the fridge for a few days or freeze it for longer.
What Are Common Frosting Alternatives for Red Velvet Cake?
You can try cream cheese frosting, buttercream, or whipped cream for a delicious twist. Each adds a unique flavor and texture, so experiment with what you love most, and make your cake truly special!
Conclusion
Embark on a delightful journey with this red velvet cake! Picture slicing into its velvety texture, revealing its stunning red hue. The rich flavors paired with creamy frosting will make your taste buds dance with joy. Gather your ingredients and dive into this baking adventure. Trust me, every bite will make you feel like a culinary superstar, and everyone will be begging for seconds!
