Tiramisu Layered Dessert Recipe

Tiramisu is a beloved dessert that combines the boldness of coffee with creamy mascarpone. This no-bake treat requires only a few simple ingredients and a straightforward process.
The key to its appeal lies in the layering technique, which not only enhances its visual allure but also melds the flavors beautifully. The finished dessert may leave you pondering your next indulgence.
Recipe
Tiramisu is a classic Italian dessert known for its rich flavor and creamy texture. It combines layers of coffee-soaked ladyfingers with a luxurious mascarpone cheese mixture, creating a delightful experience with each bite.
This no-bake dessert is perfect for entertaining guests or indulging yourself at home, and it’s remarkably simple to prepare. With a few key ingredients and some patient layering, you can achieve that authentic taste that transports you to a quaint café in Italy.
This recipe is designed to impress, yet it requires minimal cooking skills. The beauty of tiramisu lies in its versatility; you can adjust the sweetness to your preference or even experiment with different flavor infusions like chocolate or orange zest.
Once assembled, the dessert needs to chill in the refrigerator for several hours, allowing the flavors to meld beautifully. So grab your apron and get ready to whip up this exquisite treat!
Ingredients:
- 6 egg yolks
- 3/4 cup granulated sugar
- 2/3 cup milk
- 1 1/4 cups heavy cream
- 8 ounces mascarpone cheese
- 1 teaspoon vanilla extract
- 1 cup brewed coffee, cooled
- 2 tablespoons coffee liqueur (optional)
- 24 ladyfinger cookies
- Cocoa powder for dusting
- Dark chocolate shavings (optional, for garnish)
Now let’s move on to the cooking steps.
Cooking Steps
Get ready to create an amazing tiramisu that’ll impress everyone!
First, you’ll prepare a delicious coffee and chocolate mix that sets the stage for your layers.
Then, whip up egg yolks and sugar until they’re fluffy, and let the layering magic begin with the creamy mascarpone mixture that makes this dessert so irresistible.
Step 1. Prepare Coffee and Chocolate Mix
As you commence on preparing the coffee and chocolate mix, guarantee you have your ingredients ready for a rich and flavorful base. Start by brewing a strong cup of espresso or coffee. Aim for about one cup; the intensity will enhance the flavor of your tiramisu.
While it’s brewing, break up your favorite dark chocolate into small pieces for melting. A good quality chocolate will make a world of difference, so choose wisely!
Once your coffee is ready, let it cool slightly. In a mixing bowl, combine the warm coffee with the melted chocolate, stirring gently until the chocolate dissolves completely. This mix should be smooth and glossy. If you want to add more depth, consider incorporating a splash of coffee liqueur. It’ll elevate your dessert’s flavor, making each bite irresistible.
As you stir, take in the delightful aroma of coffee and chocolate blending together; it’s truly a heavenly combination!
Set your mix aside and let it cool to room temperature. This step is essential because you don’t want to ruin the next layers of your tiramisu with hot liquids. You’re on your way to a delicious dessert experience!
Step 2. Whip Egg Yolks and Sugar
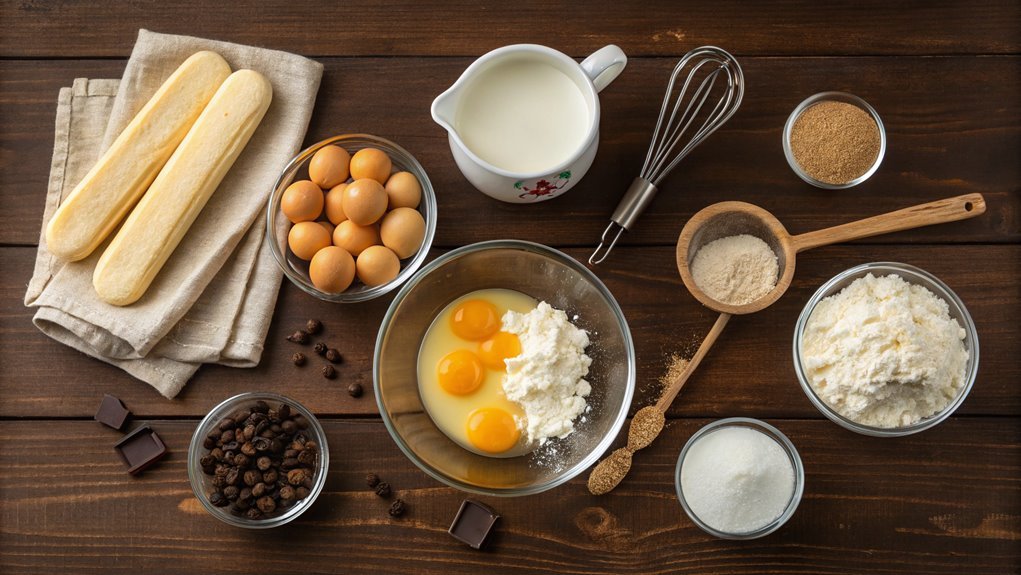
With the coffee and chocolate mix set aside, the next step is to whip the egg yolks and sugar together. This essential combination brings richness and sweetness to your tiramisu, creating a velvety texture you’ll love. So, let’s jump in!
Here’s what you’ll need to get started:
- 4 large egg yolks
- ½ cup granulated sugar
- A mixing bowl
- An electric mixer or whisk
Begin by placing your egg yolks and sugar in the mixing bowl. Using an electric mixer will save you time and effort, but if you’re up for a workout, a whisk works too!
Beat the mixture on medium speed until it becomes pale and thick, which usually takes about 5 minutes. This step is critical, as it creates a dreamy consistency that pairs perfectly with your tiramisu layers. When you see ribbons forming, you know you’re on the right track!
Once you’ve achieved that luscious texture, you’re well prepared for the next delicious step.
Keep the excitement going; you’re just a few strides away from a beautiful tiramisu! Enjoy the process!
Step 3. Layer in Mascarpone Mixture
Now that you’ve whipped those egg yolks and sugar into a creamy mixture, it’s time to gently fold in the mascarpone cheese. This step is essential, as it gives your tiramisu that rich and velvety texture everyone loves.
Grab a spatula and add the mascarpone to your egg mixture. You’ll want to use a gentle hand here—fold the cheese in slowly to maintain that light and airy consistency.
Begin by cutting through the mixture with your spatula, then lift and turn, bringing the ingredients together. The goal is to combine them without deflating the whipping you did earlier. Keep folding until the mixture is beautifully smooth and uniform, which should take just a few minutes.
The aroma of the mascarpone is already enticing, and you’re one step closer to a delightful dessert!
Once it’s all blended, don’t forget to give it a quick taste—this is a delicious moment! If you’re feeling adventurous, you could even add a splash of vanilla extract for an extra touch.
Now, you’ve got a luscious mascarpone mixture ready to layer beautifully in your tiramisu. Keep going—you’re almost there!
Step 4. Dust With Cocoa Powder
Once you’ve smoothly layered your mascarpone mixture, it’s time to add the finishing touch by dusting cocoa powder on top. This step not only adds a rich, chocolatey flavor but also gives your tiramisu a stunning, professional appearance. Let’s make it perfect!
- Choose your cocoa: Opt for unsweetened, high-quality cocoa powder for the best taste.
- Use a sifter: To achieve a beautiful, even layer, use a fine-mesh sieve to gently dust the cocoa. This prevents clumps and creates a gorgeous finish.
- Gently sprinkle: Hold the sifter high above the dessert and give it a gentle tap, allowing the cocoa to fall evenly. Don’t rush! You want a delicate layer that enhances the layers below.
- Add a touch of flair: If you’re feeling adventurous, sprinkle a little extra cocoa in some areas to create a lovely design or pattern.
Step 5. Chill Before Serving
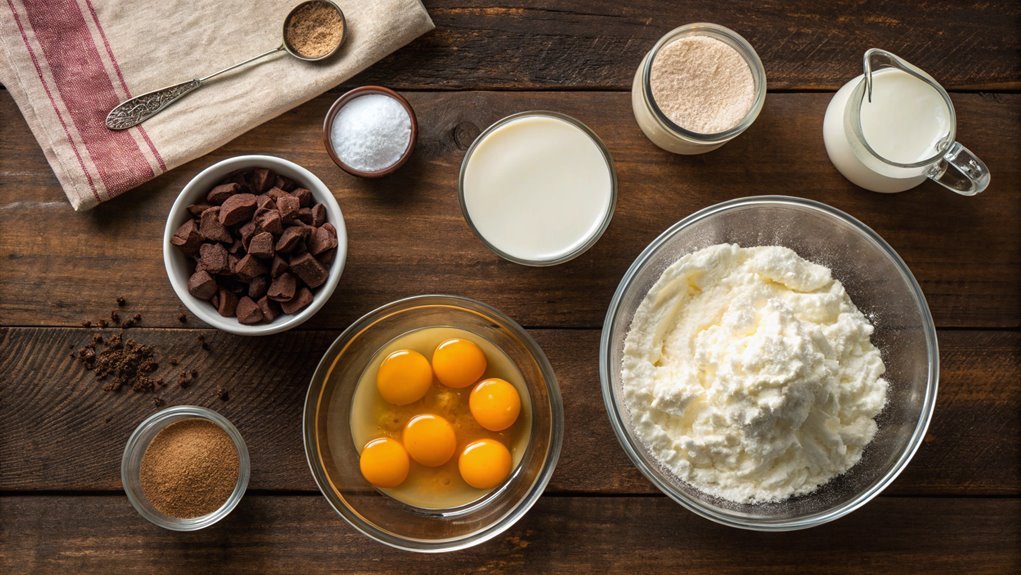
To guarantee your tiramisu achieves the perfect texture and flavor, chilling it’s a must. After assembling your layers of coffee-soaked ladyfingers and creamy mascarpone, it’s time to cover and refrigerate your masterpiece. This chilling period helps the flavors meld beautifully and allows the dessert to firm up, creating that delightful, satisfying texture we all love.
You should aim to chill the tiramisu for at least four hours, but if you can bear to wait, letting it sit overnight is even better! This extended time enhances the flavors, making each bite a heavenly experience. Just imagine slicing into that creamy dessert; the layers will hold together perfectly, and the aroma will make your mouth water.
Before serving, check if it’s chilled through; you want it to be invigoratingly cool, not icy.
Once it’s ready, you can plunge into the next exciting stage—garnishing! Dust some cocoa powder on top right before serving to elevate the presentation.
As you reveal your chilled tiramisu to friends and family, get ready for all the compliments. Trust us, they’ll be thrilled to try your delicious creation! Enjoy every moment of this delightful dessert experience!
Final Thoughts
As you wrap up your tiramisu journey, remember that this layered dessert isn’t just about the flavors but also the experience of creating something delightful. The joy of layering coffee-soaked ladyfingers with that creamy mascarpone fills the kitchen with warmth and excitement.
Each bite transports you to a cozy café in Italy, and you’ll find yourself craving it again and again!
Here are a few final thoughts to keep in mind:
- Experiment with flavors: Don’t hesitate to add your twist, like using flavored liqueurs or combining different types of chocolate!
- Presentation matters: Serve in individual glasses or in a beautiful dish to impress your friends and family.
- Make it ahead: Tiramisu tastes even better after sitting for a day, letting the flavors meld beautifully.
- Share the love: This dessert is perfect for gatherings, so invite friends over and let everyone indulge in your delicious creation.
Now that you know what it takes to make this luscious tiramisu, roll up your sleeves, and plunge into it!
You’re about to create an unforgettable dessert experience. Enjoy every sweet moment!
Frequently Asked Questions
Can I Use Decaf Coffee for This Dessert?
Over 40% of coffee drinkers prefer decaf for its mild flavor without the jitters. You can absolutely use decaf coffee for this dessert; it’ll still bring a rich taste without the caffeine kick. Enjoy!
Is Tiramisu Suitable for Vegetarians?
Yes, tiramisu can be suitable for vegetarians, depending on the recipe. It typically uses ingredients like mascarpone cheese and egg. Just make sure to choose a version without gelatin or other animal-derived products.
How Long Can I Store Leftover Tiramisu?
You’d think leftover tiramisu lasts forever, right? Surprisingly, it stays fresh in the fridge for about 3-4 days. After that, it might become an unappetizing reminder of your dessert dreams gone wrong! Enjoy it soon!
Can I Use Non-Dairy Alternatives for Mascarpone?
Yes, you can use non-dairy alternatives for mascarpone, like cashew cream or coconut cream. They’ll still provide a creamy texture, but adjust your recipe to suit their unique flavors for the best results.
What Is the Origin of Tiramisu?
You’ll find tiramisu’s origin in Italy, specifically in the Veneto region. Believed to have emerged in the 1960s, it combines coffee, cocoa, and mascarpone, creating a delightful, rich dessert beloved worldwide.

