Easy Cupcake Decorating Ideas Recipe
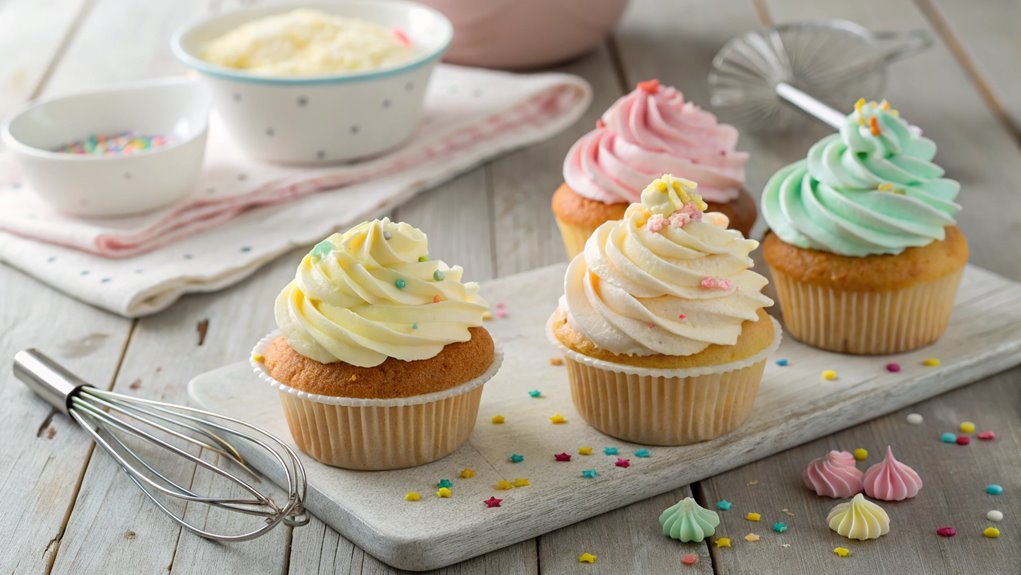
Cupcake decorating is surprisingly simple yet rewarding, requiring only basic tools and ingredients to transform ordinary cupcakes into extraordinary treats. By mastering techniques like buttercream flowers or themed designs, you can impress your guests without spending hours in the kitchen.
Unleash your creativity with just a few tips and tricks, achieving stunning results effortlessly. Don’t hesitate to dive into the world of cupcake decorating; it’s easier than you think!
Recipe
Making delicious cupcakes is a delightful experience that can be enjoyed by bakers of all skill levels. Whether you’re preparing for a special occasion or just want to treat yourself, these cupcakes are sure to impress.
The base of the cupcake is light and fluffy, providing the perfect canvas for your favorite frosting and decorations. With a few simple ingredients and some creativity, you can whip up a batch of tasty treats that will satisfy any sweet tooth.
To begin, gather your ingredients and preheat your oven to 350°F (175°C). While the oven warms, you can prepare your cupcake batter by combining the dry ingredients in one bowl and the wet ingredients in another. Mixing the two together will create a smooth batter that you can pour into cupcake liners.
Once baked and cooled, the fun part begins: decorating! From sprinkles to fondant shapes, the possibilities are endless when it comes to embellishing your cupcakes.
Ingredients:
- 1 ½ cups all-purpose flour
- 1 cup granulated sugar
- 1 ½ tsp baking powder
- ½ tsp salt
- ½ cup unsalted butter, softened
- 2 large eggs
- 1 tsp vanilla extract
- ½ cup milk
Now let’s move on to the cooking steps.
Cooking Steps
Get ready to create some delicious cupcakes!
First, you’ll want to preheat your oven to 350°F to guarantee even baking.
Then, mix your dry ingredients together before gradually adding the wet ingredients—this step is vital for that perfect batter consistency!
Step 1. Preheat Oven to 350°F
Before you start decorating those delicious cupcakes, it’s essential to preheat your oven to 350°F. This step is important because a properly heated oven guarantees that your cupcakes bake evenly, resulting in a perfect texture. You wouldn’t want to end up with dense, uneven cupcakes, right? So, let’s get this oven warmed up!
First, make certain your oven rack is positioned in the center. This allows for ideal air circulation, giving your cupcakes that fluffy rise we all adore. Turn on the oven and set it to 350°F. As it heats up, you might notice the inviting aroma of baking filling your kitchen. Isn’t that a delightful thought?
While you wait, you can gather all your cupcake ingredients and tools. It’s a great time to prepare your baking pans, too! You can use liners or grease them lightly to make certain your cupcakes come out easily after baking.
Once the oven reaches that perfect temperature, you’ll be all set to mix your batter. Preheating is a small yet critical step that leads to cupcake perfection.
Step 2. Mix Dry Ingredients Together
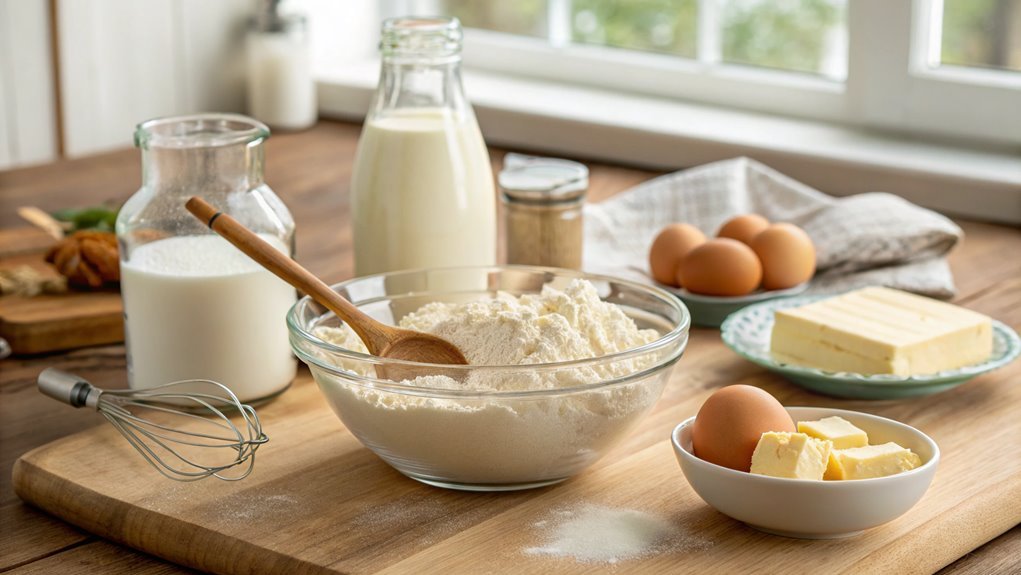
With the oven preheated and ready to go, it’s time to mix the dry ingredients together. Grab a large mixing bowl and start by adding your flour, sugar, baking powder, and a pinch of salt. These ingredients are the foundation of your cupcakes, and they’ll create that light, fluffy texture we all love.
Using a whisk, stir the dry ingredients together until they’re well combined. This step is essential because it guarantees that your baking powder is evenly distributed, which helps your cupcakes rise beautifully.
Don’t rush! Take a moment to enjoy the process; the aroma of flour and sugar is just the beginning of something delicious.
If you’re feeling adventurous, consider adding a dash of cocoa powder for a chocolate twist. Just remember to adjust your sugar a bit to balance the flavors.
Once everything’s mixed, take a moment to admire your work. You’re one step closer to those delightful cupcakes!
Now that your dry ingredients are ready, you’ll be set to take the next exciting step in this baking adventure. Get ready to create something amazing that everyone will love!
Step 3. Add Wet Ingredients Gradually
As you prepare to mix in the wet ingredients, it’s crucial to add them gradually to guarantee a smooth batter. This method helps prevent clumps and guarantees a delightful texture in your cupcakes. Trust me; you’ll love the results!
So, let’s plunge into the steps for this part of the process.
- Start with the eggs: Crack the eggs into a separate bowl before adding them to your dry mixture. This way, you can catch any shell pieces, and it makes mixing easier.
- Incorporate the milk: Pour in the milk slowly while mixing. This gradual addition helps the dry ingredients absorb the liquid evenly, creating a cohesive batter.
- Finish with the oil or melted butter: Add the oil or melted butter last, continuing to mix until everything’s well combined. This step adds moisture and richness, making your cupcakes irresistible!
Step 4. Fill Cupcake Liners Two-Thirds Full
When filling cupcake liners, aim to fill them about two-thirds full. This magical measurement guarantees your cupcakes rise perfectly, creating that delightful dome shape we all love.
If you overfill the liners, you risk having a messy overflow, which can ruin the beautiful look of your cupcakes.
To get started, grab a mixing bowl filled with your batter. Using a spoon or an ice cream scoop makes this part super easy! Just scoop out the batter and gently drop it into the center of each liner.
You’ll want to watch the amount closely, as it’s easy to get carried away with the fun. Remember, a little practice goes a long way! If you’re unsure, it’s better to start with a smaller amount and adjust as needed. You can always add a touch more if you think they need it.
As you fill each liner, take a moment to appreciate the colorful array of batter. It’s a joyful sight that sets the stage for your delicious creations.
Step 5. Bake for 20 Minutes
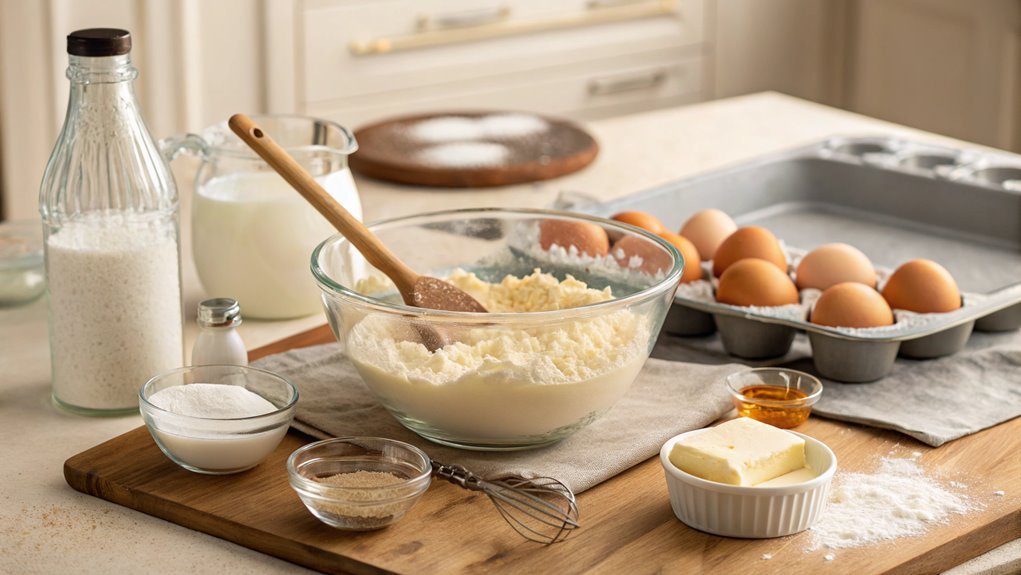
After you’ve filled your cupcake liners, pop them in the oven and bake for 20 minutes at 350°F (175°C). This is the moment when the magic begins! You’ll soon be greeted by the irresistible aroma of freshly baked cupcakes wafting through your kitchen.
As they bake, the anticipation builds—there’s nothing quite like it!
Here’s what to keep in mind during those 20 minutes:
- Check the Time: Set a timer so you don’t lose track. You want to enjoy every moment without worrying about overbaking!
- Do the Toothpick Test: When the timer goes off, insert a toothpick into the center of a cupcake. If it comes out clean, they’re ready to shine; if not, give them a few more minutes.
- Cool Down: Once baked, let your cupcakes cool in the pan for about 5 minutes before transferring them to a wire rack. This prevents sogginess and guarantees they hold their shape.
Baking cupcakes is a delightful experience. Enjoy the process, and get ready for the fun part—decorating your delicious creations! Happy baking!
Final Thoughts
While exploring cupcake decorating ideas can be a delightful journey, it’s essential to remember that the best creations come from your imagination and personal touch. As you plunge into this sweet adventure, let your creativity run wild! You don’t need to be a professional baker to make stunning cupcakes that wow your friends and family.
Every swirl of frosting, sprinkle of fun toppings, and artistic design reflects your unique style. Don’t hesitate to experiment with flavors, colors, and techniques. Whether you choose simple sprinkles or elaborate fondant shapes, each cupcake is a canvas for your creativity.
Think about themes, like holidays or special occasions, and tailor your designs accordingly. As you decorate, remember that practice makes perfect. Don’t get discouraged if things don’t turn out exactly as you envisioned. Each attempt will sharpen your skills and inspire new ideas.
Frequently Asked Questions
What Tools Do I Need for Cupcake Decorating?
To decorate cupcakes, you’ll need piping bags, various tips for different designs, a spatula for spreading frosting, food coloring for creativity, and sprinkles or edible decorations to add that finishing touch. Enjoy your decorating!
How Can I Store Decorated Cupcakes?
You’ve just finished decorating those beautiful cupcakes, and now you wonder how to store them without ruining your hard work. Keep them in an airtight container at room temperature for up to two days, or refrigerate them!
Can I Use Store-Bought Frosting?
Absolutely, you can use store-bought frosting! It saves time and offers convenience. Just choose a flavor you love, and you’ll have deliciously decorated cupcakes in no time. Enjoy the process and get creative!
What Are Some Allergy-Friendly Decorating Options?
When considering allergy-friendly decorating options, think about fresh fruits, edible flowers, or dairy-free chocolate. You could also use nut-free sprinkles or homemade icing with safe ingredients. Your guests will love the creative, safe choices!
How Long Do Decorated Cupcakes Last?
Decorated cupcakes typically last about two to three days at room temperature. If you refrigerate them, they can stay fresh for up to a week. Just make sure to store them in an airtight container!
Conclusion
Start your cupcake decorating journey by envisioning each cupcake as a blank canvas for creativity. With vibrant colors and delightful toppings, you’re crafting edible art that brings joy to gatherings.
Gather your ingredients and let your imagination flow with each swirl of frosting as a burst of happiness. Transform simple cupcakes into cherished masterpieces that everyone will adore!
