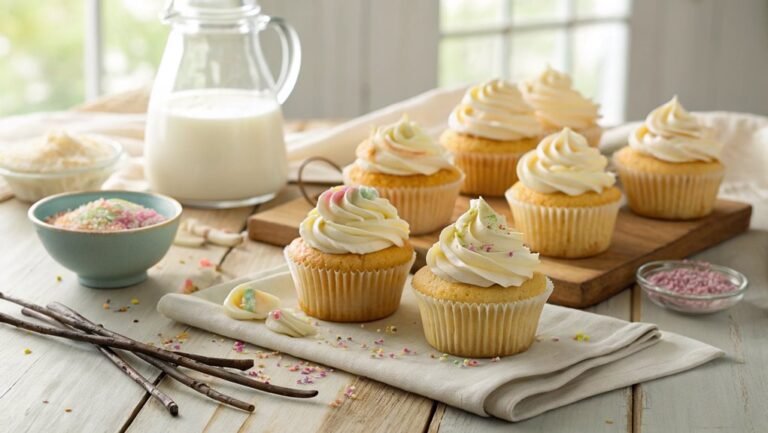
Classic Vanilla Cupcake Recipe
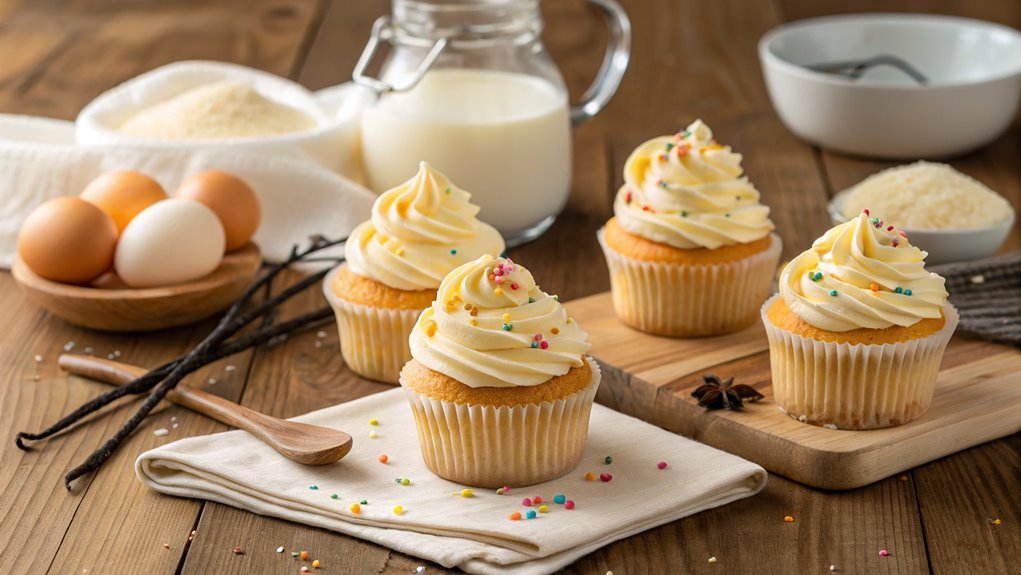
Perfecting a vanilla cupcake recipe won’t bring world peace, but it will boost your baking skills. Using simple ingredients, you can create delightful cupcakes that impress at any gathering. Each step, from mixing the batter to adding final touches, allows for creativity and uniqueness. Let’s explore how to ensure your cupcakes are both moist and flavorful before you start baking.
Recipe
Classic Vanilla Cupcakes are a delightful treat that can brighten any occasion, whether it be a birthday party, a bake sale, or just a simple afternoon snack.
These light and airy cupcakes are made with basic ingredients that come together to create a rich vanilla flavor that melts in your mouth. Not only are they easy to prepare, but they also serve as a perfect base for various frostings and decorations.
With this recipe, you’ll be able to impress your friends and family with your baking skills in no time!
To get started, make certain you have all your ingredients ready and your oven preheated to guarantee the perfect bake.
The process is simple: you’ll mix the dry ingredients separately, then cream together the butter and sugar, and finally combine everything to create a smooth batter.
Once baked to golden perfection, let them cool before adding your favorite frosting or serving them plain.
Get ready to enjoy some irresistible vanilla cupcakes!
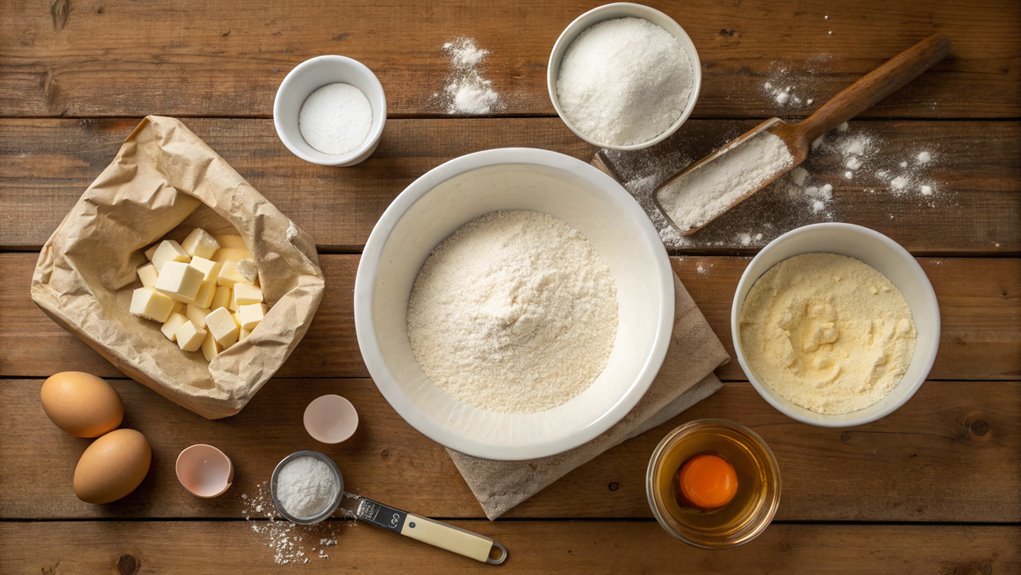
Ingredients:
- 1 ½ cups all-purpose flour
- 1 cup granulated sugar
- ½ cup unsalted butter, softened
- 2 large eggs
- 2 tsp vanilla extract
- ½ cup milk
- 1 ½ tsp baking powder
- ¼ tsp salt
Now let’s move on to the cooking steps.
Cooking Steps
Now that you’ve got all your ingredients ready, it’s time to cook up some delicious vanilla cupcakes!
First, you’ll want to preheat your oven to 350°F, ensuring it’s nice and hot for those fluffy treats.
Once that’s done, let’s mix the dry ingredients, add the eggs and vanilla, and get ready to fill those cupcake liners evenly—you’re just a few steps away from a mouthwatering dessert!
Step 1. Preheat Oven to 350°F
Preheating the oven to 350°F is an essential step in baking the perfect vanilla cupcakes. This vital temperature guarantees that your cupcakes rise beautifully and develop that delightful golden-brown color.
To start, take a moment to check your oven’s settings. If it has a preheat light, keep an eye on it while it warms up.
While you’re waiting, it’s a great time to gather your ingredients and baking tools. Make certain you’ve got everything on hand, so when the oven is ready, you can jump right into mixing and pouring.
Timing is key in baking, and starting with a properly preheated oven sets the stage for success.
Don’t rush this step! It usually takes about 10 to 15 minutes for your oven to reach the desired temperature. You want those fluffy cupcakes to rise perfectly, and starting with an oven that’s too cold can lead to flat, dense results.
Once it’s reached 350°F, listen for that happy beep, and get ready to create something delicious. Your home will soon smell wonderful, and you can’t wait to share these treats with friends and family!
Step 2. Mix Dry Ingredients Together
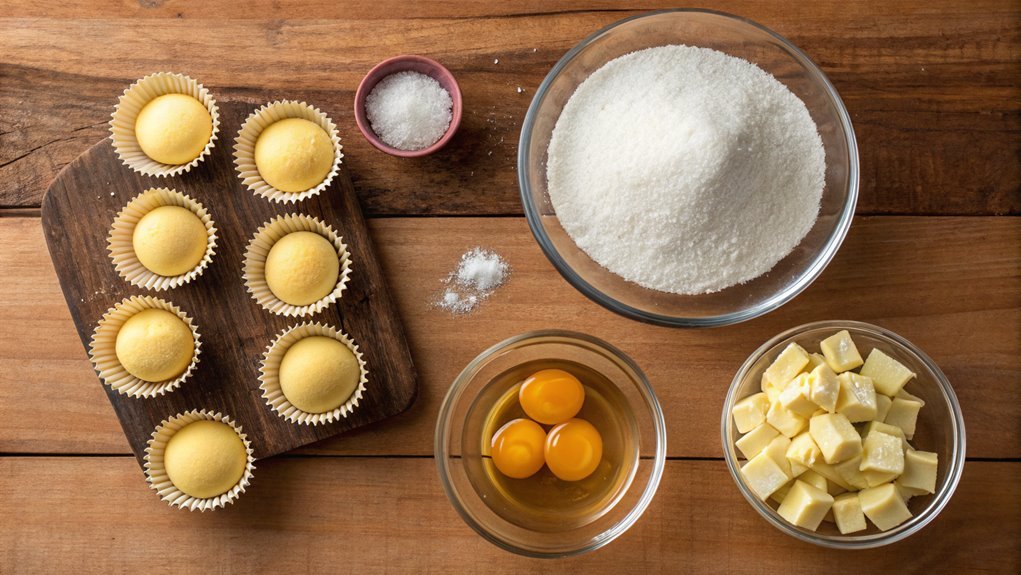
Once the oven’s preheated, it’s time to combine your dry ingredients for the vanilla cupcakes. Start by gathering all the essentials: flour, baking powder, baking soda, and a sprinkle of salt. These ingredients play an essential role in creating that perfect, fluffy texture you crave.
In a large mixing bowl, whisk together the flour, baking powder, and baking soda. Doing this well guarantees even distribution, helping your cupcakes rise beautifully.
Next, don’t forget the salt! Although it seems small, it enhances the flavors and balances the sweetness. Just a pinch will do.
Once you’ve combined the dry ingredients, you’ll notice a lovely, fine mixture forming—this is where the magic begins! Make sure there are no lumps; you want a smooth, even blend that will create cupcakes you can be proud of. As you mix, feel the excitement building for the delicious treats that are on their way.
After combining everything perfectly, it’s time to set this bowl aside. Your dry ingredients are ready, and you’re one step closer to whipping up those scrumptious vanilla cupcakes.
Keep that enthusiasm going, because the best part is still ahead!
Step 3. Add Eggs and Vanilla
As you immerse yourself in the next stage of your vanilla cupcake adventure, it’s time to add the eggs and vanilla. This step is where things get really exciting, as the eggs will bring moisture and richness to your batter while the vanilla infuses that delightful flavor we all love.
- Crack the eggs into a separate bowl to verify there are no shells—this gives you a chance to check their freshness too.
- Add the eggs one by one to your mix, and give them a gentle whisk to combine; this helps the batter come together beautifully.
- Pour in the pure vanilla extract, and don’t hold back—this is what makes your cupcakes so fragrant and delicious!
Once you’ve added these ingredients, mix the batter until everything’s nicely blended. You want it to be smooth and lump-free, guaranteeing that all those flavors meld perfectly.
It’s a simple yet essential process, and you can almost taste the sweetness in the air! So immerse yourself and enjoy the transformation as your mixture turns into something truly scrumptious. You’re getting closer to those mouthwatering vanilla cupcakes!
Step 4. Fill Cupcake Liners Evenly
While your batter is perfectly mixed and ready, it’s time to fill the cupcake liners evenly to guarantee they bake beautifully. Start by prepping your cupcake tray with liners. You can use colorful or classic white, whichever suits your mood!
Using a standard-sized cookie scoop or measuring cup, scoop about two-thirds full of batter into each liner. This method helps you achieve that ideal rise and assures uniformity in size, which is key to a stunning batch.
If you don’t have a scoop, you can use a spoon, but be consistent with the amount. Take your time! Remember, unevenly filled liners can lead to uneven baking. If you notice any excess batter on the edges of the liners, gently wipe it away with a spatula.
As you fill each liner, picture the delicious cupcakes that’ll soon come out of the oven. The aroma will fill your kitchen and bring joy to anyone who’s lucky enough to taste them.
Once all liners are filled, you’ll be one step closer to baking your perfect vanilla cupcakes. Enjoy the process, and get ready for the delightful reward of your hard work!
Step 5. Bake for 18 Minutes
With your cupcake liners filled to the right level, it’s time to bake! Preheat your oven to 350°F (175°C) and get ready to transform your batter into delightful treats. Baking is where the magic happens, so let’s jump in!
- Place your filled cupcake pan in the center of the oven for even heat distribution.
- Bake for 18 minutes—this goal is vital for perfect cupcakes.
- Check your cupcakes for doneness by inserting a toothpick in the center; if it comes out clean, they’re ready!
While the cupcakes bake, the delightful aroma will fill your kitchen, making it hard to resist sneaking a taste!
Don’t forget to keep an eye on the time; 18 minutes can feel like an eternity when you’re excited! Once they’re baked to perfection, take them out of the oven and let them cool in the pan for about 5 minutes.
Then, gently transfer them to a wire rack to cool completely.
Get ready to frost and decorate them, or enjoy them plain! This baking step is essential for achieving soft, fluffy, and oh-so-delicious vanilla cupcakes that everyone will love!
Final Thoughts
When you’ve mastered the classic vanilla cupcake recipe, you’ll realize just how versatile and enjoyable baking can be. These delightful treats aren’t just a simple dessert; they’re a canvas for your creativity! With each batch, you can experiment with different flavors, fillings, and frostings. Imagine the thrill of creating a luscious chocolate ganache topping or adding a burst of fruit to the center.
Baking these cupcakes is more than just a task; it’s an experience that brings joy to your kitchen. The aroma wafting from the oven will fill your home with warmth, making it hard to resist sneaking a taste before they cool!
Plus, they’re perfect for any occasion—birthdays, holidays, or even just because.
As you gather ingredients and mix them together, you’ll find a sense of accomplishment that’s hard to match. Each cupcake is a little achievement waiting to happen.
So, don’t hesitate to get started. Whether you’re an experienced baker or a novice, making these classic vanilla cupcakes will boost your confidence in the kitchen.
Grab your apron, and let your baking journey begin—each bite is a reminder of the magic you can create!
Frequently Asked Questions
Can I Substitute Butter With Margarine in the Recipe?
Yes, you can substitute butter with margarine in most recipes. Just keep in mind that margarine may alter the flavor slightly, but it’ll still produce great results. Enjoy your baking with this handy swap!
How Should I Store Leftover Cupcakes?
After baking, let your cupcakes cool completely. Store them in an airtight container at room temperature for up to three days. For longer storage, freeze them wrapped tightly in plastic wrap and foil for a month.
Can I Use Gluten-Free Flour for This Recipe?
Yes, you can use gluten-free flour in this recipe. Just make sure it’s a 1:1 substitute and consider adding a bit of extra moisture, like yogurt or applesauce, to keep your cupcakes fluffy. Enjoy!
What Are Common Frosting Options for Vanilla Cupcakes?
You’ve got plenty of frosting options for your cupcakes! Popular choices include buttercream, cream cheese, whipped cream, and ganache. Each adds a unique flavor, so choose the one that suits your taste and occasion!
How Long Do Cupcakes Typically Last After Baking?
Cupcakes usually last about 2-3 days on the counter, covered. If you refrigerate them, they might stay fresh for up to a week. Just remember, moisture helps them last longer, so seal them well.
