Salted Caramel Trifle Recipe
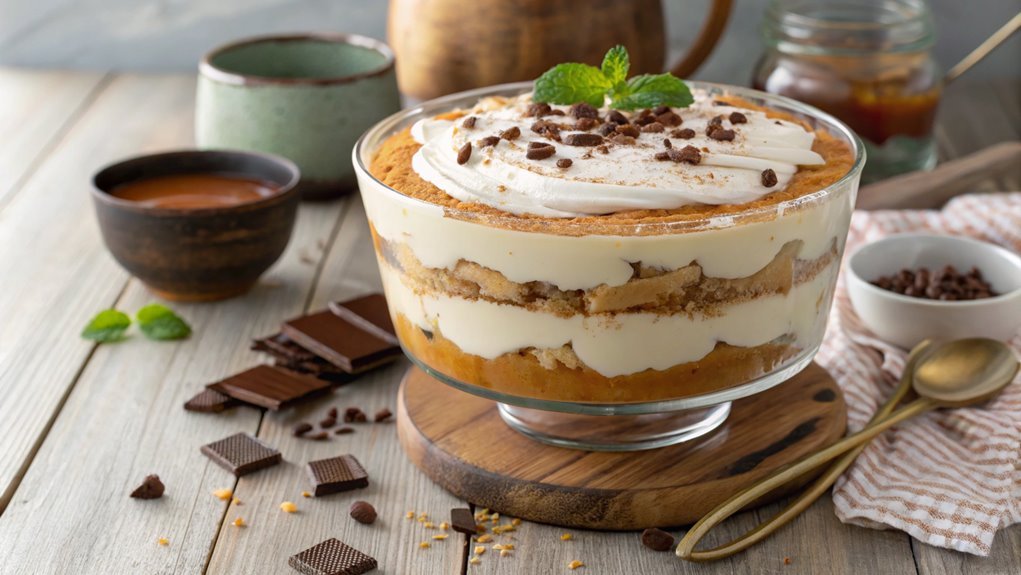
A Salted Caramel Trifle is a perfect choice for a dinner party dessert due to its impressive layers and rich flavors. The fluffy whipped cream, decadent caramel, and crunchy crumbled cookies create a balanced and visually appealing treat.
What makes this trifle special is understanding the nuances of each layer. This knowledge allows you to transform it from a simple dish into a memorable experience for your guests.
Recipe
This delicious Salted Caramel Trifle is a decadent dessert that layers rich flavors and textures, perfect for any special occasion or as an indulgent treat at home.
The combination of creamy whipped topping, fluffy cake, and luscious salted caramel sauce creates a delightful experience for the taste buds. Each spoonful delivers a burst of sweetness balanced by a hint of saltiness, making it hard to resist going back for seconds.
In this recipe, we’ll guide you through the steps to create this stunning trifle that not only looks impressive but is also easy to assemble.
You’ll be amazed at how simple it’s to create layers of flavor that will wow your family and friends. Get ready to enjoy a delightful dessert that’s sure to become a favorite among all who try it!
Ingredients:
- 1 package of sponge cake or ladyfingers (about 8 ounces)
- 1 cup salted caramel sauce (store-bought or homemade)
- 2 cups heavy whipping cream
- 1/4 cup powdered sugar
- 1 teaspoon vanilla extract
- 1 cup miniature chocolate chips
- Sea salt flakes (for garnish)
- Optional: chopped nuts or crushed cookies for extra texture
Now let’s move on to the cooking steps.
Cooking Steps
Now that you’ve gathered your ingredients, it’s time to create something truly delicious!
Start by whipping the cream until it’s fluffy, which will add a light texture to your trifle.
Layer the caramel sauce, crumbled cookies, and drizzle some chocolate sauce on top for a delightful combination that’s sure to impress!
Step 1. Whip the Cream Until Fluffy
To achieve that perfect fluffy texture for your salted caramel trifle, you’ll need to whip the cream until it forms soft peaks.
Start by pouring heavy cream into a large mixing bowl. Make sure your bowl and beaters are cold; this helps the cream whip faster and fluffier.
Using a hand mixer or a stand mixer, begin beating the cream on medium speed. As it starts to thicken, increase the speed to high.
Keep a close eye on it, as you want to stop whipping when you see those soft peaks forming. This means that when you lift the beaters, the cream holds its shape but isn’t too stiff. You don’t want to over-whip it into butter, so stop just at the right moment!
If you want to add a touch of sweetness, sprinkle in some powdered sugar and a dash of vanilla extract while whipping. This enhances the flavor without compromising that fluffy texture.
Once you’ve reached the perfect consistency, your cream is ready to elevate your trifle. Get excited because the light, airy whipped cream will balance beautifully with the rich caramel to create a delightful dessert experience!
Step 2. Layer the Caramel Sauce
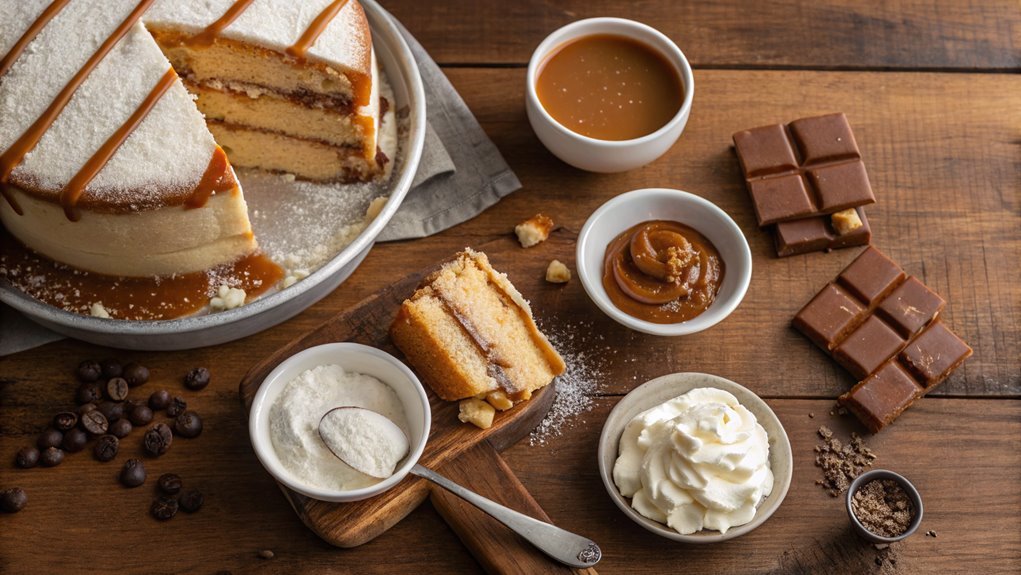
As you prepare to layer the caramel sauce, make certain it’s at a drizzle-able consistency, which means it shouldn’t be too thick or too runny. You want it to glide smoothly over your whipped cream and other layers, creating a beautiful contrast in textures.
Grab a spoon or a squeeze bottle to help you with this delightful process.
Start by adding a generous layer of whipped cream at the bottom of your trifle dish. Then, take that lovely caramel sauce and gently drizzle a portion over the cream, letting it cascade down the sides of the dish.
Watch as it seeps ever so slightly into the whipped cream, blending those luscious flavors.
Repeat this layering process—whipped cream followed by caramel—until you reach the top of your dish. Each layer should be slightly visible, creating a stunning visual effect that’ll make anyone’s mouth water in anticipation.
The harmony of sweet and salty notes in the caramel will elevate your trifle to new heights. Trust me, every spoonful will be an indulgent delight!
Enjoy the layering process, and get excited for the delicious masterpiece you’re creating!
Step 3. Add Crumbled Cookies
Next, it’s time to sprinkle those crumbled cookies into your trifle for an added crunch. Grab your favorite cookies—chocolate chip, Oreos, or even gingersnaps work wonderfully. You’ll want to break them into small pieces, ideally about the size of a quarter. This step adds delightful texture and flavor to your trifle, making each layer even more exciting.
Once you’ve crumbled the cookies, take a handful and gently sprinkle them over the layer of caramel sauce you just added. Be sure to cover the surface evenly, allowing those cookie bits to nestle in among the sweet caramel. This not only enhances the taste but also creates a beautiful contrast in your trifle.
After the first cookie layer, feel free to repeat this process of layering—add more caramel and then more cookies! Building layers is what makes this dessert visually stunning and delicious.
Step 4. Drizzle With Chocolate Sauce
A generous drizzle of chocolate sauce takes your salted caramel trifle to the next level. This rich, velvety pour adds an irresistible layer of flavor that complements the sweet and salty notes perfectly.
To get started, choose a high-quality chocolate sauce—store-bought options are great, but homemade sauce can elevate your dessert even further.
Once you’ve prepared your trifle, grab your chocolate sauce and give it a good stir to make certain it’s smooth and ready to pour. Take a spoon or squeeze bottle, and start drizzling it over the top layer of your trifle. Allow it to cascade down the sides, creating a beautiful presentation that’s sure to catch anyone’s eye.
Make sure to cover the surface generously but leave some space for the next layer. This step isn’t just for looks; it adds a wonderful depth of flavor that perfectly balances the sweetness of the caramel and the crunch of the cookies.
The warm chocolate melds with the cool elements of the trifle, enhancing each bite. So go ahead, embrace this final touch. Your guests will be in chocolate heaven!
Step 5. Top With Sea Salt
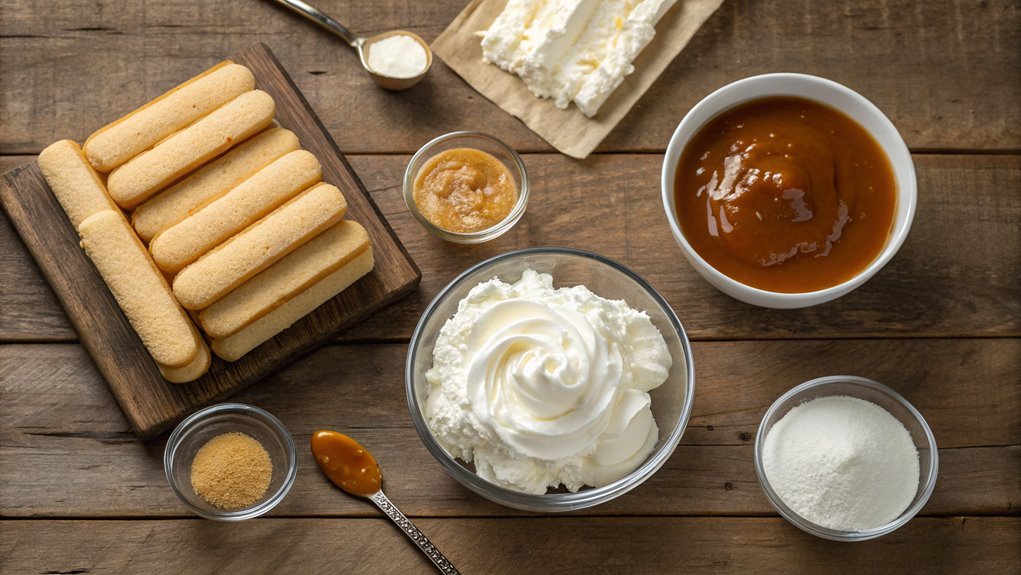
To elevate your salted caramel trifle even further, topping it with a sprinkle of sea salt brings out the flavors in a delightful way. The contrast of sweet and salty is a game changer!
Here’s how to make sure your trifle is a hit:
- Choose quality sea salt: Opt for flaky sea salt for that perfect crunch and burst of flavor. You’ll want something that stands up against your rich caramel and creamy layers.
- Experiment with placement: After you’ve added the final layer of cream or whipped topping, gently sprinkle the sea salt over the surface. You can even use a small sieve for an even, delicate distribution. This technique creates a visually appealing finish as well!
- Taste as you go: If you’re unsure about how much salt to use, start with a small pinch. You can always add more. The goal is to enhance the flavors, not overpower them.
Once you’ve topped your trifle, get ready for compliments from everyone.
Your salted caramel trifle won’t only look amazing but will taste even better. Enjoy every bite!
Final Thoughts
As you savor each layer of this salted caramel trifle, it’s hard not to appreciate how the combination of creamy textures and rich flavors comes together to create a truly indulgent dessert.
This trifle isn’t just a feast for your taste buds; it’s also a stunning centerpiece for any gathering. Imagine your friends and family, their eyes lighting up as you present this delightful treat, and the smiles as they taste it for the first time.
You don’t need to be a professional chef to create this masterpiece. With simple ingredients and straightforward steps, you can whip up this trifle and impress your guests, or even treat yourself!
Each bite delivers a perfect harmony of sweet caramel and a sprinkle of salt, making it a memorable experience worth savoring.
Frequently Asked Questions
Can I Make This Trifle a Day in Advance?
Absolutely, you can make this trifle a day in advance. Just layer the ingredients carefully, cover it tightly, and store it in the fridge. It’ll taste even better as the flavors meld together overnight!
What Type of Chocolate Works Best for Garnish?
For garnish, you’ll want to use high-quality chocolate. Dark chocolate adds a rich contrast, while milk chocolate offers sweetness. Shaving or grating either variety gives a beautiful touch to your dessert presentation.
How Should I Store Leftover Trifle?
Like a treasure trove, leftover trifle’s flavors deepen when stored correctly. You should cover it tightly with plastic wrap or transfer it to an airtight container. Keep it in the fridge and enjoy it within three days!
Can I Substitute Ingredients for Dietary Restrictions?
Absolutely, you can substitute ingredients to accommodate dietary restrictions. Just swap out dairy for non-dairy alternatives, use gluten-free options, and adjust sweeteners as needed. It’ll still taste delicious while meeting your dietary needs!
What Is the Best Way to Serve the Trifle?
To serve the trifle, layer it in individual cups for a personal touch, or present it in a large glass bowl for a stunning centerpiece. Garnish with whipped cream, chocolate shavings, or fresh fruit for extra flair.

