Easter Egg Sugar Cookies Recipe
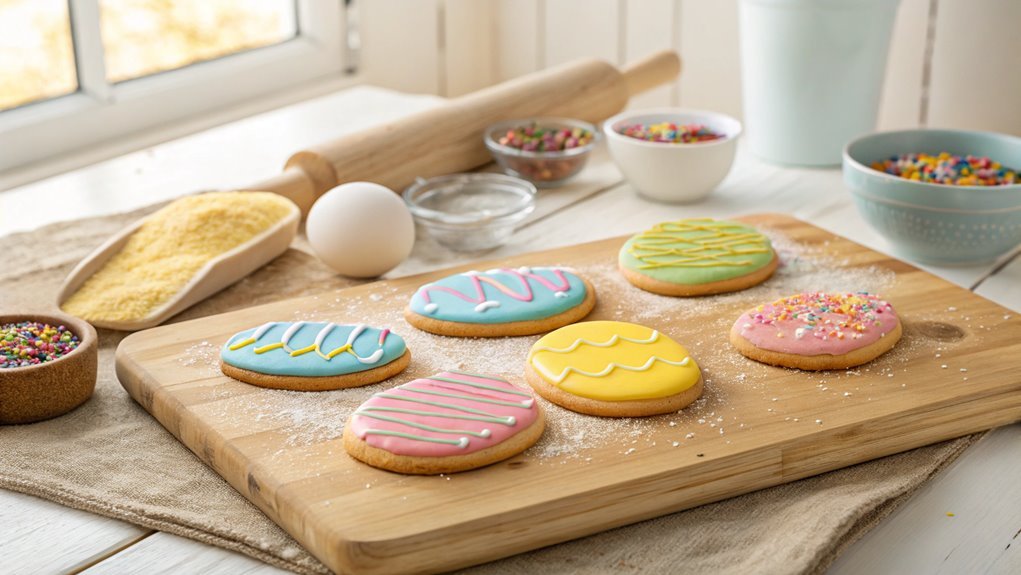
Easter egg sugar cookies have a rich history, connecting sweet treats to springtime celebrations. These cookies satisfy your sweet tooth and serve as a creative canvas for holiday decorations.
Elevate your traditional cookie-making with a simple yet rewarding recipe. Explore the steps to transform basic dough into an exceptional Easter centerpiece.
Recipe
Easter egg sugar cookies are a delightful treat that adds a touch of sweetness and creativity to your holiday celebrations. These cookies aren’t only visually appealing, adorned with colorful icing and sprinkles, but they also boast a buttery flavor that melts in your mouth.
Baking these cookies can be a fun activity for families, allowing everyone to join in on the decorating process once the cookies have cooled. Whether you’re making them for an Easter gathering or simply to enjoy at home, they’re sure to bring a smile to everyone’s face.
The beauty of this recipe lies in its simplicity, making it accessible to bakers of all skill levels. With just a few basic ingredients, you can whip up a batch of dough that can be rolled out and cut into festive egg shapes.
After baking, the real fun begins as you release your creativity with colors and designs, turning ordinary cookies into edible masterpieces. Once you’ve gathered your ingredients, you’ll be ready to start this easy yet delightful baking adventure that will leave your kitchen filled with joy and the aroma of freshly baked cookies.
Ingredients:
- 2 3/4 cups all-purpose flour
- 1 teaspoon baking soda
- 1/2 teaspoon baking powder
- 1 cup unsalted butter, softened
- 1 1/2 cups white sugar
- 1 egg
- 1 teaspoon vanilla extract
- 1 teaspoon almond extract
- 3 to 4 tablespoons milk
- Icing (royal or powdered sugar glaze)
- Food coloring (variety of colors)
- Sprinkles (optional)
Cooking Steps
Get ready to whip up some delightful Easter Egg Sugar Cookies!
First things first, you’ll want to preheat your oven and chill that dough for about 30 minutes to guarantee the perfect texture.
Once that’s done, it’s time to roll it out and cut your fun shapes—baking is about to get exciting!
Step 1. Preheat Your Oven
To guarantee your Easter egg sugar cookies bake perfectly, preheating your oven to 350°F (175°C) is essential. This step might seem simple, but it’s a game changer! When your oven is at the right temperature, your cookies will spread just the way you want and develop that beautiful golden color.
Begin by turning on your oven and setting it to the desired temperature. Don’t rush this process! Allow your oven to preheat fully, which usually takes about 10 to 15 minutes. While it’s warming up, you can get excited about the delicious cookies you’re about to create!
You’ll notice that many recipes emphasize preheating for a good reason. When the oven’s hot, it helps the cookies rise and bake evenly. It also guarantees that the butter and sugars melt perfectly, resulting in that irresistible chewy texture.
Once your oven reaches the right temperature, you can confidently slide in your trays of cookie dough, setting the stage for delightful Easter treats.
Step 2. Chill Dough for 30 Minutes
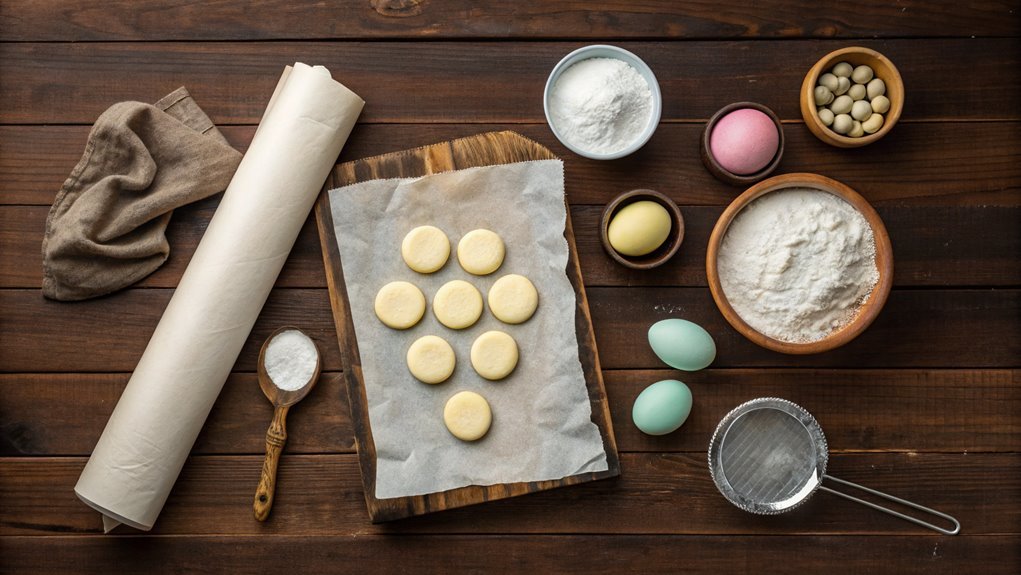
Now that your oven is preheated, it’s time to chill the dough for 30 minutes. This step is essential, as it helps the flavors deepen and guarantees your cookies hold their shape while baking.
You’ve worked hard to create this delicious dough, so let it rest in the refrigerator where it can become even better!
Place the cookie dough in a covered bowl or wrap it in plastic wrap. This keeps it fresh and prevents any absorbing of odors from your fridge.
While you wait, you can take this opportunity to clean up your workspace or gather your decorations for later. Think about how fun it’ll be to decorate the cookies after they’re baked!
Chilling the dough doesn’t just improve the texture; it makes the entire baking process smoother. Once the dough firms up a bit, it’ll be much easier to roll out and cut into those lovely Easter egg shapes you’ve got in mind.
Step 3. Roll Out Cookie Dough
Dust your countertop with a light sprinkle of flour, and roll out the chilled dough to your desired thickness. You want it to be about a quarter of an inch thick for perfectly baked cookies. As you roll, make certain the dough moves freely on the surface by adding a little more flour if it starts to stick.
This process can be so satisfying, and you’ll start to see that beautiful dough stretch out beneath your rolling pin. Take your time and enjoy each moment; rolling out dough is where the magic begins!
If you’re working with multiple batches, you can always cover the remaining dough in plastic wrap to keep it from drying out. Be sure to keep an eye on your thickness. Too thick, and they won’t bake evenly; too thin, and you might lose those lovely shapes you’re aiming for.
Once you’ve rolled out all your dough, take a step back and admire your work! You’re one step closer to those delightful sugar cookies that’ll impress everyone.
The sweet aroma of baking cookies is just around the corner, and you can feel the excitement in the air!
Step 4. Cut Shapes With Cookie Cutters
Once you’ve rolled out your cookie dough, it’s time to bring your creativity to life with cookie cutters. This step is where the magic happens! You can transform your dough into cheerful Easter shapes that delight everyone.
Here’s how to make the most of this fun activity:
- Choose Your Cutters: Pick out a variety of cookie cutters, like egg, bunny, or flower shapes, to create a festive assortment. The more, the merrier!
- Flour the Cutters: To prevent sticking, lightly dust your cookie cutters with flour. This simple trick helps the dough release easily and keeps those shapes pristine.
- Press and Lift: Firmly press the cookie cutter into the dough, then gently lift it away. Use a spatula if needed to help lift the cut cookies off the counter.
With each shape, you’re not just making cookies; you’re crafting beautiful pieces of art! Let your imagination roam free and bake cookies that reflect your style.
This step sets the stage for wonderful memories and delicious treats for your loved ones. So, grab those cookie cutters and get started—you’re going to love the results!
Step 5. Bake for 10-12 Minutes
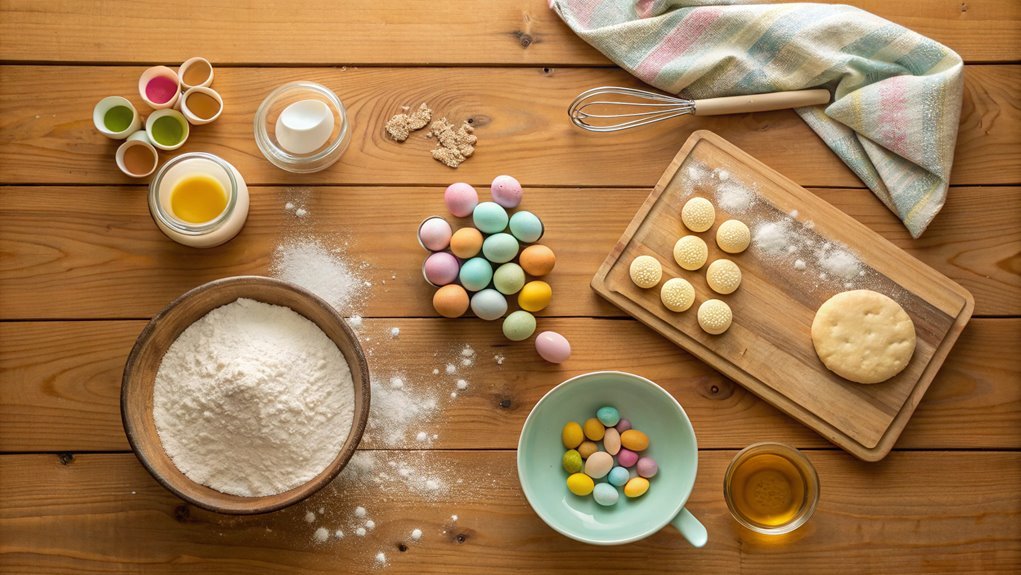
After you’ve pressed out all those delightful shapes, it’s time to pop them into the oven and watch the magic unfold. Preheat your oven to 350°F (175°C) so it’s nice and toasty.
Place your cookie shapes on a lined baking sheet, giving them a bit of space to breathe. This is important, as sugar cookies tend to spread a little while baking.
Slide the baking sheet into the oven, and set your timer for 10-12 minutes. You’ll want to keep a close eye. As the cookies bake, the sweet aroma will fill your kitchen, and you might catch a glimpse of golden edges starting to form.
Remember, every oven is different, so check them at the 10-minute mark. You’re looking for a slight golden hue, but the centers should still look soft.
Once they’re ready, take them out and let them cool on the baking sheet for a couple of minutes before transferring them to a wire rack. This lets them firm up while still keeping that perfect, melt-in-your-mouth softness.
Enjoy the thrill of baking these delightful cookies; you’ve made something special to celebrate!
Final Thoughts
As you wrap up your baking session with these delightful Easter egg sugar cookies, it’s important to remember that the joy is as much in the process as it’s in the final product. Each step is a chance to create special memories with loved ones, and those sweet moments are truly what make baking so rewarding.
Here are three reasons to celebrate your baking journey:
- Creativity Released: Decorating your cookies is the perfect opportunity to express your artistic side. Use vibrant colors and fun designs to let your imagination run wild!
- Sharing with Joy: These cookies are great for gatherings. You’ll bring smiles to friends and family when you share your freshly baked creations.
- Delicious Results: Nothing beats the aroma of warm cookies filling your kitchen. And even better, you get to savor the sweet taste of your hard work!
As you enjoy every bite, feel proud of what you’ve accomplished. These Easter egg sugar cookies aren’t just treats; they’re a reflection of the love and joy you put into baking them.
Frequently Asked Questions
Can I Use Gluten-Free Flour for This Recipe?
Yes, you can use gluten-free flour for this recipe. Just make sure to choose a blend that works well in baking. It’ll help maintain the cookies’ texture and flavor while accommodating your dietary needs. Enjoy!
What Types of Frosting Pair Well With These Cookies?
For a delightful contrast, consider using both tangy cream cheese frosting and smooth royal icing. They’ll add a creamy richness and a sweet finish to your cookies, making each bite an irresistible experience you can’t resist.
How Should I Store Leftover Easter Egg Cookies?
To store your leftover cookies, place them in an airtight container at room temperature. If you want them to stay fresh longer, you can refrigerate them but let them come to room temperature before enjoying.
Can I Freeze the Cookie Dough for Later Use?
Sure, you could always let that cookie dough sit around, but why not freeze it instead? Just wrap it tightly, label it, and store it in the freezer for tasty treats whenever you want!
What Variations Can I Make to the Cookie Shapes?
You can easily create unique shapes by using different cookie cutters or molding the dough by hand. Try hearts, stars, or even animals to personalize your cookies and make them fun for any occasion!
