Banana Cake With Cream Cheese Frosting
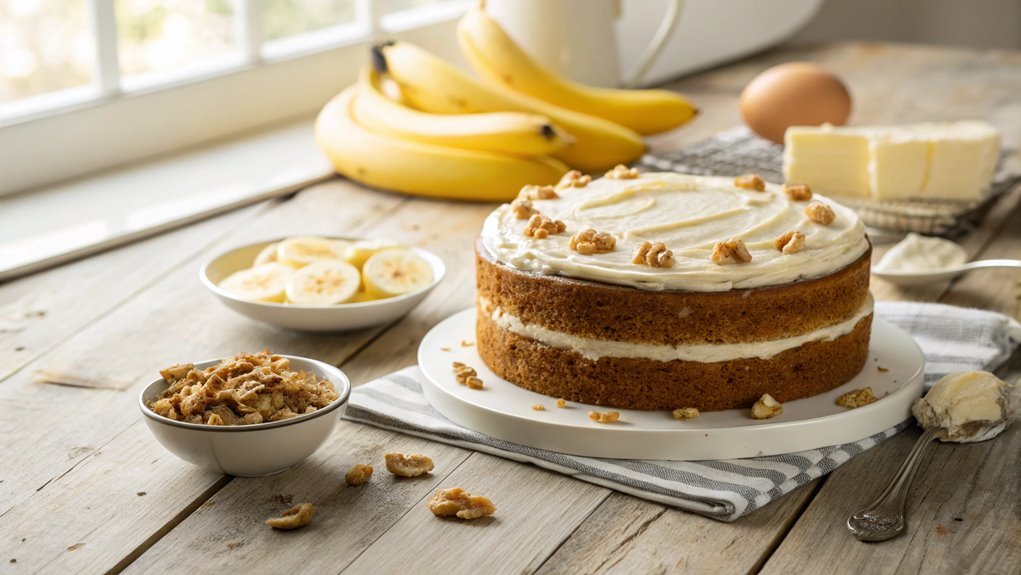
Imagining banana cake with cream cheese frosting often evokes thoughts of a comforting and indulgent dessert. The transformation of ripe bananas into a moist, flavorful base paired with rich, tangy frosting creates a unique balance.
Considering variations like adding nuts or chocolate chips can add an extra dimension. However, achieving perfect texture and flavor relies on essential techniques that can make a significant difference in baking.
Recipe
Banana cake is a delightful treat that’s perfect for any occasion, whether it’s a birthday celebration or an afternoon snack with tea. Its moist texture and rich banana flavor make it a favorite among many. This easy recipe allows you to use overripe bananas, giving them a new lease on life while creating a delicious dessert that everyone will love.
With simple ingredients and straightforward steps, you’ll have a homemade banana cake ready to enjoy in no time.
To start making your banana cake, you’ll need to gather your ingredients and preheat your oven. The combination of ripe bananas, sugar, and eggs creates a moist batter that bakes to perfection, offering a lovely aroma that will have your family excitedly awaiting dessert.
I recommend using ripe bananas for the best flavor, as they’re sweeter and blend seamlessly into the cake mixture. Celebrate the deliciousness of bananas by following this easy recipe!
Ingredients:
- 3 ripe bananas, mashed
- 1/2 cup unsalted butter, softened
- 1 cup granulated sugar
- 2 large eggs
- 1 teaspoon vanilla extract
- 1 1/2 cups all-purpose flour
- 1 teaspoon baking soda
- 1/2 teaspoon salt
- 1/2 cup sour cream or yogurt (optional for moisture)
- Chopped nuts (optional, for added texture)
Now let’s move on to the cooking steps.
Cooking Steps
You’re about to whip up a delicious banana cake, and the cooking steps will guide you through it step by step!
Start by preheating your oven to 350°F, then mash those ripe bananas until they’re smooth and creamy.
Next, you’ll mix your dry ingredients together, add the wet ingredients gradually, and don’t forget to fold in the walnuts for that extra crunch—let’s get baking!
Step 1. Preheat Oven to 350°F
Before diving into mixing your ingredients, verify you preheat the oven to 350°F. This step is essential because it guarantees your banana cake bakes evenly and rises perfectly, creating that delightful fluffy texture everyone loves. A hot oven is the foundation of a great cake, helping all those wonderful flavors come together beautifully.
Once you’ve set your oven to 350°F, let it warm up while you prepare your other ingredients. This brief wait will only make your baking experience more enjoyable, as the enticing aroma of baking banana cake will soon fill your kitchen! Patience is key here, so don’t rush it—give the oven time to reach the right temperature.
While you’re waiting, gather all your supplies to streamline the process. It’s like setting the stage for a wonderful performance!
Once everything’s ready and the oven’s at the perfect temperature, you can start mixing away, knowing you’re on the path to baking a scrumptious banana cake that’s sure to impress. Trust me; your hard work will lead to a tasty treat that has everyone coming back for seconds!
Enjoy the process, and let the baking magic begin!
Step 2. Mash Ripe Bananas Thoroughly
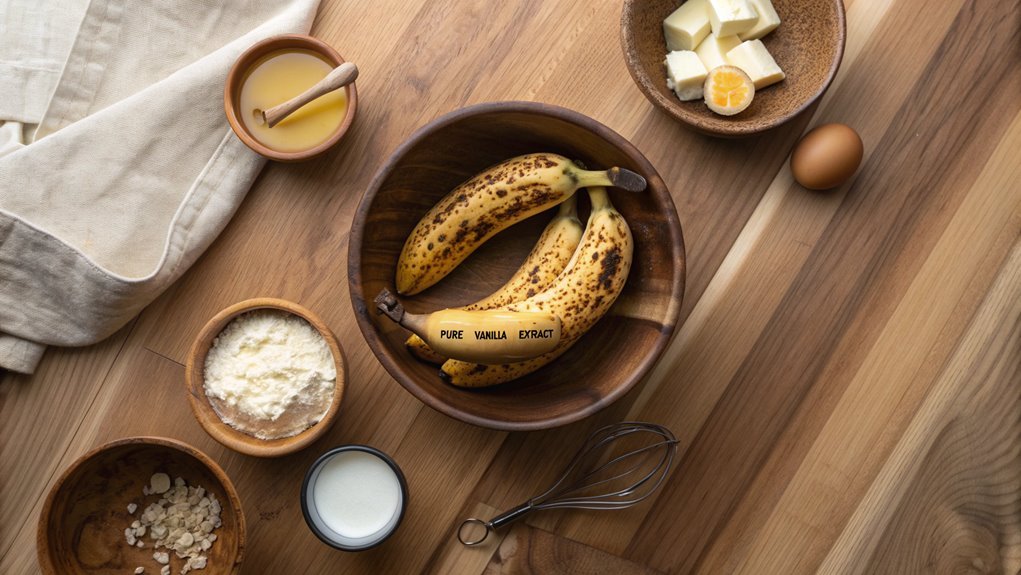
Grab a fork and get ready to mash those ripe bananas! This is where the magic begins, and you’ll want to enjoy every moment. Start by peeling your bananas; aim for three to four ripe ones. The riper, the better! Overripe bananas bring incredible sweetness and moisture to your cake, enhancing the flavor like nothing else.
Once you’ve peeled them, place them in a large mixing bowl. With your trusty fork, start mashing away! Don’t hold back; go for a smooth, creamy texture that’ll blend beautifully into your cake batter. If you prefer a few tiny lumps, that’s okay too; they’ll add character. Just make sure most of the banana is well-mashed.
As you mash, take in that wonderful aroma—it’s a sure sign of deliciousness on the way! This step usually takes just a few minutes; enjoy the rhythm as you work. Aim for about a cup and a half of mashed bananas.
You’ll know you’re done when the mixture looks inviting and uniform. Now you’re ready to move on to the next steps, confident in the perfect banana base for your delicious cake!
Step 3. Mix Dry Ingredients Together
Start by gathering your dry ingredients, as this step sets the foundation for a perfectly balanced banana cake. You’ll need all-purpose flour, baking powder, baking soda, and a pinch of salt. Measuring is key here, so grab your measuring cups and spoons for accuracy.
In a large mixing bowl, combine the flour, baking powder, baking soda, and salt. Whisk these ingredients together until they’re evenly mixed. This not only helps guarantee a uniform structure in your cake but also aerates the flour, making your cake light and fluffy.
Feel free to get your kids involved—they’ll love whisking away and making a bit of a mess!
Once it’s all well mixed, take a moment to appreciate how simple the process is. You’re on your way to creating a delightful treat that family and friends will adore.
If you’re feeling adventurous, consider adding a touch of cinnamon or nutmeg to the mix for a warm, inviting flavor that complements the bananas beautifully.
Now that you’ve got your dry ingredients mixed, you’re ready for the next exciting step in your baking journey!
Step 4. Add Wet Ingredients Gradually
Now that your dry ingredients are ready, it’s time to incorporate the wet ingredients gradually. Start by mashing those ripe bananas until they’re smooth and creamy. The aroma of fresh bananas fills the air, and you can already imagine how delicious your cake will be!
Once you’ve got the bananas looking great, add your eggs and melted butter to the bowl. These ingredients bring moisture and richness to the cake, making every bite a delight.
Next, stir in your vanilla extract, which adds that lovely touch of warmth and sweetness. Now comes the fun part—mixing it all together! Pour your wet mixture into the bowl of dry ingredients, but don’t just dump it all at once.
Add it gradually while gently stirring, which helps achieve a luxurious, tender crumb in your cake. You want to carefully combine everything; over-mixing can make the cake tough.
Once everything’s well incorporated and you see no dry flour remaining, you’re ready for the next step! The vibrant colors and enticing scents of your banana cake will have you excited for the final result. Enjoy this delicious journey!
Step 5. Fold in Walnuts Carefully
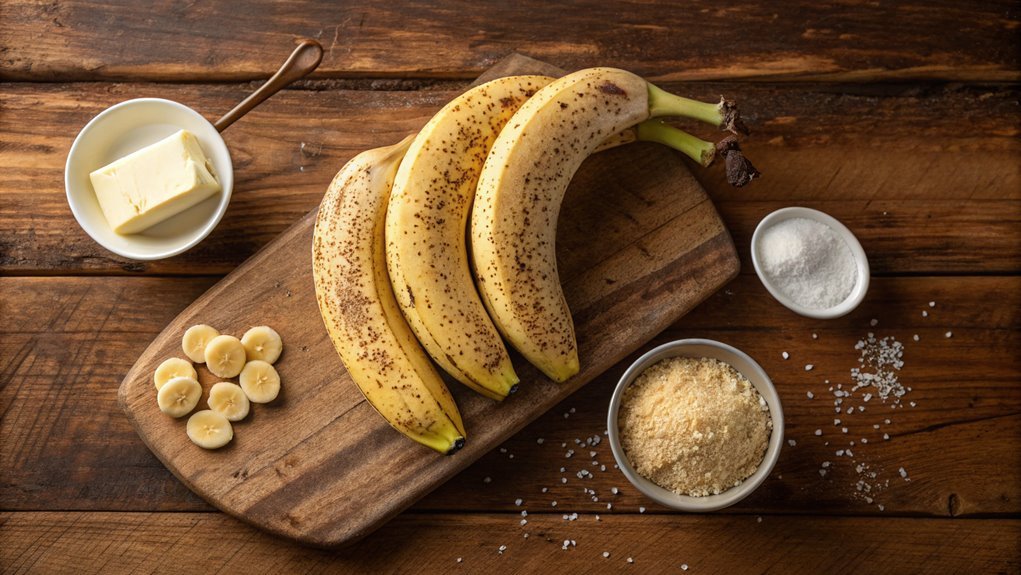
Gently fold in the chopped walnuts to your batter, allowing their nutty flavor to enhance the banana cake. This step is essential, as it adds a delightful crunch and a delicious contrast to the soft, moist cake.
Use a spatula to scoop beneath the batter and bring it back over the walnuts, ensuring they’re evenly distributed without breaking them down.
Opening the bag of walnuts, you’ll catch that rich aroma that instantly adds warmth to your baking journey. As you incorporate the nuts, be light-handed—remember, the goal is to keep that fluffy texture.
You want to preserve the integrity of the walnuts while blending them seamlessly into the batter.
Once you’ve folded in the walnuts, take a moment to admire your creation. The batter should be fragrant and inviting, filled with pockets of chopped nuts just waiting to shine as they bake.
Now, it’s time to pour the batter into your prepared pan and get excited for the next step. Your banana cake, generously studded with walnuts, will be a delightful treat that’s perfect for any occasion.
Happy baking!
Final Thoughts
As you take a moment to reflect on your delicious banana cake, it’s clear that this recipe not only satisfies your sweet tooth but also offers a wonderful way to use overripe bananas.
Sharing this cake with friends or family can create lasting memories, as everyone enjoys the soft, moist texture and the rich flavor that only ripe bananas can provide. The addition of cream cheese frosting transforms it into a delightful treat that balances sweetness with a tangy twist.
Don’t hesitate to personalize the recipe, either! You can experiment with different add-ins like chocolate chips or spices like cinnamon to suit your taste.
Each variation brings a unique flair, making the experience even more enjoyable.
Frequently Asked Questions
Can I Use Ripe Bananas for Banana Cake?
Yes, you can use ripe bananas for banana cake! They’re sweeter and softer, enhancing the cake’s flavor and texture. Just mash them well, and your cake will turn out deliciously moist and flavorful. Enjoy baking!
How Should I Store Leftover Banana Cake?
To store leftover banana cake, wrap it tightly in plastic wrap or place it in an airtight container. Keep it in the fridge for up to a week, or freeze it for longer preservation.
Can I Freeze Banana Cake With Frosting?
You wonder if you can freeze it. Yes, you can! Just slice it, wrap each piece tightly in plastic wrap, then seal in an airtight container. This’ll keep it fresh when you’re ready to enjoy!
What Can I Substitute for Cream Cheese?
You can substitute cream cheese with Greek yogurt for a tangy flavor, silken tofu for a dairy-free option, or ricotta cheese for a similar texture. Just adjust sweetness based on what you choose!
How Long Does Banana Cake Last in the Fridge?
After slicing into that fluffy masterpiece, you’ll find banana cake lasts about 3 to 5 days in the fridge. Keep it covered; you want it fresh, just like the first delightful bite!
