Cherry Turnover Recipe
Cherry turnovers are a classic dessert known for their flaky pastry and sweet, tangy filling. Achieving the perfect golden crust and flavor requires attention to detail, especially in sealing the edges.
Recipe
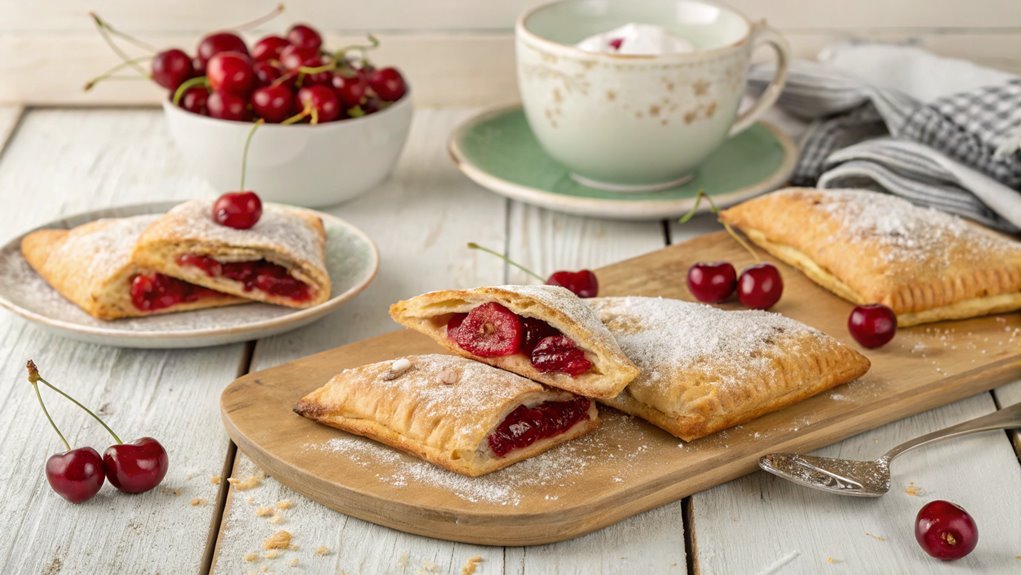
Cherry turnovers are a delightful pastry treat that can brighten up any day. Flaky and buttery, the pastry is filled with sweet and tangy cherry filling, making it an irresistible dessert or snack.
Whether you’re preparing them for a special occasion, a family gathering, or simply to satisfy your sweet tooth, this cherry turnover recipe is sure to impress. The combination of fresh ingredients and simple steps will have you baking like a pro in no time.
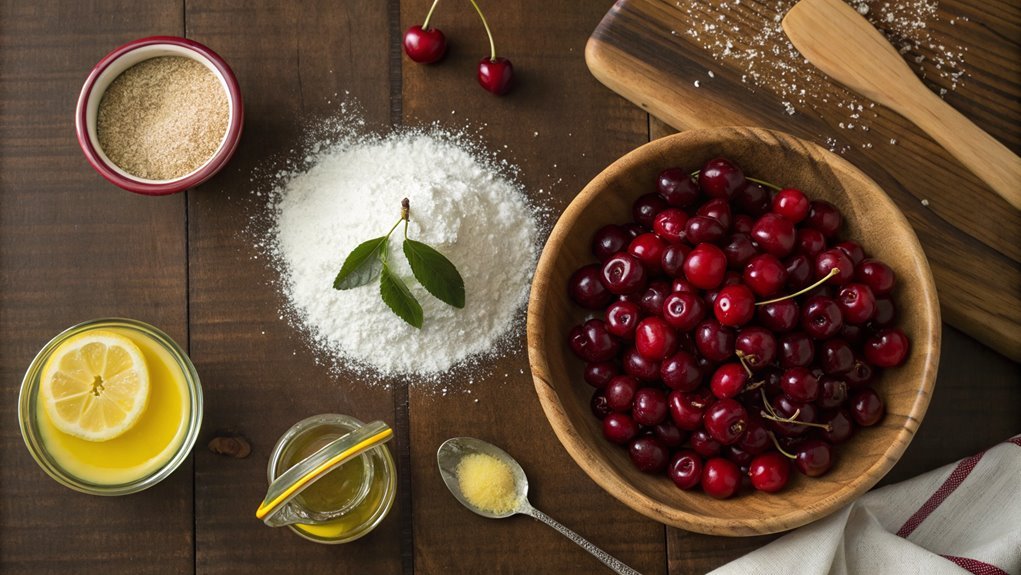
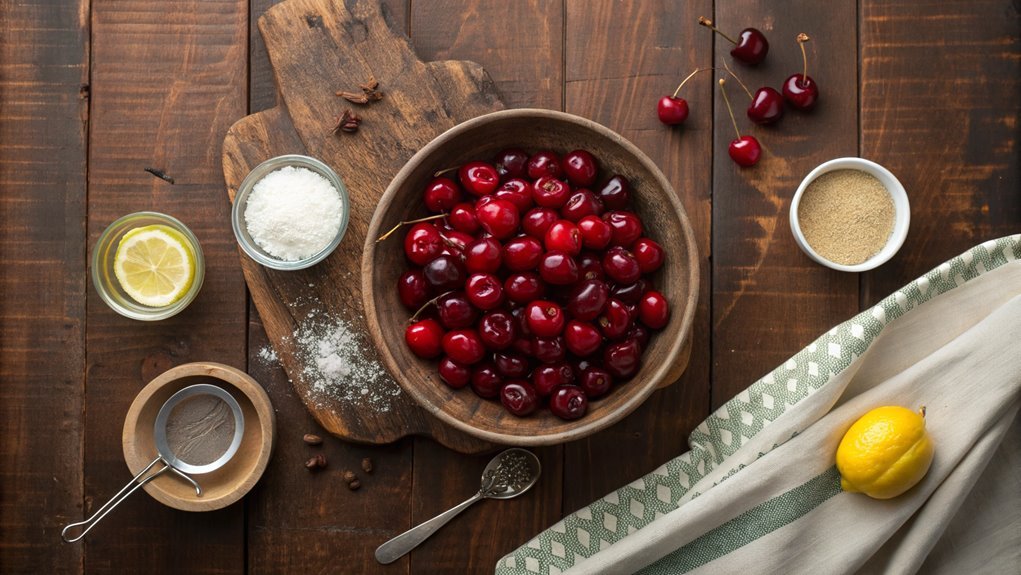
To start, you’ll need to gather some essential ingredients, which won’t only provide an amazing flavor but also create that perfect, crispy texture for your turnovers. Using fresh or frozen cherries works well, and with the addition of sugar, lemon juice, and a touch of cornstarch for thickening, you’ll create a luscious filling that complements the pastry extrinsically.
Pair that with a light golden crust, and you’ve got a pastry that’s both easy to make and utterly delicious.
Ingredients:
- 1 package of puff pastry (2 sheets, thawed)
- 2 cups fresh or frozen cherries, pitted and halved
- 1/2 cup granulated sugar
- 1 tablespoon lemon juice
- 1 tablespoon cornstarch
- 1 teaspoon vanilla extract
- 1 egg, beaten (for egg wash)
- Powdered sugar (for dusting, optional)
Now let’s move on to the cooking steps.
Cooking Steps
Getting started on your cherry turnovers is half the fun! First, you’ll want to preheat your oven to 400°F to make sure it’s hot and ready for baking.
Once you’re set, it’s time to roll out the pastry dough and fill it with that delicious cherry mixture, sealing the edges with a fork to trap all that goodness inside.
Step 1. Preheat Oven to 400°F
Before you start assembling your cherry turnovers, preheating your oven to 400°F is vital. This step guarantees that your pastries bake evenly and turn out golden and flaky. You want that perfect texture, and starting with a properly heated oven is essential.
Here’s how to get your oven ready:
- Locate the oven dial or digital display. Make sure you know where it is, so you’re not fumbling around later.
- Set the temperature to 400°F. It’s a standard setting that works wonders for turnovers.
- Wait for the oven to heat up. This usually takes about 10-15 minutes. You can prepare your pastry dough in the meantime, making the most of your time.
- Use an oven thermometer, if you have one. It helps verify that your oven reaches the right temperature, guaranteeing your cherry turnovers bake perfectly.
With the oven preheating, the aroma of sweet cherries and crispy pastry will soon fill your kitchen. You’re just a few steps away from enjoying these delightful treats!
Step 2. Roll Out Pastry Dough
Now it’s time to roll out that pastry dough! First, make certain your work surface is clean and lightly floured. This step will prevent the dough from sticking and make your life a lot easier.
Take your chilled dough and place it on the floured surface. If you’ve been waiting all day, you’ll love how easy this part is!
Using a rolling pin, gently start to roll the dough out from the center toward the edges. Apply even pressure so you get a nice, uniform thickness of about 1/8 inch. Don’t worry if it isn’t perfect; homemade always has a beautiful charm.
If the edges crack a bit, that’s just fine! You can trim them later or simply fold them in.
Keep sprinkling flour as needed to avoid sticking, flipping the dough occasionally to make certain it rolls out smoothly.
Once you’ve got it to the desired size, make sure it’s big enough to cut out squares or circles for your cherry turnovers. This is an exhilarating step because it means you’re getting closer to that delicious flavor!
Excited? You should be! Enjoy the process, and get ready for the next scrumptious step.
Step 3. Fill With Cherry Mixture
Once you’ve rolled out the pastry dough, it’s time to fill it with your cherry mixture, which will bring a burst of flavor to your turnovers. This step is essential, as the juicy cherries will create a delicious filling that makes each bite worthwhile. Let’s get started!
- Scoop the mixture: Using a spoon or a small ice cream scoop, take a generous amount of the cherry mixture and place it in the center of each pastry square. Don’t overfill, or it might leak during baking.
- Spread evenly: Spread the mixture gently, ensuring it doesn’t touch the edges of the pastry. Leave some space for sealing later.
- Check the consistency: Make sure your cherry filling isn’t too runny. If it is, it can make handling the turnovers tricky. A thick filling will hold up nicely during baking.
- Add some zest: For an extra zing, sprinkle a little lemon juice or zest on top of the cherry filling. It’ll enhance the flavors and add a revitalizing twist.
Now that you’ve filled your pastry beautifully, you’re one step closer to enjoying those scrumptious cherry turnovers!
Step 4. Seal Edges With Fork
With the cherry mixture securely in place, it’s time to seal the edges of your turnovers. This vital step guarantees your delicious filling stays perfectly tucked inside during baking.
Grab a fork and gently press it down along the edges of each turnover. Start at one corner and work your way around, applying just the right amount of pressure to create lovely indentations. This not only seals the pastry but also adds a charming decorative touch.
Make certain your edges are pressed together well; you don’t want any cherry filling sneaking out during baking! If you notice any gaps, you can always go back and press them with your fork.
Once you’ve sealed all your turnovers, take a moment to admire your handiwork. Doesn’t it feel great to see your creation come together?
You might want to reflect on brushing the top of each turnover with an egg wash to give them a beautiful golden color and an irresistible shine.
You’re almost there! Sealing your turnovers with a fork isn’t just practical but also fun, and it sets the stage for the sweet delight that’s about to come. Enjoy this satisfying step in your cooking adventure!
Step 5. Bake for 20-25 Minutes
It’s time to bake your cherry turnovers for 20-25 minutes, allowing the pastry to puff up and turn golden brown. The aroma of baking cherries and flaky pastry will fill your kitchen, making this step incredibly rewarding!
Follow these simple guidelines to guarantee your turnover adventure is a delightful success:
- Preheat Your Oven: Before you start baking, make sure your oven’s preheated to 375°F (190°C). This helps the turnovers cook evenly.
- Place on Baking Sheet: Carefully transfer your turnovers onto a lined baking sheet, taking care to leave space between each one. This allows them to expand without sticking together!
- Brush with Egg Wash: For that beautiful golden finish, brush the tops with a beaten egg or milk. It not only adds shine but also enhances the flavor.
- Keep an Eye on Them: Bake until they’re puffed and golden, usually around 20-25 minutes. If they’re not quite there at 20 minutes, don’t hesitate to leave them in a little longer.
Once they’re done, let them cool slightly before devouring these delightful pastries. Enjoy every mouthful of your homemade cherry turnovers!
Final Thoughts
As you wrap up your cherry turnover baking adventure, take a moment to appreciate the delightful blend of flavors and textures you’ve created.
There’s something truly magical about biting into a crispy, golden pastry filled with luscious, tart cherries. You’ve turned simple ingredients into a dessert that not only looks impressive but also tastes incredible.
Now that you’ve mastered this recipe, don’t hesitate to experiment with variations!
Swap out cherries for your favorite fruits, like blueberries or peaches, and see how those flavors shine through. You can also play around with spices, adding a pinch of cinnamon or nutmeg to enhance the filling.
Sharing your homemade turnovers with family and friends will surely bring satisfaction and smiles.
Imagine their joy as they enjoy a warm, flaky delight fresh from the oven. And, if you’re feeling adventurous, serve them with a scoop of vanilla ice cream for a perfect dessert experience.
Frequently Asked Questions
Can I Use Frozen Cherries for the Filling?
Yes, you can absolutely use frozen cherries! They’re convenient, and they’d work perfectly for your filling. Just thaw and drain them well, and you’ll get deliciously sweet results that everyone will love. Enjoy!
How Long Do Cherry Turnovers Last After Baking?
After baking, cherry turnovers last about two to three days at room temperature in an airtight container. If you refrigerate them, they might last up to a week. Just reheat before serving for the best taste!
Can I Make the Dough Ahead of Time?
Many bakers prep dough in advance to save time. You can definitely make the dough ahead of time! Just refrigerate it for a day or freeze it for up to three months before using.
What Are Some Variations for the Filling?
You can mix it up with various fillings! Try apples and cinnamon, cream cheese and berry blend, or even a savory option like spinach and feta. Get creative with your favorites and enjoy unique flavors!
Can I Freeze Baked Cherry Turnovers?
Absolutely, you can preserve those delightful pastries for later enjoyment! Just let them cool completely, wrap them tightly in plastic, and pop them in the freezer. Enjoy your treat whenever the craving strikes!