No-Bake Chocolate Mousse Cups Recipe
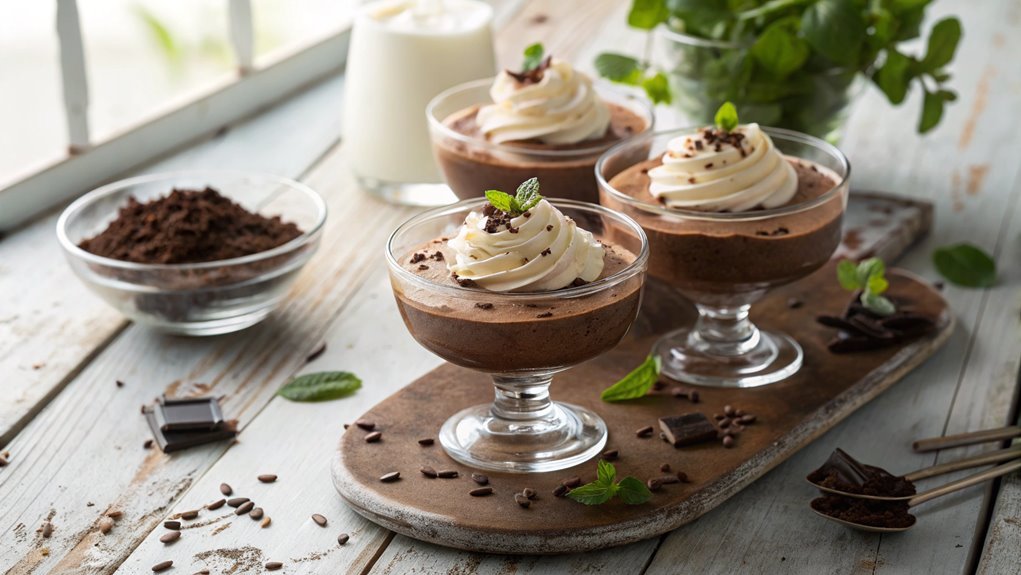
The secret to an indulgent chocolate mousse lies in balancing air and chocolate for a rich yet light texture. With a few simple ingredients, you can craft an elegant, no-bake dessert without using the oven.
Key techniques can elevate your mousse from ordinary to extraordinary, achieving perfect consistency and flavor. Follow these steps to make no-bake chocolate mousse cups that will impress anyone at your table.
Recipe
No-Bake Chocolate Mousse Cups are the perfect dessert for anyone who loves rich, creamy chocolate without the hassle of baking. This indulgent treat isn’t only simple to prepare but also requires minimal effort, making it ideal for both novice cooks and experienced bakers alike.
With a luscious texture and a deep chocolate flavor, these mousse cups are sure to impress your family and friends, whether for a special occasion or just a sweet craving.
The key to achieving the perfect chocolate mousse lies in the quality of chocolate you use, as well as the technique for folding the whipped cream into the chocolate mixture. By gently incorporating the whipped cream, you create an airy and light mousse that melts in your mouth.
Once prepared, the mousse can be chilled in individual cups or glasses, allowing it to set into a delightful dessert that’s both elegant and satisfying.
Ingredients:
- 1 cup heavy cream
- 8 ounces semi-sweet chocolate, chopped
- 2 tablespoons sugar
- 1 teaspoon vanilla extract
- 3 large egg whites
- 1/4 teaspoon salt
- Chocolate shavings or whipped cream for garnish (optional)
Now let’s move on to the cooking steps.
Cooking Steps
Get ready to whip up something truly delightful with these cooking steps!
First, you’ll melt the chocolate in the microwave, creating a rich base for your mousse.
Then, you’ll whip the heavy cream until it’s nice and stiff before folding in that luscious chocolate, and soon you’ll have a treat that’s perfect for chilling in cups and topping with chocolate shavings.
Step 1. Melt Chocolate in Microwave
To melt chocolate in the microwave effectively, start by breaking it into small, even pieces. This helps the chocolate melt evenly without burning.
Grab a microwave-safe bowl and add your chocolate pieces. Remember, you can use any type of chocolate you love—dark, milk, or white!
Now, pop the bowl in the microwave and set it to medium power. Heat the chocolate in 30-second intervals, stirring after each interval. This is essential because stirring helps distribute the heat, preventing any pieces from seizing up.
Keep an eye on it; chocolate can go from perfectly melted to burnt in seconds!
After about 1 to 2 minutes, you should see the chocolate starting to melt. When it’s almost fully melted but still has a few lumps, take it out and stir until smooth. The residual heat will finish the melting process.
Once your chocolate is silky and glossy, it’s ready to be used in your no-bake chocolate mousse cups.
You’ll love how simple this step is, and you’ll feel like a pro in the kitchen! Enjoy the rich aroma and get excited for the delicious treat that’s coming next!
Step 2. Whip Heavy Cream Until Stiff
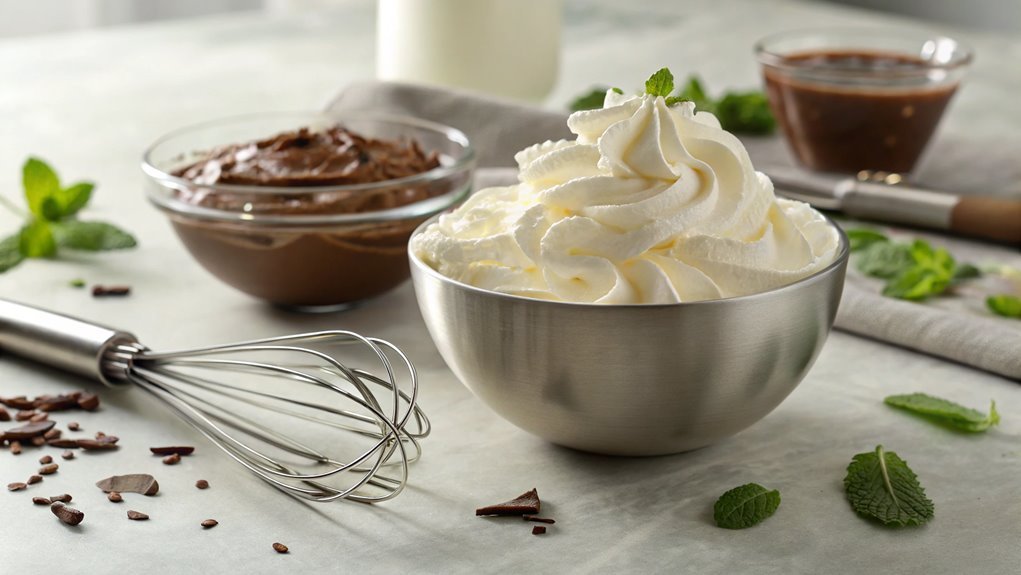
While it may seem simple, whipping heavy cream to stiff peaks is crucial for achieving the perfect texture in your chocolate mousse cups.
Start by pouring cold heavy cream into a mixing bowl. Using a hand mixer or stand mixer, beat the cream on medium speed. It’s important to keep an eye on it, as you want to avoid overwhipping, which can turn it into butter!
As you whip, you’ll notice the cream gradually thickening. This is the exciting part! After a few minutes, you’ll see soft peaks forming, meaning the cream holds its shape but still droops a bit when you lift the beaters.
Keep going! You need to whip until those peaks stand tall and firm. When you lift the whisk, the cream should hold its shape without collapsing.
This step creates the light, airy texture that’s essential for your mousse. Once you’ve reached stiff peaks, you’re ready to combine this whipped cream with your melted chocolate.
Trust me, the fluffy cream adds a delightful contrast to the rich chocolate, making every bite heavenly. So, roll up your sleeves and get whipping—it’s time to create something truly delicious!
Step 3. Fold Chocolate Into Cream
Now that your whipped cream has reached stiff peaks, it’s time to combine it with the melted chocolate. This step is essential for achieving that rich, velvety texture in your mousse.
Start by taking a large spoonful of whipped cream and gently folding it into the melted chocolate. Use a spatula and work in a circular motion, lifting the chocolate up from the bottom and folding it over the cream. This technique helps to maintain the airy quality of the whipped cream while mixing in the chocolate.
Continue to add more whipped cream in small batches, folding it in until you’ve incorporated all of it. Be careful not to overmix; you want to keep that light and fluffy texture. The mixture should look smooth and glossy, with no streaks of cream or chocolate remaining.
Once everything’s well combined, you can feel the excitement building! This delightful mixture is the heart of your mousse cups.
You’re just a step away from indulging in a delicious treat that’s sure to impress. So, take your time with this step, and enjoy the process!
Step 4. Chill Mousse in Cups
After folding the chocolate into the whipped cream, it’s important to spoon the luscious mixture into your serving cups. Grab your favorite dessert cups, whether they’re elegant glassware or fun mason jars, and fill each one with that velvety mousse.
Don’t be shy; you want each cup to overflow just a bit, giving a tempting peek at the indulgent treat inside.
Once you’ve filled all the cups, it’s important to give them some time to chill. Pop them into the refrigerator for at least two to four hours. This chilling time allows the mousse to set, creating that rich, creamy texture that melts in your mouth.
While you’re waiting, you can think about how amazing these will taste after dinner, or even as a delightful afternoon snack!
As the mousse chills, resist the urge to sneak a taste. Instead, use this time to prepare a beautiful presentation for your guests. The anticipation will only make the first bite even more satisfying.
Trust me; your patience will pay off when you finally serve these heavenly cups of chocolate mousse! Enjoy the journey and get ready for the delicious reward!
Step 5. Top With Chocolate Shavings
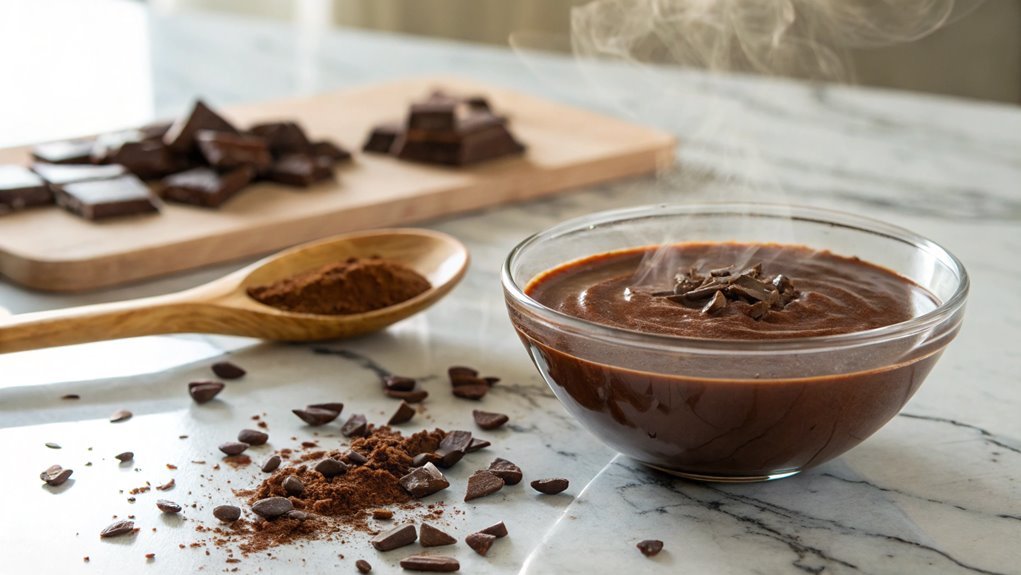
Once your mousse has chilled to perfection, it’s time to elevate its presentation with some chocolate shavings. This simple step adds a touch of elegance that’ll impress anyone who lays eyes on your delicious creation. Grab a bar of high-quality chocolate—dark or milk, depending on your preference—and get ready to make magic happen!
Using a vegetable peeler, gently glide it over the surface of the chocolate bar. Watch as beautiful, delicate curls fall onto your mousse cups. You can also use a grater if you prefer finer shavings. Just be careful to keep your fingers safe!
Once you’ve topped each cup with shavings, you’ll notice how they enhance the mousse‘s rich, creamy texture. Don’t be shy—add as much or as little as you like. If you’re feeling adventurous, consider sprinkling a dash of sea salt or adding a few fresh berries for a pop of color and flavor.
Now step back and admire your handiwork! These mousse cups are now not only a treat for the taste buds but also a feast for the eyes. Enjoy every bite of your hard work, and share them with friends and family!
Final Thoughts
As you savor these no-bake chocolate mousse cups, you’ll appreciate how simple ingredients can create an indulgent treat. This recipe is perfect for anyone who craves a rich, velvety dessert without spending hours in the kitchen.
You’ll find that whipping up these delightful cups isn’t only quick but also incredibly satisfying. The combination of chocolate, cream, and a hint of vanilla results in a dessert that feels luxurious yet remains easy to prepare.
Don’t hesitate to get creative with your toppings! Whether you choose fresh berries, whipped cream, or chocolate shavings, each addition enhances the experience, bringing a personal touch to your mousse.
Imagine serving these beautiful cups at your next gathering—your friends and family will be impressed by both the taste and the presentation.
Above all, enjoy the process of making these mousse cups. Cooking should be a joy, a way to express your creativity and love for good food.
Frequently Asked Questions
Can I Substitute Dark Chocolate With Milk Chocolate?
Yes, you can substitute dark chocolate with milk chocolate, but keep in mind that milk chocolate is sweeter and creamier. Adjust the sugar accordingly if you want to maintain the desired flavor balance in your dish.
How Long Can I Store the Mousse Cups?
You can store mousse cups in the fridge for up to three days, ensuring they stay fresh and delicious. Just remember to cover them tightly, keeping the flavors intact and preventing any absorption of odors.
Is This Recipe Gluten-Free?
Yes, this recipe’s gluten-free! You just need to guarantee that any ingredients you choose, like chocolate or whipped cream, don’t contain gluten. Always check labels to keep your dessert safe and delicious. Enjoy!
Can I Use Dairy-Free Alternatives?
You can definitely swap out traditional ingredients for dairy-free alternatives. Embracing these options opens up a world of creamy indulgence, ensuring everyone gets to enjoy a delightful treat without any compromise on taste or texture.
What Toppings Pair Well With Chocolate Mousse?
When you’re topping chocolate mousse, consider fresh berries for a tart contrast, whipped cream for added richness, or crushed nuts for a crunchy texture. A sprinkle of sea salt can enhance the chocolate flavor, too!
Conclusion
Indulge in rich, creamy no-bake chocolate mousse cups with just a few simple steps. Surprise your friends and family with this elegant and easy dessert.
Treat yourself to this delightful indulgence and chill before serving. For a perfect finish, top with fresh berries or chocolate shavings.
Creating something so delicious is truly satisfying. Get ready to impress everyone with your culinary skills!
