No-Bake Peanut Butter Pie Recipe
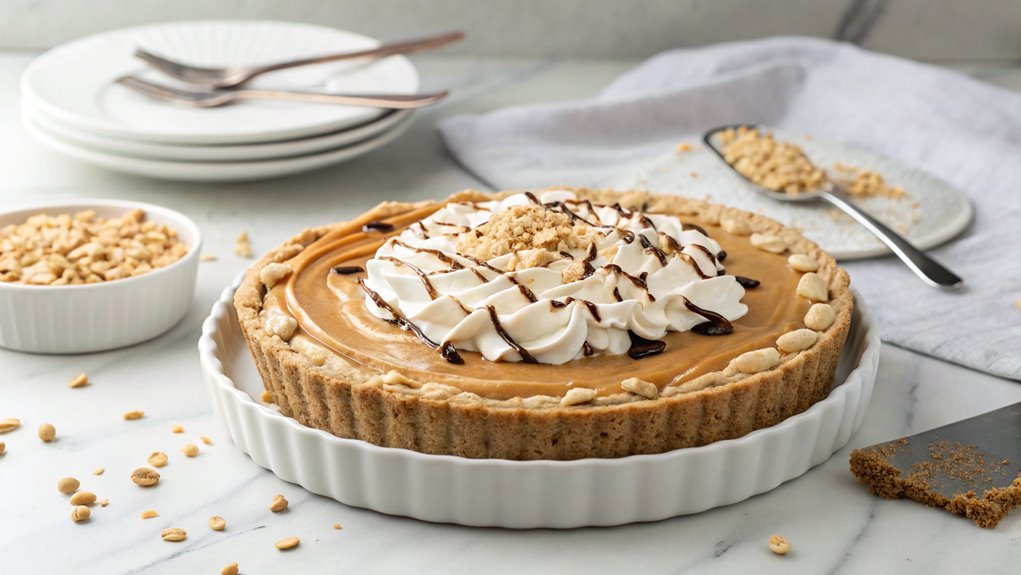
For a simple yet satisfying dessert, try this No-Bake Peanut Butter Pie. With just a few key ingredients, you can create a creamy filling on a crunchy graham cracker crust. Impress your guests with this delightful treat, as the flavors are enhanced during the chilling process. Don’t miss the surprising twist to the topping!
Recipe
If you’re craving a rich and creamy dessert that’s easy to prepare, this No-Bake Peanut Butter Pie is the perfect solution. With a delightful combination of smooth peanut butter, cream cheese, and whipped topping, this pie delivers a rich flavor profile that satisfies even the most intense sweet tooth.
Best of all, there’s no oven required, making it an ideal treat during those hot summer months or any time you prefer a quick yet delicious dessert.
The preparation of this pie is straightforward and requires no special baking skills. You’ll start by mixing your base ingredients to create a luscious filling that pairs beautifully with a crunchy graham cracker crust.
After a short chilling period in the fridge, this pie is ready to serve—making it a great option for parties, potlucks, or a simple family dessert night. It’s sure to impress everyone with its delectable taste and appealing presentation.
Ingredients:
- 1 ½ cups graham cracker crumbs
- ½ cup unsalted butter, melted
- 1 cup creamy peanut butter
- 8 oz cream cheese, softened
- 1 cup powdered sugar
- 1 tsp vanilla extract
- 2 cups whipped topping (thawed)
- Chocolate syrup (for drizzling, optional)
- Chopped peanuts (for garnish, optional)
Now let’s move on to the cooking steps.
Cooking Steps
Now that you’ve gathered your ingredients, it’s time to get cooking!
Start by mixing the crust components together until they’re perfectly combined, then beat the cream cheese until smooth and creamy.
Pour that delicious peanut butter mixture into the crust, chill it for two hours, and don’t forget to top it off with whipped cream—it’s going to be amazing!
Step 1. Mix Crust Ingredients Together
To create a delicious crust for your no-bake peanut butter pie, start by mixing together 1 ½ cups of crushed graham crackers, ½ cup of melted butter, and ¼ cup of sugar. Grab a large bowl, and make sure your ingredients are ready to go. The combination of graham crackers and sugar gives the crust a sweet, crunchy texture that pairs perfectly with the creamy filling.
Use a spatula or spoon to blend the ingredients until all the graham cracker crumbs are coated in butter and sugar. You want everything to come together nicely, forming a moist mixture that holds its shape. It should feel slightly sticky but still crumbly.
Once your mixture is ready, it’s time to transfer it into your pie dish. Press the crust firmly and evenly across the bottom and up the sides. Don’t rush this step; a well-packed crust will hold up beautifully when you slice into the pie later.
Now that you’ve crafted the base of your dessert, you can feel excited knowing that the deliciousness is just beginning. Enjoy the process and get ready for the sweet reward that’s about to come!
Step 2. Beat Cream Cheese Smoothly
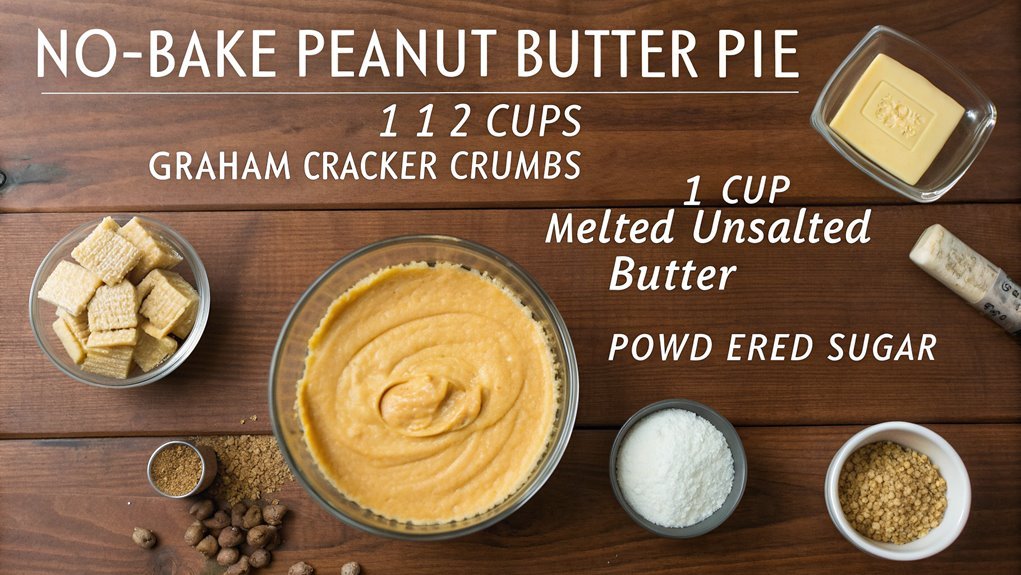
Start by beating the cream cheese until it’s smooth and creamy. You want to achieve that perfect texture, so grab your electric mixer or a sturdy whisk, and get ready to whip it into shape!
It’s crucial to use room temperature cream cheese, as this makes the process much easier and prevents lumps from forming.
Place the cream cheese in a large mixing bowl, and start on low speed to avoid splatters. Once it starts to soften, gradually increase the speed to medium.
Keep mixing until it looks velvety and has no bumps—this usually takes about 2 to 3 minutes. Don’t rush this step, as smooth cream cheese is key to a delightful pie filling!
As you beat, take a moment to admire how the texture changes. It’s satisfying to see it transform into a luscious base for your pie.
If you notice any stubborn lumps remaining, don’t hesitate to scrape down the sides of the bowl. Every bit needs to be perfectly incorporated.
Once you’ve got it just right, you’re one step closer to enjoying that delicious no-bake peanut butter pie! Keep that enthusiasm going!
Step 3. Pour Peanut Butter Mixture
Gently pour the peanut butter mixture over the smooth cream cheese you’ve just whipped. As you do this, watch how the creamy concoction melds beautifully with the cheese, creating a luscious blend that’s hard to resist.
Using a spatula, spread the mixture evenly across the top, making sure to reach every edge of the crust. You want the filling to be perfectly level and inviting.
Once you’ve spread the mixture out, take a moment to admire your work. The rich, golden hue of the peanut butter combined with the creamy white of the cheese sets the stage for a dessert that’s sure to impress.
Feel free to add a few extra dollops of peanut butter on top for an extra touch or even swirl in some chocolate sauce for a delightful surprise.
Don’t rush! This pie sets the foundation for a dessert that’s not only delicious but also visually appealing. As you lay it all out, you might already be dreaming of that first bite.
Cooking is all about enjoyment, so savor the moment. Your no-bake peanut butter pie is well on its way to becoming a household favorite!
Step 4. Chill for Two Hours
While your peanut butter mixture looks tempting, it’s vital to let your pie chill in the refrigerator for at least two hours. This step is imperative for achieving that perfect, creamy texture that makes every bite unforgettable.
By letting the pie chill, the flavors meld together beautifully, creating a mouthwatering experience that’ll have everyone coming back for seconds.
As you place the pie in the refrigerator, think about how satisfying it will be to share this treat with friends or family. The time spent chilling allows the filling to set properly, giving you that wonderful slice when you’re ready to serve.
Remember, patience is key!
During this two-hour wait, you can tidy up your kitchen or plan your dessert presentation. It’s a great opportunity to set the stage for how you’ll impress your guests.
You might even want to tackle some fun toppings in advance to add a little flair later on!
Step 5. Top With Whipped Cream
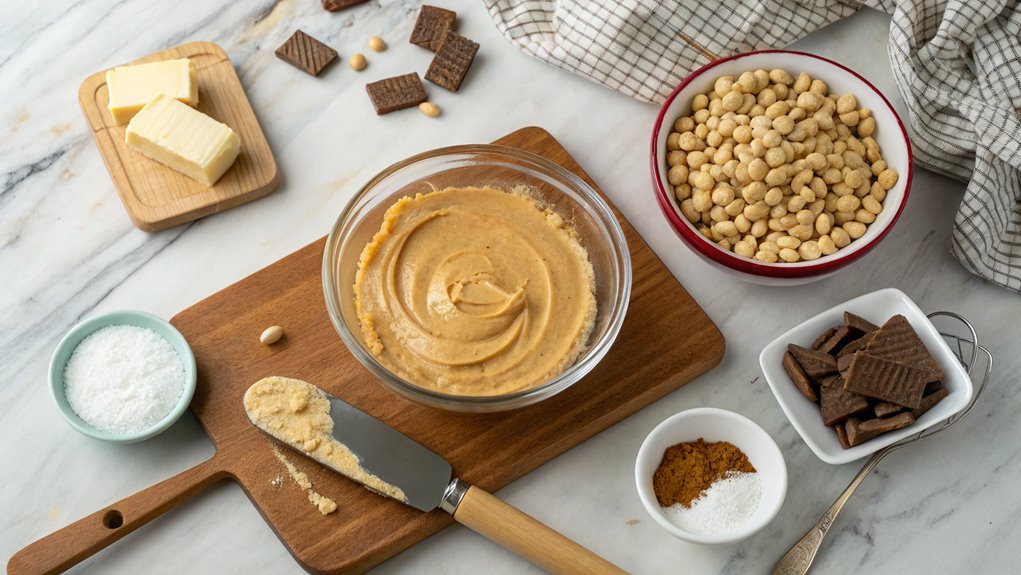
Once your pie has had ample time to chill and set, it’s time to elevate it with a generous layer of whipped cream. This delightful topping adds a light, airy texture that beautifully complements the creamy peanut butter filling. You can either make your own whipped cream or use store-bought—both options work perfectly.
If you’re opting for homemade whipped cream, simply whisk together heavy cream, sugar, and a splash of vanilla extract until soft peaks form. Be careful not to overwhip, as you want that silky consistency.
Once your whipped cream is ready, use a spatula to gently spread a thick layer over the chilled peanut butter pie. Make sure to go all the way to the edges; trust me, it makes for a stunning presentation!
To add a touch of flair, consider sprinkling crushed peanuts or chocolate shavings on top. This not only enhances the flavor but also makes your pie look tempting and inviting.
When you serve this dessert, prepare for compliments galore! The whipped cream takes your no-bake peanut butter pie to the next level, making it the star of any gathering. Enjoy every tasty bite!
Final Thoughts
As you savor the last slice of your no-bake peanut butter pie, it’s clear that this simple yet decadent dessert is a winner. With its creamy texture and rich flavor, it’s perfect for any occasion and sure to impress family and friends.
Preparing this pie isn’t just about baking; it’s about creating sweet memories around the kitchen table.
Here are a few tips to enhance your pie experience:
- Pair with a delightful beverage: Try it with coffee, milk, or even a sweet dessert wine.
- Experiment with toppings: Add chocolate shavings, crushed peanuts, or fresh fruit for extra flair.
- Make it ahead of time: Preparing it the night before allows the flavors to meld beautifully.
- Serve it chilled: A cold slice is incredibly invigorating and helps the pie hold its shape.
- Get creative: Don’t hesitate to mix in your favorite flavors – try adding a swirl of caramel or a hint of vanilla.
Dive into this no-bake peanut butter pie adventure.
You’ll find it’s not just a recipe; it’s an expression of your love for dessert that everyone will cherish! Enjoy every bite!
Frequently Asked Questions
Can I Use Natural Peanut Butter Instead of Regular Peanut Butter?
Imagine a painter choosing between vibrant oil and rustic watercolor. You can use natural peanut butter instead of regular; it might alter the texture and flavor slightly, but it’ll still create something delicious and uniquely yours.
How Long Can I Refrigerate the Pie Before Serving?
You can refrigerate the pie for up to 24 hours before serving. This allows the flavors to meld nicely and guarantees a firm texture, making it perfect when you’re ready to enjoy a delicious dessert.
Can I Make This Pie Gluten-Free?
Yes, you can definitely make this pie gluten-free! Just use gluten-free cookies for the crust or substitute with almond flour. Enjoy a delicious dessert without worrying about gluten; it’s just as tasty!
What Toppings Pair Well With Peanut Butter Pie?
Imagine a canvas, ripe for creativity. You can top your peanut butter pie with whipped cream, chocolate drizzle, crushed nuts, or even caramel. Each topping adds a twist, inviting delicious surprises that elevate your dessert experience.
Can I Freeze Leftovers of This Pie?
Yes, you can freeze leftovers of the pie! Just slice it, wrap each piece tightly in plastic wrap, then store them in an airtight container. When you’re ready to enjoy, thaw in the fridge.
