Funfetti Cake Pops Recipe
For a whimsical touch at your next celebration, try Funfetti Cake Pops. Start with a cake mix, combine it with funfetti frosting, shape into balls, chill, and dip in chocolate for a delightful treat.
To make them stand out, explore tips and tricks that elevate these cake pops beyond the ordinary. With a few creative enhancements, your treats will be the highlight of the gathering.
Recipe
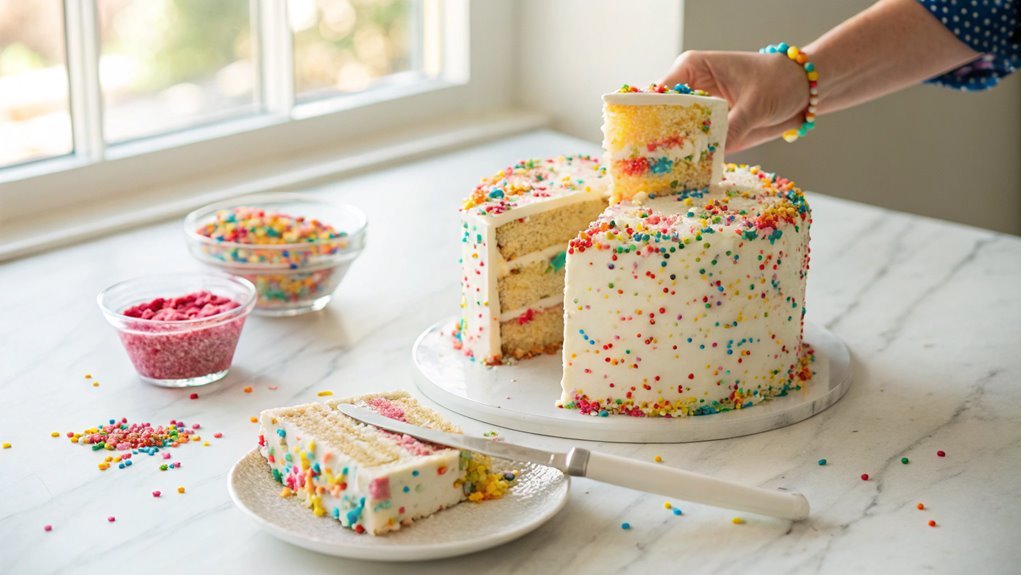
Funfetti cake pops are a delightful treat that brings together the joy of cake and the fun of pops. Perfect for celebrations, birthdays, or simply as a sweet indulgence, these cake pops are sure to brighten up any occasion. The vibrant colors of the sprinkles mixed into the cake not only enhance the visual appeal but also add a delightful crunch to every bite.
Making cake pops from scratch allows you to customize them exactly to your taste, and with this recipe, you’ll be able to create a batch that’s both delicious and visually stunning.
To start, you’ll need to bake a funfetti cake, which serves as the base for your cake pops. Once the cake has cooled, crumbling it into fine pieces will help you combine it with frosting to form the perfect dough for your pops.
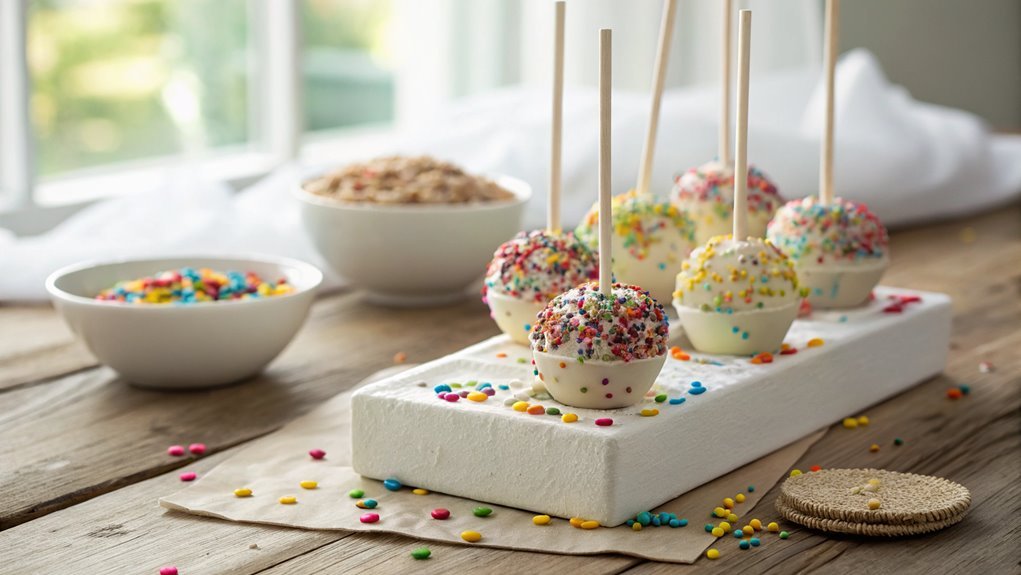
After shaping the dough into balls, you’ll coat them in chocolate and roll them in colorful sprinkles for that signature funfetti look. These cake pops aren’t only a treat for the taste buds but also a feast for the eyes!
Ingredients:
- 1 box funfetti cake mix
- 3 large eggs
- 1/2 cup vegetable oil
- 1 cup water
- 1/2 cup funfetti frosting
- 1 cup melting chocolate (white, milk, or dark)
- Colorful sprinkles
- Lollipop sticks
- Styrofoam block or cake pop stand for drying
Now let’s move on to the cooking steps.
Cooking Steps
Get ready to whip up some delightful Funfetti cake pops!
First, you’ll prepare the cake mix batter and chill it for about 30 minutes, making it easier to handle.
Once it’s ready, you’ll form the mixture into bite-sized balls, dip them in chocolate coating, and finish off with a sprinkle of festive fun!
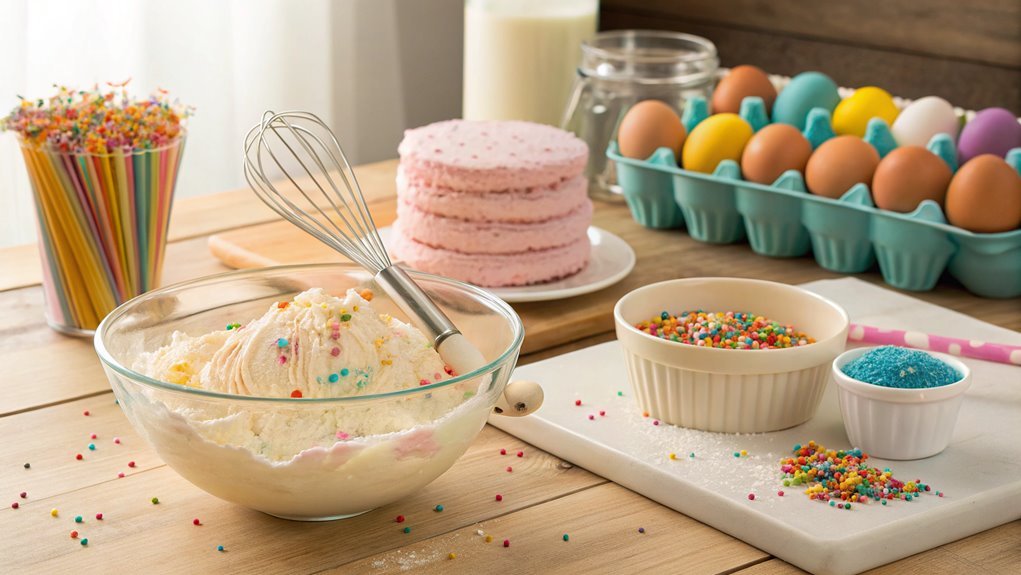
Step 1. Prepare Cake Mix Batter
Before diving into the fun of shaping your cake pops, you’ll want to prepare the cake mix batter. Start by gathering your ingredients: a box of funfetti cake mix, eggs, water, and vegetable oil.
Preheat your oven to 350°F (175°C) to get things cooking right away. In a large mixing bowl, combine the cake mix with the eggs, water, and oil. Grab a whisk or an electric mixer, and blend everything together until the batter is smooth and creamy.
Don’t rush this step! Mixing well guarantees that your cake pops will have a delightful texture.
Once your batter is ready, pour it into a greased 9×13-inch baking pan, spreading it evenly. Bake the cake in your preheated oven for about 25-30 minutes, or until a toothpick inserted in the center comes out clean.
The aroma of the cake baking will fill your kitchen with joy! After it’s done, let it cool in the pan for a few minutes, then transfer it to a wire rack to cool completely.
This cooling process is essential, as it sets the stage for the cake pops that are about to come! Enjoy the process, and get ready for the next exciting step!
Step 2. Chill Mixture for 30 Minutes
Once your cake has cooled completely, it’s time to prepare the mixture for shaping. Start by crumbling the cooled cake into a large mixing bowl. You want it to resemble fine crumbs, so break it down well.
Next, you’ll mix in your favorite frosting until it forms a moist, cohesive mixture. This step adds the perfect sweetness and helps bind everything together.
Now comes the exciting part—chilling the mixture! Cover the bowl with plastic wrap or a lid, and pop it into the refrigerator for about 30 minutes. This chilling time is essential, as it allows the mixture to firm up, making it much easier to shape into pops later. You’ll notice the texture becomes more manageable, which is exactly what you want!
While you wait, think about the fun decorations you’ll use later. Imagine colorful sprinkles, drizzles of chocolate, or even edible glitter!
This waiting period not only helps your mixture but also builds anticipation for the delicious treats you’re about to create. So, relax, maybe sip on something sweet, and get ready for the next step in your funfetti cake pop adventure!
Step 3. Form Into Bite-Sized Balls
Now it’s time to shape your chilled mixture into bite-sized balls! Grab a small scoop or your hands, and start rolling the mixture into approximately one-inch spheres.
You’ll want to make sure each ball is compact and holds together well, so don’t be afraid to apply a little pressure as you roll. The funfetti bits will add a delightful pop of color, making each bite look as exciting as it tastes!
As you work, lay the formed balls on a parchment-lined baking sheet. This prevents them from sticking and makes cleaning up a breeze later on.
If you find that the mixture is a bit too sticky, you can lightly dampen your hands with water to help shape the balls without making a mess.
Keep going until you’ve shaped all your mixture into these adorable little treats! It’s a satisfying process that fills your kitchen with the sweet aroma of funfetti goodness.
Once you’ve finished, give yourself a well-deserved pat on the back. You’re one step closer to creating a delicious dessert that everyone will love! Get ready for the next exciting phase of your cake pop adventure!
Step 4. Dip in Chocolate Coating
With your adorable funfetti balls ready to go, it’s time to give them a delicious chocolate coating. This step is where the magic happens, transforming your cake pops into decadent treats that everyone will love. You’ll want to make sure your chocolate is melted smoothly for the perfect dip!
Here’s what you’ll need to get started:
- Chocolate: Choose your favorite, whether it’s milk, dark, or white chocolate.
- Dipping Tools: Use a fork or a dipping tool to help you coat each ball evenly.
- Cooling Rack: This will allow excess chocolate to drip off while keeping your pops intact.
Begin by melting the chocolate according to the package instructions. Once it’s silky and smooth, grab a funfetti ball and dip it in, ensuring it’s completely covered.
Lift it out and gently tap off any excess chocolate. Place it on a cooling rack or parchment paper to set. Repeat this for all your cake pops, and don’t worry if they don’t look perfect—each one is unique!
The chocolate coating adds an irresistible touch, making your funfetti cake pops even more delightful. Enjoy this scrumptious step!
Step 5. Decorate With Sprinkles
Sprinkling your funfetti cake pops adds that final touch of fun and color! Once you’ve dipped your cake pops in chocolate coating, it’s time to get creative.
Grab your favorite sprinkles—whether they’re rainbow, chocolate, or themed—and prepare to make your pops shine.
Start by placing your sprinkles in a shallow bowl. This makes it easier to coat the pops without making a mess. While the chocolate coating is still wet, gently roll the cake pop in the sprinkles. Make sure to cover all sides for that vibrant look.
If you want to add a little extra flair, you can also use a spoon to sprinkle more on top.
For a more artistic approach, consider using colored sugar or edible glitter along with traditional sprinkles. The combination will create a dazzling effect that’s sure to impress!
After decorating, let the pops sit upright in a styrofoam block or a cake pop stand until the chocolate sets.
Final Thoughts
As you wrap up your baking adventure, you’ll find that making Funfetti cake pops isn’t just about the delicious treat itself; it’s also a fun activity that brings joy to any occasion.
Whether you’re celebrating a birthday, a holiday, or just a cozy night in, these vibrant little bites are sure to impress.
You’ll love how easy they’re to make, and the smiles they bring will be priceless!
Here are three reasons you should definitely make these cake pops:
- Easy to Customize: You can tailor the flavors and decorations to match any celebration or personal preference.
- Perfect for Sharing: These bite-sized treats are ideal for parties, gatherings, or as a sweet surprise for friends and family.
- Great for Kids: Involve your little ones in the decorating process; they’ll have a blast adding their favorite sprinkles and toppings!
Frequently Asked Questions
Can I Use a Gluten-Free Cake Mix for Funfetti Cake Pops?
Absolutely, you can use a gluten-free cake mix! Just make sure to follow the mixing and baking instructions closely. You’ll still end up with delicious cake pops that everyone can enjoy, gluten-free or not.
How Long Can I Store Cake Pops Before Serving?
Ever wondered how long those delightful treats can last? You can store cake pops in the fridge for up to a week or freeze them for a month. Just make sure they’re tightly sealed!
What Can I Substitute for Eggs in the Recipe?
You can substitute eggs with applesauce, mashed bananas, or silken tofu in your recipe. Each option adds moisture and binding qualities, so choose one that fits your flavor preferences and dietary needs!
Can I Freeze Funfetti Cake Pops for Later Use?
Absolutely, you can freeze them! Just make sure you wrap each pop tightly in plastic wrap and store them in an airtight container. When you’re ready, let them thaw in the fridge before enjoying!
What Type of Chocolate Is Best for Coating Cake Pops?
For coating cake pops, you’ll want to use melting chocolate or candy melts. They’re easy to work with and provide a smooth finish. Choose your favorite flavor for an extra delicious touch!
Conclusion
Try these funfetti cake pops and discover why they’re a crowd favorite! With vibrant colors and delicious taste, they’re perfect for any celebration, bringing smiles to everyone’s faces. Gather your ingredients and create a festive masterpiece that’s not just a treat but a delightful experience. Enjoy every bite!