Lemon Bar Recipe

Creating lemon bars is a delightful endeavor that balances tartness and sweetness. As you gather ingredients and prepare the buttery crust, you’ll find there’s more to this recipe than it seems.
Key steps enhance the flavors and elevate the experience, prompting thoughts on perfect finishing touches. These touches can transform a simple treat into something extraordinary.
Recipe
Lemon bars are a delightful dessert that perfectly balances tartness and sweetness, making them a favorite among lemon lovers. With a buttery shortbread crust and a smooth, tangy lemon filling, these bars aren’t only easy to make but also a wonderful treat for any occasion, from casual get-togethers to festive celebrations.
The freshness of the lemon juice combined with the richness of the crust creates a revitalizing dessert that can be enjoyed year-round.
To make your lemon bars, you’ll need to start by preparing a simple shortbread crust, which serves as the foundation for the creamy lemon filling. Once the crust is baked to a light golden brown, a luscious mixture of eggs, sugar, lemon juice, and zest is poured over it and baked until set.
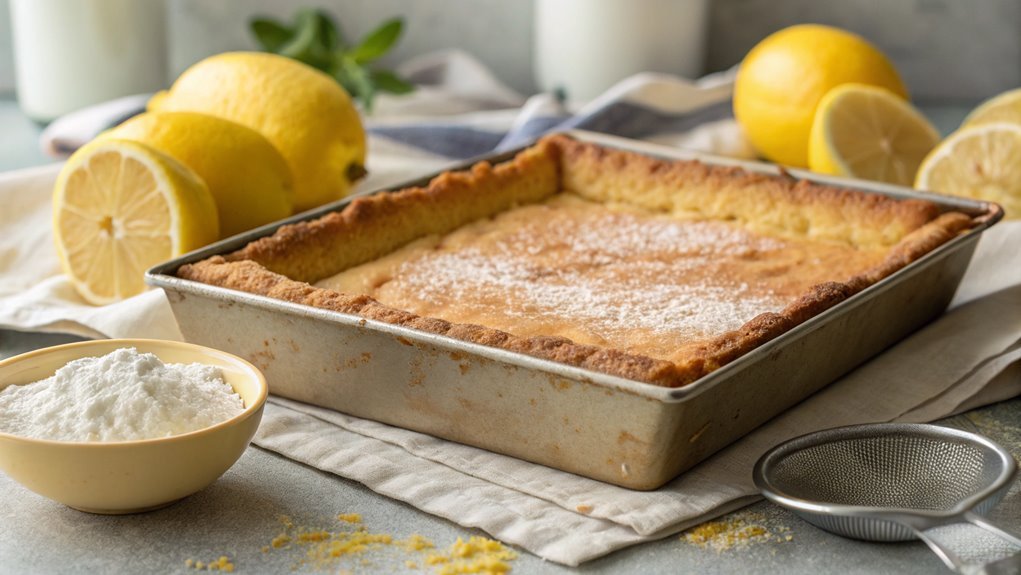
The result is a deliciously zesty dessert that can be dusted with powdered sugar for an elegant finish.
Ingredients:
- 1 cup all-purpose flour
- 1/4 cup powdered sugar
- 1/2 cup unsalted butter, softened
- 2 large eggs
- 1 cup granulated sugar
- 1/2 cup fresh lemon juice
- 1 tablespoon lemon zest
- 1/4 teaspoon baking powder
- Powdered sugar for dusting (optional)
Now let’s move on to the cooking steps.
Cooking Steps
Now that you have your ingredients ready, it’s time to bring those lemon bars to life!
Start by preheating your oven to a cozy 350°F, then mix together the flour and sugar for that perfect crust.
With a burst of flavor, you’ll add the eggs and zest, pour the tangy lemon mixture into the crust, and bake it all to golden perfection for 20 minutes—can you feel the excitement?
Step 1. Preheat Oven to 350°F
To kick off your lemon bar adventure, preheat your oven to 350°F. This step is essential because the right temperature guarantees your lemon bars bake evenly, developing that perfect balance of tangy and sweet.
As the oven warms up, you’re already creating the ideal environment for those zesty flavors to shine. While waiting, take a moment to gather your ingredients and prepare your baking dish. A well-preheated oven helps set the crust just right, giving it that delightful golden hue.
Remember, baking is a science, and precision is key. If your oven isn’t hot enough when you start baking, your bars mightn’t rise as they should, resulting in a dense texture instead of the light and airy treat you desire.
Once the oven reaches 350°F, you’re ready to move on to the next steps of mixing and pouring. Feel the excitement build as you envision those luscious lemon bars coming together.
Each step you take brings you closer to that satisfying moment when you can finally cut into those sweet, zesty squares. So, embrace this first step, and let the delicious journey begin!
Step 2. Mix Flour and Sugar

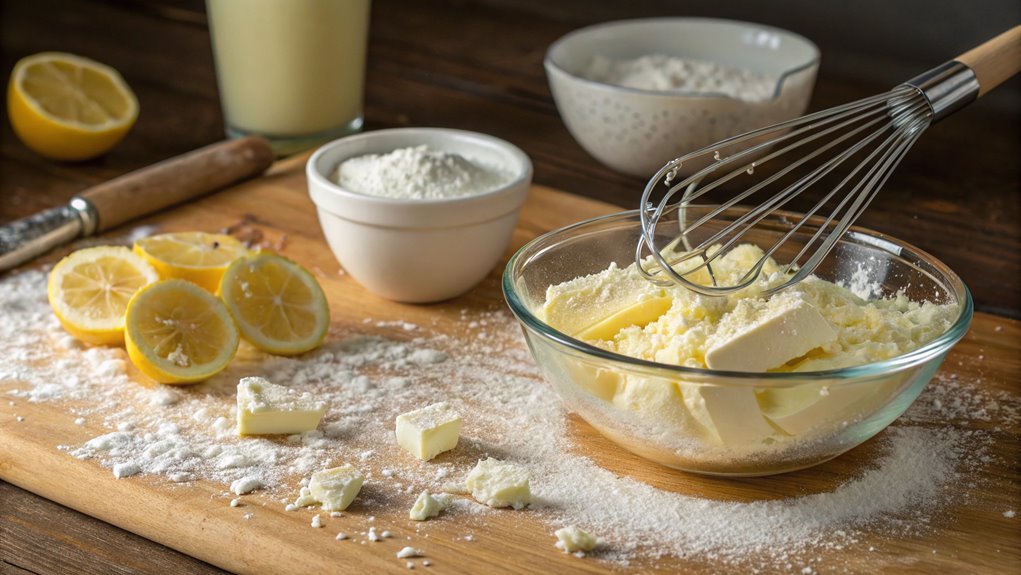
Start by combining the flour and sugar in a mixing bowl. This simple step sets the foundation for your delicious lemon bars.
You’ll want to make sure these two ingredients blend well together, creating a sweet and buttery base that perfectly complements the tangy lemon flavor.
Here’s why this mix is so important:
- Texture: A well-mixed flour and sugar blend helps achieve that perfect, crumbly crust.
- Flavor: Sugar enhances the overall taste, balancing the tartness of the lemons.
- Structure: Flour provides the necessary structure, making certain your bars hold together beautifully.
- Ease: Mixing these ingredients first simplifies the process, making it easier as you move forward.
Once you’ve thoroughly combined the flour and sugar, you can feel the excitement building! This is the step that kickstarts your lemon bar journey.
Remember, the key to great baking is in the details. So, take your time here, and make sure everything is evenly mixed.
You’re on your way to creating a delightful treat that’s sure to impress. Keep that enthusiasm going; your lemon bars will be worth every moment spent in the kitchen!
Step 3. Add Eggs and Zest
With the flour and sugar mixed to perfection, it’s time to elevate your lemon bars by adding the eggs and zest. Crack those eggs into your mixing bowl, ensuring you don’t get any shell fragments in the mix. The eggs are essential; they’ll give your lemon bars that lovely, rich texture. As you whisk them together, watch how the mixture transforms into a smooth and creamy delight.
Next, grab your fresh lemons and zest them. This step is where the magic happens! The zest adds a vibrant burst of flavor that’ll take your lemon bars to the next level. Use a microplane or zester to carefully remove only the yellow part of the skin. Remember, you want to avoid the white pith, as it can be bitter.
Once you’ve got enough zest, fold it into the egg mixture. Feel that excitement building? You’re almost there! Stir everything until it’s well combined, and enjoy the zesty aroma wafting through your kitchen
Step 4. Pour Lemon Mixture Into Crust
As you finish mixing the lemon mixture, carefully pour it over the cooled crust, ensuring an even distribution. This step is essential, as it sets the stage for those delightful, tangy lemon bars you can’t wait to taste!
Take your time to make sure every inch of the crust is covered; this will help create that beautiful contrast between the buttery base and the bright lemon filling.
Here are a few tips to make this step even more enjoyable:
- Use a spatula: It helps to guide the mixture smoothly without making a mess.
- Check for bubbles: If you see any air bubbles forming, gently tap the pan on the counter to release them.
- Stay patient: Allow the mixture to settle for a moment before moving on to the next step; it’ll all be worth it!
- Visualize the final product: Imagine that perfect bite of sweet and tart goodness that awaits you.
Once you’ve poured the lemon mixture, you’re one step closer to enjoying these heavenly lemon bars.
Keep the excitement going, and get ready for the next delicious phase!
Step 5. Bake for 20 Minutes

Now it’s time to bake your lemon bars! Preheat your oven to 350°F (175°C) if you haven’t already.
Once you’ve poured that zesty lemon mixture into the prepared crust, give it a little shake to guarantee it settles evenly. This is where the magic happens!
Place the baking dish in the oven and let it work its wonders for 20 minutes. As it bakes, your kitchen will fill with that delightful citrus aroma that makes your mouth water.
Keep an eye on the bars; they should set around the edges but may still have a slight jiggle in the center. Don’t worry, that’s normal! You want them to be just right, so don’t overbake.
After 20 minutes, when the timer goes off, carefully remove the dish from the oven. Allow your lemon bars to cool in the pan for about an hour at room temperature.
Then, transfer them to the fridge for a chill before cutting them into squares. This will help them firm up and make slicing a breeze.
Get excited, because you’re just about to enjoy a slice of sunshine!
Final Thoughts
Whether you’re serving them at a summer gathering or enjoying a sweet treat at home, lemon bars are sure to impress.
These delightful desserts blend the perfect balance of tangy and sweet, making them an irresistible choice. When you bite into that buttery crust and silky lemon filling, you’ll understand why they’re a favorite for so many!
Here are a few reasons to whip up a batch:
- Easy to Make: You don’t need to be a pro in the kitchen to create these delicious bars!
- Versatile Treat: Perfect for any occasion, from picnics to parties, or just a cozy night in.
- Customizable: Feel free to experiment by adding different toppings or flavors to suit your taste.
- Crowd-Pleaser: Friends and family will be begging for seconds, and you’ll love the compliments!
Frequently Asked Questions
Can I Use Bottled Lemon Juice Instead of Fresh Lemons?
You can use bottled lemon juice instead of fresh lemons, but it won’t taste quite the same. Fresh lemons provide a brighter flavor and aroma that enhances your dish, so consider using them for the best results.
How Long Do Lemon Bars Last in the Fridge?
Lemon bars typically last about a week in the fridge when stored properly in an airtight container. Just make sure they’re cooled completely before refrigerating to maintain their delicious flavor and texture. Enjoy!
Can I Freeze Leftover Lemon Bars?
You’ve got leftover treats and wonder about freezing them? Yes, you can freeze leftover lemon bars! Just wrap them tightly in plastic wrap or foil, and they’ll stay delicious for up to three months. Enjoy!
What Type of Pan Is Best for Baking Lemon Bars?
For baking, a light-colored metal pan’s your best bet. It heats evenly, preventing over-browning. If you prefer a more rustic look, consider a glass or ceramic dish, but adjust the baking time accordingly.
Are Lemon Bars Gluten-Free?
You might wonder if you can enjoy them without gluten. The good news is, you can! Just substitute regular flour with a gluten-free alternative, and you’ll have delicious treats that everyone can savor. Enjoy!
Conclusion
You’ve mastered lemon bars, and you’re in for a treat! The tangy lemon and buttery crust will have your taste buds dancing.
Did you know lemon is associated with uplifting moods? Enjoying this delicious dessert might also brighten your day!
Try this recipe at your next gathering, and watch everyone fall in love with these zesty delights. Happy baking!


