No-Bake Cheesecake Bars Recipe
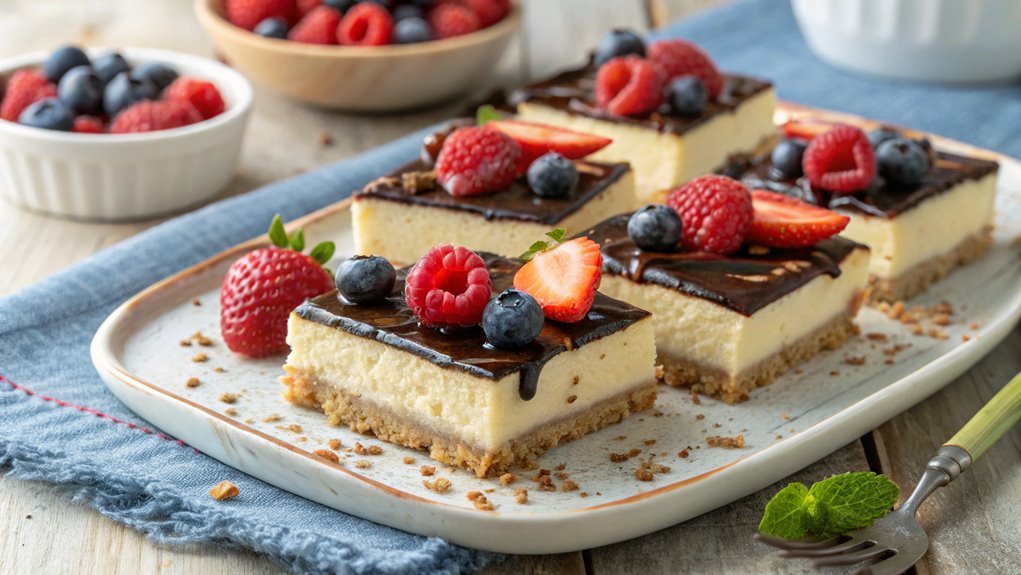
No-bake cheesecake bars can impress guests and simplify dessert preparation. This recipe is straightforward, requiring only a few basic ingredients to create a delicious treat.
Consider customizing your bars with different flavors and toppings to elevate the experience. Transform this simple recipe into something special for your gatherings.
Recipe
No-Bake Cheesecake Bars are a delightful and simple dessert that’s perfect for warm weather gatherings or when you’re in the mood for something sweet without the need for baking.
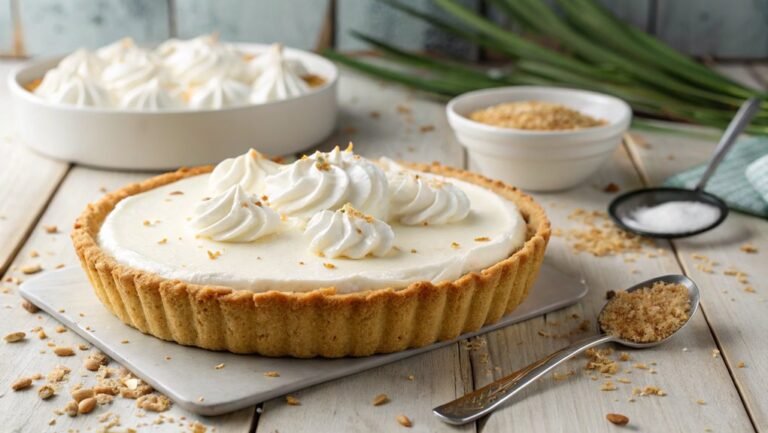
This treat features a creamy cheesecake filling layered on top of a buttery graham cracker crust, all without ever having to turn on the oven. The best part? They can be prepared in advance, allowing the flavors to meld while you focus on other elements of your meal or gathering.
These cheesecake bars are incredibly versatile—you can easily add your favorite toppings or mix-ins, such as fruit preserves, chocolate ganache, or fresh berries for a revitalizing twist.
This recipe is ideal for those who may not have extensive baking experience, as it doesn’t require any complicated techniques. Just mix, pour, chill, and enjoy!
Ingredients:
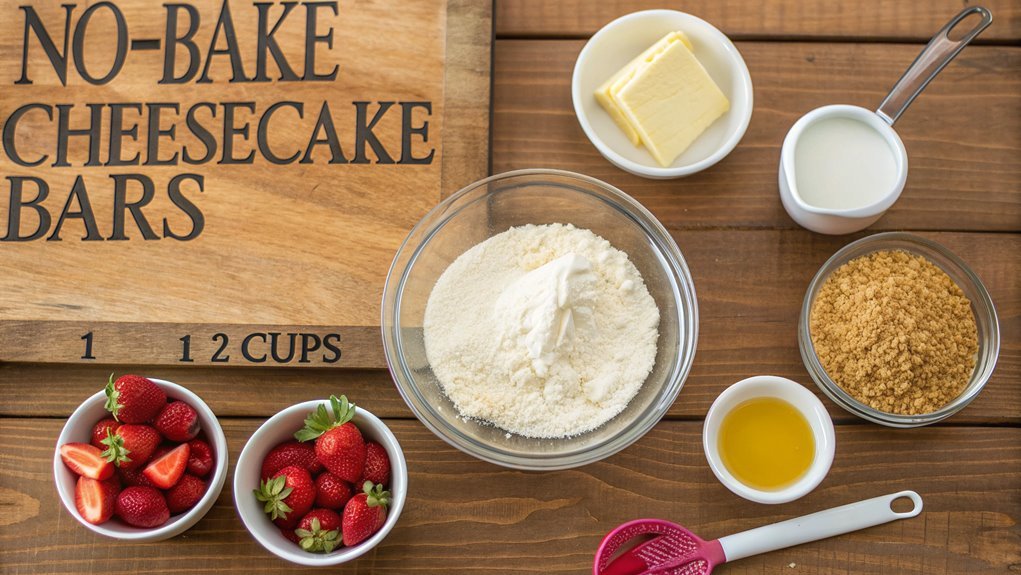
- 1 ½ cups graham cracker crumbs
- ½ cup unsalted butter, melted
- 2 cups cream cheese, softened
- 1 cup powdered sugar
- 1 teaspoon vanilla extract
- 1 cup heavy cream
- ½ cup sour cream (optional)
- Fresh fruit or toppings of your choice (optional)
Now let’s move on to the cooking steps.
Cooking Steps
Making these no-bake cheesecake bars is simple and so rewarding!
You’ll start by preparing the crust ingredients, mixing the cream cheese and sugar, and adding the whipped cream mixture.
Just chill everything until it’s firm, then add your favorite toppings, and you’re ready to serve a delicious treat that everyone will love!
Step 1. Prepare Crust Ingredients
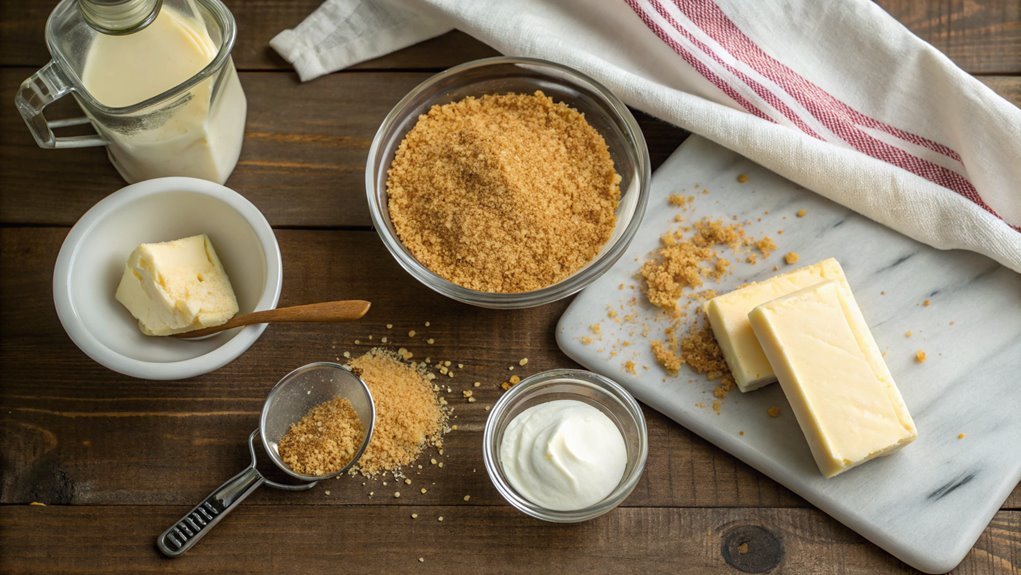
Before you plunge into making the cheesecake filling, gather your crust ingredients to set a solid foundation for your dessert. This crust is simple yet delicious, and you’ll need just a few items.
First, grab 1 ½ cups of graham cracker crumbs. You can easily make these by crushing full sheets of graham crackers in a food processor or placing them in a plastic bag and smashing them with a rolling pin.
Next, measure out ⅓ cup of granulated sugar to sweeten the crust perfectly.
Now, don’t forget the star of the show—the butter! You’ll need ⅓ cup of unsalted butter, melted. This will help bind the crumbs together, creating a rich flavor and a delightful texture.
Combine the graham cracker crumbs, sugar, and melted butter in a medium bowl. Mixing these ingredients well guarantees every bite of your crust is equally tasty.
Once everything’s combined, you’re ready to press the mixture into a lined baking dish, creating a smooth and even base. This is your moment to shine!
Enjoy the process, and your cheesecake bars will be totally worth the effort. Happy baking!
Step 2. Mix Cream Cheese and Sugar
With the crust set beautifully in your baking dish, it’s time to turn your attention to the creamy filling. First, pull out your cream cheese and let it soften at room temperature for about 10 minutes. This little step helps achieve that smooth, luscious texture we all crave.
Now, grab a mixing bowl and combine the softened cream cheese with granulated sugar. Using an electric mixer, beat them together on medium speed until the mixture is completely smooth and free of lumps. This process is essential in creating that velvety consistency that makes cheesecake so irresistible.
Don’t forget to scrape down the sides of the bowl occasionally, ensuring everything mixes evenly. After mixing, you’ll notice the cream cheese and sugar become a beautiful, creamy blend.
This rich mixture is what’ll bring so much delight to your cheesecake bars. Trust me, you’ll be tempted to sneak a taste before adding more ingredients! So go ahead, relish in the simple pleasure of combining these two key elements.
With just a few more steps ahead, you’re incredibly close to creating a dessert that will impress your friends and family, so keep that momentum going!
Step 3. Add Whipped Cream Mixture
Once you’ve achieved that creamy cream cheese and sugar blend, it’s time to fold in the whipped cream mixture. This step brings an incredible lightness to your cheesecake bars, making them a delightful treat.
Start by gently adding the whipped cream to your cream cheese mixture. Using a spatula or a large spoon, fold the whipped cream in carefully. You want to preserve that airy texture, so be sure to go slowly and avoid vigorous stirring.
As you mix, you’ll notice how the bright white whipped cream blends seamlessly with the cream cheese, creating a beautiful, luscious filling. Keep folding until the ingredients are just combined and you see no streaks of whipped cream. This mixture should feel rich and velvety, which is exactly what you want for your cheesecake bars!
Make sure to scrape down the sides of your bowl to capture every delicious bit. The joy of cooking comes from seeing your creation come together, so take a moment to admire that splendid mixture!
Once you feel like it’s ready, you’ll be all set for the next exciting step in your no-bake cheesecake adventure. Enjoy every moment of this process!
Step 4. Chill Until Firm
Now that your luscious cheesecake filling is ready, it’s vital to let it chill until firm. This is where the magic happens! Pour the cheesecake mixture over your prepared crust, spreading it evenly with a spatula to get a smooth surface.
The chilling process not only helps the cheesecake set but also allows the flavors to meld beautifully, deepening their richness.
Cover the pan with plastic wrap or foil to prevent any fridge odors from sneaking in. Place your bars in the fridge for at least four hours, or overnight if you can wait. I know it’s hard to resist, but this step is essential for achieving that perfect, sliceable texture.
While the cheesecake is chilling, take a moment to imagine how delicious these bars will be, with their creamy filling and crumbly crust. You’re not just making a dessert; you’re creating a delightful experience for yourself and anyone lucky enough to share them with you.
Trust me, the anticipation is worth it! After their chill time is over, your no-bake cheesecake bars will be ready for the next exciting step. Enjoy the process, and get ready to impress!
Step 5. Add Toppings and Serve
As you prepare to enjoy your cheesecake bars, think about the toppings that will elevate them even further. The right toppings can turn this delicious dessert into a standout treat that everyone’ll rave about.
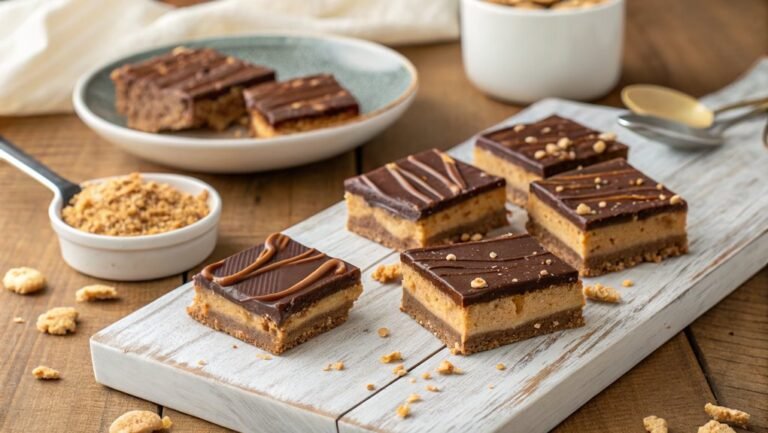
Consider a drizzle of chocolate or caramel sauce for a decadent touch. Simply melt your favorite chocolate and pour it over the bars right before serving; it adds a luxurious finish!
Fresh fruit is another fantastic option. Sliced strawberries, raspberries, or blueberries not only add a pop of color but also bring a invigorating taste that balances the sweetness of the cheesecake.
You could even create a fruit compote by simmering berries with a bit of sugar until they’re juicy and syrupy, then spoon it over your bars.
Don’t forget about nut toppings! Chopped almonds, walnuts, or pecans add a satisfying crunch and nutty flavor.
To serve, slice your chilled cheesecake bars into squares and arrange them on a beautiful platter. It’s all about presentation, so take a moment to make them look irresistible.
Enjoy every creamy, flavorful bite and share your delightful creation with family and friends—they’ll be impressed!
Final Thoughts
Though you’ve just wrapped up preparing these delightful no-bake cheesecake bars, it’s worth taking a moment to reflect on how easy and satisfying they’re to make.
With just a few simple ingredients, you’ve created a dessert that impresses friends and family alike. These bars’ creamy filling and crunchy crust come together effortlessly, proving that fantastic desserts don’t always require baking skills or hours in the kitchen.
As you savor the first bite, you’ll likely appreciate the versatility of this recipe.
Feel free to customize it with your favorite toppings or flavors, whether it’s fresh fruit, chocolate drizzles, or even a splash of caramel. The sky’s the limit, and experimenting is half the fun!
Frequently Asked Questions
Can I Use a Different Type of Crust for Cheesecake Bars?
Imagine a perfectly creamy cheesecake bar, but what if you want a change? You can absolutely use a different type of crust! Experiment with graham crackers, Oreos, or even gluten-free options for a delightful twist.
How Long Can No-Bake Cheesecake Bars Be Stored in the Fridge?
You can store your no-bake cheesecake bars in the fridge for about 5 to 7 days. Just make sure they’re in an airtight container to maintain freshness and avoid absorbing odors from other foods.
Can I Substitute Cream Cheese With a Dairy-Free Option?
Absolutely, you can substitute cream cheese with a dairy-free option! Use dairy-free cream cheese or blended soaked cashews for a similar texture. Just make sure to adjust the sweetness for the best flavor balance.
What Toppings Pair Well With No-Bake Cheesecake Bars?
When you’re considering toppings, fresh berries, chocolate ganache, or a drizzle of caramel add delightful flavors. You could also try crushed cookies or nuts for extra texture. Customize it to your taste for a delicious finish!
Is There a Vegan Version of No-Bake Cheesecake Bars?
Yes, there’s definitely a vegan version! You can substitute cream cheese with cashew cream or coconut cream, and use plant-based sweeteners. It’ll taste delicious and creamy, just like the traditional version you love!
