No-Bake Coconut Cream Pie Recipe
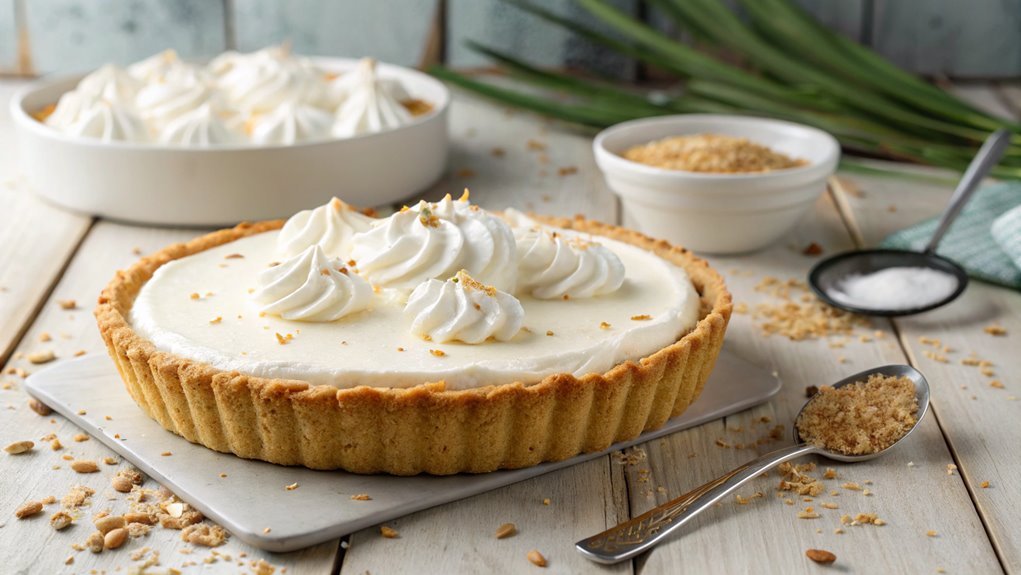
The No-Bake Coconut Cream Pie captures the essence of a tropical escape with its creamy coconut filling and crunchy graham cracker crust, offering a sweet indulgence without the need to heat up the kitchen. This recipe is both simple to make and impressive in presentation.
Before you begin, think about how to enhance each layer of this delightful treat. Follow the steps carefully to ensure your pie turns out perfectly every time.
Recipe
No-Bake Coconut Cream Pie is a delightful dessert that combines the rich, tropical flavor of coconut with a smooth and creamy filling, all nestled in a crunchy graham cracker crust.
This pie is perfect for warm weather gatherings or any occasion when you want to impress your guests without turning on the oven. The best part is that it’s incredibly easy to make, allowing you to whip it up in no time and let it chill while you prepare for your event.
To start, you’ll create a luscious filling made from coconut milk, whipped cream, and shredded coconut, which gives the pie its signature taste and texture.
Once you have your filling ready, it’s simply a matter of pouring it into the pre-made graham cracker crust and letting it set in the refrigerator.
Top it off with some extra whipped cream and toasted coconut for a beautiful presentation and an extra burst of flavor. This no-bake coconut cream pie is sure to become a favorite among family and friends.
Ingredients:
- 1 pre-made graham cracker pie crust
- 1 cup coconut milk
- 1 cup heavy whipping cream
- 1/2 cup powdered sugar
- 1 teaspoon vanilla extract
- 1 cup shredded coconut (sweetened or unsweetened, based on preference)
- 1 tablespoon cornstarch
- 1/4 cup water
- Extra whipped cream for topping
- Toasted coconut for garnish
Now let’s move on to the cooking steps.
Cooking Steps
Now that you’ve got your ingredients ready, it’s time to whip up this delicious no-bake coconut cream pie!
You’ll start by preparing the crust mixture, then chilling the filling for that perfect creamy texture.
Before you know it, you’ll be adding toppings and garnishing, making each step more exciting as you get closer to serving this delightful dessert!
Step 1. Prepare the Crust Mixture
Start by combining the graham cracker crumbs, shredded coconut, and melted butter in a mixing bowl. This delightful mixture is the foundation of your no-bake coconut cream pie, and it’s super easy to whip up! Grab your spatula and mix until the crumbs are evenly coated. You’re going to love the texture and flavor this crust adds to your pie.
Next, follow these simple steps to prepare the crust mixture:
- Measure: Use 1 ½ cups of graham cracker crumbs for the perfect base.
- Add: Mix in ½ cup of shredded coconut for that tropical twist.
- Melt: Don’t forget to melt ½ cup of butter; it binds everything together beautifully.
- Combine: Stir until the mixture resembles wet sand, ensuring even coverage.
Once you’ve got your mixture ready, it’s time to transfer it into a pie dish. Press it down firmly and evenly across the bottom and up the sides.
This crust is going to be a crunchy, coconut-filled delight that complements the creamy filling perfectly. Your guests are going to rave about this pie! Enjoy the process; you’re creating something truly special!
Step 2. Chill the Filling Mixture
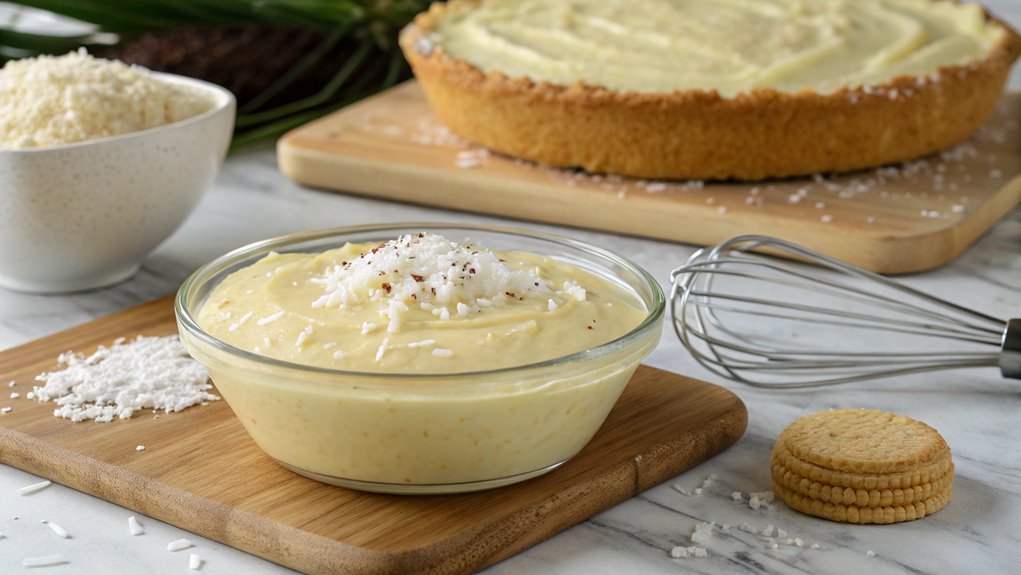
With the crust firmly in place, it’s time to focus on the filling. This step is vital for creating that luscious coconut cream pie you’re dreaming of. Start by combining your coconut milk, sugar, and cornstarch in a medium saucepan over medium heat. Stir the mixture continuously until it thickens, which should take about five to seven minutes.
You’ll notice it becoming smooth and creamy, and that’s when you know you’re on the right track!
Once the filling thickens, remove it from the heat and stir in the vanilla extract and shredded coconut. This addition will enhance the flavor and give your pie that irresistible coconut kick.
Now it’s time to let the mixture cool for a bit. Pour it into a bowl and cover it with plastic wrap, making sure the wrap touches the surface to prevent a skin from forming.
Chill the filling in the refrigerator for at least an hour. This step not only helps it set properly but also allows the flavors to meld beautifully. Trust me, the waiting will be worth it!
After chilling, you’ll have a delightful filling ready to spread over your crust, making your pie even more tempting.
Step 3. Add Toppings and Garnish
Adding toppings and garnish elevates your no-bake coconut cream pie from delicious to extraordinary.
You’re not just finishing a dessert; you’re creating an eye-catching masterpiece! Let’s transform your pie into a tropical delight that’ll impress everyone at the table.
Here’s how you can add the perfect finishing touches:
- Whipped Cream: Generously dollop fresh whipped cream on top. It adds a light texture and balances the creaminess of the filling.
- Toasted Coconut: Sprinkle toasted coconut flakes over the whipped cream for that irresistible crunch and an extra burst of coconut flavor.
- Chocolate Shavings: For a touch of decadence, add chocolate shavings or curls. The rich chocolate contrasts beautifully with the coconut and enhances the overall flavor.
- Fresh Fruit: Slice some fresh fruit like bananas or strawberries and arrange them on top. They not only look beautiful but also provide a revitalizing bite.
With these simple yet stunning toppings, you’ll take your no-bake coconut cream pie to a whole new level.
Step 4. Refrigerate for Two Hours
Once you’ve topped your no-bake coconut cream pie to perfection, it’s important to let it chill in the refrigerator for at least two hours. This step is essential, as it allows the flavors to meld beautifully while the filling firms up, making each slice a delight to serve.
As you place the pie in the fridge, take a moment to admire your creation. The creamy, dreamy filling and the luscious coconut topping are sure to make your mouth water with anticipation.
While it chills, you can use this time to clean up your workspace or prepare any additional sides you might want to serve with your pie.
After two hours, you’ll be amazed at how much the texture improves. The pie will slice more easily, and each bite will be a perfect combination of rich coconut flavor and smooth creaminess.
Plus, waiting gives your family and friends a chance to get excited about dessert, making it even more enjoyable when you finally serve it.
Step 5. Serve With Toasted Coconut
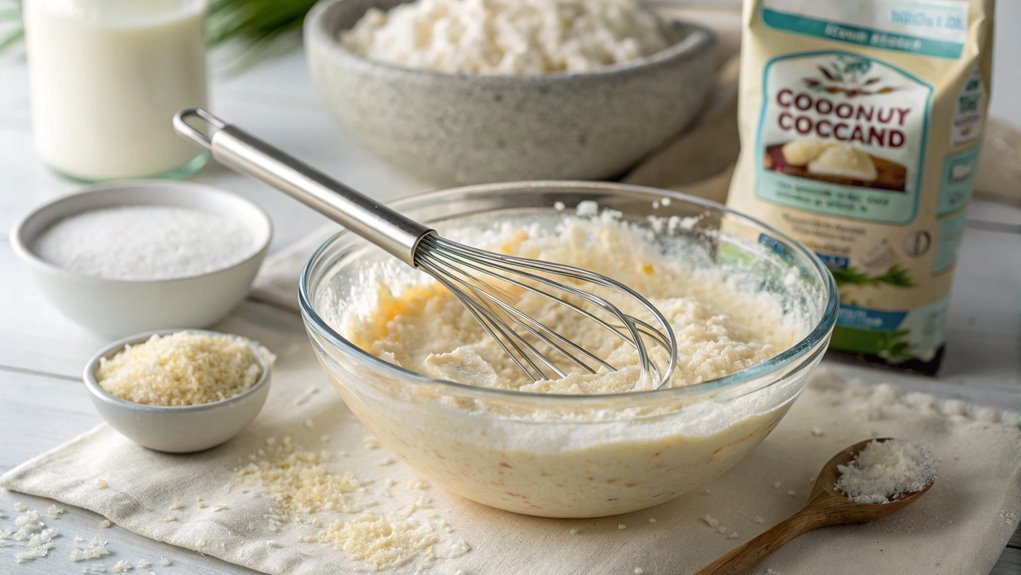
To elevate your no-bake coconut cream pie, consider serving it with toasted coconut for an extra layer of flavor and texture. This simple addition not only enhances the taste but also adds a delightful crunch that everyone will love.
Here’s how to toast your coconut perfectly:
- Choose Your Coconut: Use either shredded or flaked coconut, depending on your preference. Both work beautifully.
- Preheat the Oven: Set your oven to 350°F (175°C). This guarantees your coconut will toast evenly.
- Spread and Bake: Spread the coconut in a single layer on a baking sheet. Bake for about 5-10 minutes, stirring occasionally. Keep a close eye on it; coconut can burn quickly!
- Cool and Serve: Once it’s golden brown, remove it from the oven and let it cool. Sprinkle the toasted coconut generously over your chilled pie just before serving.
This delicious touch not only makes your pie look stunning but also adds a wonderful depth of coconut flavor.
Your friends and family will be impressed with this delightful twist, so give it a try! Enjoy every bite!
Final Thoughts
While indulging in a slice of no-bake coconut cream pie, you might find yourself reflecting on how simple yet satisfying this dessert truly is. This pie is a delightful blend of creamy coconut and rich flavors that transport you to a tropical paradise with every bite.
It’s the perfect treat for those warm days when you want something sweet without turning on the oven. Making this pie isn’t just easy; it’s a fun project that you can share with family and friends.
The no-bake aspect means you can whip it up in no time, leaving you more moments to enjoy and celebrate. Plus, the ingredients are straightforward and accessible, making it a great option for beginner bakers or seasoned pros alike.
As you savor each mouthful, don’t forget to share your creation. Whether you’re hosting a gathering or simply treating yourself, this pie will surely impress.
Frequently Asked Questions
Can I Use Unsweetened Coconut Flakes Instead of Sweetened?
Yes, you can use unsweetened coconut flakes instead of sweetened ones. Just remember to adjust the sugar in your recipe to maintain the desired sweetness. Enjoy experimenting with flavors and textures in your dish!
How Long Does the Pie Need to Chill Before Serving?
Once the pie’s nestled in the fridge, let it chill for at least four hours. This cool embrace allows the flavors to dance together, creating a delightful treat you won’t want to miss.
Can I Make This Pie Dairy-Free?
Yes, you can definitely make this pie dairy-free! Substitute regular dairy products with coconut milk, dairy-free cream cheese, or almond milk. You’ll still enjoy a delicious, creamy texture without any dairy ingredients.
What Toppings Pair Well With Coconut Cream Pie?
Picture a fluffy cloud of whipped cream gracefully cascading over your pie. Toasted coconut flakes add a delightful crunch, while fresh berries bring vibrant color. A sprinkle of chocolate shavings creates a luscious finish you’ll love.
How Should I Store Leftovers?
To store leftovers, place them in an airtight container and refrigerate. They’ll last up to three days. If you want to keep them longer, consider freezing individual portions for future enjoyment.
Conclusion
Enjoy the simplicity and satisfaction of this No-Bake Coconut Cream Pie. Like a tropical getaway in each bite, it brings sunshine to your table without needing a plane ticket.
Picture gathering with loved ones, sharing laughter, and indulging in this creamy treat. It feels as refreshing as a cool breeze on a hot day.
Roll up your sleeves, make it, and watch everyone relish each slice. You’re not just baking a pie; you’re crafting sweet memories!
