No-Bake Key Lime Pie Recipe
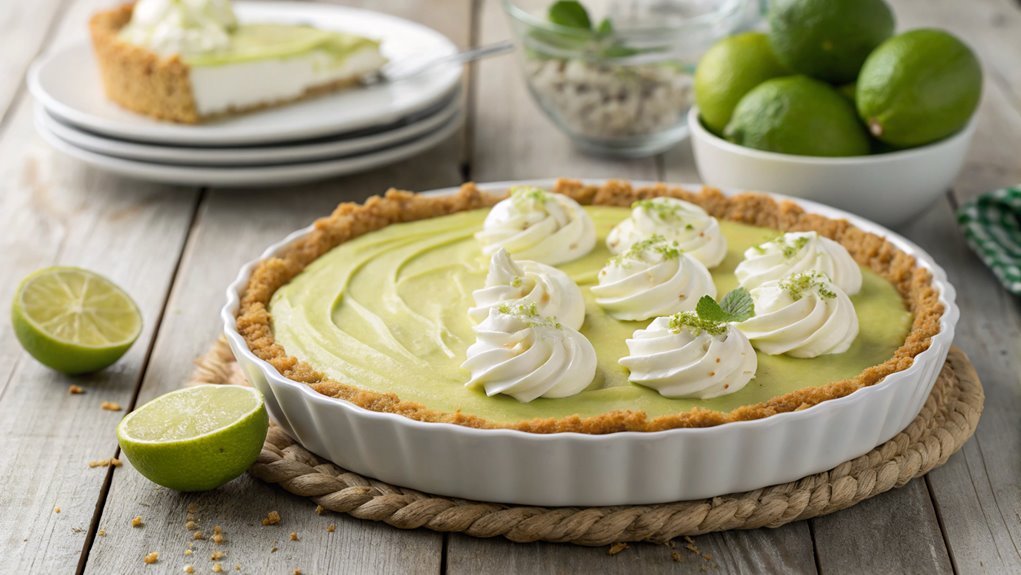
No-Bake Key Lime Pie is so simple that even beginners can make it effortlessly. You might assume it requires expert skills, but combining a few ingredients is all it takes. Impress your friends and family with this refreshing dessert without any hassle. Learn how to achieve the perfect balance of tart and sweet for memorable gatherings.
Recipe
No-bake key lime pie is a delightful dessert that’s perfect for warm weather gatherings or whenever you’re craving a tart and creamy treat. This easy recipe requires no baking, making it an ideal choice for those who want to whip up a dessert without heating up the kitchen.
The combination of tangy key lime juice, sweetened condensed milk, and whipped cream creates a velvety filling that pairs beautifully with a buttery graham cracker crust. Additionally, this pie sets up nicely in the refrigerator, allowing the flavors to meld together and ensuring a revitalizing, chilled dessert when served.
You’ll appreciate how quickly you can put this pie together, and the end result is sure to impress family and friends. So, gather your ingredients and get ready to enjoy a slice of this zesty no-bake key lime pie!
Ingredients:
- 1 ½ cups graham cracker crumbs
- ⅓ cup granulated sugar
- ½ cup unsalted butter, melted
- 1 (14-ounce) can sweetened condensed milk
- ½ cup key lime juice (fresh or bottled)
- 1 tablespoon lime zest
- 1 cup heavy whipping cream
- 2 tablespoons powdered sugar
- Lime slices and zest for garnish (optional)
Now let’s move on to the cooking steps.
Cooking Steps
Get ready to make a delicious No-Bake Key Lime Pie!
You’ll start by combining the crust ingredients and then whisking together the key lime juice mixture.
Once that’s done, chill the pie filling for a few hours, fold in the whipped cream, and finish it all off with a sprinkle of lime zest for that perfect tangy kick!
Step 1. Combine Crust Ingredients
While preparing your crust for the no-bake key lime pie, you’ll want to combine the graham cracker crumbs, melted butter, and sugar in a mixing bowl.
Start by measuring out the graham cracker crumbs, as they create a deliciously crispy base for your pie. Add the melted butter next, which helps bind everything together into a perfect crust. Then, sprinkle in some sugar for sweetness to balance the tangy filling that’ll come later.
Using a fork or your hands, mix these ingredients thoroughly. You want the mixture to resemble wet sand—slightly damp but still crumbly. It’s important to guarantee every crumb is coated in butter; that’s what gives your crust that irresistible flavor and texture.
Once you’ve mixed it all together, grab a 9-inch pie dish. Press the crust mixture firmly into the bottom and up the sides of the dish, ensuring it’s even. Don’t rush this step! A well-pressed crust will hold its shape beautifully once chilled.
After that, you’re all set to pop it in the fridge to firm up while you prepare the filling. Enjoy the process; you’re creating a delightful dessert that everyone will love!
Step 2. Whisk Key Lime Juice Mixture
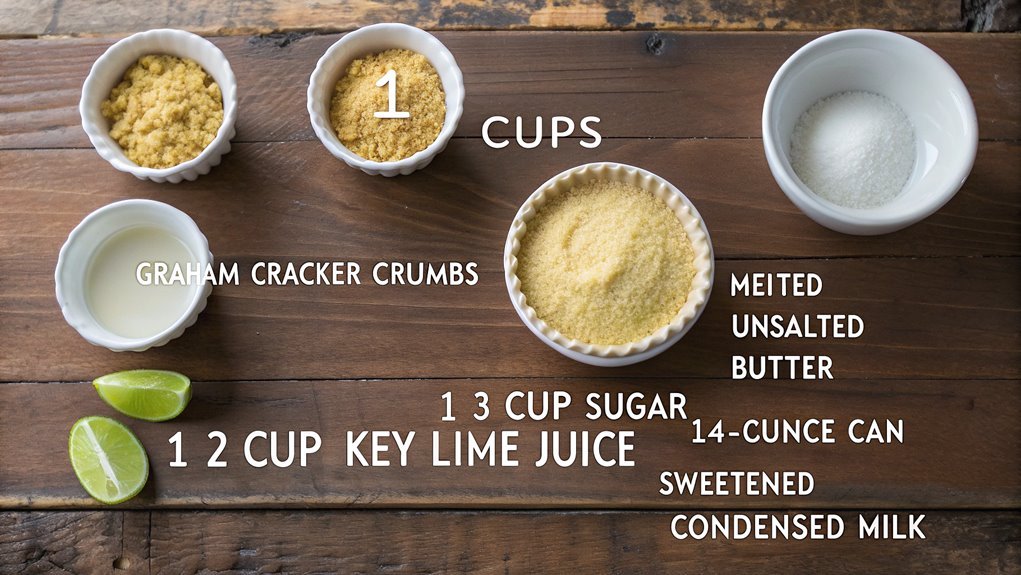
Now it’s time to whip up the key lime juice mixture, which will bring that signature tart flavor to your pie. Begin by pouring fresh key lime juice into a mixing bowl. If you can find them, fresh key limes are definitely worth the effort. The zest of these little limes can be added next for an aromatic kick!
Then, grab your sweetened condensed milk and pour it into the bowl. This creamy goodness sweetens and balances the tanginess of the lime juice beautifully.
Next, you’ll want to add a dollop of sour cream. This adds richness and depth to your mixture, making it absolutely irresistible.
Now, take a whisk and get ready to mix! Whisk everything together until you see a smooth, creamy consistency. You should aim for it to be well combined and free of lumps—that’s when you know it’s just right. This process will let those flavors meld together perfectly.
As you whisk, feel the excitement build! You’re creating something delicious, and you’re almost there.
Once it’s all mixed, you’ll feel ready to pour this heavenly filling into your prepared crust, enhancing your no-bake key lime pie experience further!
Step 3. Chill Pie Filling for Hours
To guarantee your key lime pie filling sets perfectly, you’ll need to chill it for several hours. This step is essential, as the cool temperature helps your filling firm up, creating that creamy texture you love in a key lime pie.
Once you’ve mixed your ingredients together, pour the filling into the chilled crust. Now, it’s time to pop it in the refrigerator. Aim for a cooling period of at least four hours or, if you can resist the temptation, overnight for the best results!
Here are some tips to make your chilling process successful:
- Use a shallow dish: It allows the filling to chill evenly.
- Cover it well: Prevent any unwanted odors from seeping in by wrapping the pie with plastic wrap.
- Check the temperature: Your fridge should be set to around 40°F for optimum chilling.
- Resist the urge to rush: The longer it chills, the better the texture will be!
Once your pie has chilled, you’ll be one step closer to a mouthwatering dessert that’s perfect for any occasion. Trust me, it’ll be worth the wait!
Step 4. Fold in Whipped Cream
Once your key lime pie filling has chilled, it’s time to lighten it up by folding in whipped cream. This step is essential, as it adds an airy texture that makes your pie feel truly indulgent.
Start by whipping your cream until soft peaks form. Use a large mixing bowl, and be sure to keep those beaters clean to guarantee the cream whips well.
Next, scoop a generous amount of the whipped cream into your chilled filling. With a spatula, gently fold the cream into the filling. Be careful not to stir too aggressively; you want to maintain that lovely lightness. The goal is to combine them without deflating the whipped cream.
Keep folding until everything looks blended and creamy. Once fully combined, you’ll notice how fluffy and smooth the filling appears. It’s such a delightful transformation!
This whipped cream infusion not only enhances the texture but also balances the zesty lime flavor. Give a little taste if you can’t resist—it’s heavenly!
Your key lime pie filling is now ready to pour into the crust, creating a dessert that’s bound to impress anyone lucky enough to enjoy it!
Step 5. Garnish With Lime Zest
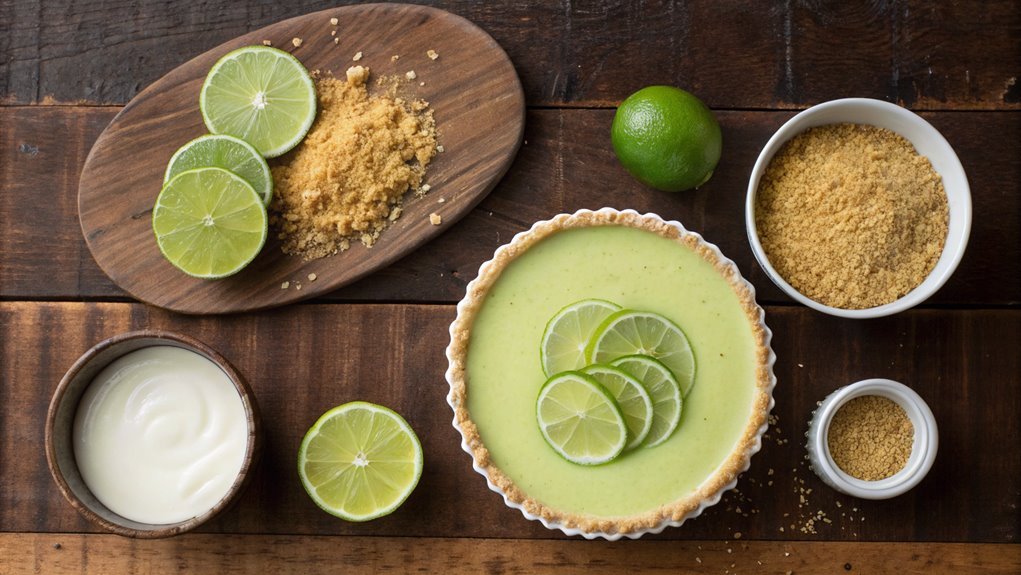
After your fluffy key lime pie filling is poured into the crust, it’s time to add a finishing touch that enhances both the flavor and presentation. Garnishing with lime zest elevates your pie from ordinary to extraordinary! The bright green zest not only looks stunning, but it also adds a zesty kick that complements the pie beautifully.
To get that fresh zest, follow these simple steps:
- Choose Fresh Limes: Look for limes that feel heavy for their size and have a bright, glossy skin. Fresh limes yield the most aromatic zest.
- Zest Carefully: Use a microplane or zester to finely grate the green outer layer of the lime peel. Avoid the white pith, as it can be bitter.
- Sprinkle Generously: Once you’ve zested a lime, sprinkle the zest evenly over the top of your pie. Don’t be shy; a colorful layer really catches the eye!
- Serve Immediately: The zest is best enjoyed fresh. Serve your pie right after garnishing for maximum flavor and visual appeal.
Now, get ready to impress your friends and family with this delightful addition to your no-bake key lime pie!
Final Thoughts
As you savor the creamy, tangy flavors of your no-bake key lime pie, it’s clear that this dessert isn’t just easy to make; it’s a delightful addition to any occasion.
Whether you’re hosting a summer barbecue or celebrating a special milestone, this pie can elevate the mood in minutes. The simplicity of the recipe means you can whip it up without stress, allowing you to focus on making memories.
Imagine serving a beautiful pie topped with fresh lime zest and whipped cream, impressing your guests without spending hours in the kitchen. This no-bake key lime pie isn’t only visually appealing but also a crowd-pleaser, inviting smiles and satisfied sighs with every bite.
The combination of a buttery crust and a zesty filling keeps people coming back for more.
Don’t hesitate to make it your own! Add a touch of coconut for tropical flair or try different citrus fruits for a twist.
The best part? You can prepare it ahead and let it chill, giving you more time to relax.
Frequently Asked Questions
Can I Use Bottled Lime Juice Instead of Fresh Lime Juice?
You can use bottled lime juice, but fresh lime juice enhances the flavor considerably. Bottled juice may lack that vibrant zest. If convenience is key for you, go ahead and substitute, but expect a different taste.
How Long Can I Store Leftovers in the Refrigerator?
You can store leftovers in the refrigerator for up to three days. Even if you think it won’t taste fresh, you’ll actually find the flavors deepen and improve with a little time. Enjoy it!
Is There a Gluten-Free Option for the Crust?
Yes, there’s a gluten-free option for the crust! You can use almond flour or gluten-free graham crackers instead. Just make sure to combine with melted butter and press it into your pie dish. Enjoy!
Can I Use Coconut Cream in This Recipe?
Yes, you can definitely use coconut cream in this recipe. It’ll add a rich, creamy texture and a subtle coconut flavor. Just make sure to whip it well before incorporating it into your mixture.
What Can I Substitute for Sweetened Condensed Milk?
If you need a substitute for sweetened condensed milk, try using evaporated milk with sugar or a mixture of coconut milk and sugar. You’ll still achieve a creamy, sweet flavor in your dish without it.
