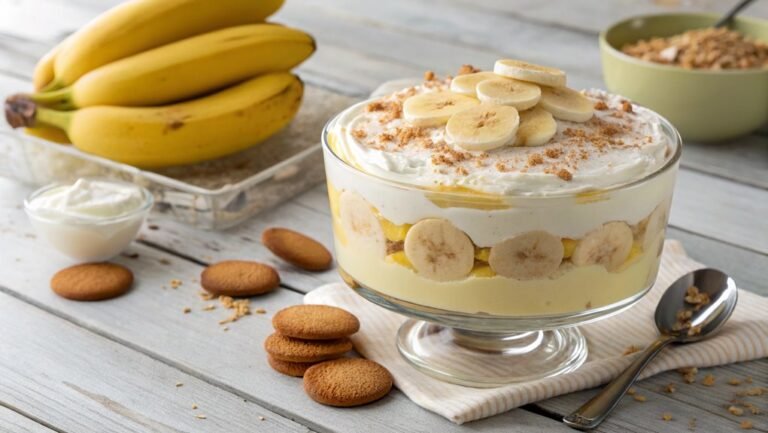
No-Bake Strawberry Shortcake Recipe
For a simple yet impressive dessert, try the no-bake strawberry shortcake using fresh strawberries, whipped cream, and sponge cake. This dish’s charm is in its simplicity and versatility, allowing for creative exploration of flavors and textures.
Layer the ingredients thoughtfully to achieve a balanced sweetness and creaminess. Let’s delve into the steps to perfect this delightful treat.
Recipe
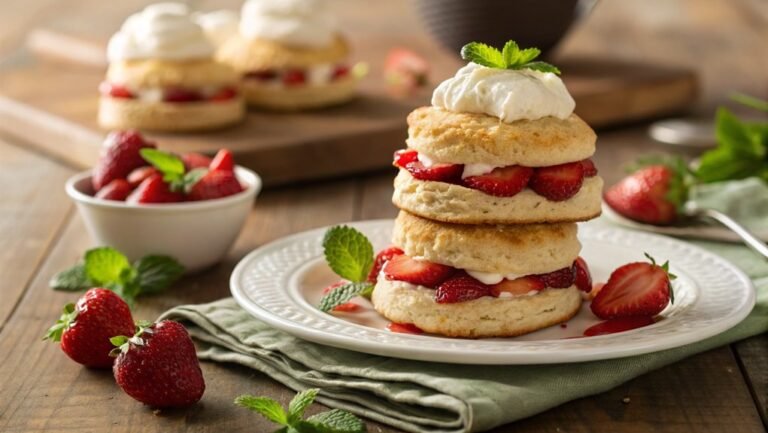
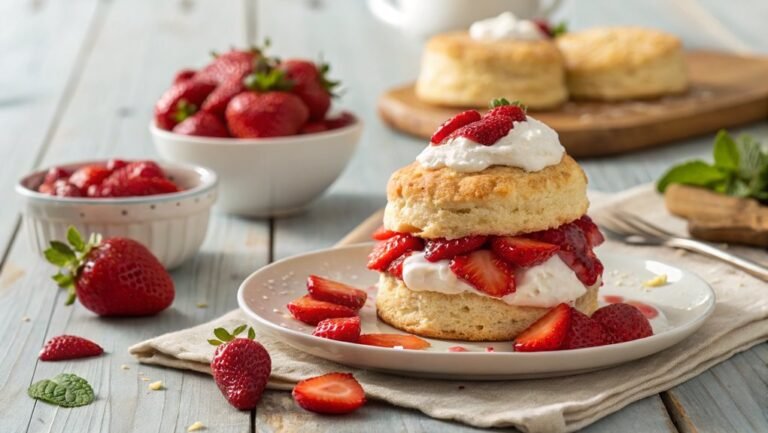
No-bake strawberry shortcake is a delightful and invigorating dessert perfect for warm weather or any occasion that calls for a sweet treat. This easy recipe allows you to enjoy the classic flavors of strawberry shortcake without the need for an oven.
With layers of rich whipped cream, sweet strawberries, and soft cake, this no-bake version is sure to impress your family and friends.
To make this dessert, you’ll start by preparing the strawberries and whipping the cream. The combination of fresh strawberries and airy whipped cream creates a light and satisfying experience.
Then, you’ll layer the ingredients with a simple, store-bought cake or biscuits, allowing the flavors to meld together beautifully. Once assembled, let the shortcake chill in the refrigerator to set, making it the perfect make-ahead dessert.
Ingredients:
- 2 cups fresh strawberries, hulled and sliced
- 1/4 cup granulated sugar
- 1 cup heavy whipping cream
- 1/4 cup powdered sugar
- 1 teaspoon vanilla extract
- 1 package (10 oz) store-bought shortcake or sponge cake
- Optional: mint leaves for garnish
Now let’s move on to the cooking steps.
Cooking Steps
Get ready to create a delicious no-bake strawberry shortcake that’ll impress everyone!
Start by preparing the strawberries, then mix the cream cheese and sugar to create a sweet layer of goodness.
Once you’ve layered everything together, pop it in the fridge for a quick chill and get ready to enjoy a revitalizing treat!
Now let’s move on to the cooking steps.
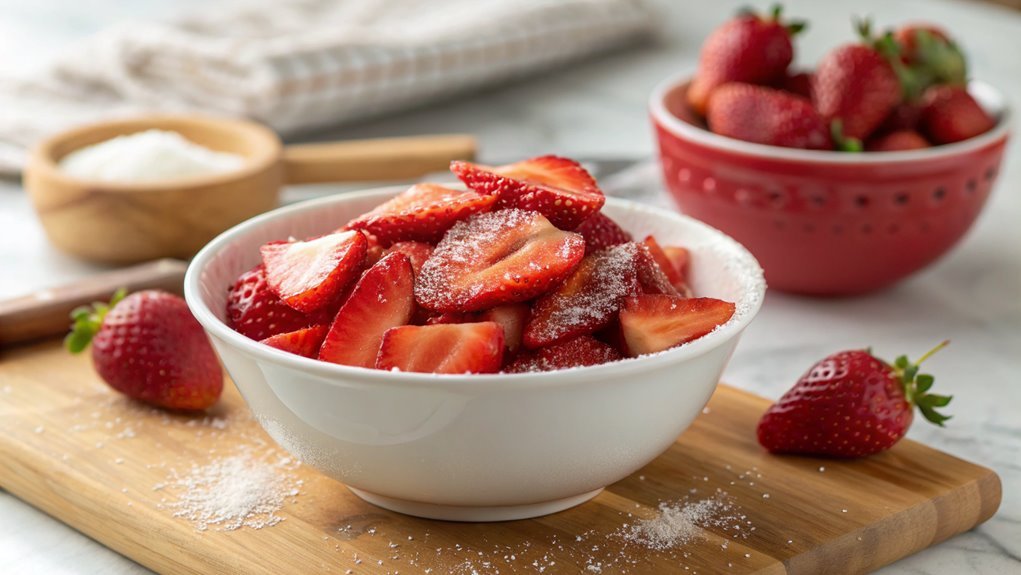
Step 1. Prepare the Strawberries First
To prepare the strawberries for your no-bake strawberry shortcake, start by washing about two cups of fresh, ripe strawberries under cool running water. This step is essential, as it removes any dirt or pesticides that might be lingering on the surface.
Once they’re clean, gently pat them dry with a paper towel. Now, it’s time to hull the strawberries! Grab a small knife and slice off the green tops, cutting just below the leaves. You want to keep as much of the berry intact as possible.
After hulling, slice the strawberries into halves or quarters, depending on your preference. If you like larger pieces, go for halves; if you want them smaller, quarters work perfectly.
As you slice, let those vibrant red juices flow; they’ll add a delightful sweetness to your dessert.
Once you’ve cut the strawberries, place them in a bowl. You can sprinkle a little sugar over them if you’d like to enhance their natural sweetness, but that’s entirely up to you.
Now that your strawberries are prepped and ready, you’re one step closer to creating a delicious no-bake strawberry shortcake that everyone will love!
Step 2. Mix Cream Cheese and Sugar
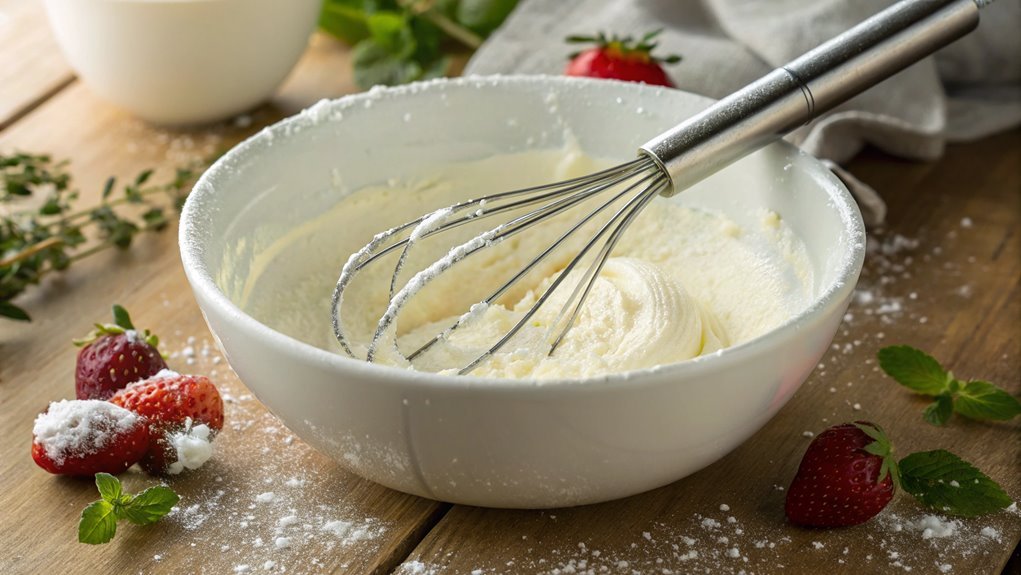
With your strawberries prepped and ready, it’s time to focus on the creamy filling that will elevate your dessert. Start by grabbing a mixing bowl and softening your cream cheese. You want it to be nice and creamy, so let it sit at room temperature for about 10-15 minutes. This little step makes a huge difference in texture!
Next, add in some granulated sugar. The sweetness balances the tanginess of the cream cheese perfectly. Use an electric mixer to whip them together until the mixture is smooth and fluffy. This should only take a few minutes, so don’t be afraid to keep mixing until you get that dreamy consistency.
Once it’s all well blended, consider adding a splash of vanilla extract. This will elevate the flavor and make your filling even more irresistible! Mix just until combined.
Now, you’ve created a rich and delicious cream that pairs beautifully with your strawberries. This creamy filling is the heart of your no-bake strawberry shortcake.
You’re just a few steps away from assembling a delightful dessert that’s sure to impress everyone. Enjoy the process, and get ready for the deliciousness ahead!
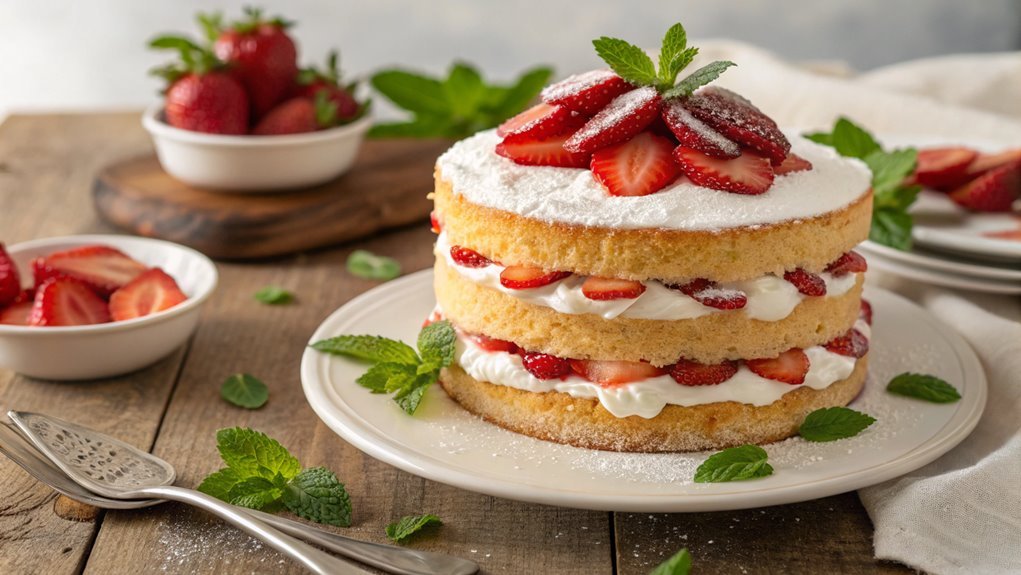
Step 3. Layer Strawberries and Cream
As you prepare to layer your strawberries and cream, make sure your strawberries are evenly sliced and your creamy filling is within reach.
Start by grabbing a deep dish or a trifle bowl to showcase your beautiful layers. Begin with a generous layer of your creamy filling at the bottom, spreading it evenly across the surface. This will create a smooth base for the deliciousness to come.
Next, add a layer of your sliced strawberries, arranging them artfully over the cream. Feel free to mix and match, letting some strawberries overlap for a beautiful presentation.
Repeat this process, alternating layers of cream and strawberries until you reach the top of your dish. The vibrant red of the strawberries against the white cream will create an eye-catching display that’s sure to impress.
To finish it off, don’t forget to leave a little extra creamy filling for the very top layer. This won’t only look fantastic but also add that delightful creaminess with every bite.
As you layer, take a moment to admire your creation—you’re building something special! Enjoy the process, and soon you’ll have a mouthwatering no-bake strawberry shortcake that everyone will love.
Step 4. Chill for 30 Minutes
Chilling your layered strawberry shortcake for 30 minutes is essential for the flavors to meld and the cream to set properly. This wait isn’t just about patience; it’s about building anticipation for that first delicious bite!
As the cake chills, the luscious layers of strawberries and whipped cream come together in a harmonious blend that will tantalize your taste buds.
Here’s why this chilling time is so important:
- Flavor Enhancement: Giving the ingredients time to mingle intensifies the sweetness of the strawberries and the richness of the cream.
- Cream Setting: The chill helps to firm up the whipped cream, ensuring it holds its shape beautifully when you slice into your dessert.
- Texture Magic: A little time in the fridge makes the shortcake layers soften just right, creating a melt-in-your-mouth experience.
- Perfect Presentation: Chilling allows the layers to stabilize, making it easier to serve and ensuring your creation looks as stunning as it tastes.
Step 5. Serve With Fresh Mint
Serving your no-bake strawberry shortcake with fresh mint elevates the dessert to a whole new level. The bright, aromatic flavor of fresh mint perfectly complements the sweetness of the strawberries and the creamy layers you’ve created.
To prepare, simply rinse a handful of mint leaves under cold water and gently pat them dry.
Next, take a sharp knife and finely chop the leaves. You can also opt for whole leaves as a beautiful garnish. Either way, the mint adds a lovely pop of color and a fresh aroma that invites everyone to dig in.
Once you’re ready to serve, plate a slice of your chilled shortcake and sprinkle the chopped mint over the top. For an extra touch, place a couple of whole leaves alongside the dessert. This not only enhances the presentation but also gives a hint of that invigorating flavor with each bite.
Don’t forget to let your guests know about the mint! They’ll appreciate the thoughtfulness and enjoy the delightful combination of flavors.
Final Thoughts
While enjoying your no-bake strawberry shortcake, you might find yourself reflecting on how simple yet satisfying this dessert truly is.
It’s a delightful blend of flavors and textures that’s perfect for any occasion. Plus, you don’t have to spend hours in the kitchen! As you savor each bite, think about how easy it was to whip up this treat and how it brings people together.
Here are four reasons why you should make this no-bake strawberry shortcake a staple in your dessert repertoire:
- Quick and Easy: You can prepare it in under 30 minutes, freeing up time for other activities.
- Fresh Ingredients: Using ripe strawberries adds a burst of flavor that’s hard to resist.
- Versatile: You can customize it with different fruits or toppings to suit your taste.
- Crowd-Pleaser: This dessert is sure to impress family and friends, making any gathering more memorable.
Frequently Asked Questions
Can I Use Frozen Strawberries for This Recipe?
Yes, you can use frozen strawberries for this recipe. Just thaw and drain excess liquid before mixing. They’ll still provide great flavor and texture, making your dessert delicious. Enjoy your creation with those berries!
How Long Does the No-Bake Shortcake Last in the Fridge?
Think of your dessert as a fleeting moment of joy. In the fridge, it’ll last about 3 to 4 days. Just cover it well, and it’ll stay fresh, preserving that delightful taste you love!
Can I Substitute Heavy Cream With a Non-Dairy Option?
Yes, you can substitute heavy cream with non-dairy options like coconut cream or almond whipped topping. Just make sure to whip them properly for the best texture, and your dessert will still taste delicious!
Is This Recipe Suitable for Gluten-Free Diets?
Yes, this recipe can be suitable for gluten-free diets. Just make certain you use gluten-free ingredients, like alternative flours or gluten-free cookies. Always check labels to avoid any hidden gluten in your chosen products.
What Toppings Can I Add to the Shortcake?
Imagine surprising your friends at a gathering. You can add whipped cream for richness, chocolate drizzle for sweetness, or fresh mint leaves for a revitalizing touch. Get creative and make it uniquely yours!
Conclusion
You’ve crafted a beautiful No-Bake Strawberry Shortcake that’s sure to impress. With layers of fresh strawberries, creamy whipped delight, and soft cake, it’s both easy and delicious.
Perfect for special occasions or sunny days, this dessert brings joy to every gathering. Grab your ingredients, invite friends, and enjoy this invigorating masterpiece.
Savor every bite and cherish the sweet memories made!