Easter Bunny Cupcakes Recipe
Each Easter, over 90 million chocolate bunnies are sold in the U.S., but you can add a creative touch to your celebrations with Easter Bunny Cupcakes. These whimsical treats satisfy your sweet tooth while engaging your inner baker.
Imagine the joy of turning simple ingredients into delightful bunny-themed cupcakes that everyone will love. Discover how to bring this festive idea to life in your kitchen.
Recipe
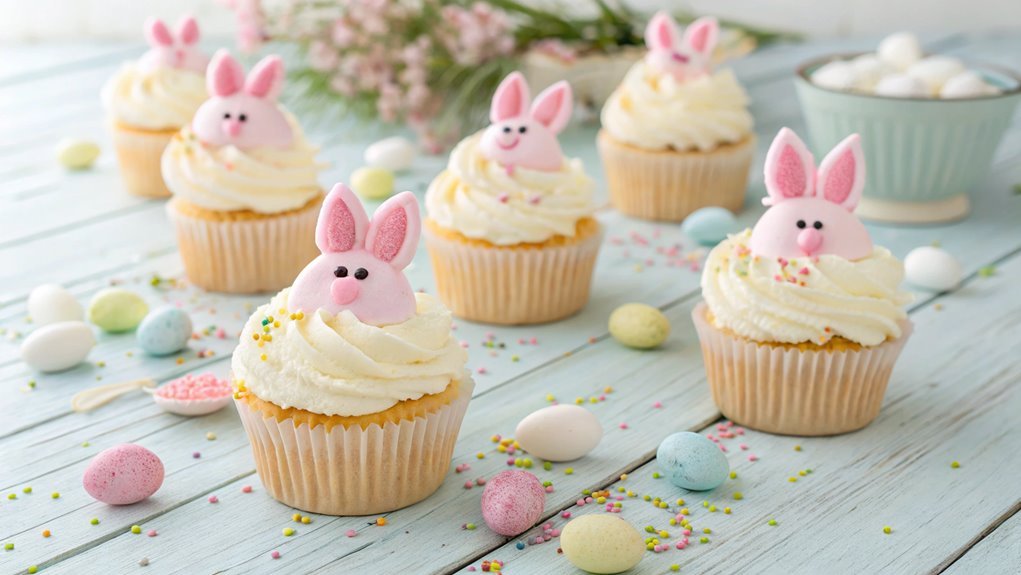
Easter Bunny Cupcakes are a delightful treat that brings a festive touch to any spring celebration. These cute and whimsical cupcakes aren’t only fun to make but also perfect for decorating with little ones. The fluffy vanilla cupcakes are topped with a luscious buttercream frosting, making them a deliciously sweet addition to your Easter festivities.
You can create adorable bunny faces using simple candy decorations, allowing everyone to join in the fun of baking and decorating.
To make your Easter Bunny Cupcakes extra special, consider using pastel-colored sprinkles and edible glitter for a festive touch. These cupcakes can be served at Easter gatherings, family brunches, or as a fun dessert for kids’ parties.
With a little creativity and some simple ingredients, you can create a delightful treat that will surely impress your guests and bring joy to your celebration.
Ingredients:
- 1 ¾ cups all-purpose flour
- 1 cup granulated sugar
- ½ cup unsalted butter, softened
- 1 cup milk
- 3 ½ teaspoons baking powder
- 1 teaspoon vanilla extract
- ½ teaspoon salt
- 3 large eggs
- 2 cups buttercream frosting (store-bought or homemade)
- Pink and white marshmallows (for bunny ears and nose)
- Chocolate chips (for eyes)
- Pastel-colored sprinkles (optional)
Now let’s move on to the cooking steps.
Cooking Steps
Let’s get started on making those adorable Easter Bunny cupcakes!
First, you’ll want to preheat your oven to 350°F, so it’s ready for baking magic.
Then, gather your ingredients and mix the dry ones together, because that’s where the fun begins!
Step 1. Preheat the Oven to 350°F
Before you plunge into mixing your ingredients, preheating the oven to 350°F is crucial for achieving perfectly baked cupcakes. This step may seem simple, but it sets the stage for those delightful, fluffy treats you’re about to create. An oven that’s properly preheated guarantees even baking, helping your cupcakes rise beautifully and develop that lovely golden color.
To preheat your oven, just turn the dial or push the button to 350°F and wait for it to signal when it’s ready. You might see the oven light turning on and hear a gentle hum as it warms up. Patience is key here—don’t rush!
While the oven heats, you can gather your ingredients and prepare your workspace. Having everything in order not only makes the process smoother but also adds to the excitement of baking.
As the temperature rises, imagine the sweet aroma of cupcakes filling your kitchen. It’s a wonderful anticipation that makes you enthusiastic to get started. Once the oven’s ready, you’ll be all set to mix those ingredients and create delicious Easter Bunny cupcakes that everyone will love. Happy baking!
Step 2. Mix Dry Ingredients Together
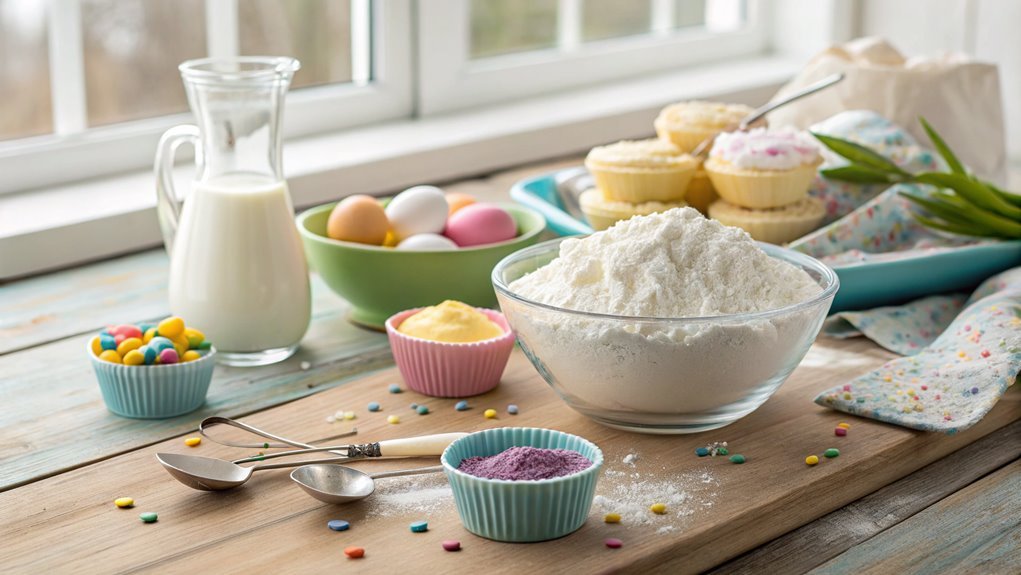
Start by gathering your dry ingredients in a mixing bowl. You’ll need all-purpose flour, sugar, baking powder, baking soda, and a pinch of salt. These ingredients are the foundation of your cupcakes, so it’s crucial to measure them accurately. As you add each ingredient, take a moment to appreciate the textures and aromas.
Next, whisk the dry ingredients together until they’re well combined. This step isn’t just about mixing; it helps to aerate the flour and guarantees even distribution of the leavening agents. You want your cupcakes to rise perfectly and have that light, fluffy texture everyone loves!
Don’t rush through this process. Enjoy the rhythm of whisking, and feel the anticipation building as you prepare for the delicious treat ahead. If you notice any lumps, don’t hesitate to break them up for a smoother batter.
Once you’ve mixed everything well, take a moment to admire your dry mixture. It’s about to transform into something delightful!
Now that you’ve got your dry ingredients ready, you’re one step closer to creating those adorable Easter Bunny cupcakes everyone will enjoy. Let’s keep the momentum going!
Step 3. Add Wet Ingredients Gradually
As you prepare to blend your ingredients, gradually adding the wet ones to the dry mixture guarantees a smooth and cohesive batter.
Start by pouring your wet ingredients, like eggs, milk, and melted butter, into a measuring jug. This not only helps in combining them well but also makes it easier to pour them into your dry mixture.
Begin by creating a small well in the center of your dry ingredients, then slowly pour the wet mixture in. Stir gently with a spatula or whisk, making sure to incorporate the dry ingredients as you go. This method prevents clumping and assures that every bite of your cupcakes is delightfully fluffy.
You’ll want to mix until just combined; a few lumps are perfectly okay! Overmixing can lead to tough cupcakes, and we want them soft and tender.
So, be patient and enjoy this part of the process. The aroma of the batter will fill your kitchen, getting you even more excited for the final result.
Once you’ve achieved that perfect consistency, you’re ready to move on to the next step in creating your festive Easter Bunny cupcakes!
Step 4. Fold in Chocolate Chips
Once your batter is smooth and well-combined, gently fold in the chocolate chips to add a delightful burst of flavor. This step is vital for that dreamy, chocolatey goodness you want in your Easter Bunny cupcakes.
Be careful not to overmix; you want those chips to stay intact and distribute evenly throughout the batter. Here’s how to do it perfectly:
- Use a spatula: Grab a rubber spatula for better control while folding.
- Scoop from the bottom: Start by scooping from the bottom of the bowl, bringing the batter up and over the chocolate chips, ensuring they’re evenly mixed in.
- Be gentle: Keep your movements soft and folding, avoiding vigorous stirring. This helps maintain the fluffy texture of your batter.
- Check for even distribution: As you fold, take a moment to check that the chocolate chips are spread out and not clumped together.
This simple yet significant step will elevate your cupcakes to a new level of deliciousness.
Now you’re one step closer to creating adorable, mouthwatering treats that everyone will love. Enjoy the process, and get excited for the next stage!
Step 5. Scoop Batter Into Liners
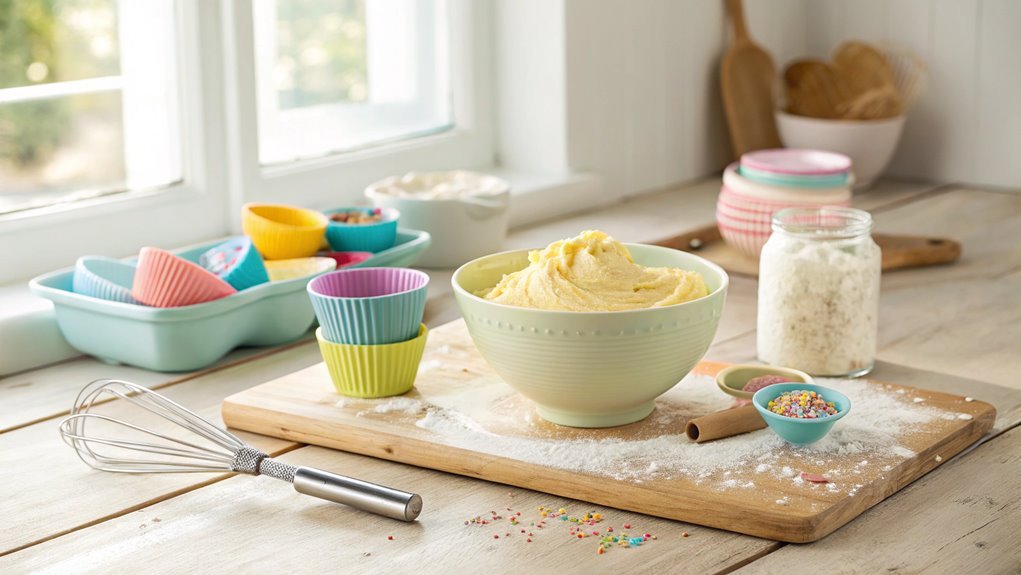
Now that your batter is ready, it’s time to scoop it into the cupcake liners. Grab your trusty ice cream scoop or a measuring cup, whichever you prefer. Line a muffin tin with cupcake liners, making sure they’re set snugly in place. This is where the magic happens!
Start by filling each liner about two-thirds full. This allows room for the cupcakes to rise beautifully as they bake. Don’t worry if it gets a little messy; that’s part of the fun! Just make sure you evenly distribute the batter between the liners for consistent baking. If you’d like, you can even sprinkle a few extra chocolate chips on top for a delightful surprise.
Once you’ve filled all the liners, take a moment to admire your work. They’re looking so good already!
Now, it’s time to pop them in the preheated oven. Set a timer and get ready for the aroma of fresh cupcakes to fill your kitchen. Baking is an adventure, and you’re on your way to creating something delicious! Enjoy the process, and soon you’ll have adorable Easter Bunny cupcakes that are sure to impress family and friends. Happy baking!
Final Thoughts
Creating Easter Bunny cupcakes can be a delightful experience that brings joy to both bakers and dessert lovers alike. These adorable treats not only taste fantastic but also add a festive touch to your celebrations.
When you plunge into this fun recipe, you’re sure to create lasting memories with family and friends. Here are a few tips to guarantee your cupcake adventure is a success:
- Choose Fresh Ingredients: The quality of your ingredients can make a noticeable difference in flavor, so opt for fresh eggs and high-quality butter.
- Experiment with Flavors: Don’t hesitate to mix it up! Try adding different extracts, like almond or lemon, to give your cupcakes a unique twist.
- Get Creative with Decorations: Use colorful sprinkles, edible glitter, or even chocolate shavings to make your bunnies come to life.
- Share the Fun: Invite friends or family to join you in decorating. It’s a great way to bond and make the experience even more enjoyable.
Frequently Asked Questions
Can I Use Gluten-Free Flour for the Cupcakes?
Yes, you can use gluten-free flour for your cupcakes. Just make sure you choose a good blend, as it’ll help maintain the texture and flavor. Adjust baking time if needed, and enjoy your delicious creation!
How Can I Store Leftover Cupcakes?
To store leftover cupcakes, wrap them tightly in plastic wrap or place them in an airtight container. Keep them at room temperature for up to three days or refrigerate for up to a week. Enjoy!
What Is the Best Way to Decorate the Cupcakes?
Decorating cupcakes is like painting a masterpiece. Start with a smooth frosting base, then add colorful sprinkles, fun edible decorations, and maybe some piping for flair. Let your creativity shine, and don’t hold back!
Can I Make These Cupcakes Ahead of Time?
Yes, you can definitely make these cupcakes ahead of time! Just bake and cool them, then store in an airtight container. Frost them closer to serving time for the best taste and appearance. Enjoy!
Are There Any Substitutions for the Frosting Ingredients?
Yes, you can substitute cream cheese with mascarpone or Greek yogurt for a tangy twist. Instead of powdered sugar, you might use honey or maple syrup, but adjust the consistency with milk or heavy cream as needed.
Conclusion
Baking Easter Bunny Cupcakes brings a touch of spring into your kitchen with simple ingredients transforming into delightful treats. Decorate with colorful candies and sprinkles, letting your creativity shine to make each cupcake unique. This fun baking experience is perfect for sharing with family and friends. Roll up your sleeves, preheat the oven, and enjoy the sweet joy of creating these charming cupcakes together!
