Classic Christmas Cookie Recipe

A classic Christmas cookie recipe can unite everyone during the holiday season. These soft, sweet cookies, adorned with colorful sprinkles, evoke nostalgia and fill the air with comforting aromas.
The basic ingredients are simple, but the magic lies in their combination. Consider adding small twists as you mix and shape the dough to elevate this traditional treat.
Let’s explore key steps and perhaps discover a few surprising elements along the way.
Recipe
Nothing brings the festive spirit to life quite like the aroma of freshly baked Christmas cookies wafting through the home.
This classic Christmas cookie recipe is perfect for family gatherings, holiday parties, or just to enjoy on a cozy evening by the fireplace. With a delightful blend of spices and sweetness, these cookies aren’t only delicious but also a cherished tradition for many families during the holiday season.
Getting the kids involved in the cookie-making process can add to the fun, as they help with mixing, rolling, and decorating.
Whether you choose to keep them simple or frost them with colorful icing and sprinkles, these cookies are sure to be a hit. So gather your ingredients and start the holiday baking adventure!
Ingredients:
- 2 3/4 cups all-purpose flour
- 1 teaspoon baking soda
- 1/2 teaspoon baking powder
- 1 cup unsalted butter, softened
- 1 1/2 cups white sugar
- 1 egg
- 1 teaspoon vanilla extract
- 1/2 teaspoon almond extract
- 3/4 teaspoon salt
- 3/4 teaspoon ground cinnamon
- 1/4 teaspoon ground cloves
- 1/4 teaspoon ground nutmeg
- 1 cup powdered sugar (for decoration, optional)
- Sprinkles or colored sugar (for decoration, optional)
Now let’s move on to the cooking steps.
Cooking Steps
Now that you have your ingredients ready, it’s time to get cooking!
Start by preheating your oven to 350°F, ensuring your cookies bake perfectly.
Then, mix together the butter and sugar to create a creamy base, setting the stage for delicious holiday treats!
Step 1. Preheat Oven to 350°F
Before you start mixing your ingredients, it’s essential to preheat your oven to 350°F. This step sets the stage for delightful cookies that bake evenly and come out perfectly golden. Don’t skip it; properly preheating guarantees that your cookies rise nicely and develop that delicious texture we all love.
To preheat your oven, simply turn the dial or set the digital display to 350°F. Allow at least 10 to 15 minutes for the oven to reach the right temperature. While you wait, you can gather your ingredients and get excited about the delightful treats you’ll soon create.
The smell of freshly baked cookies is enough to brighten anyone’s day!
Once the oven reaches the desired temperature, you’ll know your cookies are on their way to perfection. This warm, cozy atmosphere in your kitchen will build anticipation as you prepare to bake.
Just imagine indulging in those sweet, buttery bites soon!
Step 2. Mix Butter and Sugar
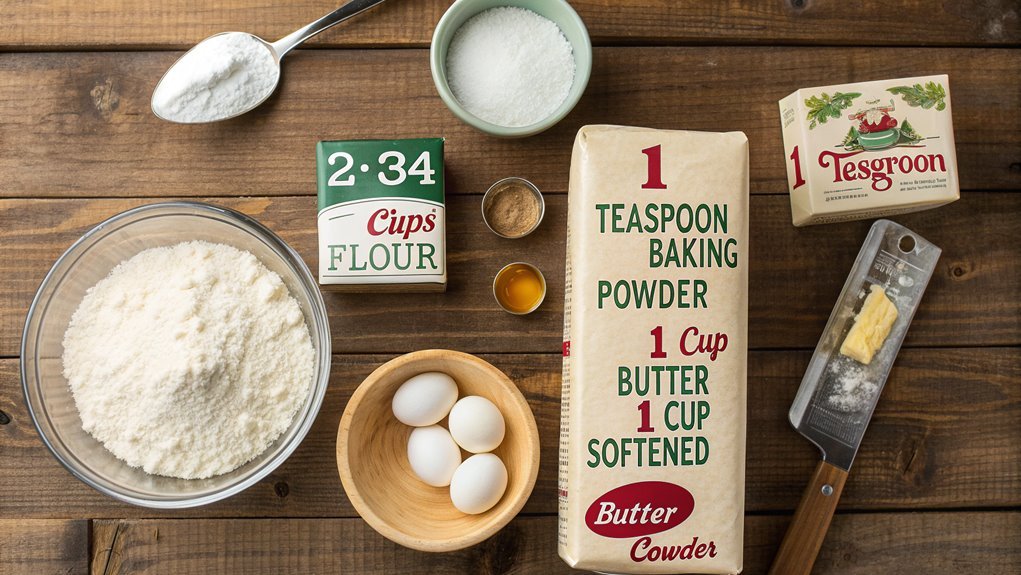
With the oven preheated and the scent of anticipation lingering in the air, it’s time to mix the butter and sugar. Start by grabbing a medium bowl and let’s create that signature cookie base. You’ll need softened butter, so make certain it’s at room temperature—this is essential for achieving that perfect creamy texture.
Add the butter to your bowl and then pour in the granulated sugar.
Now, it’s time to bring out the mixer! Using a hand or stand mixer, beat the butter and sugar together on medium speed. You want to mix until the combination is light and fluffy, usually about two to three minutes. This process incorporates air into the mixture, which helps your cookies rise beautifully.
Don’t rush it! Scrape down the sides of the bowl with a spatula to guarantee everything gets blended together evenly.
Once you see that lovely creamy consistency, you’re on the right track. You’ll know it’s ready when the mixture looks pale and airy. This step is where the magic begins, so embrace the process and let that excitement build! You’re one step closer to enjoying delicious Christmas cookies!
Step 3. Add Eggs and Vanilla
It’s time to elevate your cookie batter by adding the eggs and vanilla! This step brings your mixture to life and greatly enriches the flavor.
Begin by cracking two large eggs into your bowl. Make sure they’re at room temperature to guarantee even mixing. Use a whisk or a hand mixer to beat the eggs until they’re well combined and slightly frothy. This will introduce air into your batter, giving your cookies a light, tender texture.
Next, it’s time to add the star of this step: pure vanilla extract. Use about one to two teaspoons, depending on how bold you want that flavor to shine. When you pour in the vanilla, you’ll instantly notice the heavenly aroma filling your kitchen—it’s simply irresistible!
Gently mix the eggs and vanilla into your butter-sugar blend, making sure everything is evenly distributed.
Take your time here, letting the ingredients meld into a smooth, cohesive mixture. This harmonious blend is essential for getting those delicious cookies you’re dreaming of.
Now, your batter is ready for that next exciting step!
Step 4. Fold in Flour Mixture
Gently fold in the flour mixture to your wet ingredients, ensuring everything combines without overmixing. This step is essential as it helps create the perfect texture for your cookies.
Using a spatula, carefully incorporate the flour in a circular motion, scraping the sides of the bowl to mix evenly. You want to see the flour disappear, but be cautious not to beat or stir vigorously; that’ll lead to tough cookies!
As you fold, you may notice pockets of flour lurking around. Don’t worry! Just keep folding gently until no dry flour remains, and your mixture looks beautifully smooth.
This is where the magic happens; you’re transforming simple ingredients into something wonderful.
Don’t rush this process, as patient folding will reward you with a delightful cookie dough full of potential. It’s like building a cozy foundation for your holiday treats!
Once everything’s well combined and looks just right, it’s time to move on to the next exciting step in your cookie-making journey—where you can add that festive flair.
Trust yourself; with each cookie, you’re creating memories that your loved ones will cherish for years to come! Happy baking!
Step 5. Add Holiday Sprinkles
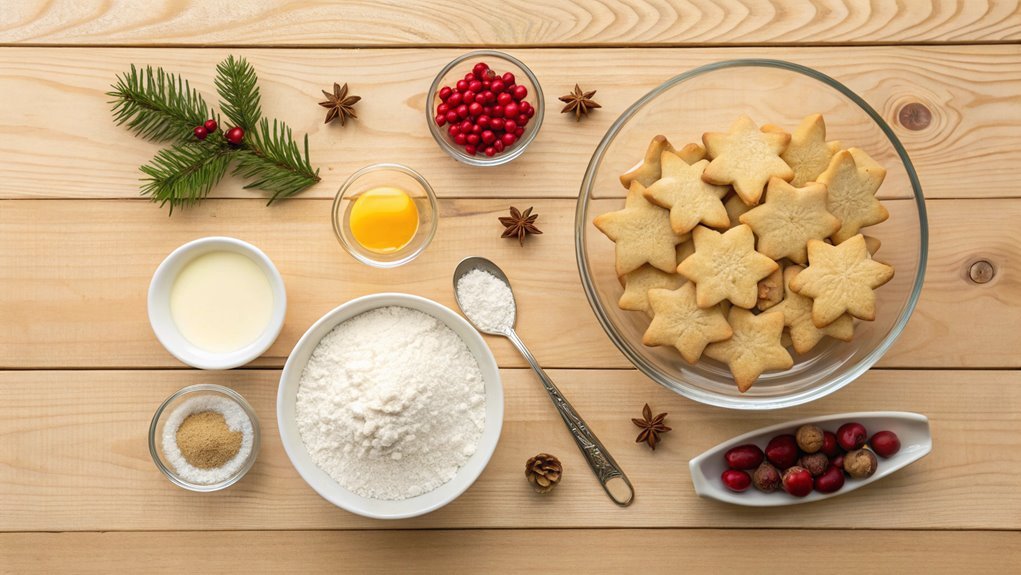
Now that your cookie dough is beautifully smooth and mixed to perfection, it’s time to add a festive touch. Grab your holiday sprinkles—this is where the fun begins! You can use classic nonpareils, vibrant confetti sprinkles, or even themed shapes like stars or snowflakes to really capture that holiday spirit.
Start by gently folding in about half a cup of sprinkles with a spatula. Be careful not to overmix, as you want those colors to stay vibrant and cheerful in every bite. You may find it helpful to reserve a few sprinkles to add on top of each cookie before baking, giving them an extra pop of color.
Now, using a tablespoon or cookie scoop, drop generous portions of dough onto your prepared baking sheet. Make sure to leave some space between each piece, so they can spread and bake evenly.
Once the dough is on the sheet, sprinkle those reserved holiday sprinkles on top for that eye-catching, festive flair.
With the sprinkles added, you’re almost ready to bake. Just imagine how delightful your kitchen will smell as the cookies bake to golden perfection! Enjoy this creative moment; it’s all part of the holiday magic.
Final Thoughts
As you wrap up your holiday baking, remember that these classic Christmas cookies aren’t just about taste; they’re about creating memories. The joy of mixing, rolling, and decorating is a delightful way to bond with family and friends. Each batch tells a story, whether it’s Grandma’s secret recipe or a new creation you’ve dreamed up together.
Imagine the cheerful atmosphere as you gather in the kitchen, flour dusting the countertops and laughter filling the air. These moments are what holiday memories are made of!
So, when you take that first bite, let it take you back to cherished times spent with loved ones.
Don’t hesitate to experiment with flavors or personal touches that reflect your unique style. Maybe it’s a sprinkle of cinnamon or a drizzle of icing that makes these treats your own.
Whether you’re a seasoned baker or a novice, each cookie offers an opportunity to share joy.
Frequently Asked Questions
Can I Substitute Ingredients for Dietary Restrictions?
Just like a painter chooses new colors, you can substitute ingredients to fit your dietary needs. Think almond flour instead of regular flour or maple syrup instead of sugar—get creative while maintaining deliciousness!
How Do I Store Leftover Cookies Properly?
To store leftover cookies properly, you should let them cool completely, then place them in an airtight container. You can also layer parchment paper between cookies to prevent sticking. Store in a cool, dry place.
How Long Do These Cookies Last?
These cookies usually last about one week at room temperature if stored properly. If you refrigerate them, they’ll stay fresh for up to two weeks. Freezing extends their lifespan to about three months. Enjoy your cookies!
Can I Freeze the Cookies for Later?
Absolutely, you can freeze those festive treats for future enjoyment! Just wrap ’em tightly in plastic wrap or foil, toss ’em in a sturdy container, and they’ll stay scrumptious for several months. Enjoy later!
What Is the Best Way to Decorate the Cookies?
To decorate the cookies, you can drizzle melted chocolate, use vibrant icing, or sprinkle colorful sprinkles. Don’t forget to let your creativity shine—stencils and edible glitter add unique touches that make your treats stand out!
